
Unlock the secret to crafting your very own batch of fresh, creamy oat milk right in your kitchen! This comprehensive guide will show you how to make oat milk with an incredibly simple, homemade recipe that requires minimal effort, just a few basic tools, approximately 5 minutes of your time, and only two essential ingredients. Forget expensive store-bought versions; your delicious, naturally dairy-free oat milk will soon become a versatile staple for your cereal, coffee, smoothies, baking, and simply for drinking on its own. Get ready to transform humble oats into a silky-smooth, plant-based beverage that’s both nourishing and wonderfully economical.
Essential Ingredients for Homemade Oat Milk
Creating your own wonderfully creamy, dairy-free oat milk is surprisingly straightforward, relying on just two fundamental ingredients. The beauty of this recipe lies in its simplicity and the ability to customize it to your personal taste and dietary needs.
Core Ingredients:
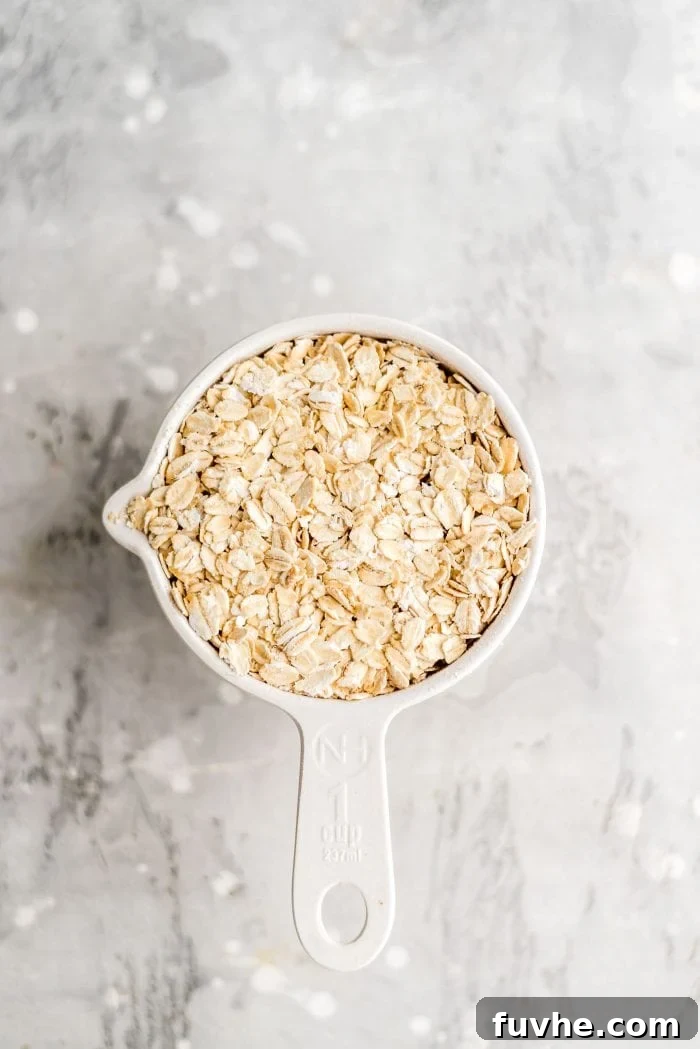
- Rolled Oats: Also known as old-fashioned oats, these are the star of our recipe. Rolled oats produce the creamiest texture and best flavor. While quick oats or steel-cut oats can be used, rolled oats offer the ideal balance for a smooth, non-slimy finish. For those with gluten sensitivities or celiac disease, ensure you choose certified gluten-free rolled oats.
- Water: The other half of our dynamic duo. For the best-tasting oat milk, we recommend using filtered water. The quality of your water can significantly impact the final flavor of your homemade beverage. The ratio of oats to water can be adjusted to achieve your desired thickness, typically starting with 3-4 cups of water per 1 cup of oats.
Optional Flavor Enhancers & Sweeteners:
While the basic two-ingredient recipe yields a perfectly delightful oat milk, adding a few optional ingredients can elevate its flavor profile, making it suitable for a wider range of uses.
- A Pinch of Sea Salt: Approximately 1/4 teaspoon. A tiny bit of good quality sea salt doesn’t make the milk salty; rather, it beautifully enhances the natural sweetness of the oats and brings out other flavors, balancing the overall taste.
- Pure Vanilla Extract: A splash of vanilla extract (1/2 to 1 teaspoon) adds a warm, aromatic depth to your oat milk, making it particularly appealing for sweet applications like coffee, smoothies, or drinking plain.
- Natural Sweeteners: For those who prefer a sweeter milk, natural options include 1-2 pitted dates (Medjool dates work wonderfully) or 1 tablespoon of pure maple syrup. Other alternatives like agave nectar, a few drops of liquid stevia, or monk fruit can also be used. If using dates, a pro tip is to blend them with the water first until smooth before adding the oats, which helps prevent over-blending the oats and potential sliminess.
- Cacao Powder: For a delightful chocolate oat milk, add 1 tablespoon of unsweetened cacao powder along with your preferred sweetener. This transforms your simple oat milk into a rich, decadent treat perfect for chocolate lovers.
- Coconut Oil (Optional for Creaminess): Some enthusiasts like to add 1-2 teaspoons of coconut oil for an extra thick and creamy texture. This is entirely optional but can contribute to a richer mouthfeel.
When deciding on optional ingredients, consider your primary use for the oat milk. If it’s destined for sweet baking recipes, coffee, tea, cereal, or simply for drinking, a touch of sweetener, vanilla, and sea salt will be fantastic. For savory culinary applications, you can either keep it plain or add just a tiny pinch of sea salt for flavor enhancement without sweetness.
Essential Kitchen Tools for Perfect Oat Milk
Making homemade oat milk is incredibly simple and doesn’t require a plethora of specialized gadgets. With just a few basic kitchen items, you’ll be well on your way to enjoying fresh, dairy-free goodness. Here’s what you’ll need:
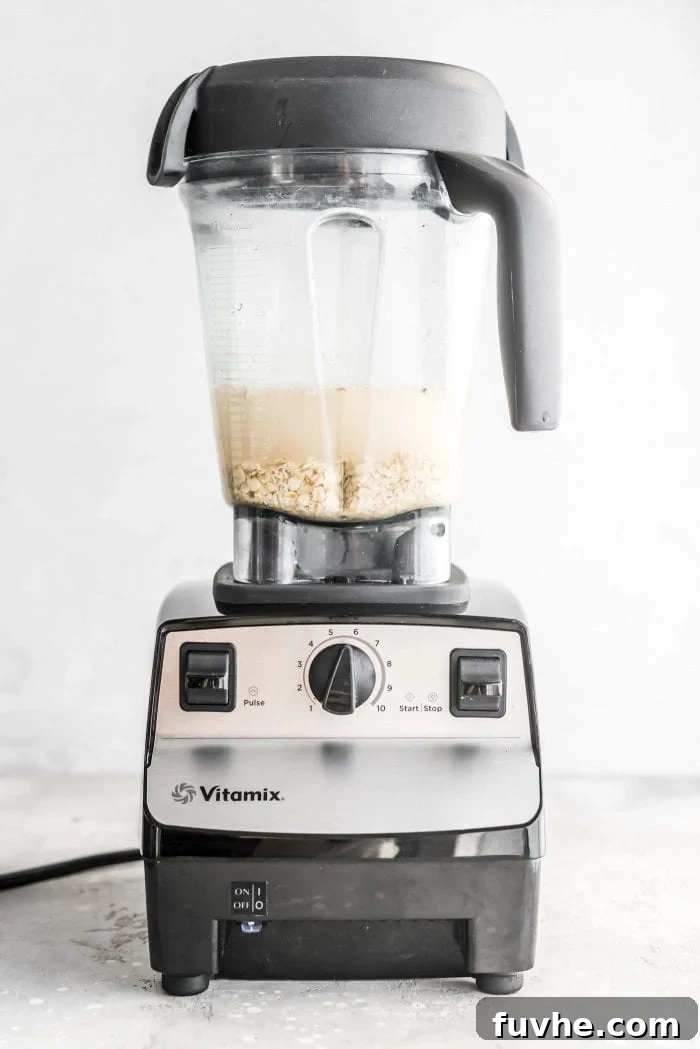
- High-Speed Blender: This is arguably the most crucial tool. Any standard blender will work, but a high-speed blender like a Vitamix will yield the smoothest, creamiest results in less time. A powerful blender ensures the oats are thoroughly pulverized, leading to a superior texture. If you’re considering an investment in kitchen appliances, a Vitamix is a highly recommended choice, making light work of this recipe and a myriad of other culinary tasks. Click here to explore Vitamix blenders.
- Nut Milk Bag (or Alternative Strainer): Essential for separating the liquid oat milk from the solid oat pulp. A dedicated nut milk bag from Amazon is inexpensive and highly effective for achieving a silky-smooth texture, making quick work of oat, nut, and seed milks. If you don’t have one, don’t worry! You can improvise with:
- Cheesecloth: Layer a few pieces of cheesecloth over a bowl.
- Fine-Mesh Sieve: A very fine sieve can work, though it may require multiple passes for a truly smooth result.
- Clean Old T-Shirt: A piece of clean, thin cotton fabric, like an old t-shirt, can also be cut and used similarly to cheesecloth.
To use cheesecloth or an old t-shirt, cut a piece large enough to drape over your bowl or measuring cup. Pour the blended oat mixture over it, then gather the edges and twist, gently squeezing out the milk.
- Large Bowl or Measuring Cup with a Spout: You’ll need this to collect your freshly strained oat milk. A large measuring cup with a pouring spout is particularly convenient for easy transfer into storage containers. These types of measuring cups are ideal for minimizing spills.
- Airtight Storage Container: Once made, your oat milk needs to be stored properly to maintain freshness. Mason jars with sealable lids are excellent choices. I personally favor mason jars paired with these practical plastic lids, but any clean, sealable bottle or jar will suffice.
Gathering these simple tools will ensure your oat milk making process is smooth, efficient, and enjoyable, resulting in a perfectly creamy beverage every time.
Your Simple Step-by-Step Guide to Homemade Oat Milk
Making your own oat milk is a remarkably quick and easy process. Follow these straightforward steps to create a delicious and versatile plant-based milk in minutes.
- Step 1: Blend the Oats and Water to Perfection
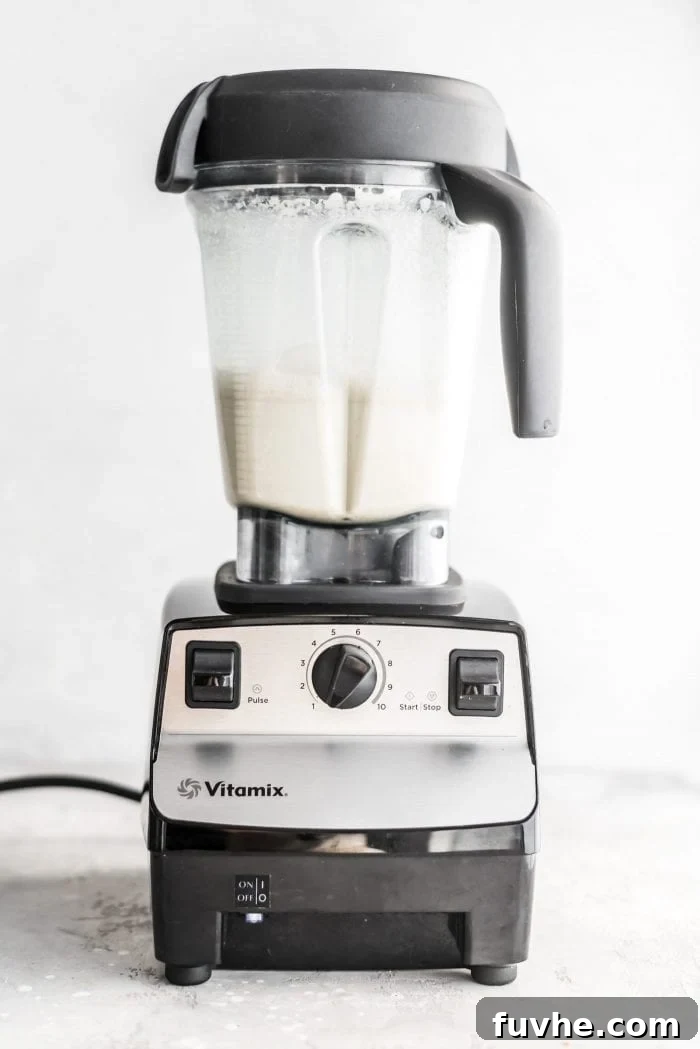
Begin by adding your rolled oats and 3-4 cups of filtered water to your blender. This is also the ideal time to incorporate any optional flavor enhancers you desire. If you’re adding a pinch of sea salt, a dash of pure vanilla extract, or a sweetener like maple syrup, include them now. For those using pitted dates as a sweetener, a helpful tip is to blend the dates with the water first until completely smooth. This ensures the dates are fully incorporated without needing to over-blend the oats, which can lead to a slimy texture. Once the dates are blended, add the oats and proceed.
Blend the mixture on a medium to high speed for approximately 20-30 seconds. The goal is to achieve a smooth consistency without over-processing. Over-blending can generate heat and release too much starch from the oats, potentially resulting in a gummy or slimy final product. A powerful blender like a Vitamix might only need 20-30 seconds, while other blenders might require slightly longer, up to 60 seconds, but always avoid blending for more than a minute. If you desire a thicker, creamier milk, you might experiment with adding 1-2 teaspoons of coconut oil at this stage. For a fun twist, add 1 tablespoon of cocoa powder and your preferred sweetener to create a rich chocolate oat milk.

The initial blend: oats and water. The creamy blended mixture before straining. - Step 2: Strain for a Silky-Smooth Finish
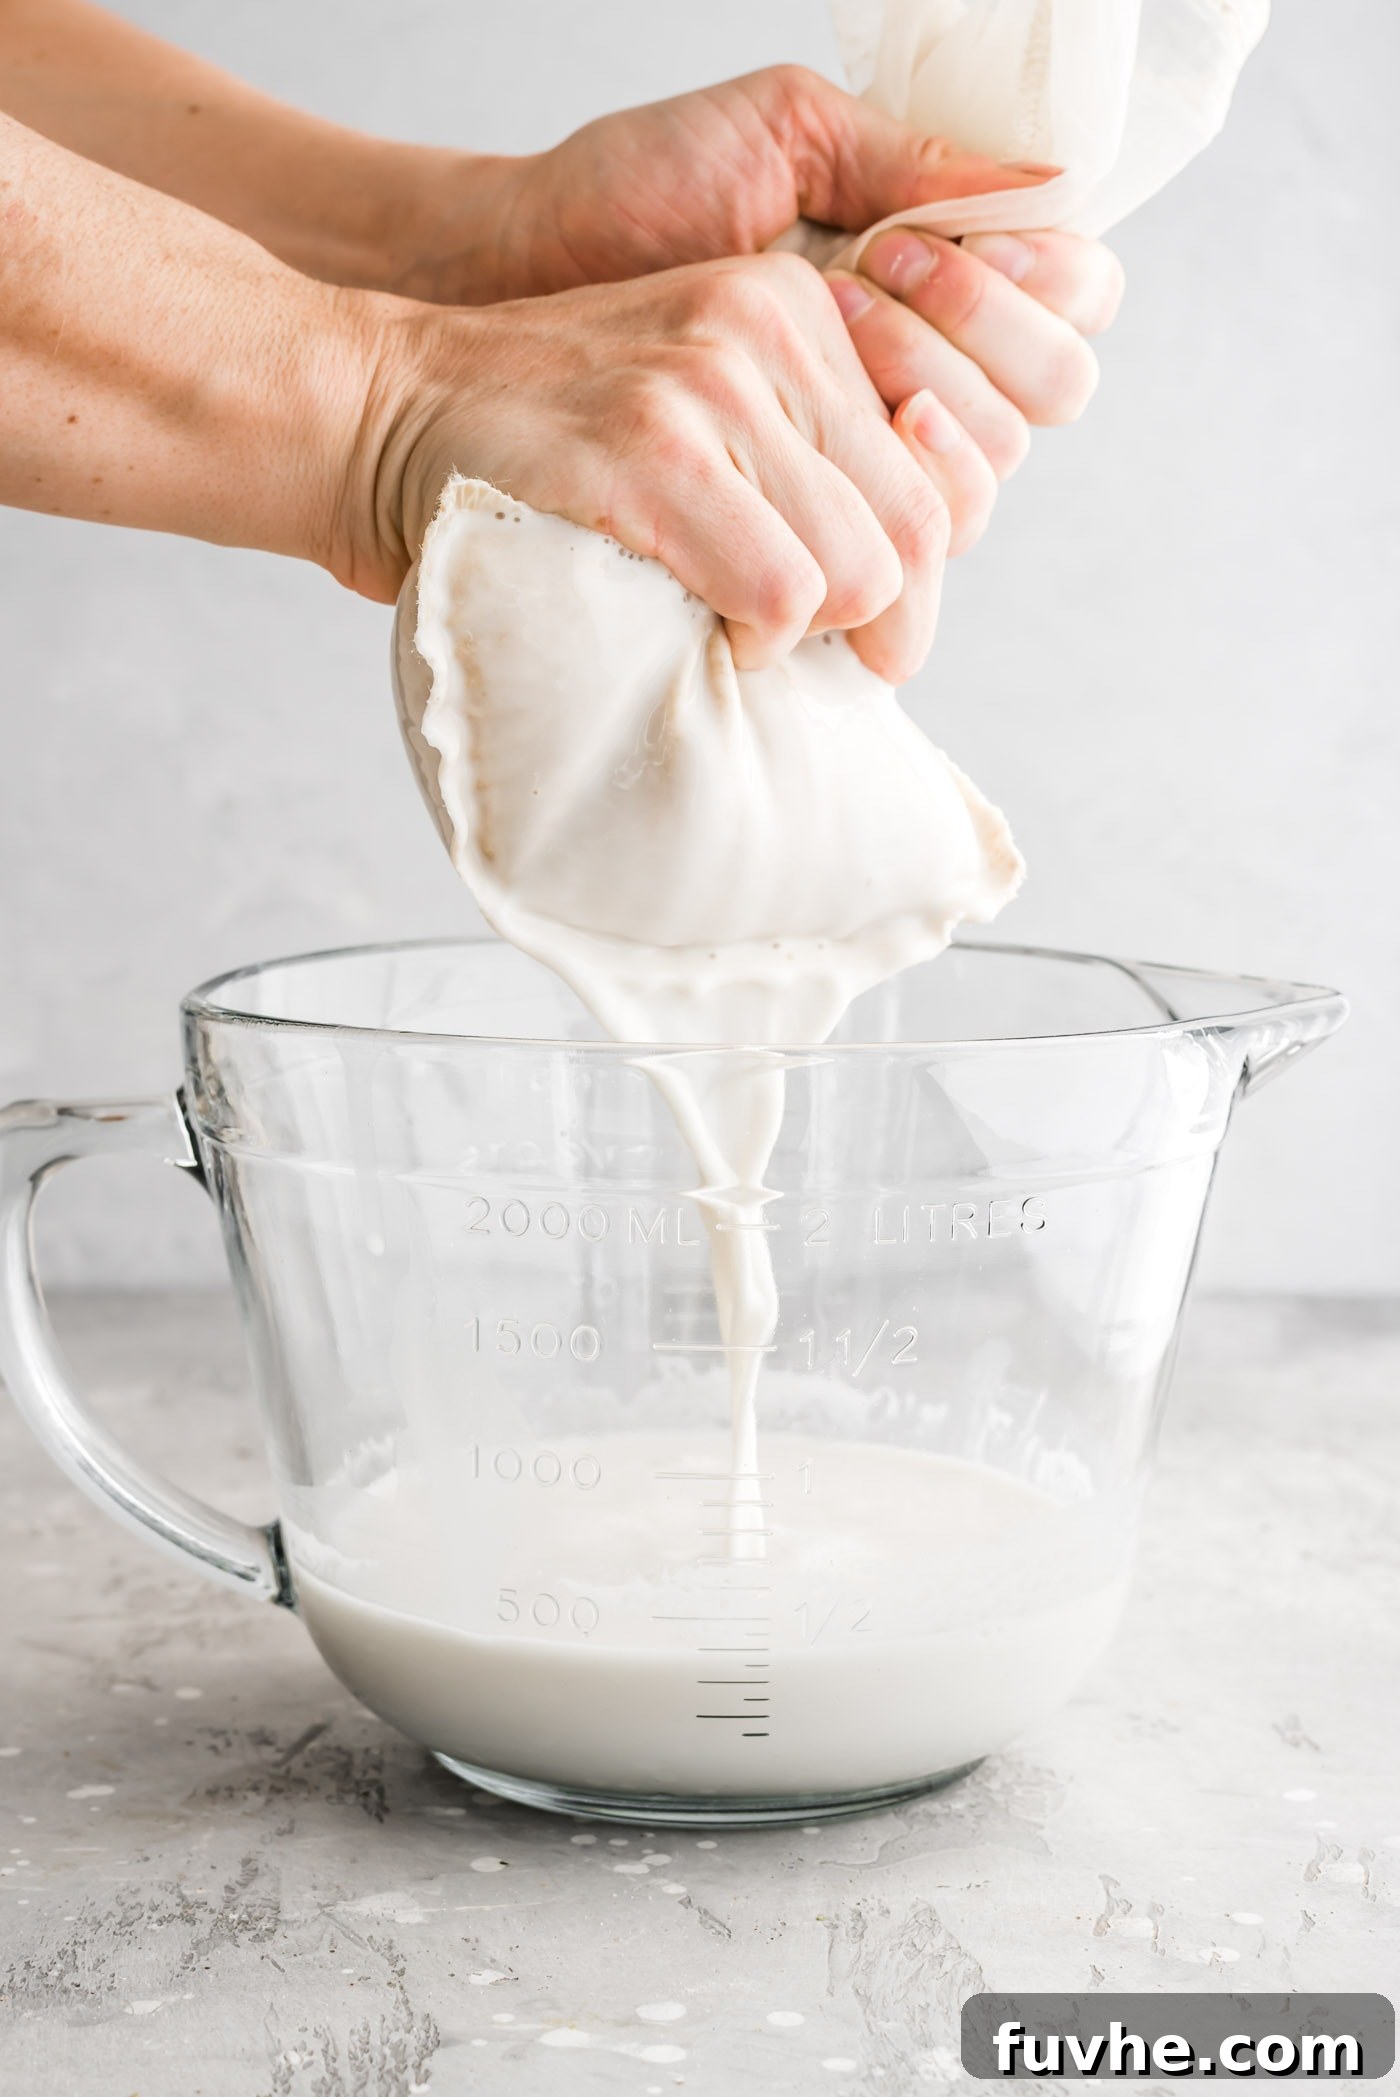
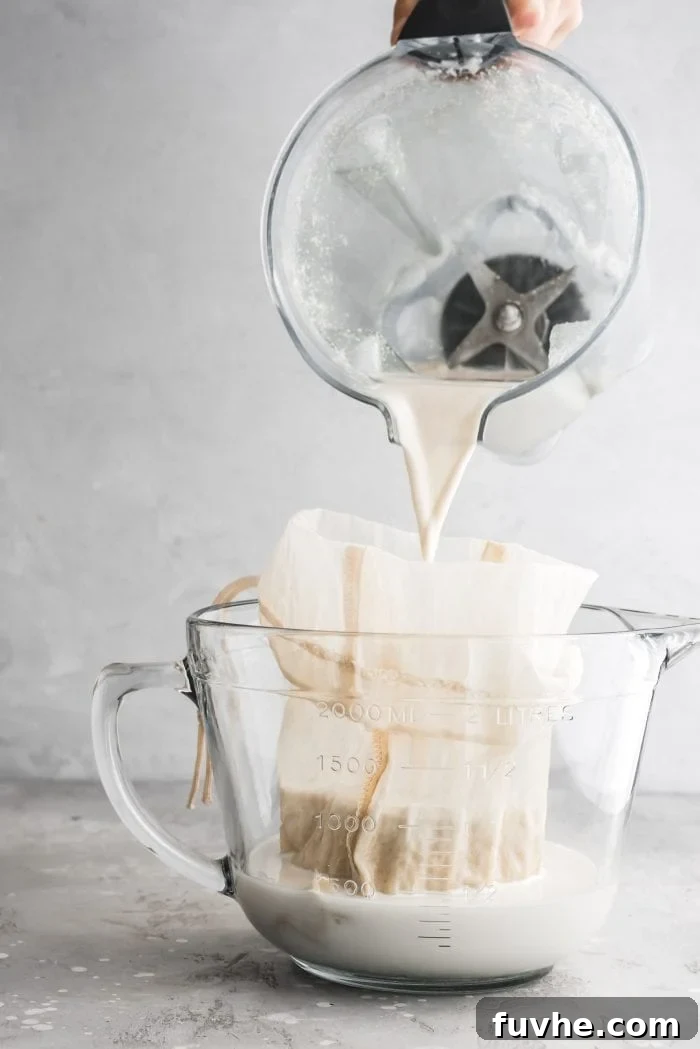
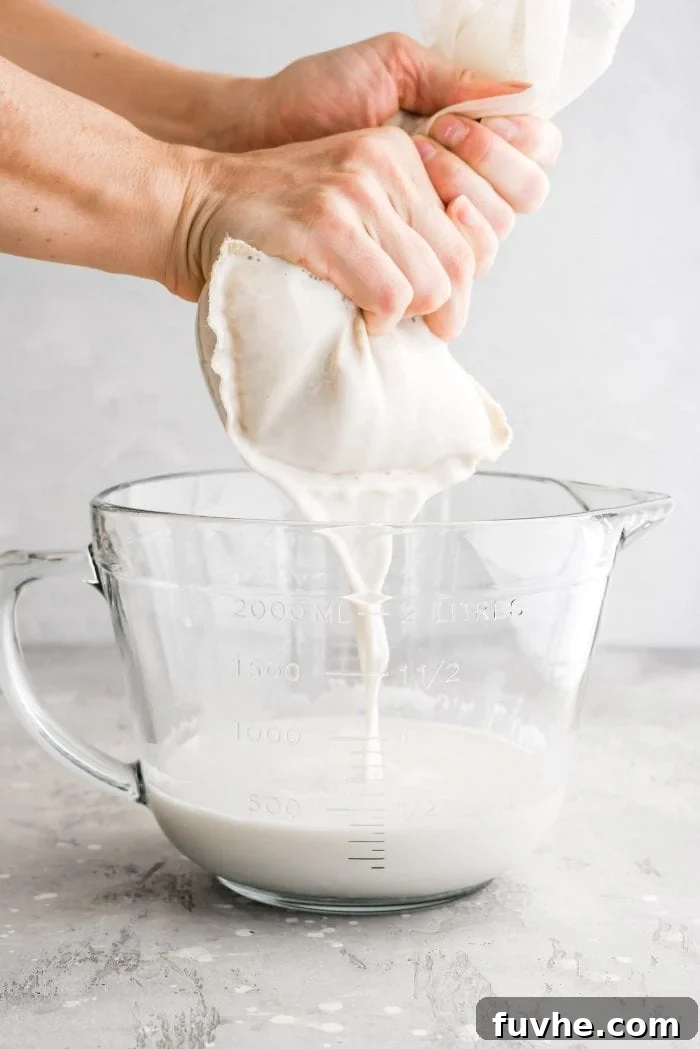
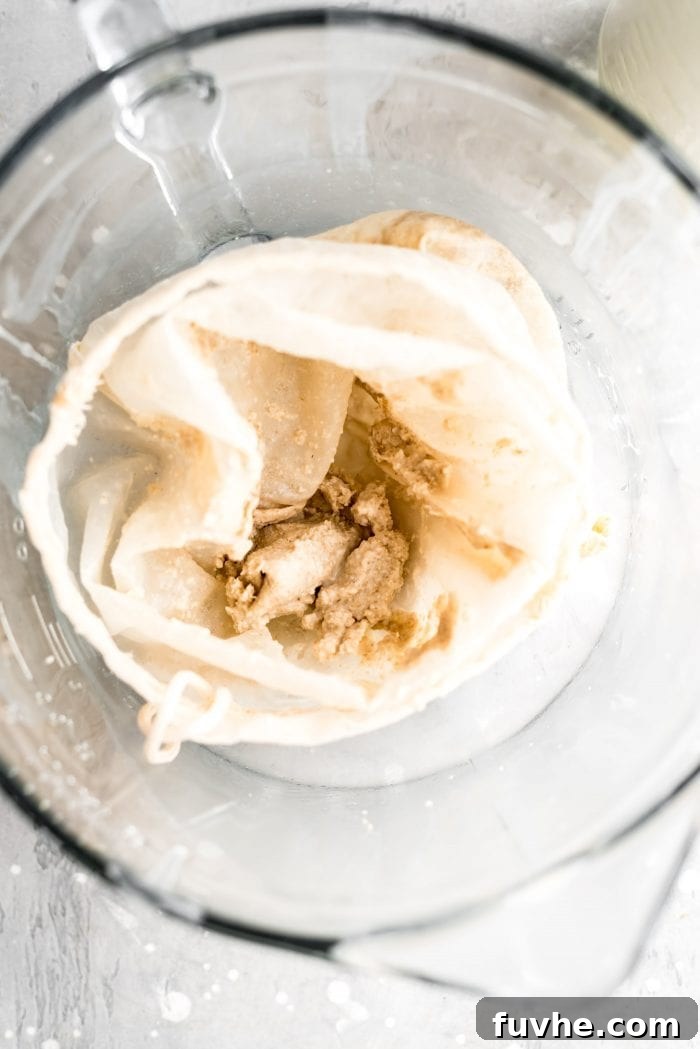
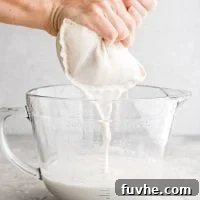
Once blended, it’s time to separate the liquid milk from the oat pulp. Place a nut milk bag (or your chosen cheesecloth/t-shirt alternative) into a large measuring cup with a pouring spout or a large bowl. Carefully pour the blended oat and water mixture into the bag or over the cloth. Gently gather the top of the bag or cloth and begin to squeeze the liquid through. Apply steady, firm pressure to extract as much milk as possible. You’ll be left with a clump of oat pulp inside the bag.
For an exceptionally smooth and sediment-free oat milk, you may opt to strain the milk twice. However, most people find that a single straining pass is perfectly sufficient for a great texture. While you can technically leave the oat milk unstrained, it will be quite thick and pulpy, which is generally only suitable if you plan to immediately use it in thick smoothies where the texture is less noticeable.
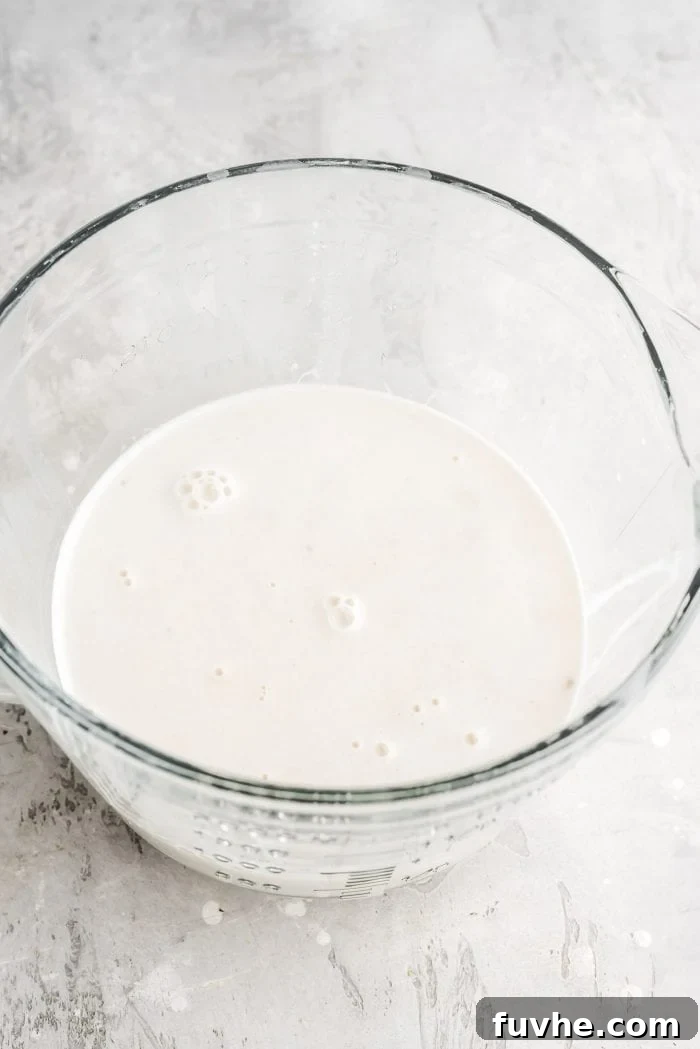
Pouring the blended mixture into the nut milk bag. The straining process, separating liquid from pulp. If you’re using a bowl without a spout, you can transfer the strained milk to a jar using a funnel for a cleaner process. While straining directly into a wide-mouth mason jar is possible, it can be a bit messier!
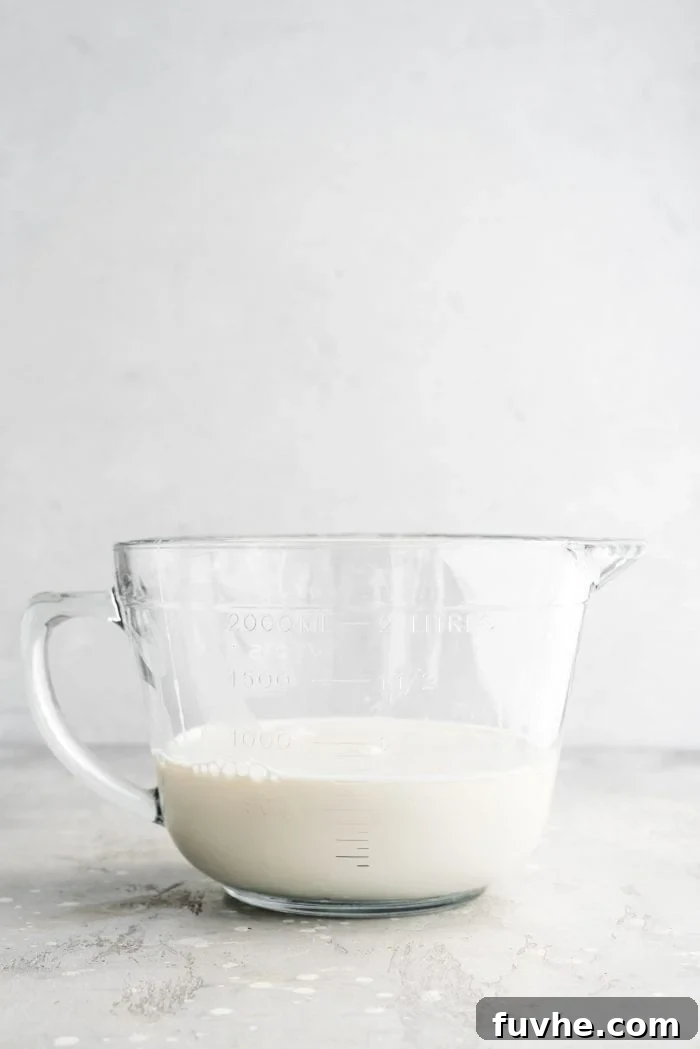
The result: beautifully creamy homemade oat milk. - Step 3: Store and Enjoy Your Fresh Oat Milk
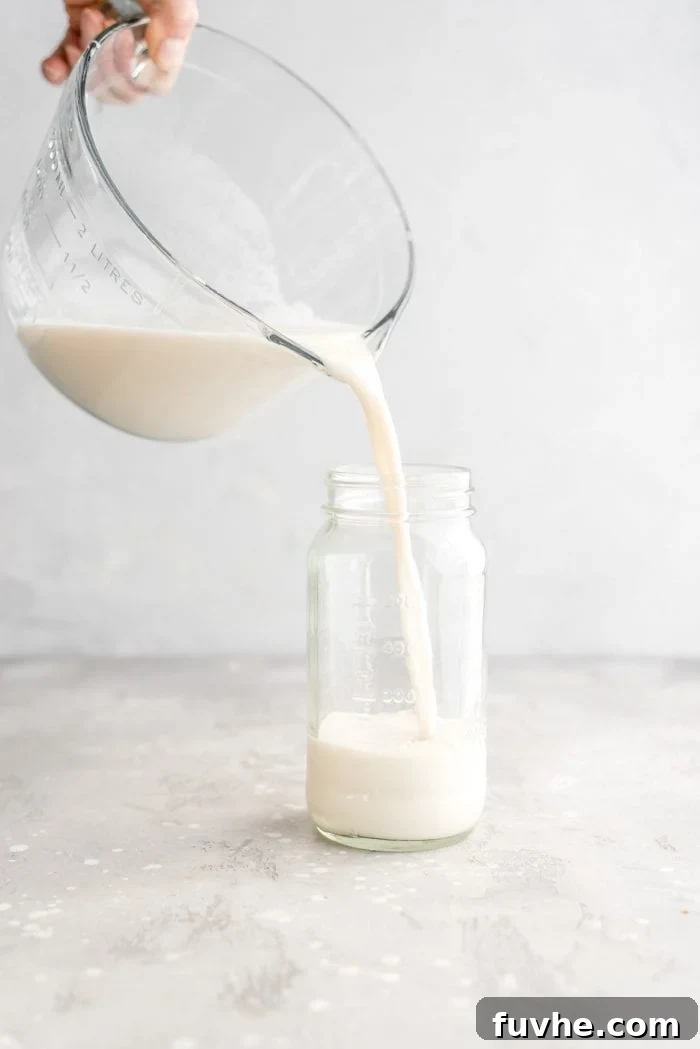
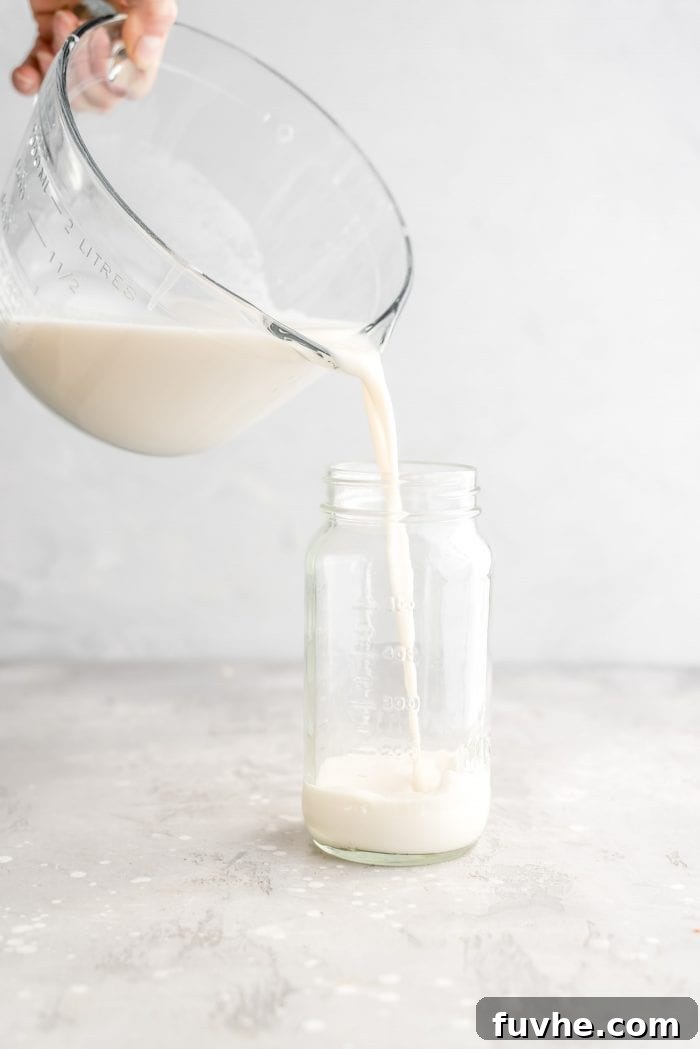
Once strained, your homemade oat milk is ready! Carefully pour the fresh milk into your chosen airtight glass jar or container. For optimal freshness and safety, store your oat milk in the refrigerator. It will typically remain fresh for up to 5 days. Before each use, remember to give the container a good shake, as natural separation of the oat solids and water is normal for homemade plant milks, unlike many store-bought varieties that contain added emulsifiers to prevent this.
Storing your homemade oat milk in an airtight mason jar.
Creative Ways to Enjoy Your Homemade Oat Milk
The versatility of homemade oat milk is one of its greatest assets. Its mild flavor and creamy texture make it an excellent substitute for dairy milk in a wide array of recipes and beverages. Here are some popular and delicious ways to incorporate your freshly made oat milk into your daily routine:
- As a Refreshing Beverage: Enjoy it simply chilled, on its own. For an extra treat, especially if you prefer a sweeter drink, we highly recommend adding a touch of natural sweetener like maple syrup or a pitted date during the blending stage. This enhances its palatability for standalone consumption.
- In Smoothies: Oat milk is a fantastic base for smoothies, contributing to a rich and creamy texture without overpowering other flavors. It’s an excellent alternative if you’re out of almond or cashew milk. Try it in a vibrant green smoothie, a berry blend, or for something unique, consider recipes like a Vegan Carrot Cake Smoothie or a comforting Sweet Potato Smoothie.
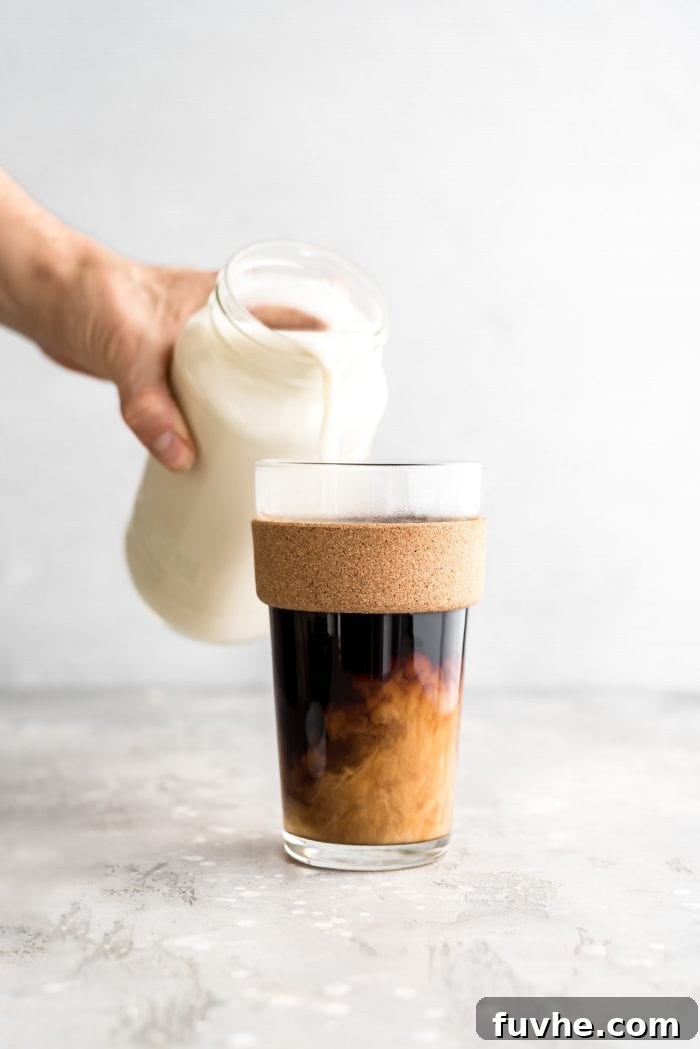
- For Coffee and Tea: Many find oat milk to be a superior dairy-free option for coffee and tea due to its ability to froth quite nicely. It adds a lovely creaminess to your morning brew. Just a note: while it mixes beautifully with hot beverages, avoid using it in electric milk frothers that heat or steam the milk, as this can cause a slimy texture (see tips below for preventing sliminess). A handheld frother, however, works perfectly to create a light foam.
- With Hot or Cold Cereal and Granola: This is a favorite way to enjoy homemade oat milk. Its natural sweetness and creamy consistency pair wonderfully with a bowl of crunchy granola or your favorite cold cereal. It also makes a delightful addition when drizzled over hot oatmeal, adding an extra layer of richness.
- In Baking and Cooking: Homemade oat milk is a fantastic vegan alternative for recipes that call for nut or seed-based milks. Use it to make fluffy pancakes, moist muffins, delicious cookies, or savory dishes where a creamy liquid is needed. It can also be a key ingredient in dishes like an Easy Banana Baked Oatmeal, providing moisture and a subtle oat flavor.
Experimenting with homemade oat milk in your favorite recipes will open up a world of dairy-free culinary possibilities!
Creative Uses for Leftover Oat Pulp
After straining your homemade oat milk, you’ll be left with a quantity of oat pulp. While a single batch might not produce a large amount, it’s a shame to waste this fibrous byproduct! Instead of simply discarding it, consider these eco-friendly and delicious ideas to repurpose your oat pulp and reduce food waste. Each suggestion adds nutrition and texture to new creations.
- Enhance Your Porridge: Incorporate the leftover oat pulp into your morning oatmeal or overnight oats for an incredibly creamy texture and an extra boost of fiber. It works wonderfully as a partial or full replacement for fresh oats in recipes like a Simple Creamy Banana Oatmeal, making it even more indulgent.
- Boost Your Smoothies: Add the oat pulp directly to your next smoothie. It will blend seamlessly, contributing to a thicker, creamier consistency and increasing the fiber content without altering the flavor significantly. This is an excellent way to add hidden nutrients to popular recipes such as a Chocolate Banana Smoothie or a refreshing Lemon Blueberry Smoothie.
- Bake Delicious Cookies: Oat pulp can be a surprising but welcome addition to cookie recipes. Its moisture and fiber content can contribute to a wonderfully chewy texture. Try adding it to recipes like Flourless Banana Oatmeal Cookies, adjusting other liquid ingredients if necessary.
- Create No-Bake Energy Balls: Replace a portion of the oats called for in your favorite energy ball recipes with oat pulp. It binds well and adds moisture, making for perfectly structured and nutritious snacks. Cinnamon Energy Balls are a perfect candidate for this swap.
- Whip Up a Quick Apple Crisp Topping: Mix the oat pulp with a tablespoon of maple syrup or coconut sugar (or finely chopped dates), a couple of tablespoons of shredded coconut, a pinch of cinnamon, and a tiny bit of sea salt. Crumble this mixture over sliced apples in a baking dish and bake for about 15 minutes at 375°F (190°C) for a wholesome and speedy “crumble” dessert.
- Make Homemade Granola: Partially substitute fresh rolled oats with your oat pulp when making granola. It will absorb flavors beautifully and contribute to a cluster-rich texture. Recipes like Easy Peanut Butter Granola can be adapted to incorporate this fibrous addition.
By getting creative with your oat pulp, you not only minimize waste but also discover new ways to enrich your meals with healthy, fiber-packed ingredients.
Frequently Asked Questions About Homemade Oat Milk
Absolutely! Homemade oat milk is generally considered very nutritious. It’s naturally sugar-free (unless you add sweeteners), low in calories, and contains beneficial fibers from the oats. Compared to many store-bought oat milks, which can be higher in calories, carbohydrates, and often contain added sugars, your homemade version offers a cleaner, more controlled ingredient profile. Commercial oat milks are frequently fortified with vitamins like B12 and D, which homemade versions typically lack, so it’s good to be mindful of your overall nutrient intake.
Not inherently. Unsweetened oat milk has a mild, earthy taste reminiscent of plain oats. While oats themselves have a subtle natural sweetness, it’s not pronounced in the milk. To achieve a sweeter profile, you can easily add natural sweeteners such as pitted dates, pure maple syrup, agave nectar, coconut sugar, or a few drops of liquid stevia or monk fruit extract during the blending process.
At its core, oat milk is made from just two simple ingredients: rolled oats and water. That’s it! From this basic foundation, you can introduce various flavor enhancers to customize it, such as a pinch of sea salt, a dash of vanilla extract, or a date for natural sweetness.
Yes, absolutely! Oat milk is an excellent dairy-free substitute in most baking and cooking recipes. Its creamy texture makes it perfect for dishes like pancakes, waffles, muffins, cookies, gravies, and creamy sauces. It performs similarly to other plant-based milks in culinary applications, adding moisture and a subtle richness.
Yes, immediate refrigeration is crucial for homemade oat milk. Since it lacks the preservatives found in commercial varieties, it must be stored in an airtight container in the refrigerator to maintain freshness and prevent spoilage. While it’s fine for short periods on-the-go in an insulated bag, always keep it chilled for longer storage.
Oats are naturally gluten-free, but they are often processed in facilities that also handle gluten-containing grains, leading to cross-contamination. If you have celiac disease or a severe gluten sensitivity, it is essential to use oats that are specifically certified gluten-free, such as those from brands like Bob’s Red Mill or One Degree Organics, to ensure your oat milk is entirely gluten-free.
While some recipes recommend soaking oats for 15-30 minutes before making oat milk, I personally find better results without soaking for a non-slimy texture. The primary purpose of soaking oats is to reduce phytic acid, which can improve digestibility and nutrient absorption. If you choose to soak your oats, here’s how to do it: Add the oats to a bowl, cover them with water, and let them soak for 15-30 minutes. Afterwards, strain them through a fine-mesh sieve, rinsing thoroughly to remove any sliminess that may have developed. Discard the soaking water before proceeding with the recipe.
No, this is a critical point for oat milk. Directly heating homemade oat milk on the stovetop or in the microwave will cause it to become gelatinous and slimy, rendering it unusable. The starches in oats react poorly to direct heat once processed into milk. However, you can safely add oat milk to already hot items like coffee, tea, or a bowl of hot oatmeal. The key is that the oat milk itself should not be subjected to stovetop heating or microwave temperatures.
Yes, oat milk is a fantastic dairy-free choice for coffee and tea lovers! Its natural creaminess and subtle sweetness (especially if you add a sweetener) complement hot beverages beautifully. It also tends to froth quite well, making it suitable for homemade lattes and cappuccinos. Just remember not to heat it directly to avoid sliminess.
When stored in a sealed, airtight container in the refrigerator, homemade oat milk will last for up to 5 days. It’s always a good idea to smell and check its appearance before consuming, especially towards the end of its storage life. Remember that natural separation is common, so a good shake before each use is recommended.
Absolutely! Separation is a completely normal and natural occurrence for homemade plant-based milks, including oat milk. Unlike commercially produced milks that often contain emulsifiers to keep them uniformly mixed, your homemade version is free from these additives. Simply give your jar a vigorous shake before pouring, and it will be perfectly fine to use.
You have several natural and healthy options for sweetening your homemade oat milk. My personal favorites include 1-2 fresh, pitted dates (Medjool dates work best for their soft texture) or 1 tablespoon of pure maple syrup. Other excellent choices are coconut sugar, yacon syrup, agave syrup, or even a couple of drops of liquid stevia or monk fruit for a sugar-free option. Additionally, adding about half a teaspoon of pure vanilla extract can significantly enhance the perception of sweetness and overall flavor. Consider what you’ll be using the milk for; if it’s primarily for smoothies or coffee, you might find it doesn’t need much, if any, additional sweetener.
For the creamiest texture and best results, we highly recommend using rolled oats, also known as old-fashioned oats. They create a smooth milk without becoming overly slimy. While steel-cut oats can be used, they require longer blending and can sometimes yield a slightly grainier texture. Quick oats or minute oats can also work in a pinch, but they are more prone to becoming slimy due to their finer processing. Always opt for certified gluten-free oats if you have dietary restrictions.
Yes, absolutely! Making chocolate oat milk is a fantastic way to customize your homemade brew. Simply add 1 tablespoon of unsweetened cocoa powder or cacao powder to your blender along with the oats and water. Then, blend in your preferred sweetener, such as maple syrup or a couple of dates, to taste. This creates a delicious, dairy-free chocolate milk perfect for a sweet treat.
Unsweetened homemade oat milk has a distinct, wholesome oat flavor. It’s quite plain on its own without additional flavorings, which some people prefer for savory uses or as a neutral base. However, when you add a pinch of sea salt, a dash of vanilla, and a natural sweetener, the flavor transforms into a wonderfully balanced and subtly sweet beverage. The taste largely depends on what you plan to use it for. If you’re going to drink it straight, incorporating those optional ingredients will make it far more palatable. Don’t be shy to give it a try – it’s an inexpensive experiment, and even if you don’t love it plain, it’s always great in smoothies where its flavor blends in beautifully!
The Nutritional Profile and Health Benefits of Oat Milk
Homemade oat milk offers a clean, wholesome alternative to dairy and many commercial plant-based milks, allowing you to control exactly what goes into your beverage. Understanding its nutritional value and health benefits can further inspire you to incorporate this versatile drink into your diet.
Homemade Oat Milk Nutrition (Approximate)
If you prepare this recipe using 3 cups of water, a 1/2 cup serving of your homemade oat milk will contain approximately:
- Calories: 26 kcal
- Fat: 0.5 g
- Carbohydrates: 4.4 g
- Protein: 1 g
- Fiber: 1 g
These figures are for plain, unsweetened oat milk and account for the removal of oat pulp during straining. If you use more water, the macronutrient content per serving will be even lower, making it an exceptionally low-calorie option. It’s important to note that these values do not include any optional add-ins like sweeteners or coconut oil, which would increase the nutritional profile accordingly.
Distinction from Commercial Oat Milks
One key difference between homemade and store-bought oat milk is fortification. Commercial varieties are often fortified with essential vitamins and minerals, such as calcium, vitamin D, vitamin A, and vitamin B12, which are typically absent in homemade versions. While this fortification is a benefit of store-bought options, making your own at home offers unparalleled control over ingredients, ensuring no unwanted additives or excessive sugars. Given how incredibly easy and inexpensive it is to make at home, many prefer the fresh, natural taste and ingredient transparency over purchasing.
Key Health Benefits of Oat Milk
- Allergen-Friendly: Oat milk is an excellent choice for individuals with various dietary restrictions. It is naturally vegan, lactose-free, soy-free, and nut-free. Furthermore, by using certified gluten-free oats, it becomes a safe and delicious option for those managing gluten sensitivities or celiac disease. This makes it one of the most inclusive plant-based milk alternatives available.
- May Help Lower Cholesterol: Oats are renowned for their beta-glucan content, a type of soluble fiber celebrated for its heart-health benefits. When consumed, beta-glucans form a gel-like substance in the digestive tract that binds to cholesterol, helping to reduce its absorption into the bloodstream. Regular consumption of oats and oat products may contribute to lowering total blood cholesterol, particularly LDL (“bad”) cholesterol levels.
- Anti-Inflammatory Properties: Oats contain unique antioxidants called avenanthramides. These compounds possess potent anti-inflammatory properties and are also believed to play a role in helping to lower blood pressure, contributing to overall cardiovascular health.
- Rich in B Vitamins and Minerals: Even without fortification, oats are a natural source of several important micronutrients. These include various B vitamins (such as thiamine and riboflavin), iron, zinc, and magnesium. These nutrients are vital for energy metabolism, nerve function, and overall bodily processes, making oat milk a beneficial addition to a balanced diet.
Embracing homemade oat milk means enjoying a beverage that is not only delicious and versatile but also packed with natural goodness that supports your health and well-being.
Tips for Avoiding Slimy Oat Milk (The Golden Rules!)
One common concern when making homemade oat milk is the dreaded slimy texture. Fortunately, achieving a perfectly smooth and creamy consistency is entirely possible by following a few simple guidelines. I’ve personally never encountered slimy oat milk by adhering to these principles, and neither should you!
- Do Not Over-Blend Your Oats: This is perhaps the most crucial rule. Blending oats for too long generates friction and heat, which can cause the starches in the oats to break down and become gelatinous, leading to a slimy texture. Aim for a quick blend:
- In a high-speed blender (like a Vitamix), 20-30 seconds on medium to high speed is usually sufficient.
- For standard blenders, try to keep blending under 60 seconds.
The goal is just enough blending to break down the oats into a fine consistency, not to thoroughly process them. Err on the side of caution; a slightly less blended oat milk is always preferable to a slimy one.
- Consider Soaking (or Not Soaking) Your Oats: While many recipes suggest soaking oats for 15-30 minutes to reduce phytic acid, I’ve actually found that not soaking the oats first often yields the best, least slimy results for homemade oat milk. However, if you’re keen on reducing phytic acid or want to experiment, refer to the detailed soaking instructions provided in the FAQ section above. If you do soak, ensure you rinse the oats thoroughly after soaking to wash away any initial sliminess.
- Never Directly Heat Oat Milk: This cannot be stressed enough. Homemade oat milk is highly sensitive to direct heat and will almost instantly transform into a thick, unappetizing, gelatinous mess. If you’re curious, try microwaving a small amount for 30 seconds – you’ll quickly understand why this is a no-go! You can, however, add your cold oat milk to already hot beverages like coffee or tea, or drizzle it over a warm bowl of oatmeal. The key is that the oat milk itself should not be subjected to stovetop heating or microwave temperatures.
By keeping these simple yet effective tips in mind, you’ll consistently produce velvety-smooth, delicious homemade oat milk every time, free from any undesirable sliminess.
We truly hope you enjoy this incredibly simple and rewarding recipe for homemade oat milk. It’s more than just a recipe; it’s an opportunity to embrace a healthier, more sustainable lifestyle. Your homemade batch will be:
- Effortlessly Easy: Made in mere minutes from start to finish.
- Remarkably Inexpensive: Significantly cheaper than store-bought alternatives.
- Infinitely Customizable: Tailor the flavor and sweetness to your exact preferences.
- Family-Friendly: A great, healthy option that even kids will love.
- Incredibly Versatile: Perfect for enhancing your coffee, enriching your baking, blending into smoothies, or pouring over cereal.
- Creamy, Healthy, and Delicious: A truly satisfying dairy-free delight.
Once you discover the ease and benefits of making your own oat milk, you might never go back to store-bought! If you’re keen to explore other plant-based milk alternatives, be sure to check out our guides on how to make hemp milk or almond milk for more homemade goodness.
Homemade Oat Milk
Print Recipe
Ingredients
- 1 cup rolled oats, use gluten-free certified if needed
- 3-4 cups filtered water, adjust to desired thickness
- pinch of good quality sea salt
Optional Ingredients
- sweetener of choice such as 1-2 fresh pitted dates (blend dates with water first), 1 tbsp pure maple syrup, or a few drops of liquid stevia
- 1/2 tsp pure vanilla extract
- 1 tbsp cacao powder for chocolate oat milk
Instructions
-
Add the rolled oats and 3 cups of water to a blender. If adding salt, sweetener, or vanilla, include them now. Blend on medium to high speed for 30-60 seconds until smooth and creamy. Avoid over-blending to prevent sliminess. Adjust water to 4 cups for a thinner consistency if desired. If using dates, blend dates with water first, then add oats.
-
Place a nut milk bag (or cheesecloth) in a large bowl or glass measuring cup. Carefully pour the blended oat mixture through the bag/cloth.
-
Use your hands to gently but firmly squeeze all the liquid through the bag until only oat pulp remains. Straining once is usually sufficient for a smooth milk.
-
Pour the strained oat milk into an airtight storage container, such as a mason jar. Store in the refrigerator for up to 5 days. Shake well before each use as natural separation will occur.
Notes
If incorporating optional ingredients, blend, taste, adjust as needed, and blend briefly again to combine.
When using dates for sweetness, blend them with the water first until smooth before adding the oats. This minimizes the blending time for the oats, helping to prevent sliminess.
Nutrition
Enjoyed this recipe? Please consider leaving a rating and comment below!