
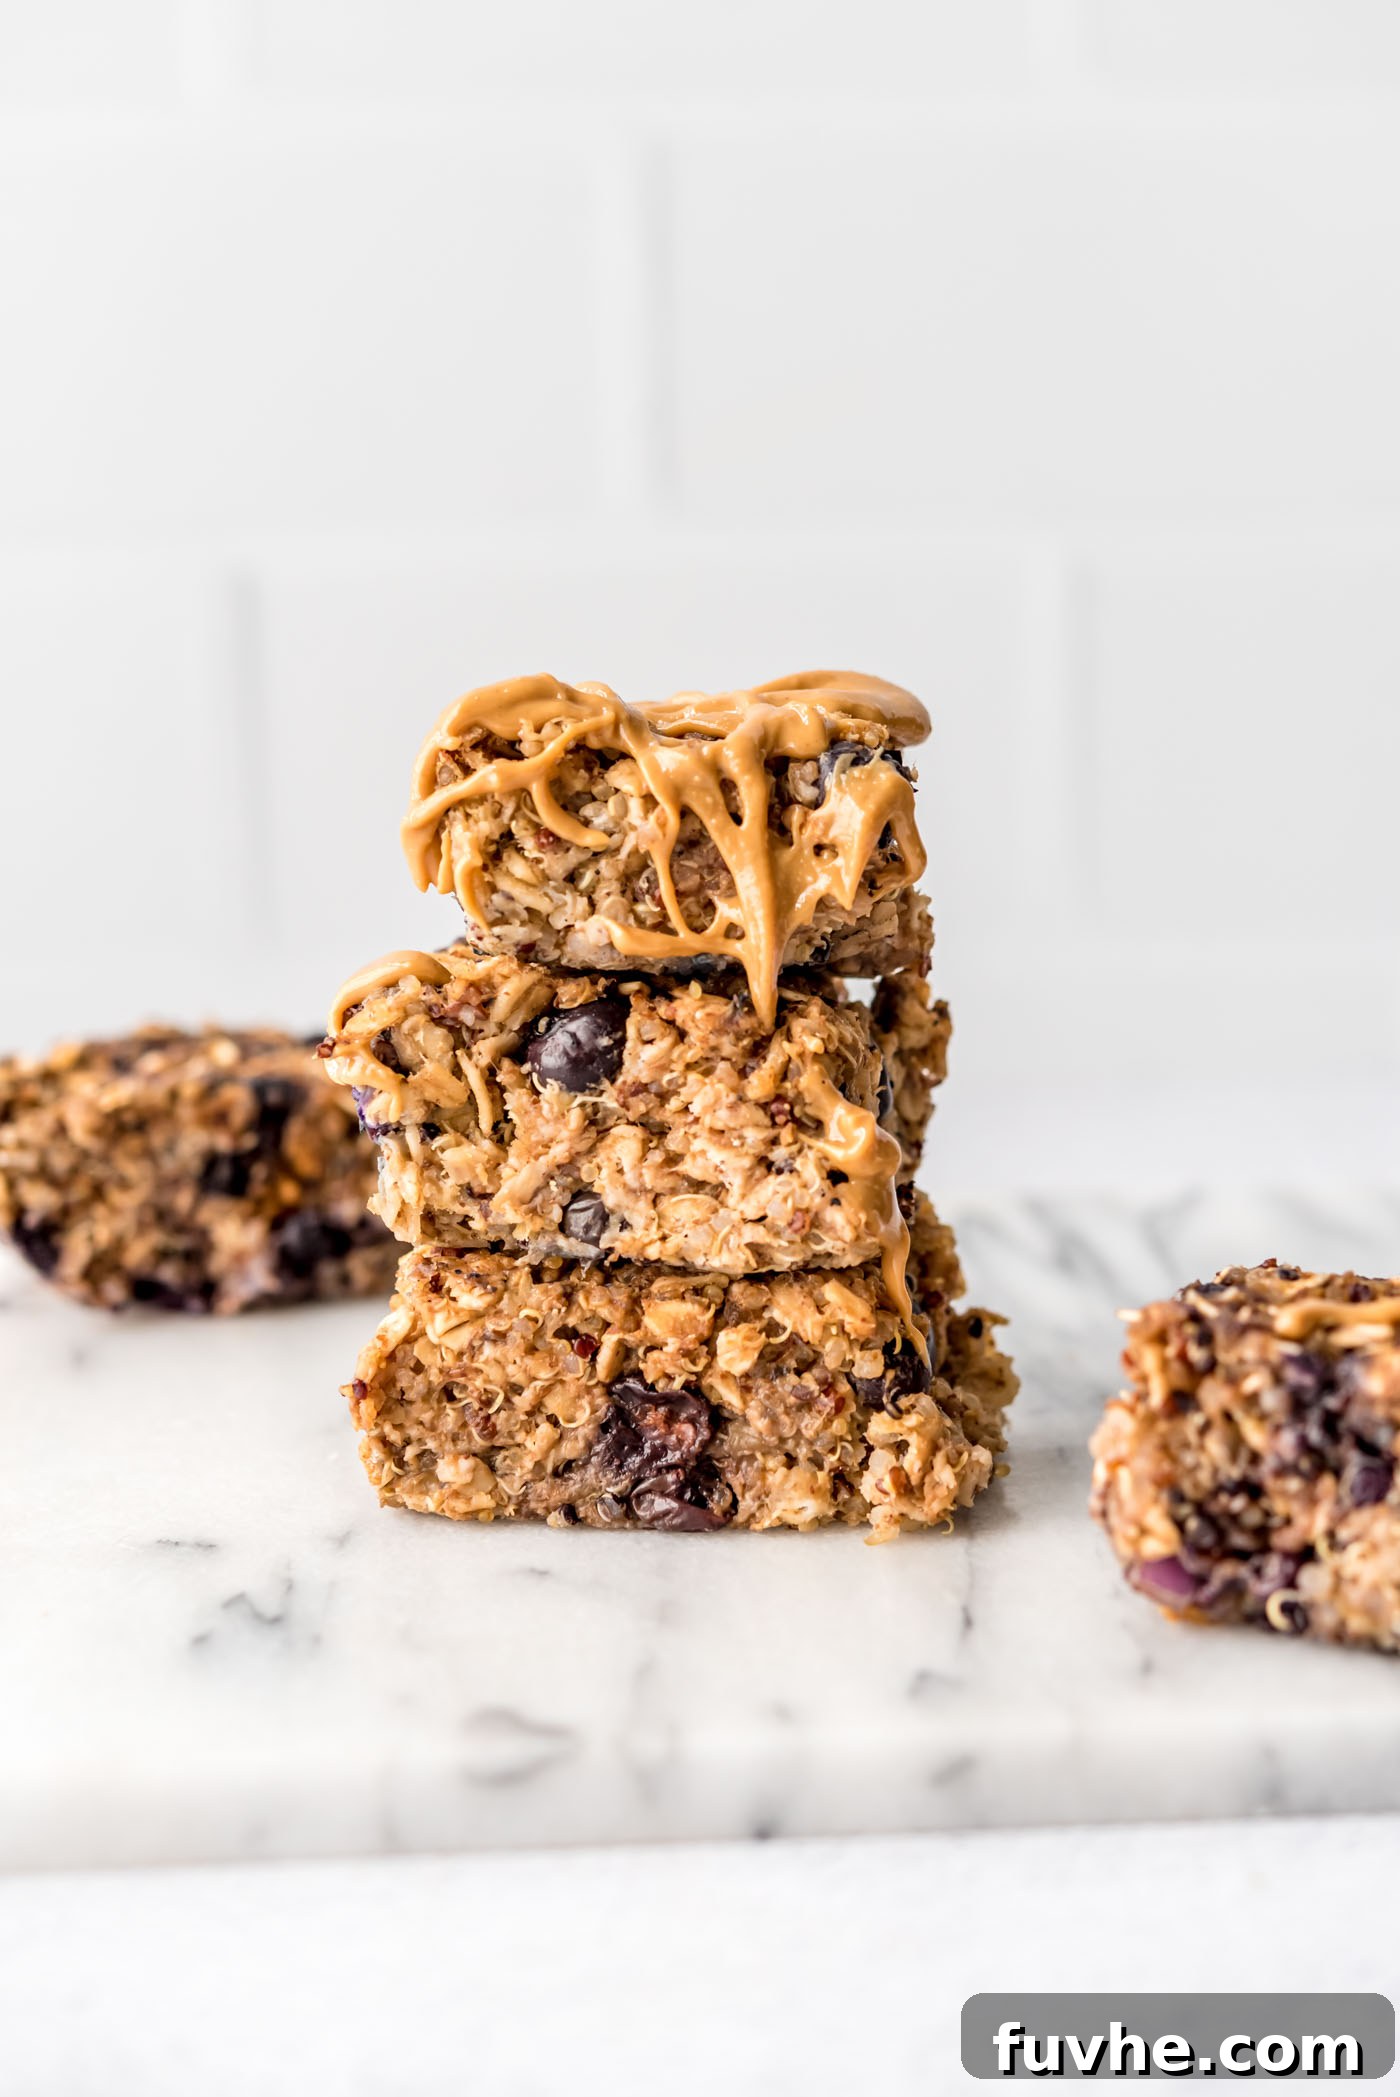
Welcome to the ultimate guide for crafting delicious and wholesome Quinoa Breakfast Bars! These baked delights offer a fantastic way to transform your leftover quinoa into a nutritious and incredibly versatile meal prep option. Whether you need a quick grab-and-go breakfast, a satisfying mid-day snack, or even a healthier dessert, these bars are perfectly adaptable to fit your lifestyle and taste preferences.
Crafted with simplicity in mind, this recipe calls for just a handful of straightforward ingredients and minimal preparation time. It provides a robust and flavorful base that eagerly welcomes your favorite add-ins, such as decadent chocolate chips, crunchy walnuts, or tropical coconut flakes. Feel free to experiment with different fruits too – swap out the blueberries for chopped strawberries, peaches, raspberries, or create your own unique blend for a fresh twist every time.
Quinoa, often celebrated as a superfood, is a nutritional powerhouse. It’s a complete protein, meaning it contains all nine essential amino acids, and is rich in fiber, iron, magnesium, and B vitamins. Incorporating quinoa into your morning routine provides sustained energy and a fantastic alternative to traditional oat-based breakfasts, offering a unique texture and a hearty start to your day.
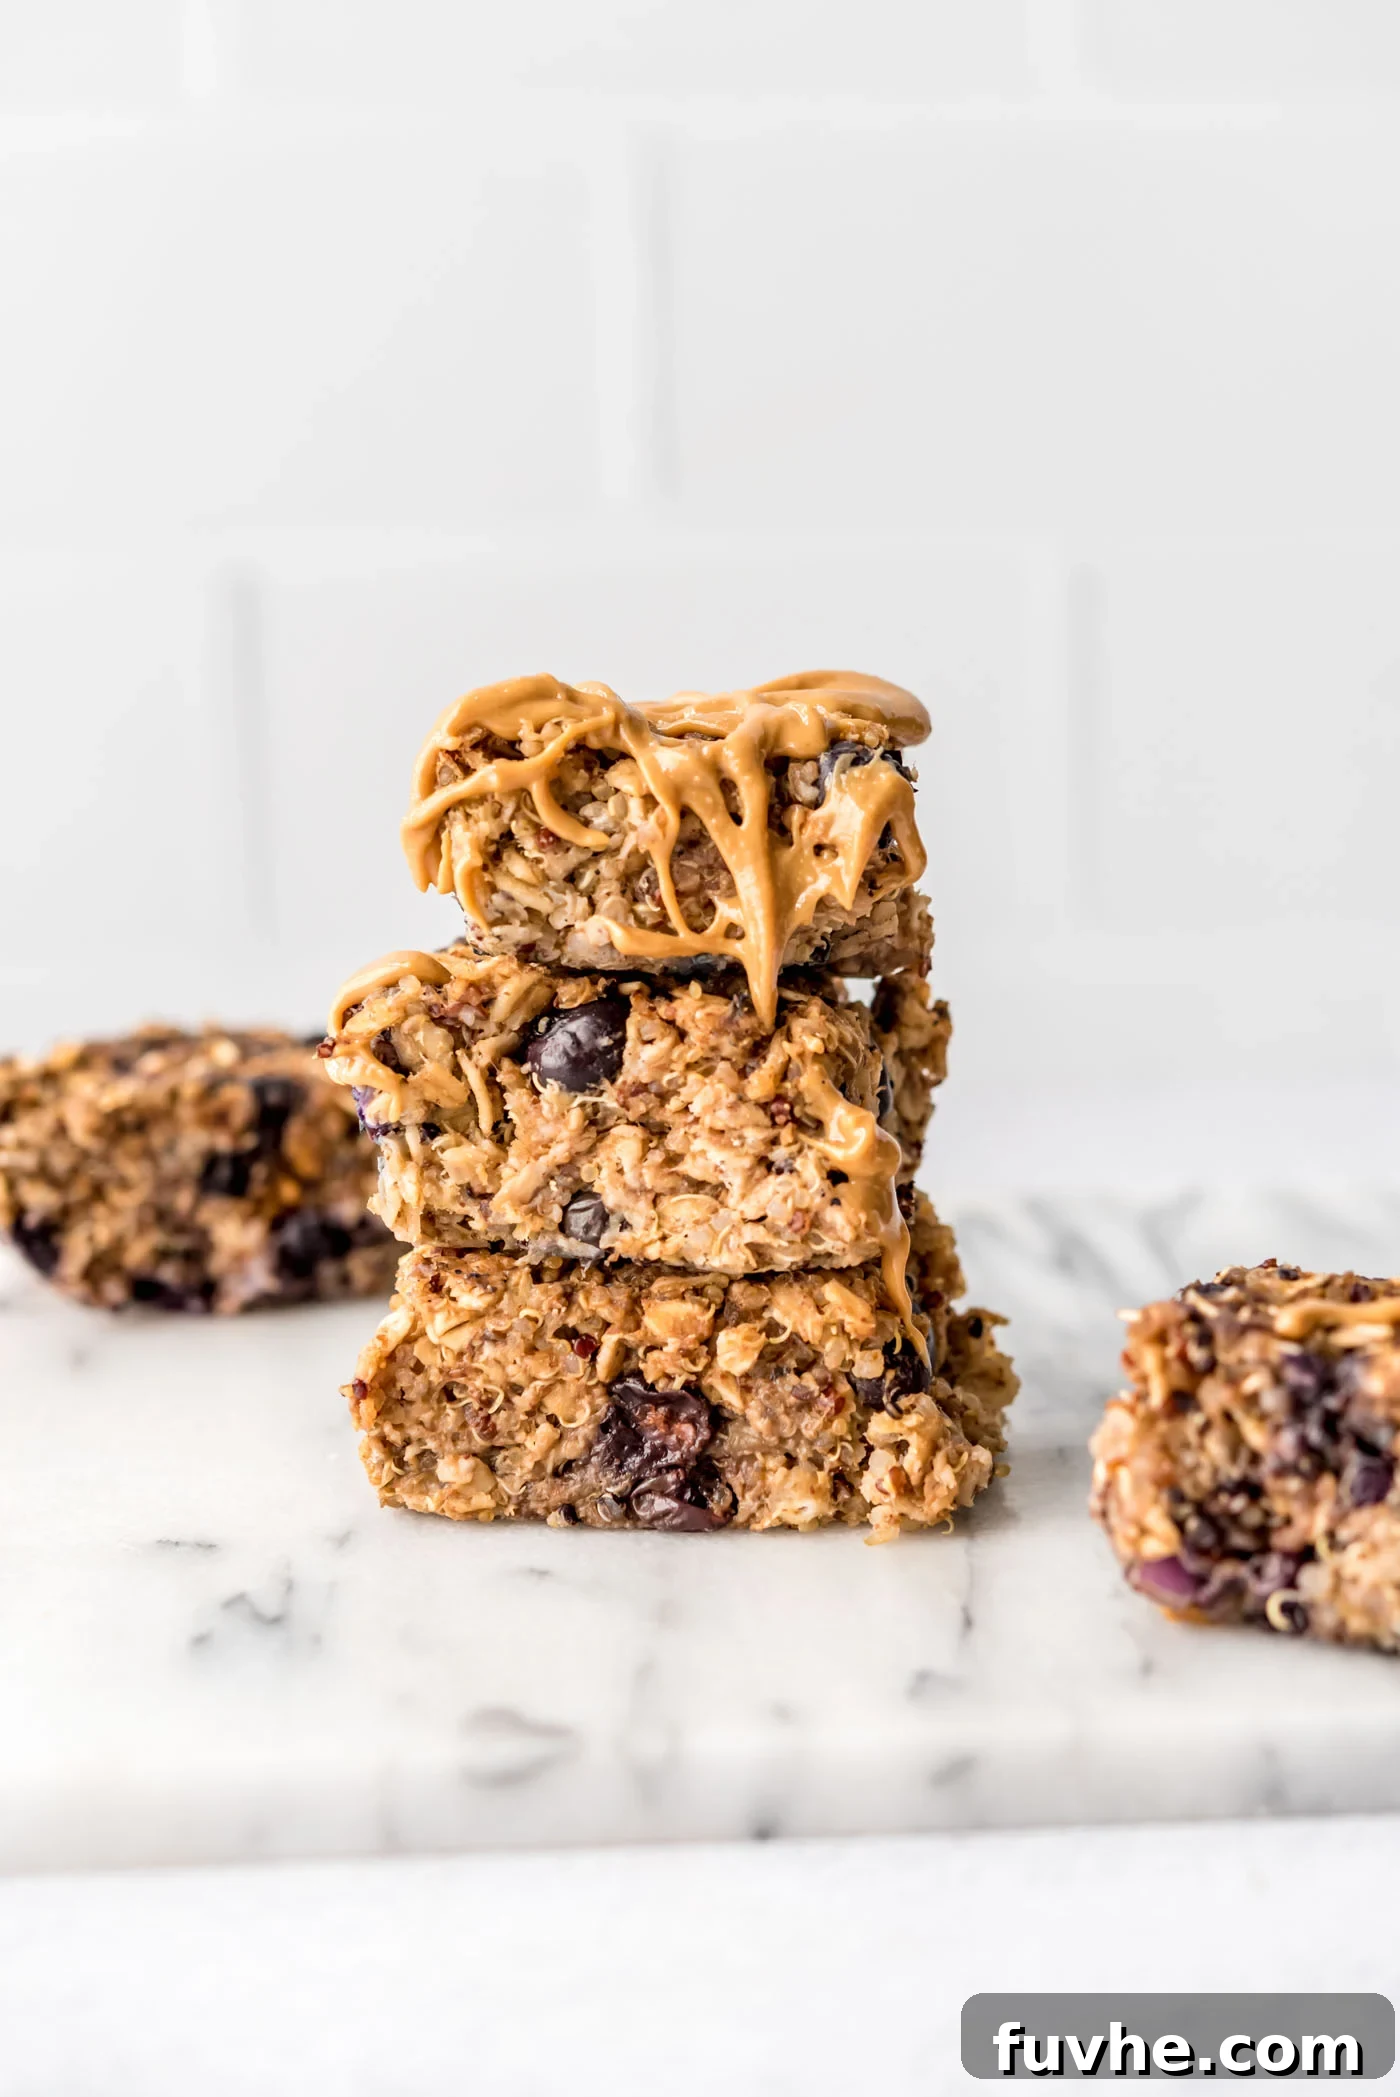
Beyond breakfast, these bars excel as a convenient snack, whether you’re enjoying a quiet moment at home or navigating a busy day on the go. They are particularly delightful when generously topped with a spoonful of your favorite nut butter or a dollop of fruit jam, elevating their simple goodness to a truly indulgent experience.
One of the standout features of these quinoa breakfast bars is their inclusive nature. They are thoughtfully prepared without eggs, dairy, or gluten, making them an excellent choice for individuals managing common allergies or adhering to specific dietary plans. Furthermore, the recipe can be easily adapted to be completely nut-free, and it contains no added oil or refined sugar, ensuring a wholesome and guilt-free treat for everyone.
For those eager to explore more innovative ways to integrate quinoa into their breakfast menu, consider trying a quick 5-minute breakfast quinoa recipe. If your preference leans towards baked oatmeal bars, we highly recommend these delightful options: blueberry oat cups, savory carrot cake baked oats, or the ever-popular simple banana baked oatmeal. Each offers a unique flavor profile and satisfying texture for a varied breakfast experience.
Why You’ll Adore These Quinoa Breakfast Bars
These quinoa breakfast bars aren’t just a meal; they’re a convenient, healthy, and delicious solution for busy mornings and mindful snacking. Here’s why they’re destined to become a staple in your kitchen:
- Dietary Inclusive & Allergy-Friendly: They are naturally vegan and gluten-free, meticulously prepared without eggs or dairy, making them suitable for a wide range of dietary needs.
- Nut-Free Adaptable: With simple ingredient swaps, these bars can be easily made nut-free, providing a safe option for those with nut allergies.
- Wholesome Goodness: Enjoy them knowing they contain no added sugar or oil, focusing on natural sweetness and healthy fats for pure, unadulterated flavor.
- Effortless Preparation: Requiring just a few simple ingredients and straightforward steps, these bars are incredibly easy to make, even for novice bakers.
- Smart Leftover Solution: They offer an ingenious and delicious way to use up leftover cooked quinoa, minimizing food waste and maximizing flavor.
- Versatile for Any Time: Perfect for a speedy breakfast, a nourishing snack, or even a guilt-free dessert, fitting seamlessly into any part of your day.
- Enjoy Them Your Way: Relish them on their own as a portable bar for commutes or errands, or elevate the experience by serving them warmed with a generous scoop of yogurt or a splash of milk, fresh berries, and sliced banana for a more substantial meal.
- Customizable Flavor Profile: The basic recipe is a canvas for creativity, allowing you to add various fruits, nuts, seeds, or even chocolate to match your cravings.
- Excellent for Meal Prep: Prepare a batch at the beginning of the week and have wholesome breakfasts and snacks ready to go, saving you precious time.
Essential Ingredients & Smart Substitutions
The beauty of these quinoa breakfast bars lies in their simplicity and the ease with which ingredients can be substituted. Below, you’ll find the core components, along with tips for variations. For precise measurements and comprehensive instructions, always refer to the full recipe card located at the conclusion of this guide.
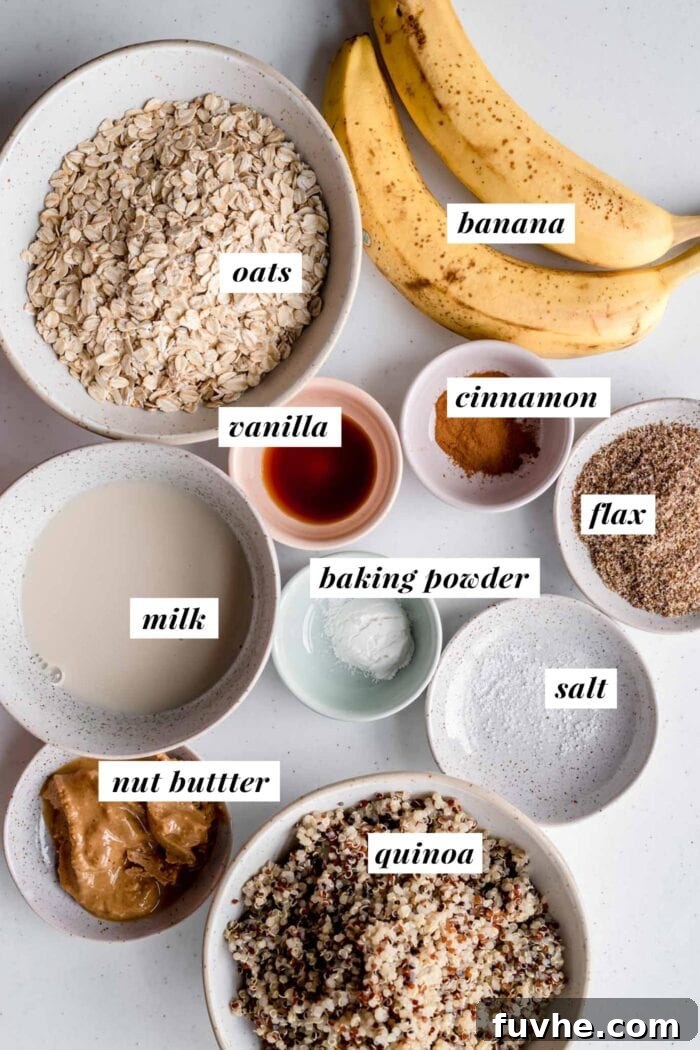
- Bananas: The star of the binding and natural sweetness! Ideally, use bananas that are just ripe – yellow with a few small brown spots. They don’t need to be overly ripe and mushy, but a few more spots won’t hurt, as riper bananas will yield sweeter bars.
- Nut or Seed Butter: This ingredient adds rich flavor, healthy fats, and helps bind the bars. Creamy peanut butter is a classic choice, but for an alternative, almond butter or cashew butter works wonderfully. For those needing a nut-free option, sunflower seed butter (sunbutter) is an excellent substitute, ensuring delicious and allergy-friendly bars.
- Plant-Based Milk: Any plant-based milk will do the trick! Almond milk, cashew milk, soy milk, or oat milk are all great options. Choose your favorite to complement the flavors of the bars.
- Ground Flaxseed: A crucial binder in egg-free baking, ground flaxseed, often referred to as a “flax egg,” helps hold these bars together while adding beneficial omega-3 fatty acids and fiber. Ensure you use ground flaxseed, not whole flaxseeds, for proper binding.
- Cooked Quinoa: You’ll need quinoa that has been fully cooked and completely cooled. This is what makes this recipe perfect for utilizing leftover quinoa! If you’re cooking quinoa specifically for these bars, prepare it the day before and allow it to cool thoroughly in the refrigerator for the best texture.
- Rolled Oats: Large flake or rolled oats are ideal for these bars, providing a satisfying chewiness and structure. Instant or quick oats might result in a softer, less textured bar, while steel-cut oats are too firm and require different cooking times.
- Blueberries: Fresh blueberries are recommended for their burst of flavor and moisture. However, you can easily substitute with other fresh fruits like chopped strawberries, peaches, or raspberries. If using frozen fruit, note that they release more moisture during baking, which might require a slightly longer baking time to ensure the bars set properly.
Optional Add-In Ideas for Customization: Unleash your creativity! You can incorporate up to 1/2 cup of various delicious add-ins. Consider mini chocolate chips or chopped dark chocolate for a touch of indulgence, shredded coconut for a tropical twist, or a variety of nuts and seeds like walnuts, pecans, pumpkin seeds, sunflower seeds, or hemp seeds for added crunch and nutritional boost.
Easy Step-by-Step Baking Instructions
Before you begin assembling these delightful quinoa breakfast bars, remember a crucial preparatory step: you will need cooked and completely cooled quinoa. This ensures the correct texture and consistency for your bars. If you’re cooking quinoa specifically for this recipe, it’s best to prepare it the day before or in the morning, allowing it to cool down thoroughly in the refrigerator for at least a few hours. If you happen to have leftover quinoa already chilled and ready, that’s even better – you’re halfway there!
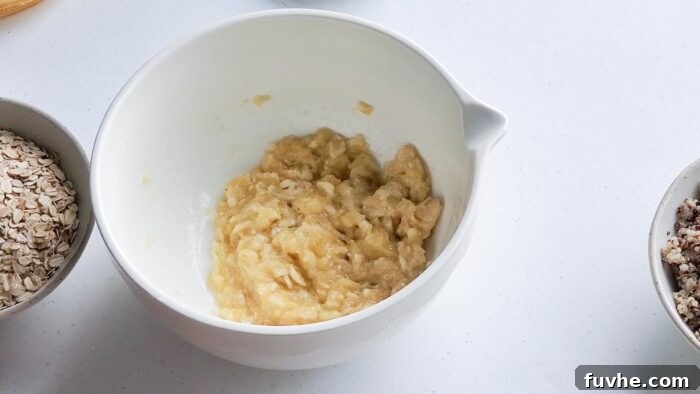
Step 1: Prepare the Banana Base. Begin by placing the ripe bananas into a large mixing bowl. Using a fork or an immersion blender, thoroughly mash the bananas until they achieve a smooth, paste-like consistency. This creates the foundational sweetness and moisture for your bars.
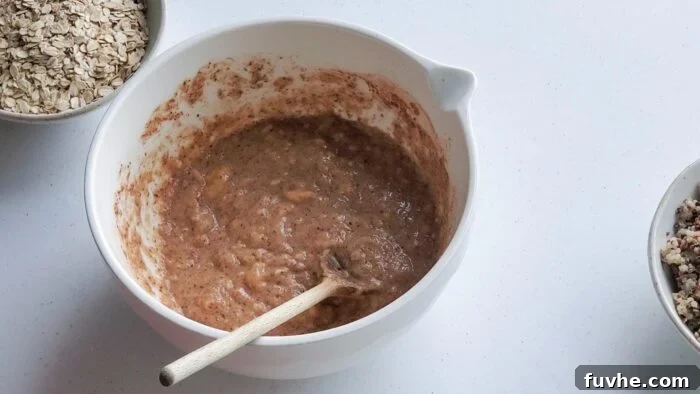
Step 2: Combine Wet Ingredients and Flavorings. To the mashed banana, add the nut or seed butter, vanilla extract, plant-based milk, ground flaxseed, baking powder, ground cinnamon, and a pinch of salt. Mix these ingredients thoroughly until they are completely combined and form a smooth, homogenous mixture. Ensure there are no lumps to achieve an even texture in your finished bars.
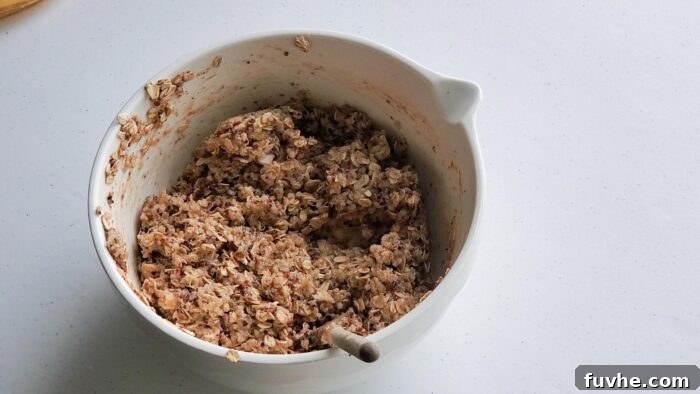
Step 3: Incorporate Quinoa, Oats, and Optional Add-ins. Now, add the cooked and cooled quinoa along with the rolled oats to the wet mixture. Stir diligently until all the dry ingredients are fully coated and evenly distributed. This is also the perfect moment to fold in any optional extras you desire, such as chopped nuts, chocolate chips, or shredded coconut, ensuring they are well integrated throughout the batter.
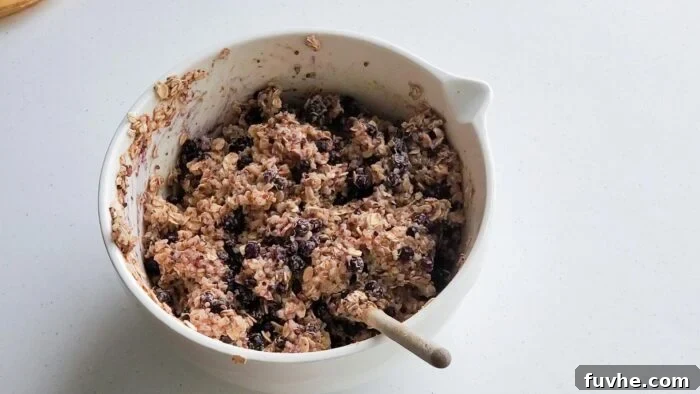
Step 4: Gently Fold in Berries. Finally, carefully fold in the fresh blueberries or your chosen fruit. Mix just enough to distribute them without crushing the delicate berries, maintaining their shape and juicy texture.
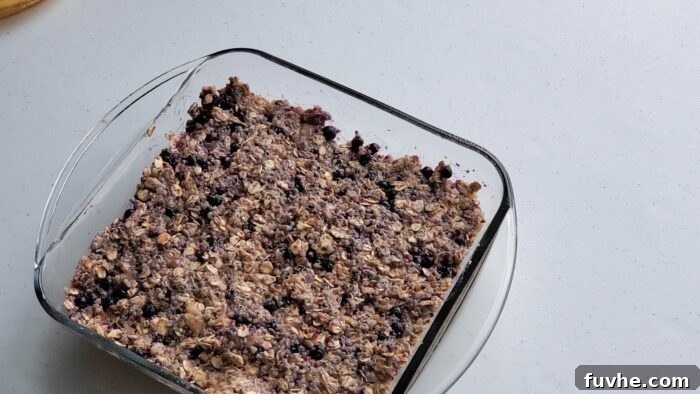
Step 5: Bake to Perfection. Transfer the entire mixture into your prepared baking pan (lightly greased or lined with parchment paper). Using a spatula or your hands, firmly press the mixture down to create an even, compact layer. Bake the bars, uncovered, in a preheated oven for approximately 30-35 minutes, or until they are golden brown and feel firm to the touch.
Step 6: Cool and Enjoy. Once baked, it is crucial to allow the bars to cool completely in the pan for at least one hour. This cooling period is essential for them to firm up properly, ensuring they hold their shape when sliced. After cooling, slice into desired portions and savor your homemade quinoa breakfast bars!
Expert Notes & Helpful Tips for Perfect Bars
To ensure your quinoa breakfast bars turn out perfectly every time, keep these valuable tips in mind:
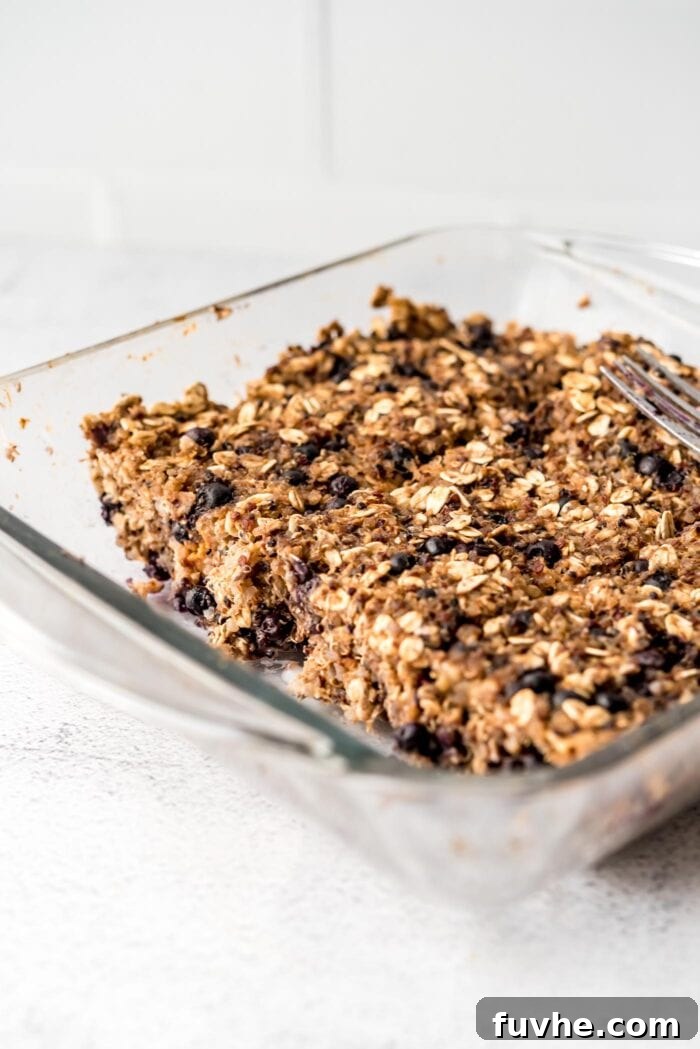
- The Art of Cooling: For firm, sliceable bars, it is absolutely essential to let them cool completely in the pan. While tempting, slicing them too soon will result in soft, crumbly bars that may fall apart. Patience is key here; as they cool, they will solidify into sturdy, satisfying bars. For extra firmness, you can even chill them in the fridge after they’ve cooled to room temperature.
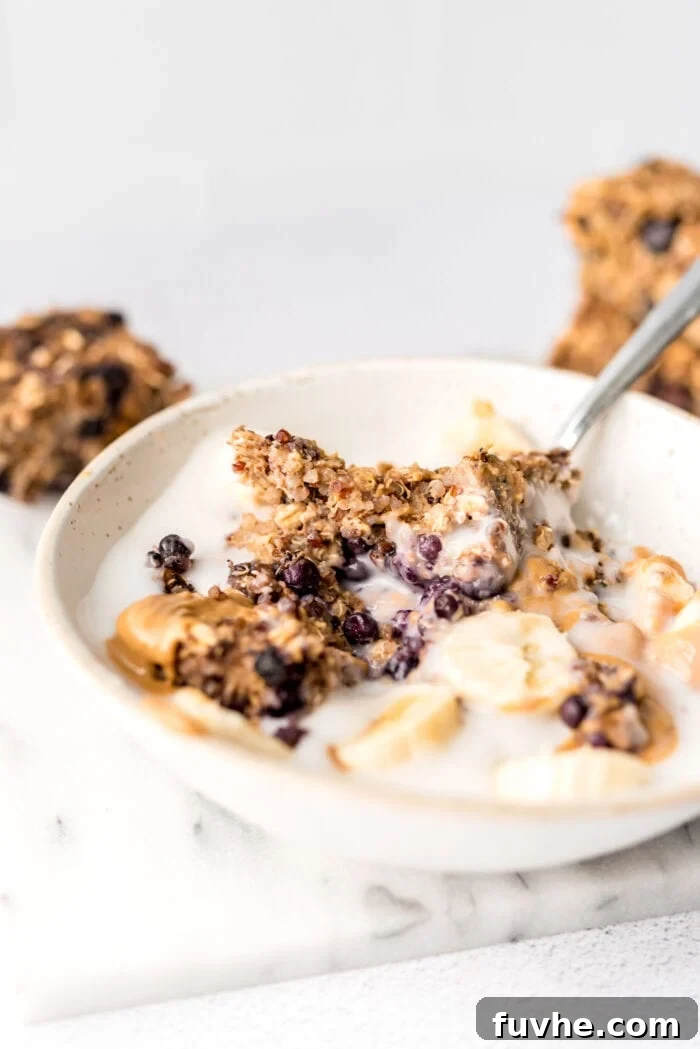
- Warming Enhances Flavor: These bars are delightful both cold and warm. They are particularly good when gently warmed up and served in a bowl with a dollop of your favorite yogurt (dairy or plant-based), a medley of fresh berries, sliced banana, and a drizzle of peanut butter or any nut/seed butter of your choice.
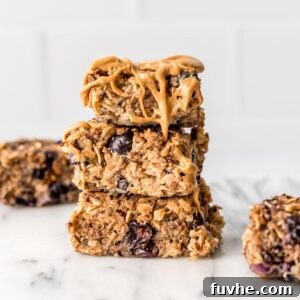
- Versatile Topping Ideas: Beyond yogurt and fruit, explore other delicious ways to enjoy your bars. Spread them with your favorite peanut butter, fruit jam, vegan butter, or a variety of other nut or seed butters for an added layer of flavor and texture.
- Adjusting Sweetness to Your Liking: As written, these bars contain no added sugar and rely on the natural sweetness of bananas and fruit. This makes them perfectly wholesome for a truly healthy start. For a sweeter bar, ideal perhaps for a treat or for kids’ palates, you can easily add 1/4 cup of coconut sugar, cane sugar, or maple syrup to the wet ingredients. Alternatively, or in addition, fold in up to 1/2 cup of dairy-free chocolate chips (brands like Enjoy Life or Camino are great choices) with the oats and quinoa. You can also sweeten them with a sugar-free sweetener such as stevia or monk fruit, adjusting to your preferred level of sweetness.
- Fruit Flexibility: While fresh berries work best, feel free to use other fruits like chopped apples, peaches, or cherries. If using frozen fruit, add them directly to the mixture without thawing. Just be aware that the extra moisture from frozen fruit might require you to extend the baking time by a few minutes.
- Playing with Add-ins: Don’t limit yourself to the suggestions! Beyond chocolate chips and nuts, consider dried cranberries, chopped dates, or even a sprinkle of spice like nutmeg or cardamom for an extra layer of flavor.
Storing Your Quinoa Breakfast Bars
Proper storage is key to enjoying your homemade quinoa breakfast bars for longer. Here’s how to keep them fresh and delicious:
- Refrigerator Storage: After the bars have completely cooled to room temperature, transfer them to an airtight container. They will stay fresh and flavorful in the fridge for up to 6 days.
- Freezer Storage: For longer preservation, these bars freeze beautifully. Once cooled, you can wrap individual bars in parchment paper or plastic wrap, then place them in a freezer-safe container or a resealable freezer bag. They will keep well in the freezer for up to 3 months. To enjoy, simply thaw them at room temperature for an hour or two, or briefly warm them in the microwave for a quick treat.
- Meal Prep Perfection: Freezing individual bars makes for incredibly convenient meal prep. Grab one from the freezer, let it thaw on your way to work or school, and you’ll have a healthy and satisfying snack ready when hunger strikes.
Continue Your Healthy Baking Journey: More Recipes to Explore
Loved these quinoa breakfast bars? Then you’re sure to enjoy these other wholesome and delicious recipes. Expand your repertoire of healthy breakfasts and snacks with these fantastic options:
- Vegan Baked Oatmeal Cups
- Easy Banana Baked Oatmeal
- Baked Berry Protein Oatmeal
- 5-Minute Breakfast Quinoa
- Chocolate Chip Quinoa Cookies
- Vegan Quinoa Flour Pancakes
Quinoa Breakfast Bars
Print Recipe
Ingredients
- 2 ripe medium-sized bananas, 240 g
- 1/4 cup nut or seed butter of choice, 60 g
- 1 tsp vanilla extract
- 1/2 cup plant-based milk, 120 mL
- 2 tbsp ground flaxseed, 14 g
- 1 tsp baking powder
- 1 tsp cinnamon
- 1/4 tsp salt
- 1.5 cups cooked cooled quinoa, 225 g
- 1.5 cups rolled oats, 150 g
- 1 cup fresh blueberries or other fresh fruit of choice, 150 g
Instructions
-
You will need cooked and cooled quinoa before starting this recipe. For optimal results, if you’re preparing quinoa specifically for these bars, we recommend cooking it the day before or in the morning, then chilling it in the fridge for a few hours. If you already have leftover cooled quinoa, you’re all set to begin!
-
Preheat your oven to 350 F (175 C).
-
In a large mixing bowl, add the bananas and mash them into a smooth, even paste using a fork or an immersion blender.
-
Add the nut butter (or seed butter), vanilla extract, plant-based milk, ground flaxseed, baking powder, cinnamon, and salt to the mashed banana. Mix well until all ingredients are fully combined into a uniform, smooth mixture. Then, stir in the cooked quinoa and rolled oats, ensuring they are thoroughly incorporated into the wet ingredients.
-
Gently fold in the fresh berries and any other desired add-ins, mixing just enough to distribute them evenly without crushing.
-
Lightly coat a 7 or 8-inch square baking dish with non-stick cooking spray or line it with parchment paper for easy removal. Transfer the mixture into the prepared pan and use a spatula (or your hands) to firmly press it down, spreading it evenly and flat across the bottom of the dish.
-
Bake for 30-35 minutes, or until the bars appear firm and golden brown. Once baked, let them cool in the pan for at least 60 minutes. This cooling time is vital for the bars to firm up and hold their shape when sliced. They will become much firmer once completely cooled, especially after chilling in the fridge. While you can enjoy them warm, they will be softer until fully set.
-
Serve warm or cold. Enjoy as a convenient portable bar, spread with peanut butter, jam, or vegan butter. Alternatively, serve them in a bowl with milk or yogurt, fresh berries, sliced banana, and a drizzle of your favorite nut or seed butter for a more indulgent experience.
Notes
Other Add-In Options: Enhance your bars with up to 1/2 cup total of various add-ins. This could include chocolate chips, raisins, chopped dates, shredded coconut, or any type of nut or seed, such as walnuts, pecans, pumpkin seeds, or sunflower seeds.
Storing: Always ensure the bars are completely cooled before storing them. Place them in a sealed airtight container in the fridge, where they will keep fresh for up to 1 week. For longer storage, freeze them for up to 3 months. If frozen, thaw at room temperature or in the refrigerator before enjoying.
Serving Suggestions: These bars are incredibly versatile. Enjoy them straight from the fridge as a convenient portable snack, or warm them gently in a bowl. For a more satisfying meal, top with milk or yogurt, a handful of fresh berries, sliced banana, and a generous dollop of peanut butter or your preferred nut/seed butter.
Sweetener: As prepared, these bars are not heavily sweetened, relying on natural fruit sugars. If you prefer a sweeter bar, perhaps for a dessert-like treat or for children, you can add 1/4 cup of coconut sugar, cane sugar, or maple syrup to the wet ingredients. Additionally, or alternatively, you can fold in up to 1/2 cup of dairy-free chocolate chips.
Nutrition Information
Loved this recipe? Share your thoughts below!