
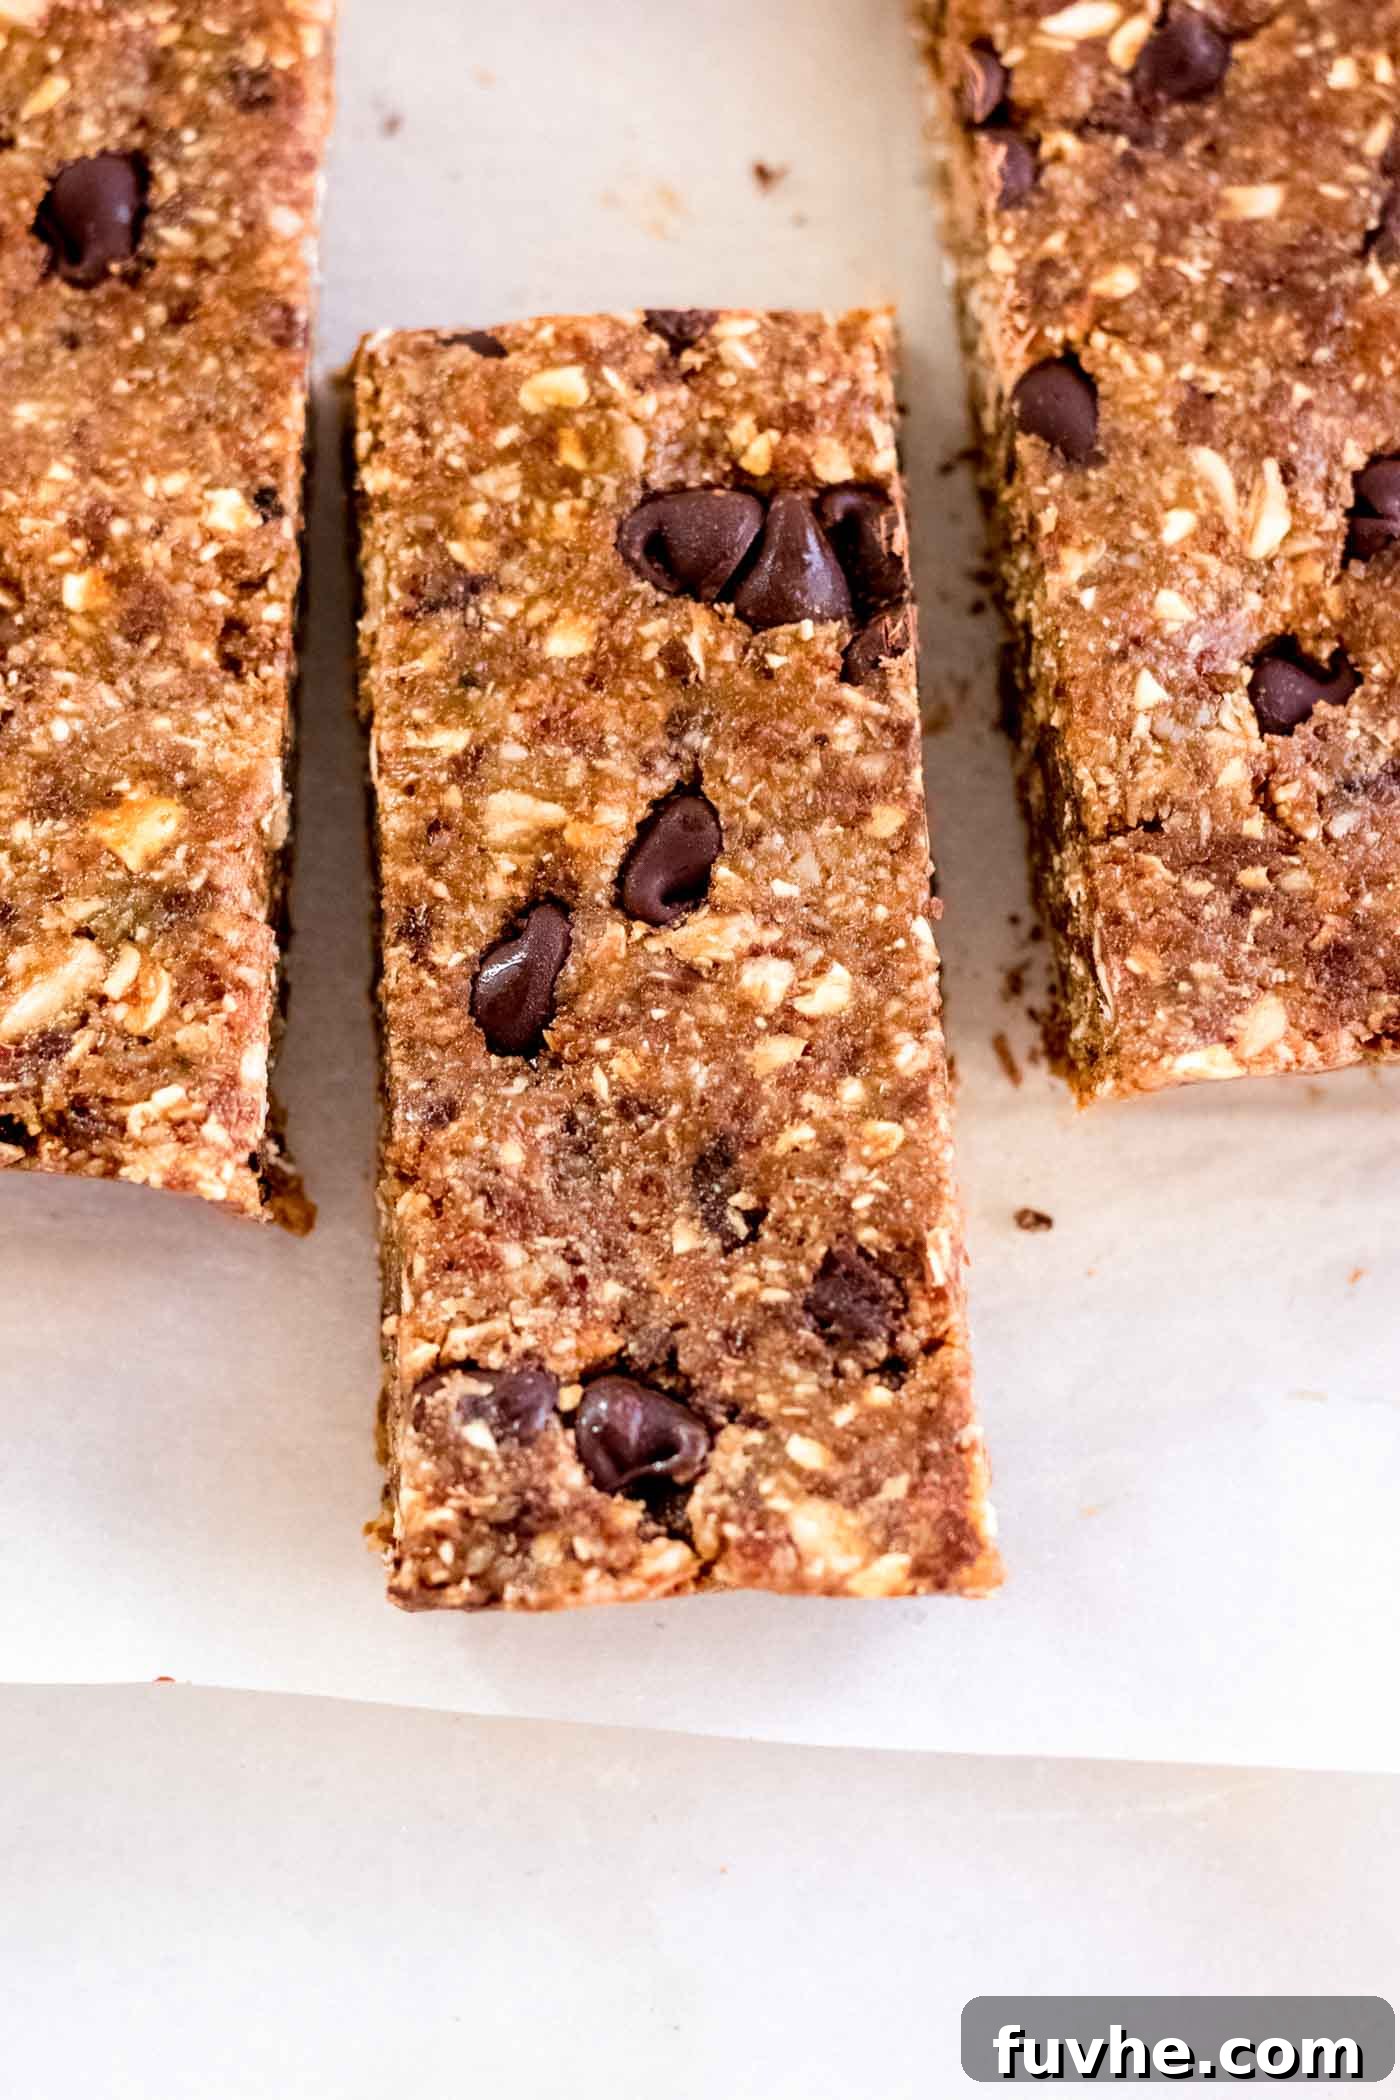
Indulge in the delightful simplicity of these soft and chewy no-bake chocolate chip granola bars, a perfect treat that requires minimal effort and just six basic ingredients. Forget the oven and lengthy preparation; these bars come together quickly, offering a wholesome and satisfying snack for any time of day.
You’ll be captivated by their wonderfully soft and chewy texture, reminiscent of your favorite store-bought bars but with the added satisfaction of homemade goodness. What makes them even better is the use of readily available and inexpensive ingredients, making them an accessible option for everyone seeking a delicious and healthy alternative.
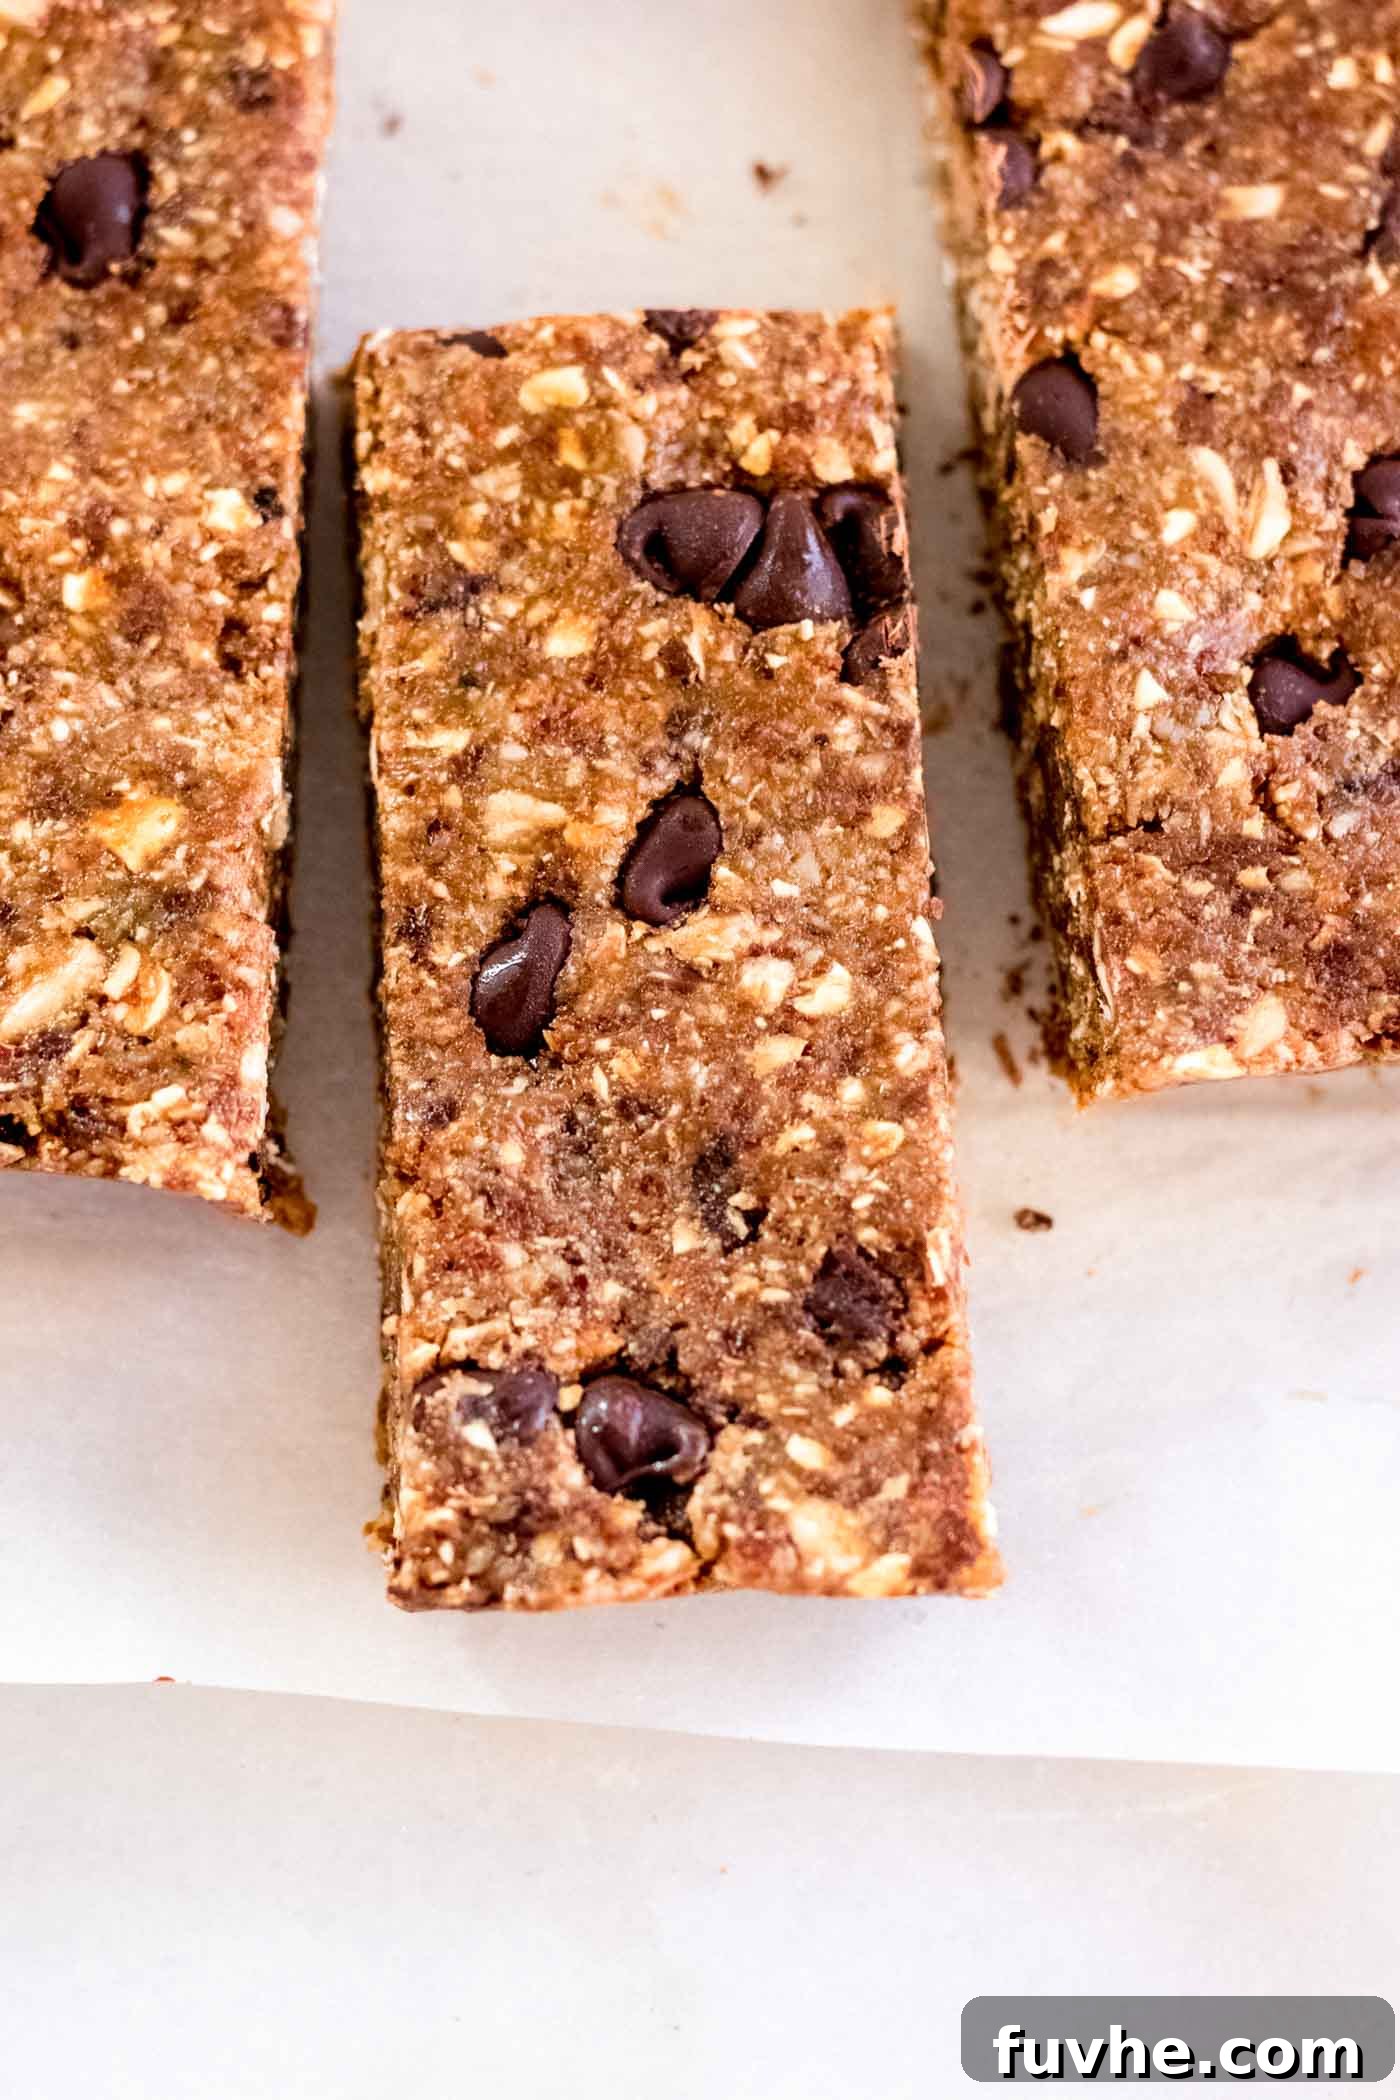
These versatile no-bake granola bars are an excellent choice for a variety of occasions. Whether you’re craving a sweet dessert, need a quick energy boost on-the-go, or are looking for a nourishing pre-workout snack, they fit the bill perfectly. Their thoughtful formulation also makes them suitable for a wide range of dietary needs, as they are naturally vegan, gluten-free, and notably nut-free, ensuring almost everyone can enjoy them without concern.
Exploring more nut-free snack options? We’ve got you covered! Beyond these delicious no-bake bars, you might also enjoy our Baked Cranberry Granola Bars for a different texture, our robust Nut-Free Energy Bars designed for sustained energy, or the delightful Sunflower Seed Energy Balls. For those seeking convenient, bite-sized snacks that are specifically free from both nuts and seeds, consider whipping up a batch of these flavorful Carrot Cake Energy Balls or the comforting Cinnamon Energy Balls.
Recipe Highlights: Why You’ll Love These No-Bake Granola Bars
These no-bake chocolate chip granola bars stand out for several compelling reasons, making them a fantastic addition to your healthy snack repertoire:
- Dietary Inclusive: Fully vegan and gluten-free, making them accessible for those with specific dietary requirements.
- No Dates Required: Unlike many no-bake recipes, these bars achieve their perfect texture without relying on dates, offering a different flavor profile.
- Effortless Preparation: A true no-bake recipe, eliminating the need for an oven and simplifying your cooking process.
- Healthy & Wholesome: Completely oil-free and specifically nut-free, catering to common allergies and preferences.
- Minimal Ingredients: Crafted with just 6 simple ingredients, proving that delicious and healthy doesn’t have to be complicated.
- Speedy Assembly: Ready in approximately 10 minutes of active preparation time.
- Ideal for Meal Prep: Perfect for making ahead, ensuring you always have a wholesome snack ready to grab.
The Joy of Homemade Granola Bars
In a world full of processed snacks, making your own granola bars offers unparalleled benefits. Not only do you have complete control over the ingredients, avoiding artificial additives, excessive sugars, and unhealthy fats often found in store-bought versions, but you also get to tailor them to your exact taste preferences and dietary needs. These homemade no-bake granola bars are a prime example of how simple and rewarding it can be to create nutritious snacks right in your own kitchen. They provide sustained energy, are packed with wholesome ingredients, and taste incredibly fresh – a stark contrast to many pre-packaged options.
Essential Ingredients & Smart Substitutions
Crafting the perfect no-bake granola bar starts with selecting quality ingredients. Each component plays a vital role in achieving that sought-after soft, chewy texture and rich flavor. Here’s a closer look at what you’ll need and how you can adapt the recipe to your pantry or preferences:
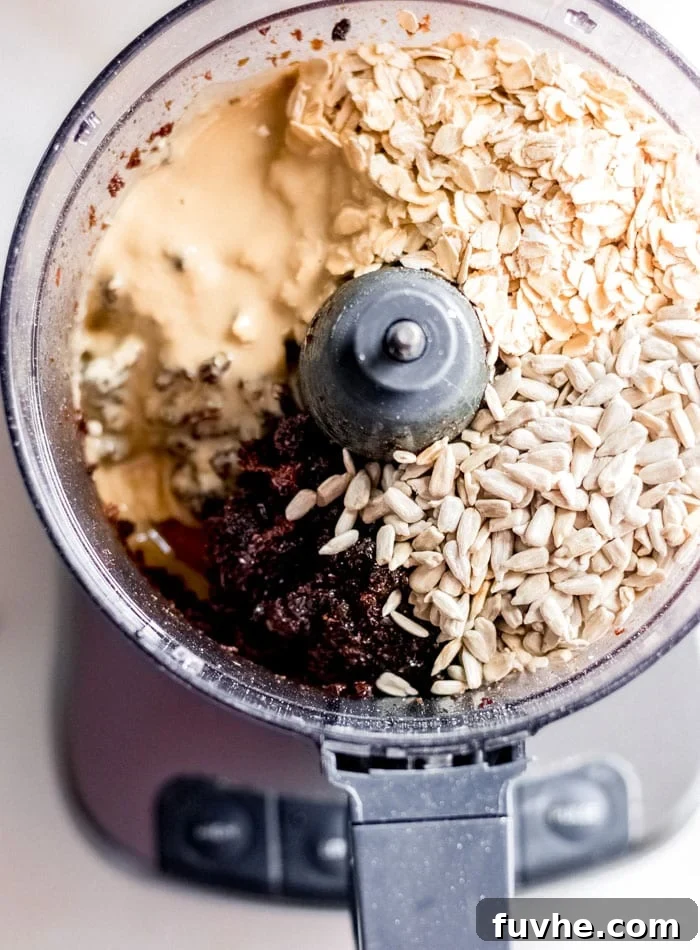
- Sunflower Seeds: These provide a wonderful crunch and a boost of healthy fats and protein, making the bars satisfying. For the best result, use raw sunflower seeds. If you don’t need a nut-free option, feel free to substitute with any nut like almonds, cashews, or walnuts. You can also create a blend by using half sunflower seeds and half pumpkin seeds for added flavor and nutrition.
- Oats: The heart of any granola bar, oats contribute to the chewy texture and offer a rich source of fiber. Rolled oats (old-fashioned oats) are ideal for their texture, but quick oats can also be used for a slightly finer consistency. Ensure you use certified gluten-free oats if you are catering to a strict gluten-free diet.
- Tahini: This sesame seed paste is a star ingredient, offering a creamy binder and a unique, slightly savory depth that perfectly complements the sweetness. It’s also our secret to keeping these bars nut-free. If tahini isn’t available or preferred, sunflower seed butter is an excellent nut-free alternative. For those without nut allergies, any nut butter such as almond butter or peanut butter can be used.
- Maple Syrup: This natural sweetener adds a lovely caramel note and is crucial for binding all the ingredients together into a cohesive bar. Agave syrup is a suitable vegan substitution, or you can use honey if you don’t require a strictly vegan recipe.
- Raisins: Beyond their natural sweetness, raisins are essential for achieving the soft and chewy consistency. They act as a natural binder due to their sticky nature. Any variety of raisins will work, but if they appear very dry, it’s highly recommended to soak them in hot water for about 15 minutes before use. This rehydrates them, making them softer and stickier, which is key for binding. Dates, especially soft, pitted Medjool dates, are an excellent alternative if you prefer their flavor.
- Chocolate Chips: The ultimate addition for a delicious treat! Use your favorite dairy-free chocolate chips to keep the recipe vegan, such as brands like Enjoy Life or Camino. Alternatively, you can chop up a bar of dark chocolate (ensure it’s dairy-free). If you’re aiming for a lower-sugar or healthier bar, you can easily omit the chocolate chips entirely or swap them for cacao nibs, which provide a rich chocolate flavor with less sweetness.
Remember, this detailed list serves as a guide. For precise measurements and comprehensive instructions, please refer to the complete recipe card available at the end of this post.
Creative Add-Ins & Flavor Swaps for Your Granola Bars
One of the best aspects of making your own no-bake granola bars is the freedom to customize them. Here are some fantastic ideas to elevate your bars with different flavors and textures:
- Dried Fruit Varieties: While raisins are excellent, feel free to swap them out for other dried fruits like chopped dates, dried cranberries, apricots, or cherries. A key tip: if your chosen dried fruit is particularly dry or firm, a quick soak in hot water for 10-15 minutes (and then draining well) will make them softer and easier to blend, ensuring a perfectly chewy bar.
- Boost with Shredded Coconut or Nuts: For an extra layer of flavor and texture, consider adding up to 1/2 cup of shredded coconut (unsweetened is best for controlled sweetness) or additional chopped nuts if you don’t need a nut-free recipe. Toasted coconut or nuts can add a lovely depth.
- Spice It Up: Cinnamon is a classic warm spice that pairs beautifully with oats and chocolate. Add up to 1 teaspoon, adjusted to your taste. For an adventurous twist, a pinch of ground ginger or nutmeg can also create a wonderfully aromatic and cozy flavor profile.
Easy Step-by-Step Instructions for Perfect Granola Bars
Creating these delightful no-bake granola bars is incredibly straightforward. Follow these simple steps for a consistently delicious result:
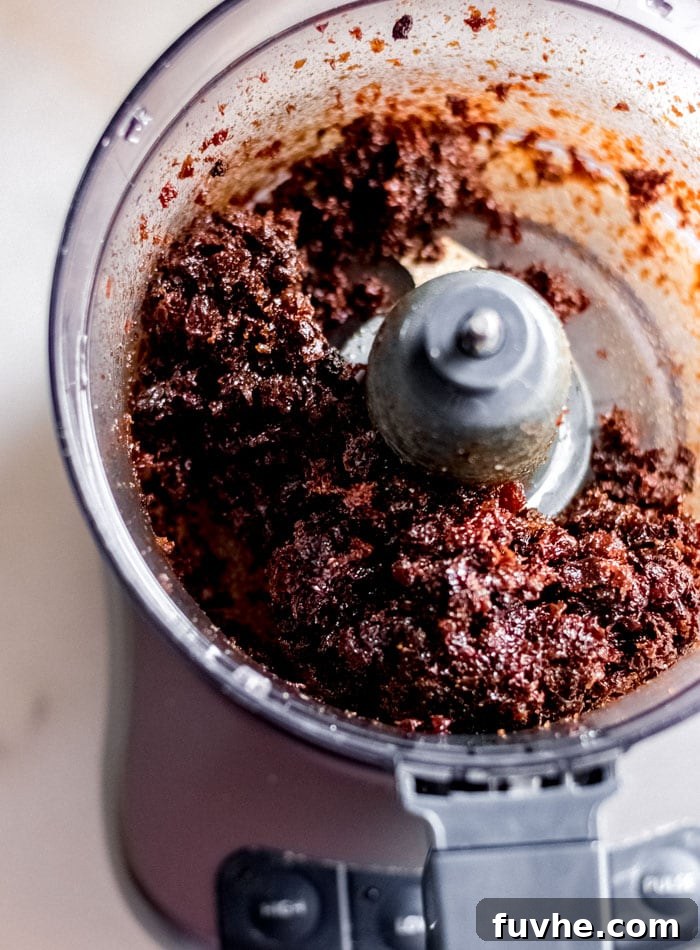
Step 1: Prepare the Raisins
Begin by adding the raisins to your food processor. Process them for a minute or two until they break down into a fine, crumbly, and notably sticky consistency. This step is crucial as the raisins’ natural stickiness acts as the primary binder for your bars.
Expert Tip: If your raisins feel excessively dry or hard, they won’t bind as effectively. To remedy this, soak them in hot water for about 15 minutes. Afterward, drain them thoroughly and pat them dry before adding them to the food processor. This simple trick ensures maximum stickiness and a perfect texture.
Step 2: Combine and Blend All Ingredients (Except Chocolate Chips)
Next, add all the remaining ingredients to the food processor, holding back the chocolate chips for now. Blend the mixture until it comes together to form a thick, sticky dough. It should be cohesive enough to hold its shape when pressed between your fingers.
Troubleshooting Tip: If the mixture appears too crumbly and doesn’t easily press together, don’t worry! Add 1 tablespoon of warm water (or an extra tablespoon of maple syrup or tahini for added richness) and blend again. This often provides the necessary moisture to bring everything together.
Finally, incorporate the chocolate chips. Pulse the food processor just a few times to gently mix them into the dough, ensuring they are evenly distributed without being completely broken down.
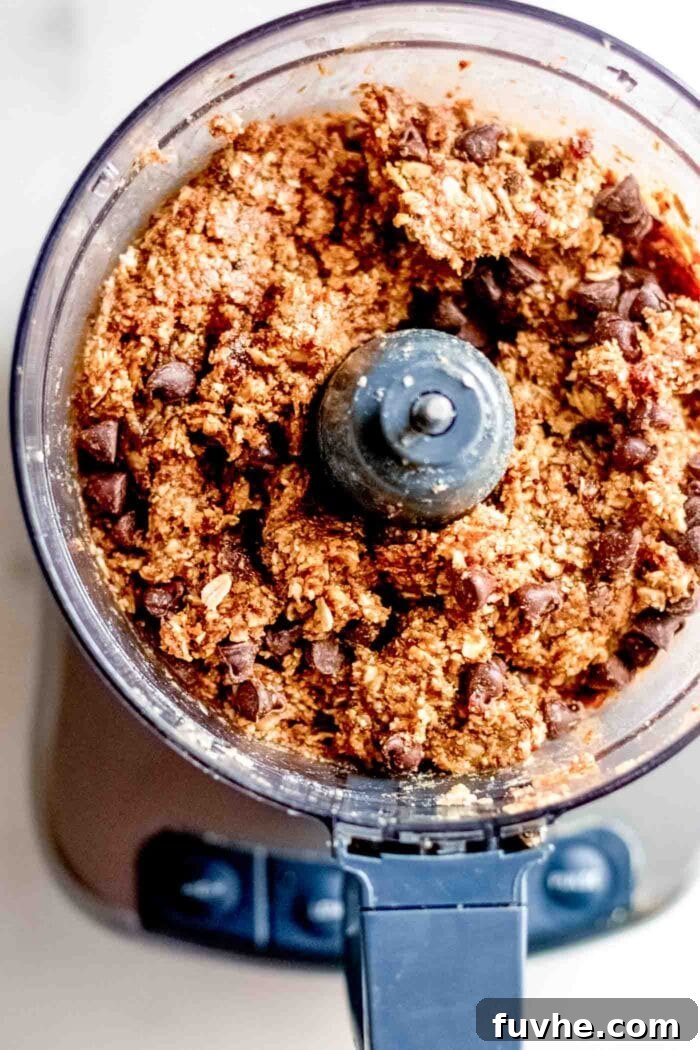
Step 3: Press and Chill the Bars
Prepare a 7-8 inch square baking pan by lining it with parchment paper or saran wrap. Make sure the paper extends over the edges of the pan; these “overhangs” will serve as handles to easily lift the bars out later.
Transfer the sticky dough into the prepared pan. Now, take a few minutes to really press the dough down firmly and evenly across the bottom of the pan, paying special attention to working it into the corners. The more compactly you press it, the more solid and less crumbly your finished bars will be.
Once pressed, place the entire pan into the freezer for approximately one hour. This chilling time is essential for the bars to firm up and bind together properly, making them easy to slice and enjoy without falling apart.
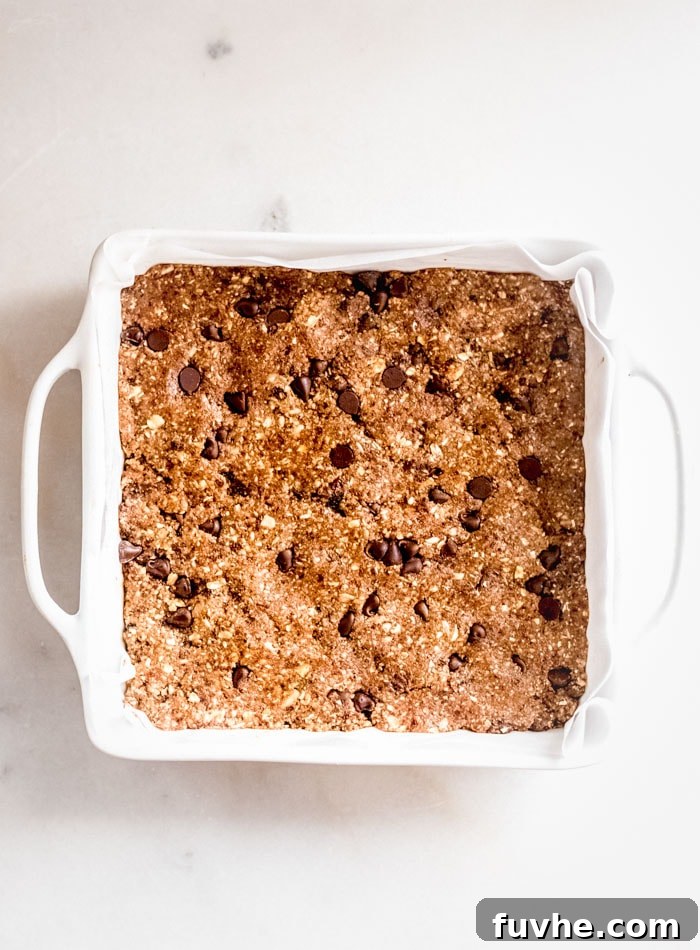
Step 4: Slice and Enjoy!
After an hour in the freezer, your no-bake granola bars will be perfectly firm. Carefully remove the pan from the freezer, then use the parchment paper overhangs to lift the entire block of granola bar mixture out of the pan. Place it on a cutting board, slice it into your desired bar size, and enjoy your wholesome homemade treat!
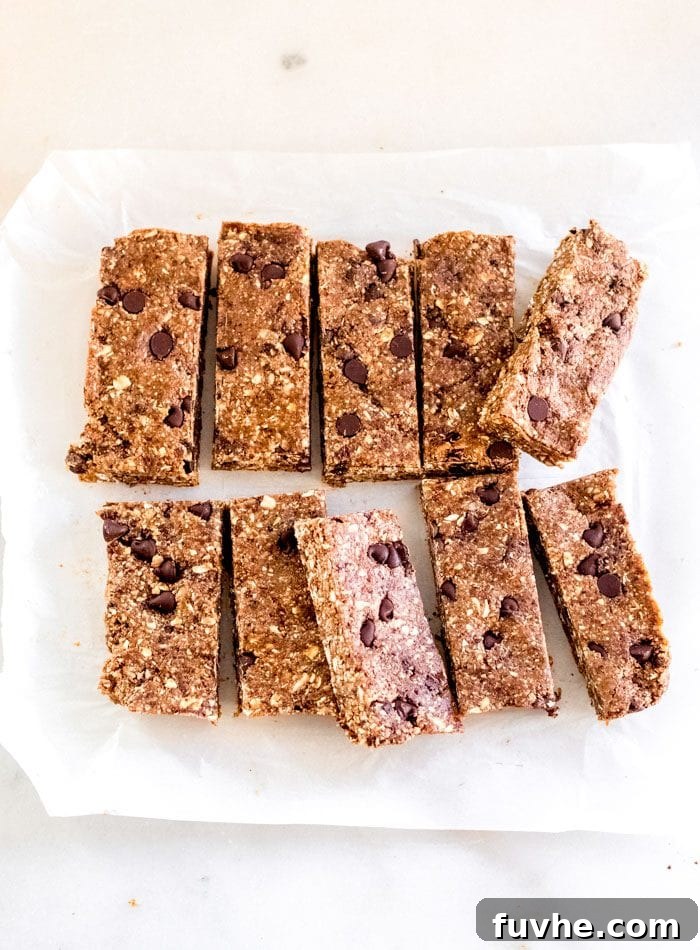
Frequently Asked Questions About No-Bake Granola Bars
Are these bars gluten-free?
Yes, these delicious no-bake granola bars are naturally gluten-free as written. However, if you have a severe gluten sensitivity or celiac disease, it is crucial to ensure that you use oats explicitly certified as gluten-free to avoid any potential cross-contamination during processing.
Do I have to add maple syrup?
Maple syrup serves a dual purpose in this recipe: it acts as a natural sweetener and, more importantly, a binding agent that helps hold the bars together. While you can technically leave it out or reduce the amount to 1-2 tablespoons for less sweetness, be aware that omitting it entirely might result in a slightly more crumbly bar. If you choose to omit it, once you’ve blended the dough, add 1-2 tablespoons of warm water if the mixture seems too dry or not sticky enough.
What makes these granola bars “no-bake”?
The “no-bake” aspect means these bars don’t require any time in the oven. Their texture and structure come from the combination of sticky ingredients like raisins and tahini, which bind together the oats and seeds. The chilling process in the freezer or fridge then firms them up to a sliceable consistency, making them incredibly convenient and quick to prepare.
Can I make a double batch?
Absolutely! This recipe scales up beautifully. If you wish to make a larger quantity, simply double all the ingredient measurements. You might need a larger food processor or to blend in two batches. For chilling, you can use a larger baking dish or two separate dishes.
Expert Tips for Granola Bar Perfection
Achieving the perfect soft and chewy no-bake granola bar is easy with these insider tips:
- Raisin Quality is Key: The success of these bars heavily relies on the softness and moisture content of your raisins. Soft, plump raisins bind everything together seamlessly. If your raisins feel dry or firm to the touch, or if you’re unsure, take a moment to soak them in hot water for about 10 minutes. Afterward, drain them exceptionally well and pat them dry before adding them to the food processor. This simple step makes a world of difference in the final texture.
- Choose Your Tahini Wisely: The quality of your tahini will significantly impact both the flavor and texture of your granola bars. Opt for a good-quality tahini that is smooth, drippy (not thick and pasty), and has a mild, nutty flavor rather than an overly bitter one. A better tahini means a creamier, more cohesive dough.
- Adjust for Perfect Consistency: After blending all ingredients (except chocolate chips), assess the dough’s consistency. It should be thick and sticky, easily pressed together. If it feels too crumbly or dry, don’t hesitate to add an extra tablespoon of maple syrup, tahini, or simply warm water. Add one tablespoon at a time and blend again until the desired sticky, pliable dough forms. This ensures your bars hold together beautifully.
- Pressing Firmly Matters: When transferring the dough to the prepared pan, take your time to press it down very firmly and evenly. Use the back of a spoon or your hands (lightly moistened if too sticky) to really compact the mixture, especially into the corners. A well-pressed dough will result in sturdy bars that don’t crumble when sliced or eaten.
Storing Your Homemade Granola Bars
Proper storage is essential to maintain the freshness, texture, and flavor of your no-bake chocolate chip granola bars. Here are the best ways to keep them:
- Refrigerator Storage: For optimal freshness and firmness, store your granola bars in an airtight container in the fridge for up to 2 weeks. The cool temperature helps them retain their shape and chewy texture.
- Freezer Storage: These bars are excellent for longer-term storage. Place them in an airtight freezer-safe container or bag, separating layers with parchment paper to prevent sticking. They can be kept in the freezer for up to 3 months. Thaw at room temperature for a few minutes or enjoy them straight from the freezer for a firmer bite.
- Room Temperature Considerations: While I highly recommend storing these bars in the fridge or freezer for best results, they are generally okay at room temperature for a few days if necessary. This makes them convenient for packed lunchboxes, camping trips, hiking adventures, or road trips. However, always aim to keep them in a cool spot if possible, especially on warmer days, to prevent them from becoming too soft.
Discover More No-Bake Bar Recipes
If you’ve enjoyed the ease and deliciousness of these no-bake chocolate chip granola bars, you’re in for a treat! The world of no-bake bars is vast and varied, offering countless options for quick, healthy, and satisfying snacks. Here are some more of our favorite no-bake bar recipes that you might love to try next:
- No-Bake Chocolate Peanut Butter Bars: A classic combination that’s always a hit.
- No-Bake Chocolate Chia Energy Bars: Packed with superfood chia seeds for an extra nutritional boost.
- No-Bake Apricot Granola Bars: A delightful blend of sweet apricot and hearty oats.
- No-Bake Chocolate Coconut Chia Seed Bars: Tropical coconut meets rich chocolate in this easy treat.
- Vegan Peanut Butter Pretzel Energy Bars: A unique sweet and salty combination that’s incredibly addictive.
Pin this recipe to your favorite board now so you can easily find it later and recreate these amazing no-bake granola bars whenever a craving strikes!
Pin It for Later!
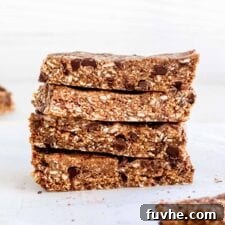
No-Bake Chocolate Chip Granola Bars Recipe
By: Deryn Macey
These soft and chewy, no-bake granola bars are made with just basic, inexpensive ingredients. Perfect for dessert, energy on the go, or a pre-workout snack. Vegan, gluten-free, and nut-free.
Prep Time: 10 mins
Chill Time: 1 hr
Total Time: 1 hr 10 mins
Servings: 10 bars
Ingredients
- 2 cups soft, moist Thompson raisins (340 g)
- 3 tbsp maple syrup (45 mL)
- 1/2 cup tahini (120 g)
- 2 cups rolled or quick oats (100 g)
- 1 cup raw sunflower seeds (140 g)
- 1/2 cup dairy-free chocolate chips (85 g)
- 1/2 tsp cinnamon (optional)
Instructions
- Place the raisins in a food processor and mix until they start to break down into a crumbly, sticky mixture. If raisins are dry, soak in hot water for 15 minutes, then drain well before use.
- Add everything else, except the chocolate chips, and mix until it forms a thick, sticky dough. If the mixture seems too dry or crumbly, add 1 tbsp of warm water, maple syrup, or tahini and blend again until well combined. Add the chocolate chips and pulse a few times to mix them in.
- Line a 7-8 inch square baking pan with parchment paper or saran wrap so it sticks out over the edges of the pan. Press the dough firmly and evenly into the pan until flat, taking a few minutes to work it into the corners.
- Place the pan in the fridge or freezer for about an hour to firm up the bars. This step helps the bars bind together and makes them easier to slice.
- Use the parchment paper to lift the entire block of bars out of the pan. Slice into 10 equal-sized bars and serve.
Notes
- Raisins: If your raisins are overly dry, soak them in hot water for 15 minutes, then drain them thoroughly before using them in the recipe.
- Substitutions: Tahini can be substituted with almond butter, sunflower seed butter, or peanut butter (if not nut-free). Sunflower seeds can be substituted with almonds, cashews, or walnuts. Raisins can be substituted with soft, pitted dates.
- Storing: Store in an airtight container in the fridge for up to 2 weeks, or in the freezer for up to 3 months. They can be kept at room temperature for a few days for convenience (e.g., lunchboxes, travel), but keeping them cool is recommended.
Nutrition (per bar)
- Calories: 392 kcal
- Carbohydrates: 53 g
- Protein: 10 g
- Fat: 16 g
- Sodium: 6 mg
- Fiber: 6 g
- Sugar: 30 g
- Calcium: 78 mg
- Iron: 3 mg