
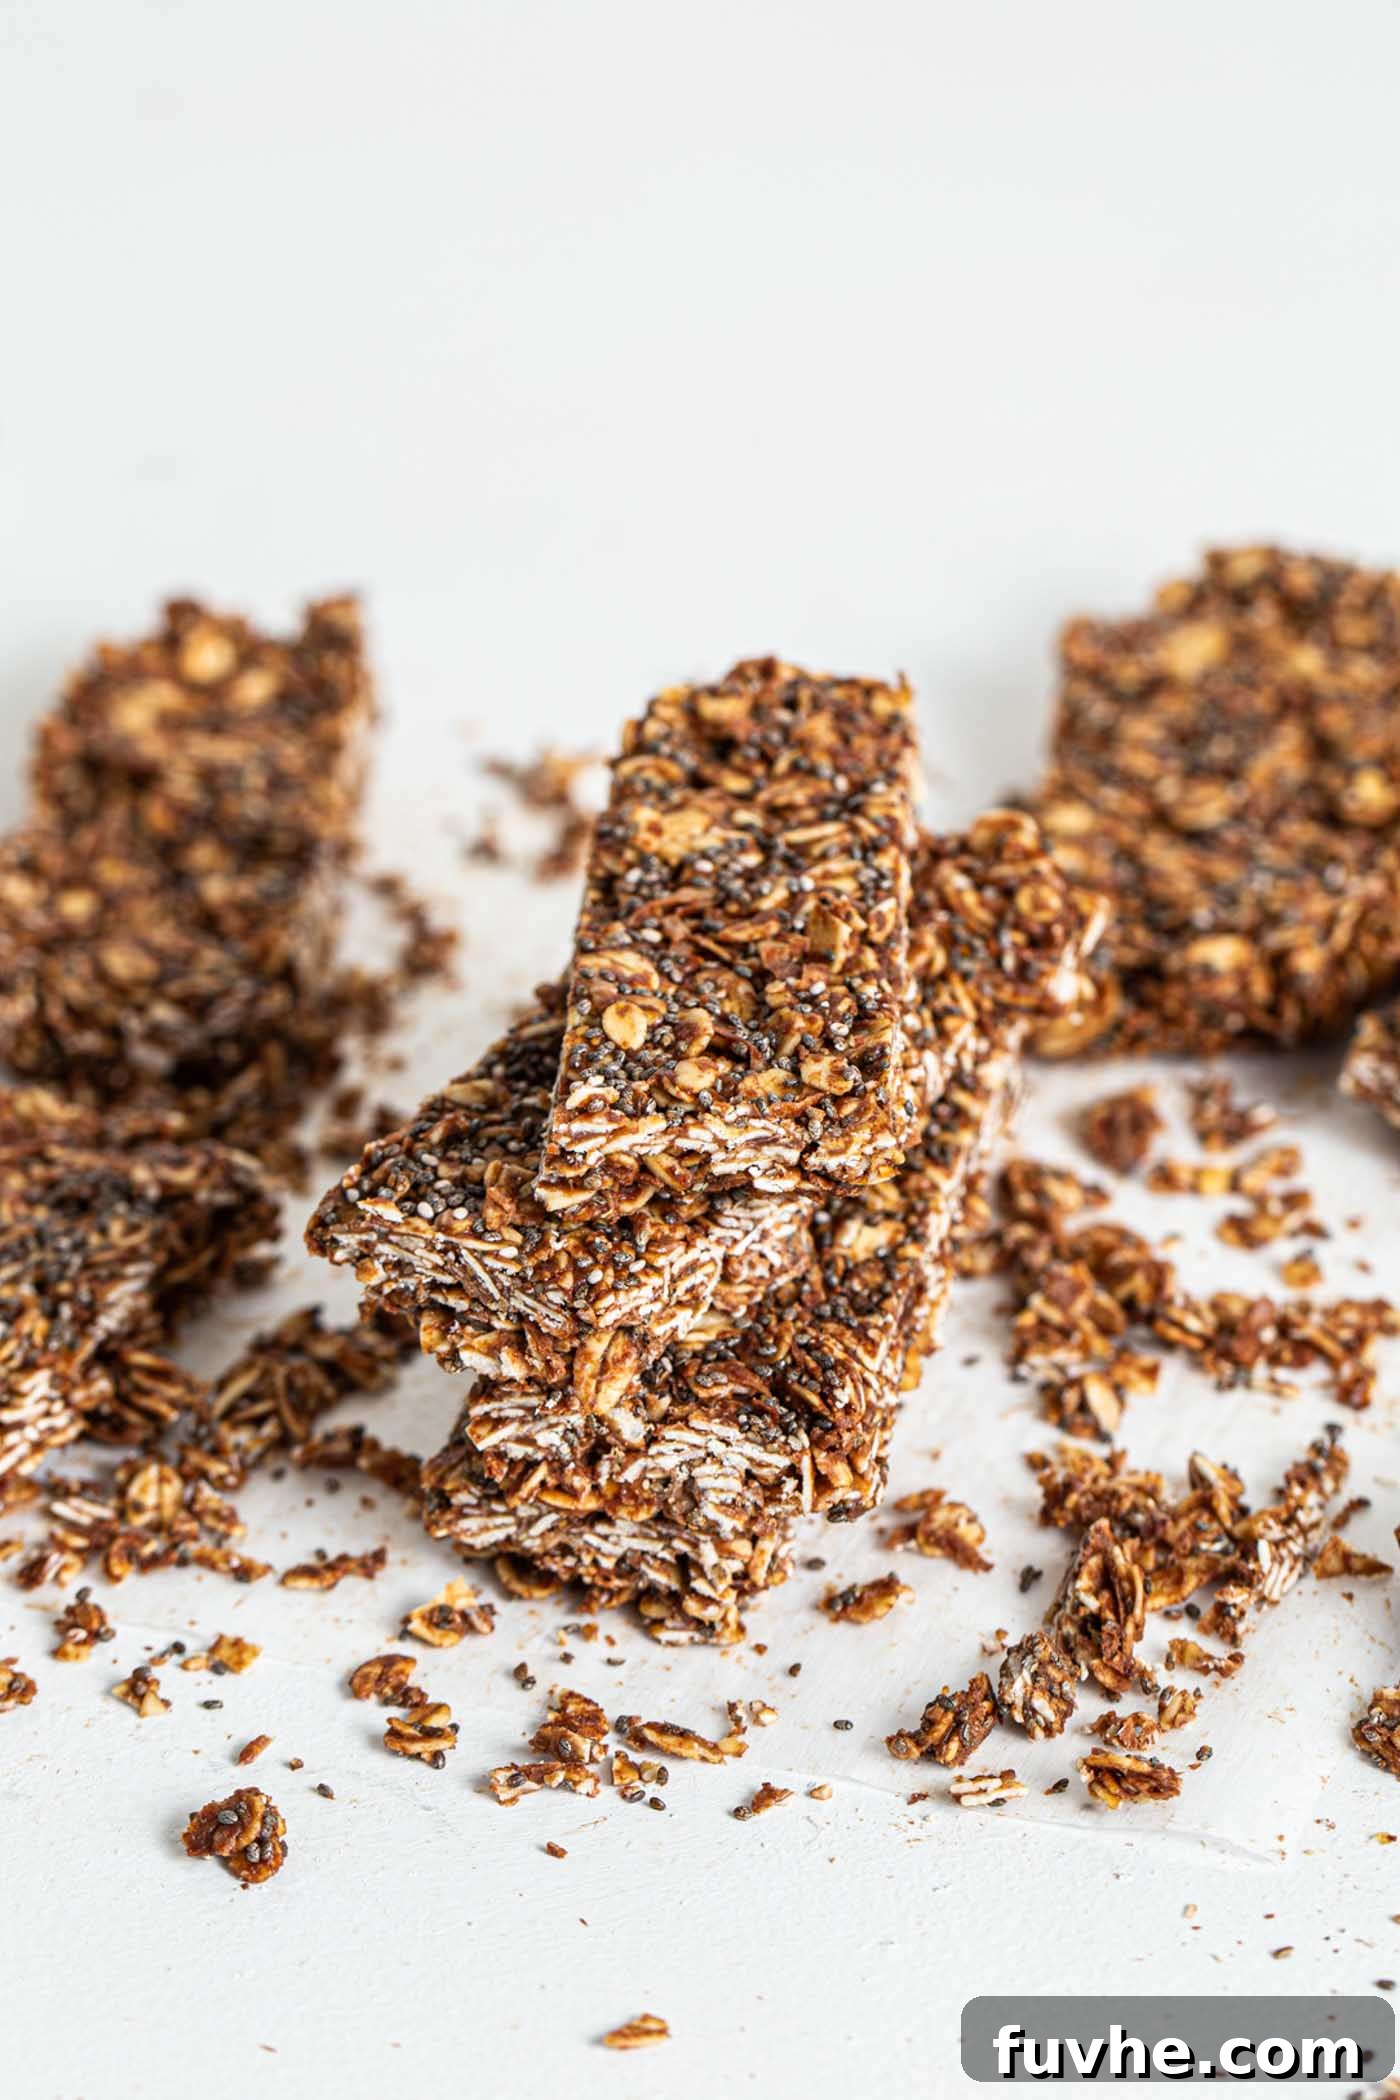
Welcome to the ultimate guide for crafting the most delightful and effortlessly delicious treat: No-Bake Chocolate Coconut Chia Seed Bars. Imagine a snack that satisfies your sweet cravings, provides a sustained energy boost, and requires absolutely no baking or complicated kitchen gadgets. That’s precisely what these bars deliver. Perfect for busy individuals, health enthusiasts, or anyone looking for a quick, guilt-free indulgence, this recipe can be mixed in a single bowl in mere minutes. Forget the food processor, put away the blender – simplicity is key here. These bars are a testament to how wholesome ingredients can combine to create something truly extraordinary. Whether you need a quick breakfast on the go, a post-workout refuel, or a satisfying afternoon pick-me-up, these chocolate coconut chia bars are your new best friend.
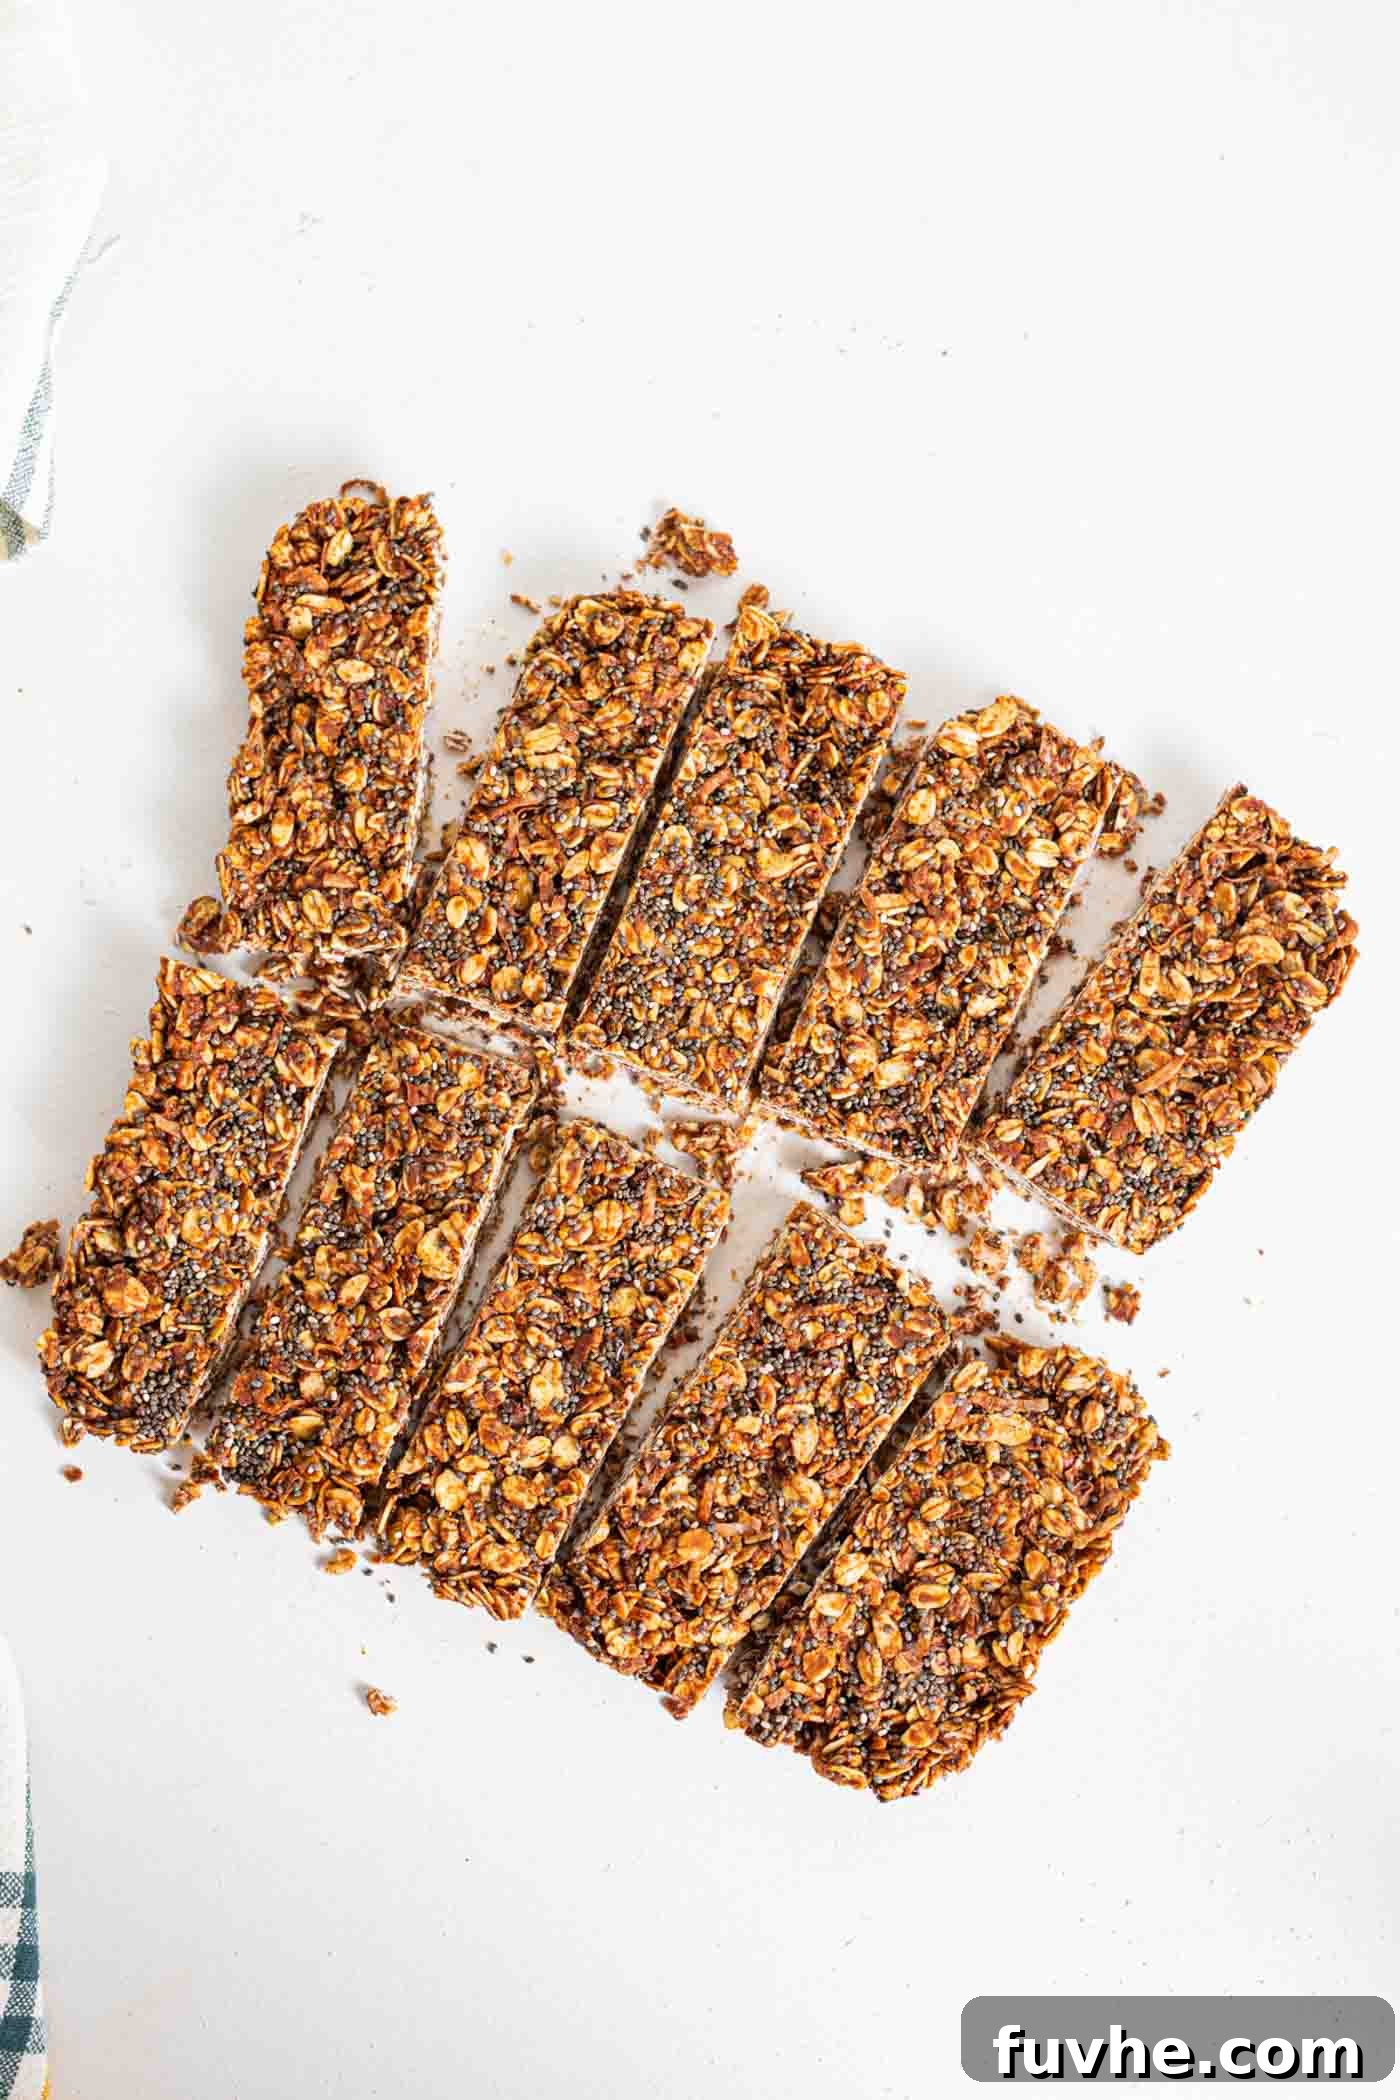
Exceptional Recipe Features
These No-Bake Chocolate Coconut Chia Seed Bars stand out for several compelling reasons, making them a staple in any healthy kitchen:
- Incredibly Quick and Effortless: Say goodbye to long hours in the kitchen! This recipe boasts an impressive 5-minute preparation time, requiring no blending, no baking, and minimal cleanup. All you need is a bowl and a spoon, making it ideal for those hectic days when you crave a homemade treat without the fuss.
- Diet-Friendly Goodness: Crafted to be both vegan and gluten-free, these bars cater to a wide range of dietary needs. They are made entirely from plant-based ingredients, ensuring they are free from animal products. For those with gluten sensitivities, using certified gluten-free oats ensures a safe and delicious snack. What’s more, with simple substitutions, they can also be made completely nut-free, making them school-friendly and suitable for individuals with nut allergies.
- Wholesome & Nutrient-Dense: Packed with beneficial ingredients like fiber-rich oats, healthy fats from coconut and nut butter, and omega-3 powerhouses like chia seeds, these bars offer more than just great taste. They provide sustained energy, support digestive health, and keep you feeling full and satisfied, making them a smart choice for a balanced lifestyle.
- Perfectly Portable Snack: Their no-bake nature means they hold up well, making them an excellent grab-and-go option for busy mornings, midday snacks, or an energy boost during outdoor activities. Just grab one from the fridge or freezer, and you’re set!
Understanding Your Ingredients
The beauty of these no-bake bars lies in their simple yet powerful ingredient list. Each component plays a crucial role in both the flavor and texture of the final product. Here’s a deeper dive into what you’ll need and why:
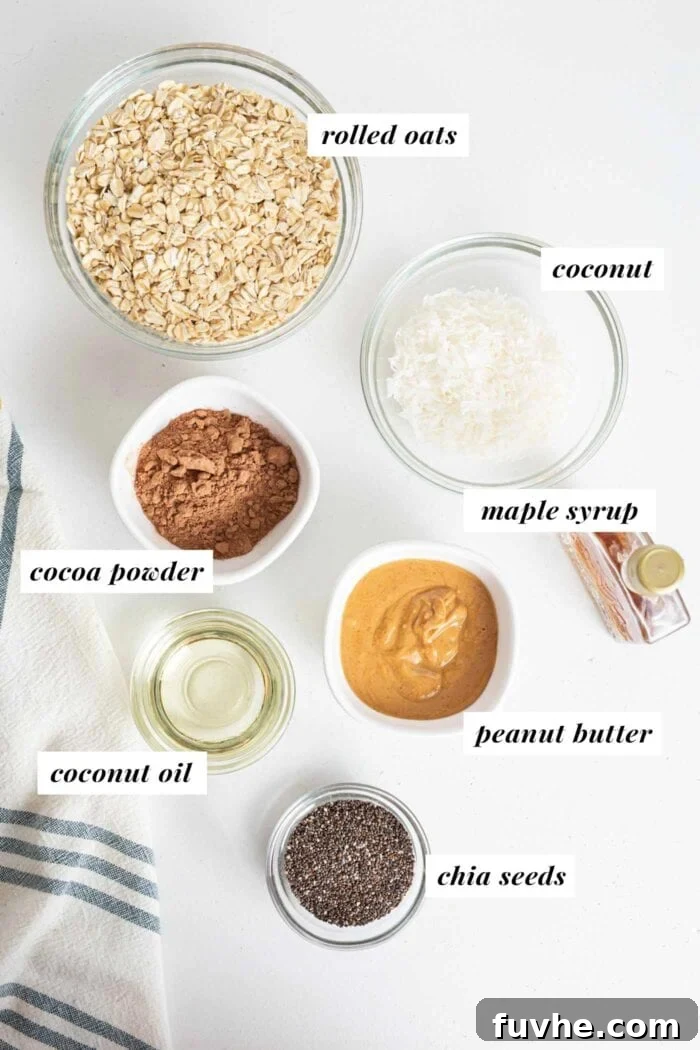
- Oats: For this recipe, I highly recommend using quick oats. Their finer texture helps the bars bind together more effectively, resulting in a smoother, more cohesive bar. If quick oats aren’t available, rolled oats can be used, but the texture will be a bit chewier and less dense. For those adhering to a gluten-free diet, always opt for certified gluten-free oats to prevent cross-contamination. Oats are an excellent source of dietary fiber, promoting satiety and digestive health.
- Unsweetened Coconut: Use fine or medium shredded coconut, often labeled as desiccated coconut. Unsweetened is preferred to control the overall sugar content of the bars, letting the maple syrup provide the perfect level of sweetness. If you only have sweetened coconut, you can use it, but be mindful that the bars will be sweeter, and you might consider slightly reducing the maple syrup. Coconut adds a delightful tropical flavor and contributes to the chewy texture.
- Cocoa Powder: This is where the rich chocolate flavor comes from! Regular unsweetened cocoa powder works perfectly for a classic taste. For an added nutritional boost and a slightly more intense flavor, consider using cacao powder. Cacao is less processed than cocoa and retains more antioxidants and minerals. Both options deliver that satisfying chocolatey goodness.
- Chia Seeds: These tiny powerhouses are essential. Use whole chia seeds, as they absorb moisture and help bind the bars together, eliminating the need for baking. Beyond their functional role, chia seeds are a nutritional marvel, packed with omega-3 fatty acids, fiber, and protein, making these bars incredibly satisfying and healthy.
- Natural Peanut Butter: The creamy binder and source of healthy fats. It’s crucial to use natural peanut butter, meaning it contains only peanuts and possibly salt, with no added sugars or oils. The oils in natural peanut butter are key to achieving the right consistency. For variations or to make the bars nut-free, you can substitute with almond butter, cashew butter, sunflower seed butter (like sunbutter), or tahini. Each will impart a slightly different flavor profile.
- Coconut Oil: This ingredient is non-negotiable for the structure of these no-bake bars. When melted, it blends seamlessly with the other wet ingredients, and as it chills, it solidifies, holding all the components firmly in place. There is no direct substitute for coconut oil in this particular recipe due to its unique binding properties at cooler temperatures. Ensure it’s melted before mixing.
- Pure Maple Syrup: Our natural sweetener of choice. Pure maple syrup not only adds sweetness but also contributes to the moist texture and helps with binding. Its distinct flavor complements the chocolate and coconut beautifully. If you prefer, agave nectar can be used as a direct substitute for a similar liquid sweetness. Other liquid sweeteners like brown rice syrup could also work, but maple syrup offers the best flavor balance.
- Sea Salt (Optional): A small pinch of sea salt might seem insignificant, but it makes a world of difference. Salt acts as a flavor enhancer, balancing the sweetness of the maple syrup and intensifying the rich notes of chocolate and coconut. It transforms a simply sweet bar into a complex and incredibly satisfying treat.
Easy Step-by-Step Instructions
Creating these delightful no-bake bars is incredibly straightforward. Follow these simple steps for perfect results every time:
Step 1: Combine the Dry Ingredients. In a large mixing bowl, add your quick oats, shredded coconut, cocoa powder, whole chia seeds, and the optional pinch of sea salt. Stir everything together thoroughly with a spoon or spatula until all the dry ingredients are uniformly distributed. This ensures that every bite will have a consistent flavor and texture.
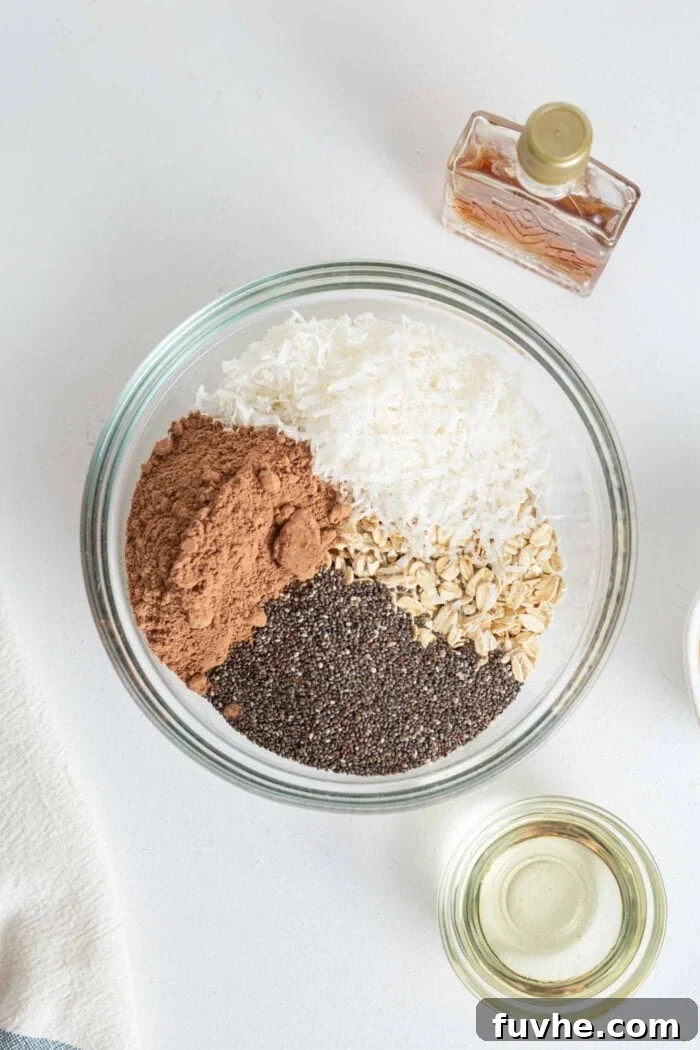
Step 2: Prepare the Wet Mixture. In a separate, small microwave-safe bowl (or a small saucepan over low heat), gently melt the coconut oil until it’s liquid. Be careful not to overheat it. Once melted, add the natural peanut butter and pure maple syrup to the same bowl. Stir this mixture vigorously until it is completely smooth, creamy, and thoroughly combined. The consistency should be thick but pourable.
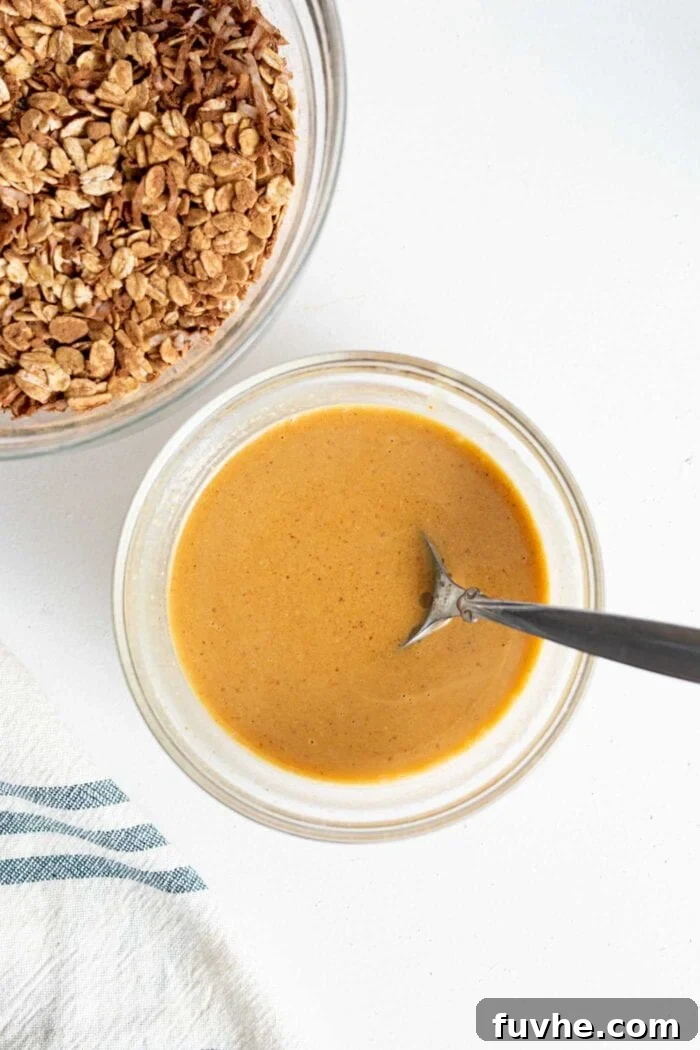
Step 3: Integrate Wet and Dry. Pour the prepared wet mixture directly into the large bowl containing the dry ingredients. Using your spoon or spatula, mix everything very well. Continue to stir until all the dry components are evenly coated with the wet mixture, forming a thick, uniform “dough” that is moist and crumbly but holds together when pressed.
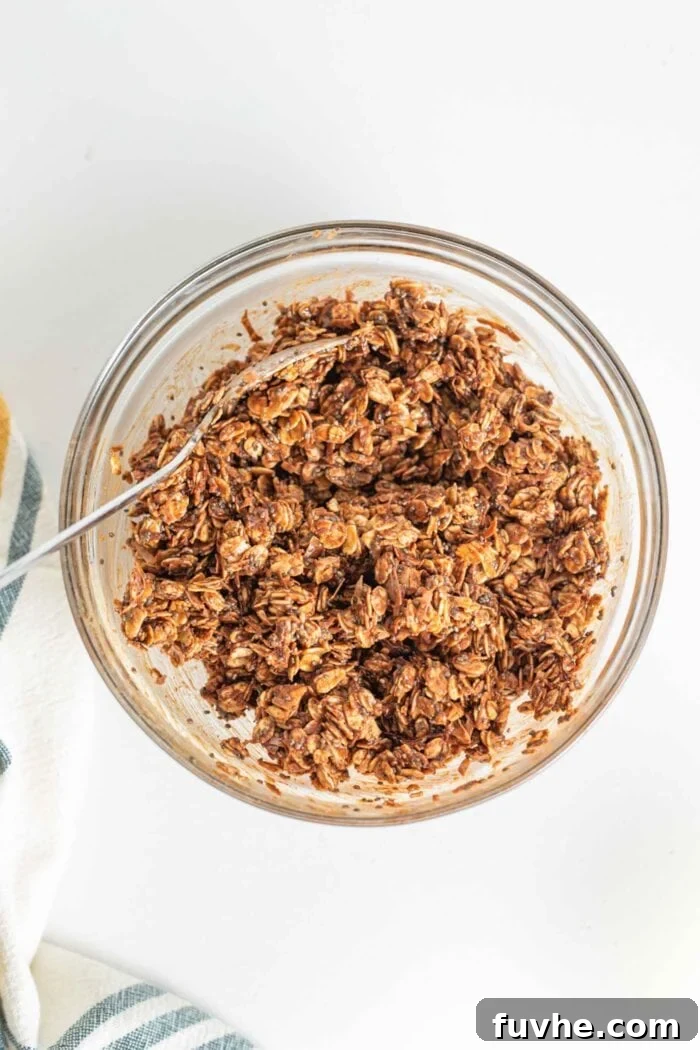
Step 4: Press into Pan. Line a 7-8 inch square baking dish with parchment paper, ensuring the ends extend over the edges. This creates “handles” for easy removal later. Transfer the entire mixture into the lined dish. Now, this is a crucial step for bar integrity: firmly press the dough down into an even layer using the back of a spoon, a flat spatula, or your hands. Spend a few minutes really compacting it; this firm pressing is key to ensuring the bars hold together beautifully when sliced.
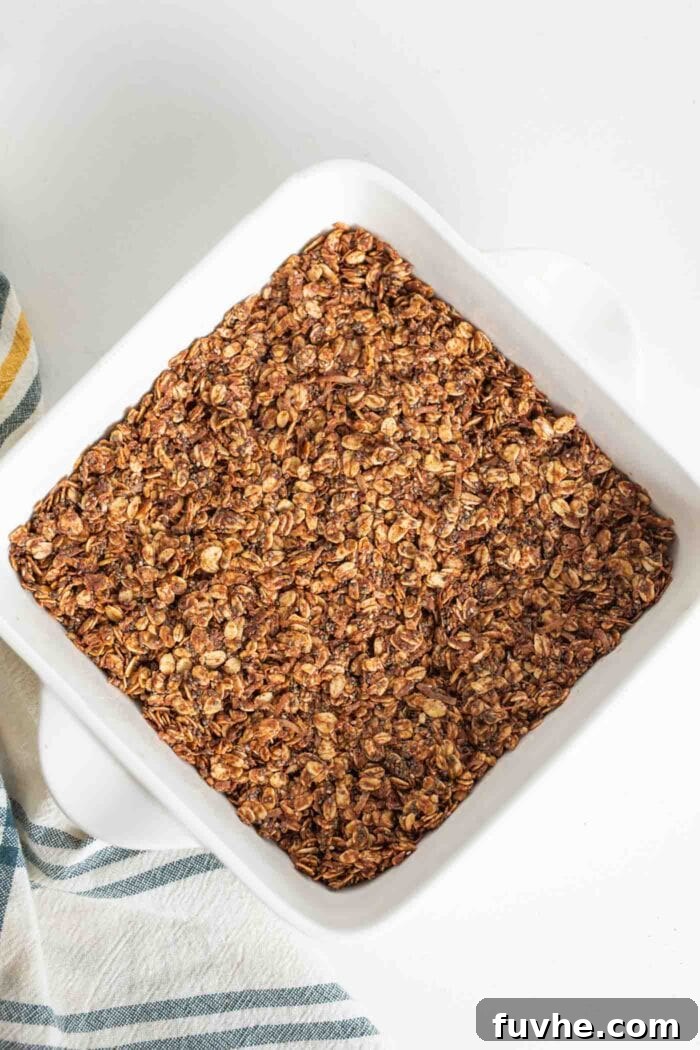
Step 5: Chill to Set. Once pressed, place the baking dish into the freezer for at least 30 minutes. This chilling time is essential for the coconut oil to solidify and bind all the ingredients, ensuring your bars are firm and sliceable. If you’re not in a rush, you can also chill them in the refrigerator for 1-2 hours.
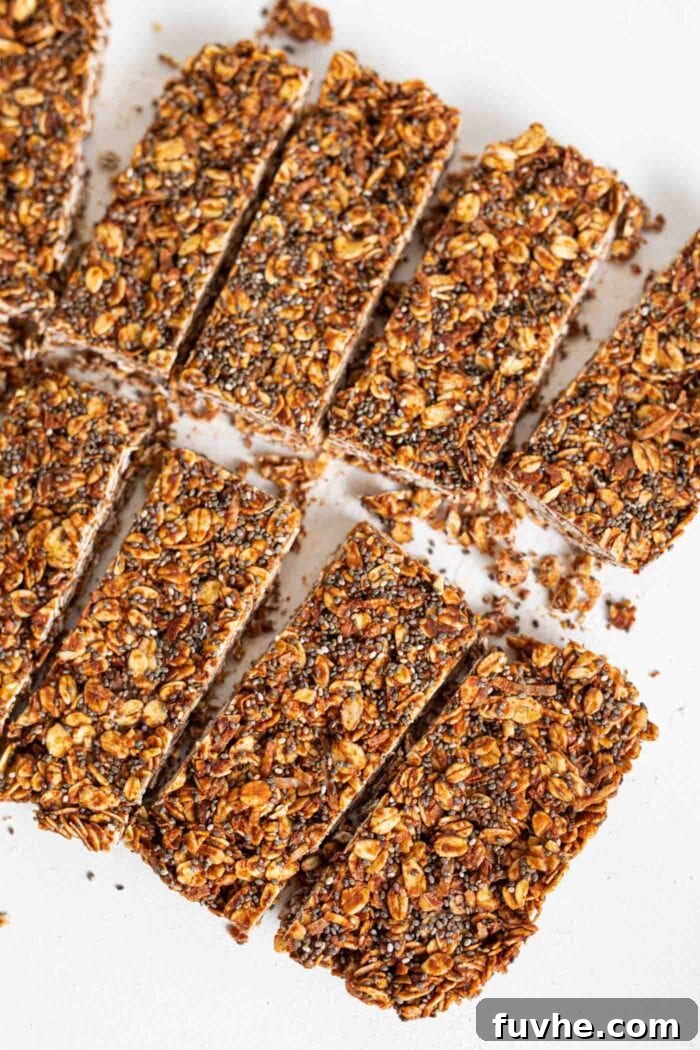
Step 6: Slice and Enjoy. Once fully set, use the parchment paper overhang to gently lift the entire slab of bars out of the pan. Place it on a cutting board and slice into 10 evenly sized bars. For clean cuts, use a sharp knife and wipe it clean between slices if needed. Your delicious no-bake treats are now ready to be enjoyed!
Expert Tips and Customization Notes
To ensure your No-Bake Chocolate Coconut Chia Seed Bars are nothing short of perfect, and to inspire some creative variations, here are some key tips and notes:
- Critical Storage for Firmness: These bars rely on the solidified coconut oil to maintain their shape. Therefore, they absolutely must be kept in the freezer or refrigerator to hold together properly. If left at room temperature for extended periods, especially in warm climates, they will soften. They taste incredible directly from the freezer, offering a delightful chewy texture!
- The Magic of Sea Salt: While optional, a pinch of sea salt is highly recommended. The subtle saltiness perfectly complements and enhances the sweetness of the maple syrup and the richness of the chocolate. It creates a more complex and satisfying flavor profile that will keep you coming back for more.
- Nut Butter Versatility: Natural peanut butter provides a classic flavor, but feel free to experiment! Almond butter, cashew butter, or even hazelnut butter can be used for different nutty undertones. For those with nut allergies or aiming for a nut-free option, sunflower seed butter (often labeled as sunbutter) or tahini are excellent substitutes. Be aware that tahini has a distinct, slightly bitter flavor that pairs wonderfully with chocolate but may not appeal to everyone.
- Add-In Ideas: Elevate your bars with some delicious additions! Consider folding in a handful of mini chocolate chips (dark, milk, or white, depending on your preference), a teaspoon of vanilla extract for added depth, or a dash of cinnamon for a hint of warmth. For an extra touch of sophistication, sprinkle some flaky sea salt over the top before chilling.
- Achieving the Right Consistency: If your mixture seems too dry and crumbly to press firmly, try adding another tablespoon of maple syrup or melted coconut oil. Conversely, if it feels too sticky or oily, a tablespoon or two of extra oats or coconut flakes can help absorb the excess moisture. The ideal consistency is moist enough to stick together when squeezed but not overly sticky.
- Parchment Paper is Your Friend: Don’t skip lining your baking dish with parchment paper! It makes lifting the set bars out of the pan incredibly easy, preventing any sticking and ensuring a clean removal for slicing.
How to Store Your No-Bake Bars
Proper storage is essential to keep these bars firm, fresh, and ready to enjoy at a moment’s notice.
- Freezer: For the longest shelf life and best firm texture, store the bars in a sealed, freezer-safe container or a heavy-duty freezer bag. They will keep well for up to 3 months. You can enjoy them directly from the freezer—they’ll be delightfully chewy without being too hard.
- Refrigerator: If you plan to consume them within 1-2 weeks, you can store them in an airtight container in the refrigerator. They will be softer than when frozen but still hold their shape well. Layer them with parchment paper if stacking to prevent sticking.
Explore More Healthy No-Bake Delights
If you’ve fallen in love with the simplicity and deliciousness of these no-bake bars, you’re in luck! The world of wholesome, easy-to-make treats is vast and varied. Here are a few more recipes that offer similar convenience and nutritional benefits, perfect for expanding your repertoire of healthy snacks and desserts:
- Chocolate Chip Chia Seed Granola Bars
- No-Bake Chocolate Chia Energy Bars
- No-Bake Apricot Granola Bars
- No-Bake Superfood Energy Bars
- Sunflower Sesame Homemade Energy Bars
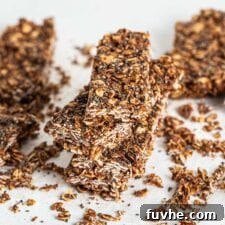
Chocolate Coconut Chia Seed Bars
Ingredients
- 1.5 cups (165 g) quick oats
- 1/4 cup (60 g) unsweetened fine or medium shredded coconut
- 1/4 cup (25 g) cocoa powder
- 1/4 cup (50 g) chia seeds
- 1/4 tsp sea salt, optional for flavor
- 1/4 cup (75 g) natural peanut butter
- 1/4 cup (50 g) melted coconut oil
- 1/4 cup (80 g) pure maple syrup
Instructions
-
Mix the dry ingredients together in a bowl (oats, coconut, cocoa powder, chia seeds, and optional sea salt).
-
Stir the peanut butter, melted coconut oil, and maple syrup together in a separate small bowl until smooth, creamy, and completely combined.
-
Add the wet mixture to the bowl of dry ingredients and mix thoroughly to combine into a uniform mixture.
-
Line a 7-8 inch square baking pan with parchment paper, allowing the ends to stick out over the pan edges for easy lifting.
-
Add the mixture to the lined pan and firmly press it down into an even layer. Take a few minutes to really compact it, as this is crucial for the bars to hold together.
-
Place the pan in the freezer for 30 minutes to set.
-
Lift the set bars out of the pan using the parchment paper handles and cut into 10 bars. Store in the freezer in a sealed container or freezer-safe bag for up to 3 months.
Notes
The salt is optional but highly recommended. The sweetness from the maple syrup combined with the sea salt creates a delicious flavor balance.
Nutrition
These No-Bake Chocolate Coconut Chia Seed Bars truly embody the best of both worlds: they are incredibly satisfying, packed with wholesome ingredients, and ridiculously easy to make. Whether you’re a seasoned chef or a kitchen novice, this recipe is designed for success, delivering delicious results every time. Whip up a batch today and discover your new favorite healthy snack that perfectly balances convenience, flavor, and nutrition.
This recipe was originally published May 16, 2015, and has been updated July 8, 2020, with new photos and expanded text to enhance your cooking experience.