
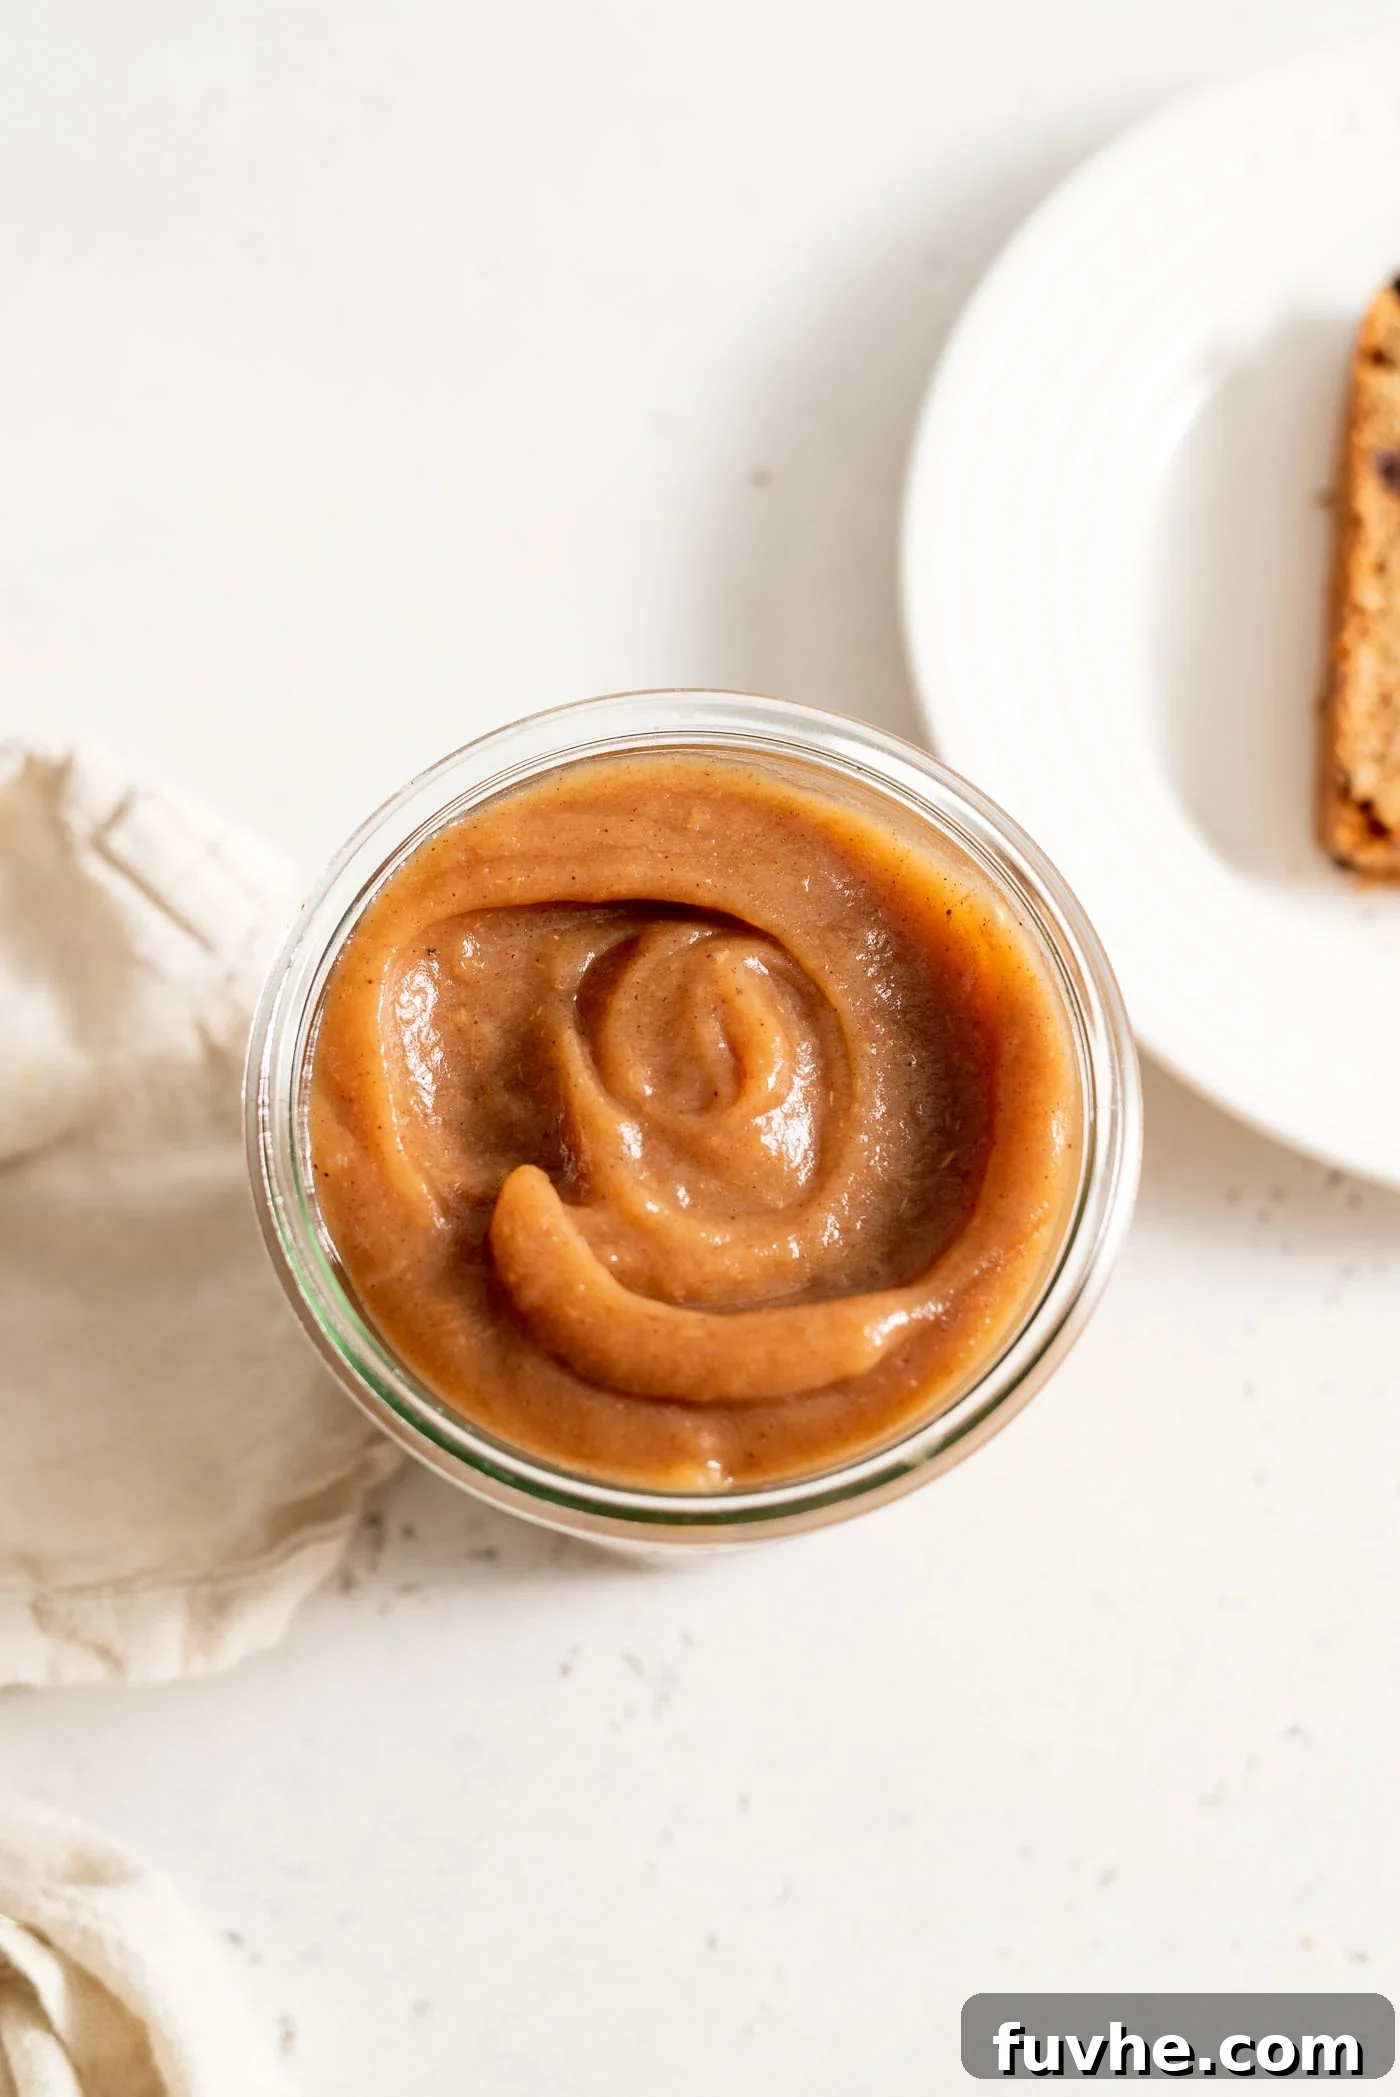
Welcome to the ultimate guide for crafting the most delectable, wholesome, and effortlessly prepared Slow Cooker Apple Butter! This recipe is a true game-changer, demonstrating how simple it can be to create a rich, sweet, and incredibly versatile condiment with minimal effort. Using just two primary ingredients, this method yields a homemade apple butter that is not only bursting with natural apple flavor but also adheres to a variety of dietary preferences, being entirely vegan, gluten-free, oil-free, and proudly sugar-free. Packed with fiber and low in fat, it’s a guilt-free indulgence that will quickly become a staple in your kitchen.
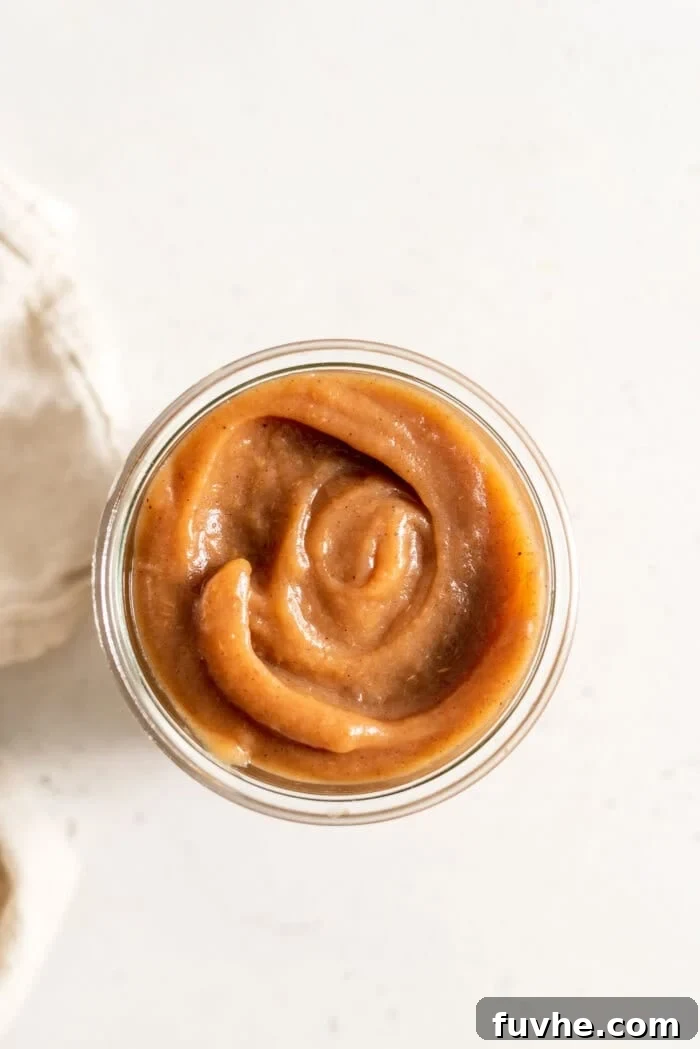
Forget store-bought versions laden with unnecessary sugars and preservatives. Our slow cooker apple butter celebrates the natural sweetness and aromatic essence of apples, enhanced only by warm spices. The slow cooking process transforms humble apples into a luxurious, deeply flavored spread, perfect for enriching your morning toast, stirring into oatmeal, or elevating your baked goods. Prepare to fill your home with the inviting aroma of cinnamon and apples as your slow cooker works its magic, delivering a batch of velvety smooth apple butter that tastes like autumn in a jar.
Why You’ll Love This Slow Cooker Apple Butter
- Effortless Preparation: This recipe truly lives up to its “easy” claim, requiring minimal hands-on time. Simply chop your apples, toss them into the slow cooker with spices, and let the appliance do the heavy lifting. It’s perfect for busy individuals or anyone who loves simple, rewarding cooking.
- Dietary Friendly: Designed to fit various dietary needs, this apple butter is naturally vegan, making it suitable for plant-based diets. It’s also gluten-free, sugar-free, and low in fat, ensuring it can be enjoyed by almost everyone looking for a healthy, delicious treat.
- Natural Sweetness & Versatility: With no added sugar, the pure, concentrated sweetness of the apples shines through. This makes it an ideal natural sweetener for a wide array of dishes. Use it to sweeten your morning oatmeal or yogurt, spread it on toast, muffins, or pancakes, or even incorporate it into your baking as a healthy alternative to refined sugars. Its rich flavor can also enhance smoothies and desserts.
- Warm, Comforting Flavors: The combination of apples and classic autumnal spices creates a comforting, aromatic profile that is both nostalgic and deeply satisfying. It’s a taste that evokes cozy evenings and crisp fall days, making it a perfect year-round staple.
Essential Ingredients for Homemade Apple Butter
One of the beauties of this recipe lies in its simplicity, relying on just a handful of wholesome ingredients to create something truly extraordinary. Here’s what you’ll need to gather:
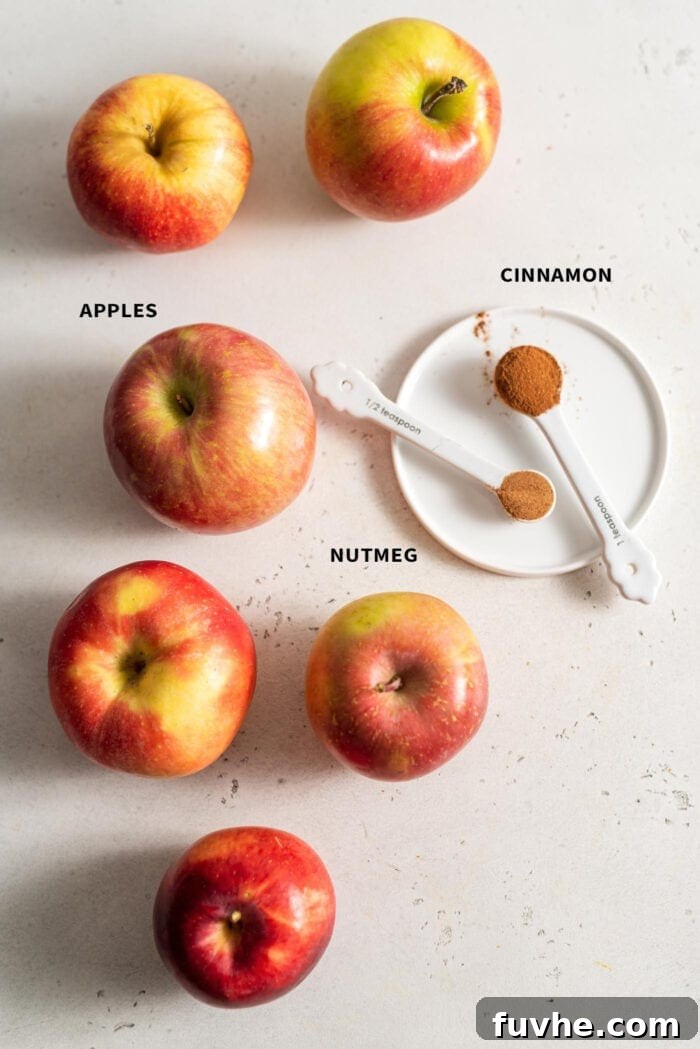
- Apples: The star of our show! While you can certainly use a single variety of apples, I highly recommend using a mix of organic apples to achieve a complex and well-rounded flavor profile. Combining sweet apples (like Fuji, Gala, or Golden Delicious) with tart varieties (such as Granny Smith or Honeycrisp) offers a perfect balance. The exact amount isn’t crucial, but roughly 6-8 medium-sized apples, enough to fill your slow cooker, will yield approximately 2 1/4 cups of finished apple butter. Using a variety not only enhances the flavor but also provides a more interesting texture as different apples break down at slightly different rates. Don’t worry about peeling them – the skins contain pectin, which helps in thickening, and they will soften and blend seamlessly into the butter.
- Cinnamon: This warm, aromatic spice is indispensable for apple butter. Cinnamon beautifully complements and enhances the natural sweetness and tartness of the apples, adding a layer of cozy flavor that makes this spread so irresistible. We’ll be using 2 teaspoons to ensure a rich, comforting aroma and taste throughout the batch.
- Nutmeg (Optional): For an extra depth of autumnal spice, a hint of nutmeg works wonders. While not strictly necessary, adding about 1/2 teaspoon can elevate the overall flavor, giving the apple butter a more complex and traditional taste. If you love warm spices, feel free to include it. You can also experiment with other fall spices like a pinch of ground cloves or allspice for even more nuanced flavor.
Crafting Your Homemade Slow Cooker Apple Butter: A Detailed Guide
Making apple butter from scratch might sound intimidating, but with a slow cooker, it’s a remarkably straightforward and forgiving process. Follow these simple steps to create a batch of rich, flavorful apple butter that will impress everyone.
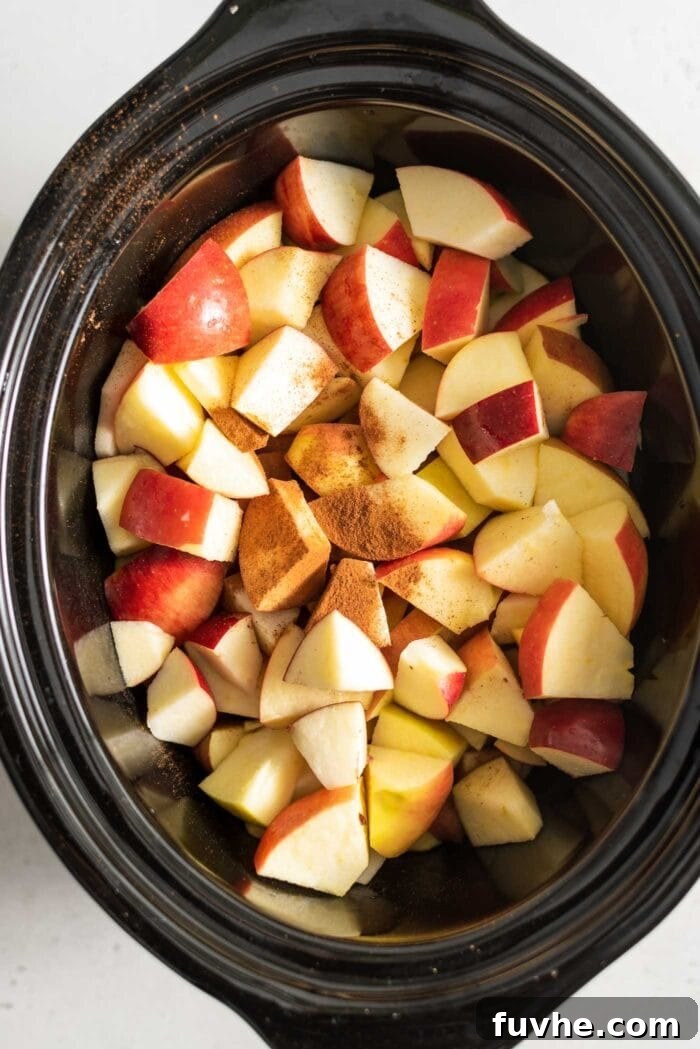
Step 1. Prepare Your Apples. Begin by thoroughly washing your apples to remove any dirt or residue. There’s no need to peel them! The apple skins contain natural pectin, which is beneficial for achieving that desirable thick, spreadable consistency, and they soften beautifully during cooking, blending seamlessly into the final product. Once washed, remove the cores using an apple corer or a knife, then slice the apples into roughly 1-inch chunks. Uniform chunks will help them cook down evenly. Place all the prepared apple chunks directly into your slow cooker.
Why No Peeling? Skipping the peeling step saves a significant amount of time and effort! Beyond convenience, apple peels are rich in fiber and nutrients. During the extended slow cooking and blending process, the peels completely break down, contributing to the rich color and subtly thicker texture of the apple butter without any noticeable skin bits.

Step 2. Infuse with Spices and Begin the First Cook. Once your chopped apples are in the slow cooker, sprinkle in the cinnamon and optional nutmeg. Give everything a good stir to ensure the spices are evenly distributed among the apple chunks. Cover your slow cooker and set it to cook on high for approximately 2 hours. During this initial cooking phase, the apples will soften considerably, release their juices, and become incredibly fragrant. Give the mixture a stir every hour or so to prevent sticking and ensure even cooking.
Sweetness Control – No Added Sugar Needed! This recipe is designed to celebrate the natural sweetness of apples, requiring no additional sugar. The slow cooking process concentrates the apples’ inherent sugars, resulting in a perfectly sweet and flavorful apple butter. However, if you have a preference for a noticeably sweeter taste, particularly if you used more tart apple varieties, feel free to add 2-3 tablespoons of maple syrup or coconut sugar along with the cinnamon and nutmeg in this step. Both are excellent natural sweeteners that complement the apple flavor beautifully. Trust your taste buds, but many find it delightful as is!
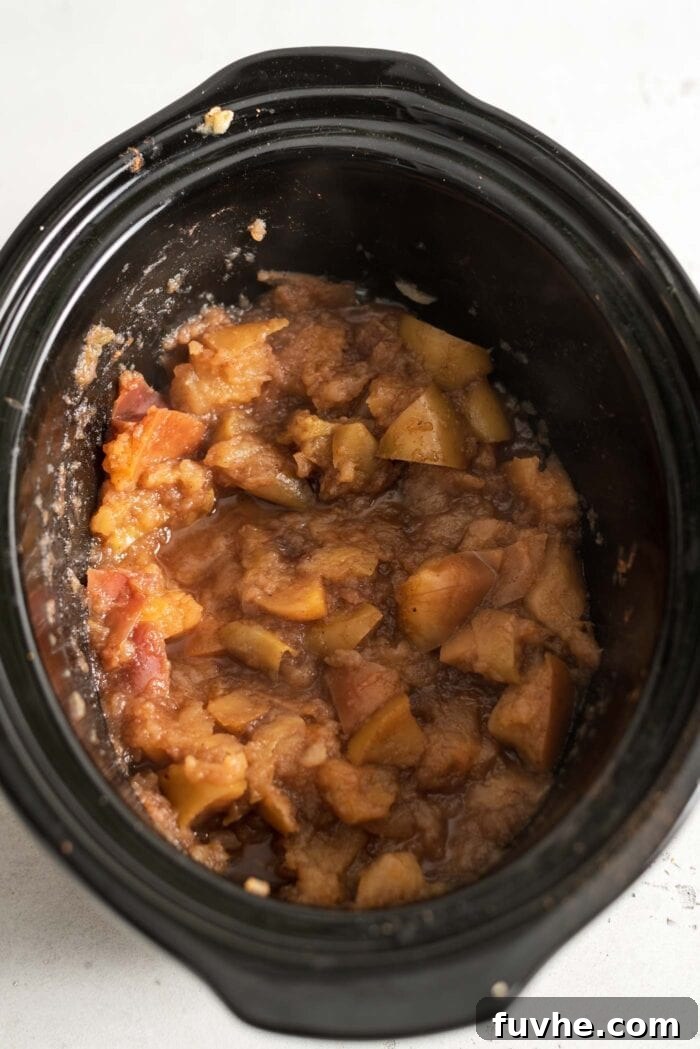
Step 3. Blend into Smooth Applesauce. After the initial 2 hours of cooking, the apples should be very soft and tender. Carefully transfer the cooked apples from the slow cooker into a blender. It’s crucial to exercise caution here as the contents will be extremely hot. Blend the apples until they reach a smooth, applesauce-like consistency. Depending on the volume of apples and the capacity of your blender, you may need to blend in a couple of batches to avoid overfilling. As you blend, be sure to leave the lid slightly ajar or use a blender with a vented lid to allow steam to escape. This prevents pressure buildup, which can be dangerous when blending hot liquids.
Achieving a perfectly smooth texture is key to great apple butter. Blend until all the apple pieces and skins have completely broken down, creating a uniform puree. If your blender struggles, you can add a tablespoon or two of water or apple cider to help it along, but typically, the liquid released by the apples is sufficient.
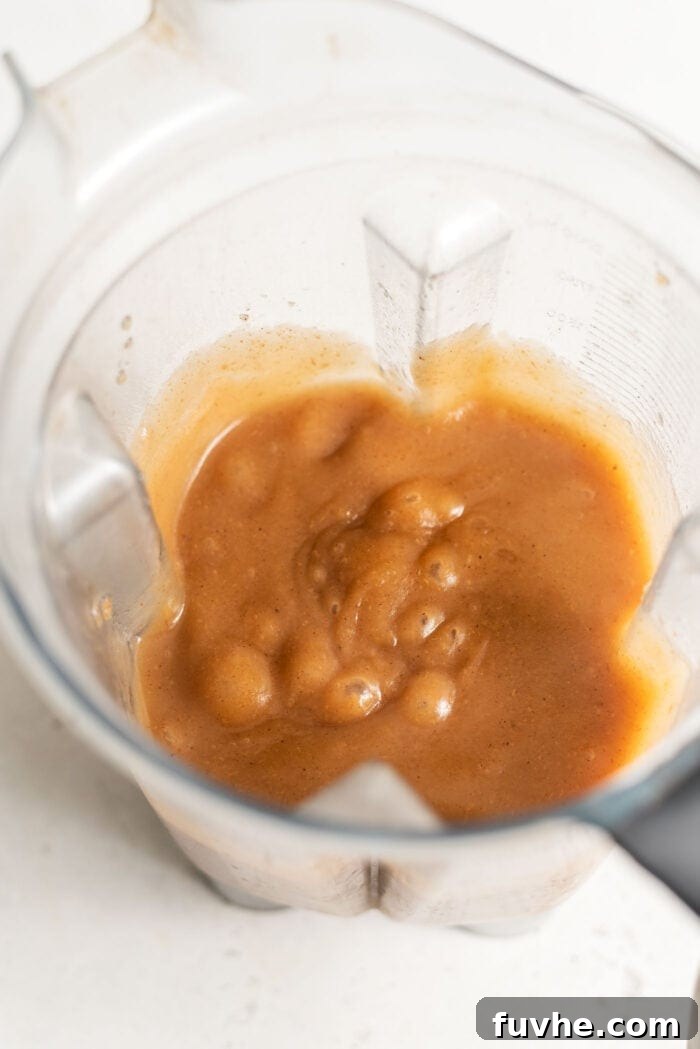
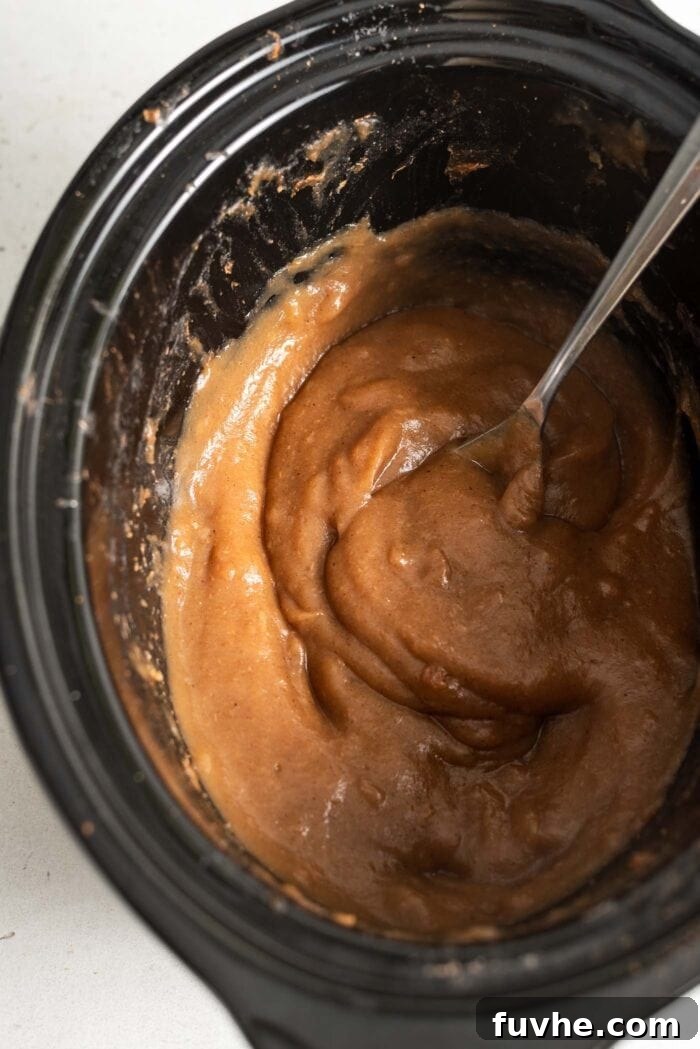
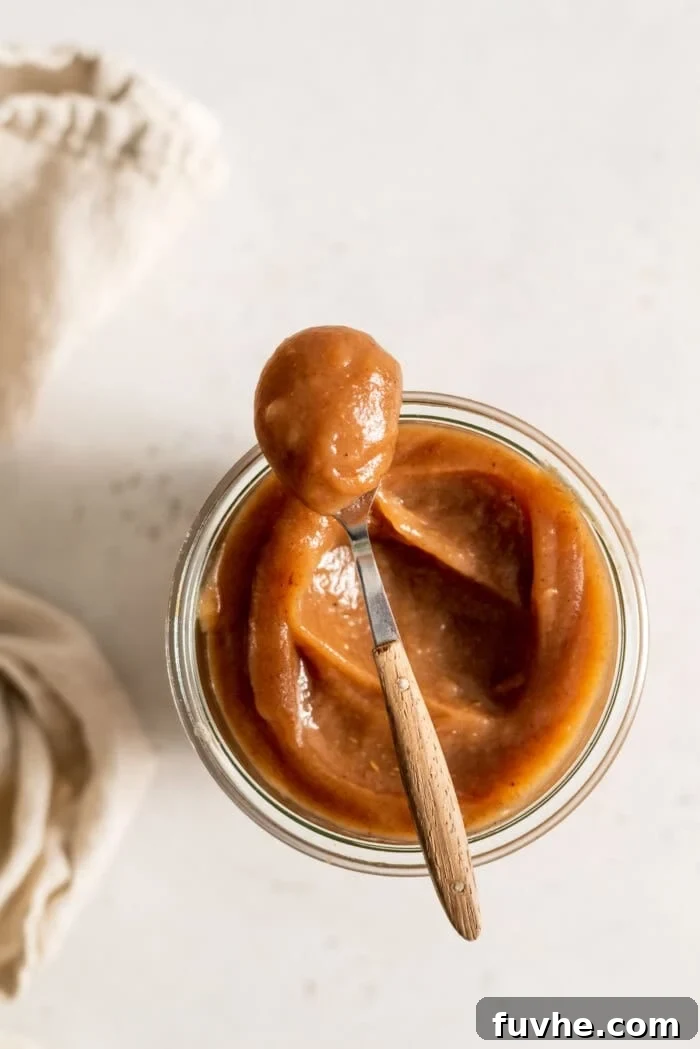
Step 4. Thicken to Apple Butter Perfection. Once blended into a smooth applesauce, pour the mixture back into your slow cooker. At this stage, we’re aiming to evaporate excess moisture to achieve the rich, concentrated consistency characteristic of apple butter. Continue cooking on the low setting for an additional 4-6 hours. The exact time will depend on how thick you prefer your apple butter. Stir occasionally, especially during the last few hours, to prevent scorching and ensure even thickening. You’ll notice the color deepen and the mixture reduce significantly as it thickens. The apple butter is ready when it mounds on a spoon and holds its shape, or passes the “plate test” (a small dollop on a cold plate doesn’t spread).
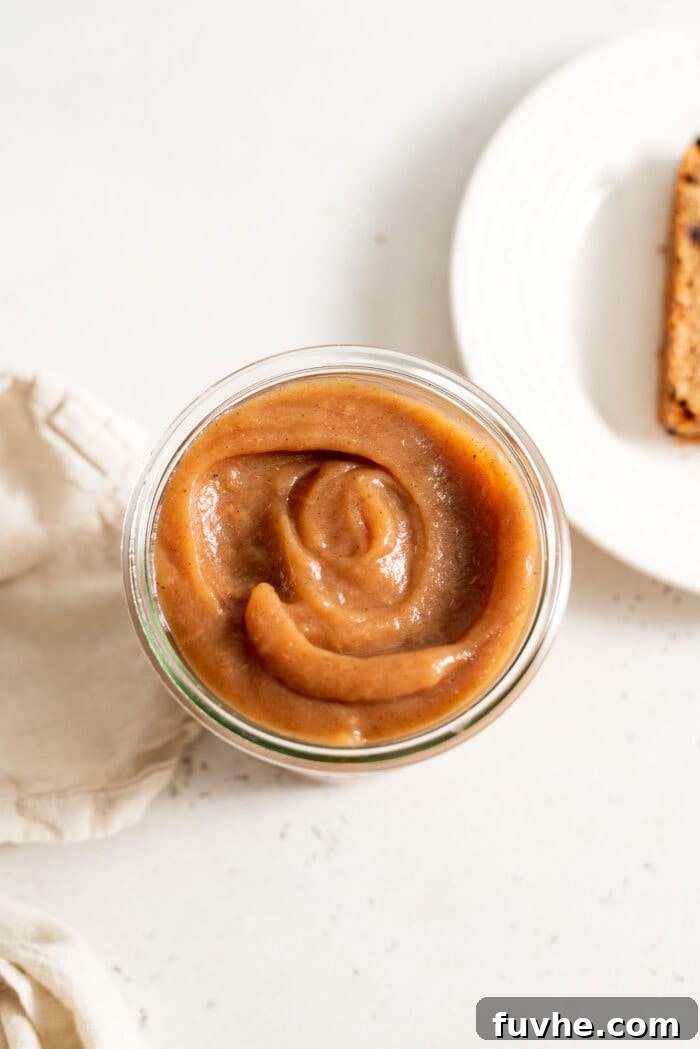
Once your apple butter has reached your desired thickness, turn off the slow cooker. You can either let it cool completely in the slow cooker itself, or transfer it to airtight storage containers to cool. As it cools, the apple butter will thicken even further, achieving that ideal spreadable consistency. This slow, patient reduction is what gives apple butter its unique, intense flavor and velvety texture.
Creative Ways to Enjoy Your Homemade Apple Butter
Once you’ve made a batch of this luscious slow cooker apple butter, you’ll discover its incredible versatility. Its rich, concentrated apple flavor and smooth texture make it a fantastic addition to both sweet and savory dishes. Here are some of our favorite ways to enjoy it:
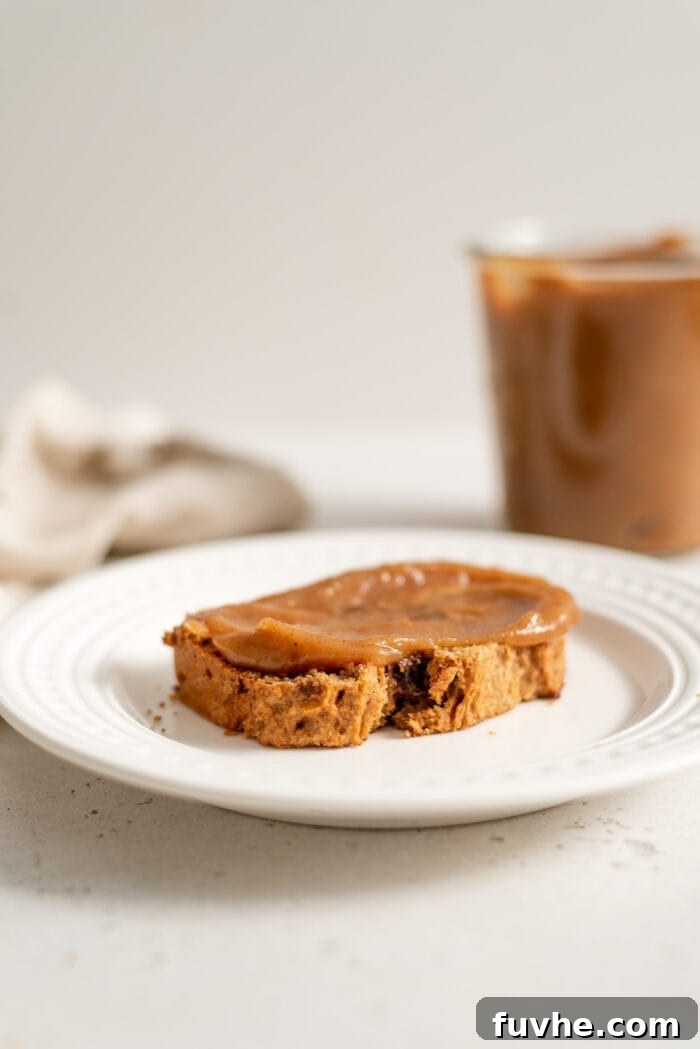
- As a Spread for Toast and Baked Goods: This is arguably the most classic way to enjoy apple butter. Slather a generous spoonful over warm toast, bagels, English muffins, or a freshly baked scone for a delightful breakfast or snack. It’s a wonderful alternative to jam or jelly, offering a deeper, spicier flavor profile.
- On Warm Muffins or Slices of Loaf: Transform a plain muffin or a slice of banana bread, pumpkin bread, or even cornbread by spreading a dollop of apple butter on top. The moist, fruity sweetness complements these baked goods beautifully, adding an extra layer of flavor and moisture.
- Mixed into Oatmeal or Yogurt: Elevate your breakfast routine by stirring apple butter into your morning oatmeal, overnight oats, or a bowl of creamy yogurt. It adds natural sweetness, a boost of fiber, and a comforting apple pie-like flavor. It’s also fantastic swirled into a smoothie for an autumnal twist.
- Used in Baking as an Applesauce Substitute: Apple butter can be used interchangeably with applesauce in many baking recipes, especially for muffins, quick breads, cakes, or cookies. Its more concentrated flavor will add an extra dimension to your baked goods, and it can often reduce the need for added sugar in the recipe.
- Spread Over Pancakes or Waffles: Ditch the traditional maple syrup and drizzle or spread warm apple butter over a stack of fluffy pancakes or crispy waffles. It’s a gourmet topping that provides a burst of fruit flavor and a luxurious texture.
- As a Dip for Fresh Fruit: For a simple and healthy snack, serve apple butter alongside slices of fresh fruit like apples, pears, bananas, or even berries. It makes for an excellent fruit dip, especially for kids!
- Savory Pairings: Don’t limit apple butter to just sweet dishes! It pairs wonderfully with savory meats like pork tenderloin or roasted chicken as a glaze or accompaniment. It can also be incorporated into savory sauces or marinades for a touch of sweet and tangy complexity.
Storing Your Homemade Apple Butter for Freshness
Proper storage is key to enjoying your delicious homemade apple butter for an extended period. Whether you plan to savor it slowly or keep a batch on hand for future use, here are the best practices for refrigeration and freezing:
- Fridge Storage: Once your apple butter has completely cooled to room temperature, transfer it to clean, airtight containers or glass jars. Stored in the refrigerator, it will maintain its freshness and quality for up to 3 weeks. Always ensure the containers are well-sealed to prevent any absorption of odors from other foods in the fridge.
- Freezer Storage: For longer-term preservation, freezing is an excellent option. After the apple butter has cooled completely, transfer it into freezer-safe containers or heavy-duty freezer bags. You can freeze it for up to 3 months. I highly recommend freezing it in smaller, approximately 1-cup portions. This way, you can easily pull out only the amount you need, thaw it in the refrigerator overnight, and have fresh apple butter whenever a craving strikes without defrosting the entire batch. Label your containers with the date to keep track of freshness.
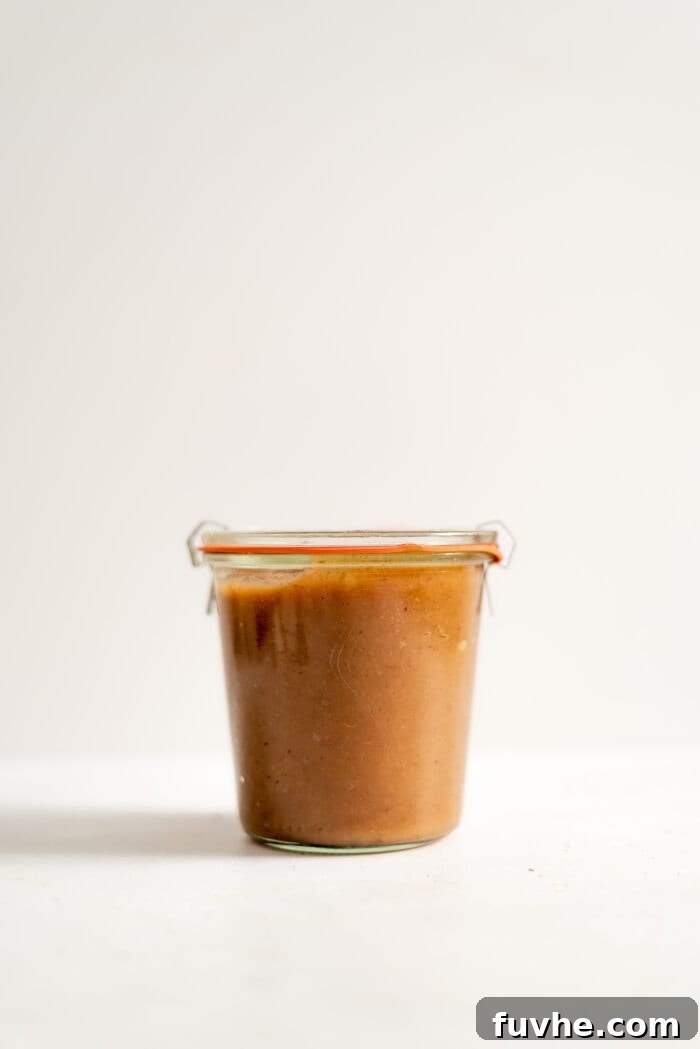
With these storage tips, you can enjoy the delightful flavors of your slow cooker apple butter long after it’s made, ensuring you always have a healthy, homemade spread ready to elevate your meals and snacks.
More Delicious and Healthy Recipes to Explore
If you loved making this easy slow cooker apple butter, you’re sure to enjoy these other wholesome and flavorful recipes. They share similar themes of natural ingredients, simple preparation, and comforting tastes, perfect for expanding your healthy recipe repertoire:
- Homemade Cranberry Sauce: Another simple, naturally sweetened condiment perfect for holidays or everyday meals.
- Apple Pie Overnight Oats: Embrace the cozy flavors of apple pie in a healthy, grab-and-go breakfast.
- Baked Cinnamon Apple Chips: A crunchy, sweet, and healthy snack made from thinly sliced apples.
- Easy Vegan Banana Bread: A moist and flavorful loaf that pairs perfectly with a dollop of apple butter.
- Apple Cinnamon Baked Oatmeal: A hearty and warming breakfast casserole, ideal for meal prepping.
Slow Cooker Apple Butter
Ingredients
- 6-8 apples, or enough to fill your slow cooker
- 2 tsp cinnamon
- 1/2 tsp nutmeg, optional
Instructions
-
Wash, core and chop the apples and add them to a slow cooker.
-
Add the cinnamon and nutmeg.
-
Cook on high for 2 hours then carefully scoop into a blender and blend until smooth. You may have to do this in batches. Be careful as it will be very hot. Make sure you allow the steam to escape as you blend.
-
Add the blended apples back into the slow cooker and cook on low for 4-6 hours until thickened to your liking.
-
Either let the apple butter cool in the slow cooker or transfer to a container and let cool before storing. I just let it sit in the crockpot until completely cool then I transfer it to a storage container and place in the fridge. It will thicken up a little more in the fridge.
-
Store in the fridge in a sealed container for up to 3 weeks.
Notes
Nutrition
Like this recipe? Rate and comment below!