
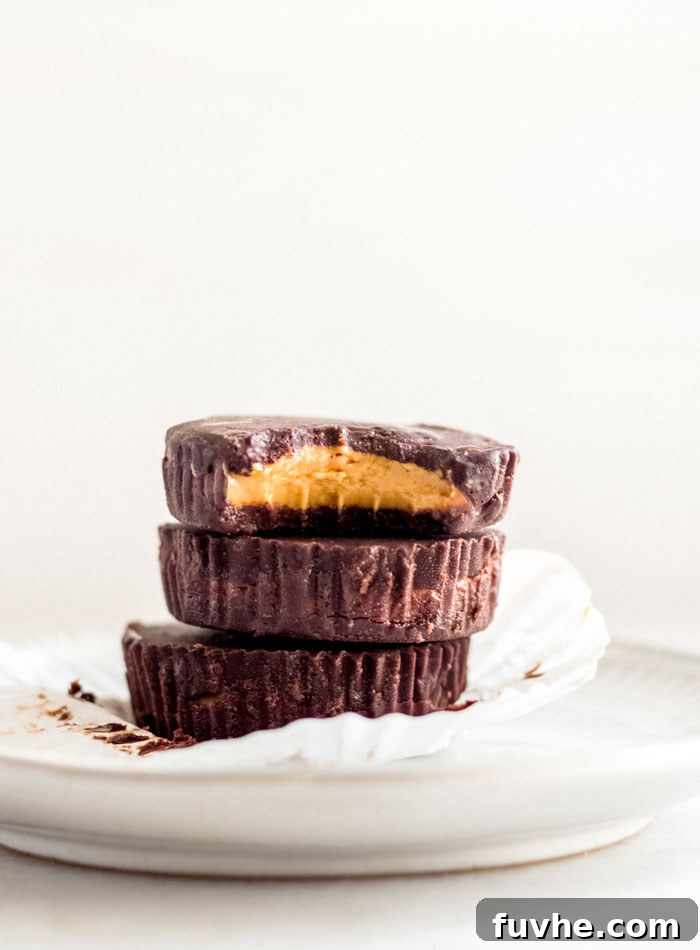
Indulge in the irresistible combination of rich chocolate and creamy peanut butter with these incredibly simple homemade vegan peanut butter cups. Crafted with minimal, wholesome ingredients, these treats capture the authentic taste and texture of your favorite classic, but in a healthier, plant-based form. Whether you’re a long-time vegan, have dietary restrictions, or simply looking for a delicious and easy no-bake dessert, this recipe is guaranteed to become a cherished staple in your kitchen. Prepare to be amazed by how effortless it is to create a delightful sweet and salty experience that rivals any store-bought confection!
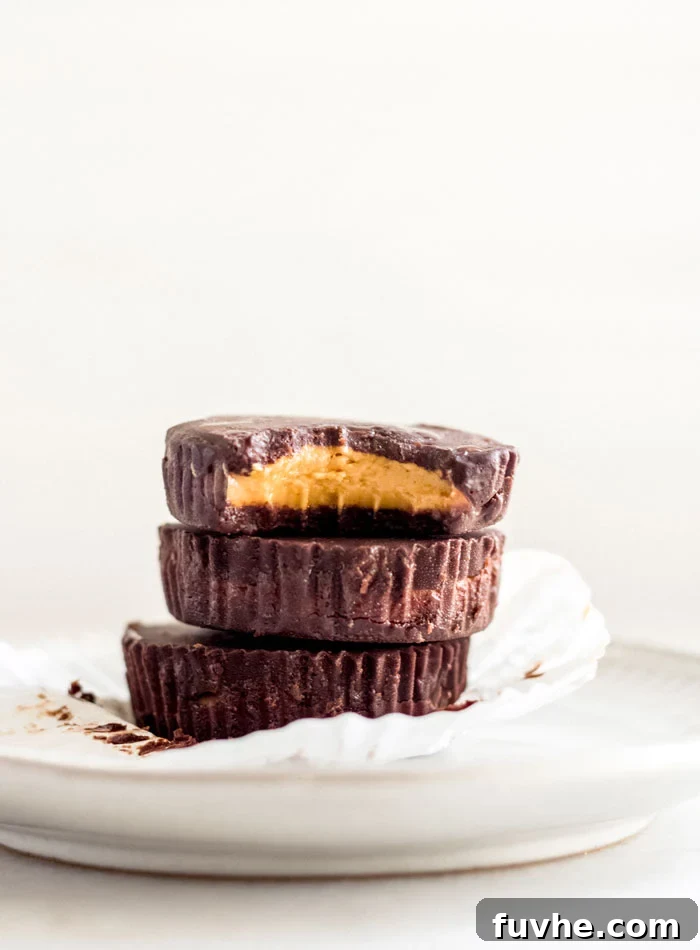
Why You’ll Adore This Recipe: Unveiling the Features
These vegan chocolate peanut butter cups aren’t just a dessert; they’re a revelation for anyone seeking deliciousness without compromise. Here’s what makes them truly special:
- Dietary Inclusivity: This recipe proudly stands as vegan, gluten-free, and refined sugar-free. We use natural sweeteners and plant-based fats, making it suitable for a wide array of dietary needs and preferences. You can enjoy a decadent treat without worrying about common allergens or processed sugars.
- Effortless No-Bake Creation: Forget about preheating ovens and complex baking techniques! These delightful cups require absolutely no baking. With just 5 simple ingredients and a straightforward, hands-on approach, you can whip up a batch in no time. It’s the perfect recipe for beginners or busy individuals craving a quick and satisfying dessert.
- Wholesome, Transparent Ingredients: Take control of what goes into your body. By making these at home, you know exactly what each cup contains. No mysterious additives, preservatives, or artificial flavors – just pure, natural goodness. This commitment to wholesome ingredients not only contributes to a healthier treat but also enhances the natural, rich flavors.
- Authentic Sweet & Salty Balance: The magic of a peanut butter cup lies in its harmonious blend of sweet chocolate and salty, nutty filling. This vegan version masters that balance, offering a taste experience so authentic, you’ll swear it’s the real deal. The subtle saltiness perfectly cuts through the sweetness, creating an incredibly addictive flavor profile.
- Customizable for Every Palate: While delicious as is, this recipe is wonderfully adaptable. Whether you need nut-free options, prefer a different sweetener, or want to experiment with various toppings, these cups provide a fantastic base for culinary creativity.
Essential Ingredients: What You Need & Why
Crafting these delectable vegan chocolate peanut butter cups requires a short list of accessible ingredients, each playing a crucial role in achieving the perfect flavor and texture. Let’s dive into the specifics:
For the Irresistible Chocolate Shell:
- Coconut Oil: This ingredient is non-negotiable and acts as the foundation for both the chocolate shell and the creamy filling. When melted, it blends seamlessly with the other chocolate ingredients, and crucially, it firms up beautifully when chilled, giving our cups their classic snap. Refined coconut oil is recommended as it has a neutral flavor, preventing any unwanted coconut taste. Do not substitute it, as its unique properties are essential for the recipe’s success.
- Pure Maple Syrup: As our natural sweetener, maple syrup provides a delicate sweetness that perfectly complements the rich chocolate and nutty peanut butter. Its liquid consistency also helps achieve a smooth, pourable chocolate mixture. While other liquid sweeteners might technically work, pure maple syrup offers a distinct flavor that enhances the overall profile.
- Unsweetened Cocoa Powder (or Raw Cacao): This is where the deep chocolate flavor comes from. Regular unsweetened cocoa powder works wonderfully, delivering a classic chocolate taste. For a more intense, slightly bitter, and nutrient-dense option, raw cacao powder can be used. Ensure it’s unsweetened to control the sugar content of your cups.
For the Creamy Peanut Butter Filling:
- Natural Creamy Peanut Butter: The heart of this treat! Opt for a natural, creamy peanut butter that contains only peanuts and salt (and sometimes oil). Runnier varieties work best, as they mix more easily into a smooth filling. Avoid highly processed, sweetened peanut butters, as they will alter the texture and sweetness balance. For those with allergies, almond butter or sunflower seed butter (like SunButter) are excellent alternatives to create delicious nut-free versions.
- Nutritional Yeast: This is the secret ingredient that truly elevates these cups from good to extraordinary, mimicking the distinct, slightly salty, and umami flavor of traditional Reese’s cups. I know it might sound unusual in a dessert, but trust me, it works wonders! Nutritional yeast adds a cheesy, nutty depth and a subtle savory note that balances the sweetness and provides that authentic, nostalgic taste. It’s readily available in well-stocked grocery stores, health food stores, and online. Don’t skip it for the best results!
- Coconut Oil (for filling): A small amount of melted coconut oil in the filling helps bind the ingredients, makes it smoother, and allows it to set firmly in the freezer. Just like in the chocolate, its ability to solidify at cold temperatures is key to the filling’s texture.
- Pure Maple Syrup (for filling): Again, maple syrup is used to provide the ideal level of sweetness to the peanut butter filling, ensuring it’s perfectly balanced with the chocolate shell.
- Sea Salt: A pinch of sea salt is crucial for enhancing the flavor of the peanut butter filling, bringing out its nuttiness and creating that delightful sweet and salty contrast that makes these cups so addictive.
Crafting Your Dream Cups: A Detailed Step-by-Step Method
Creating these delightful vegan chocolate peanut butter cups is a straightforward and enjoyable process. Follow these detailed steps to ensure perfect results every time:
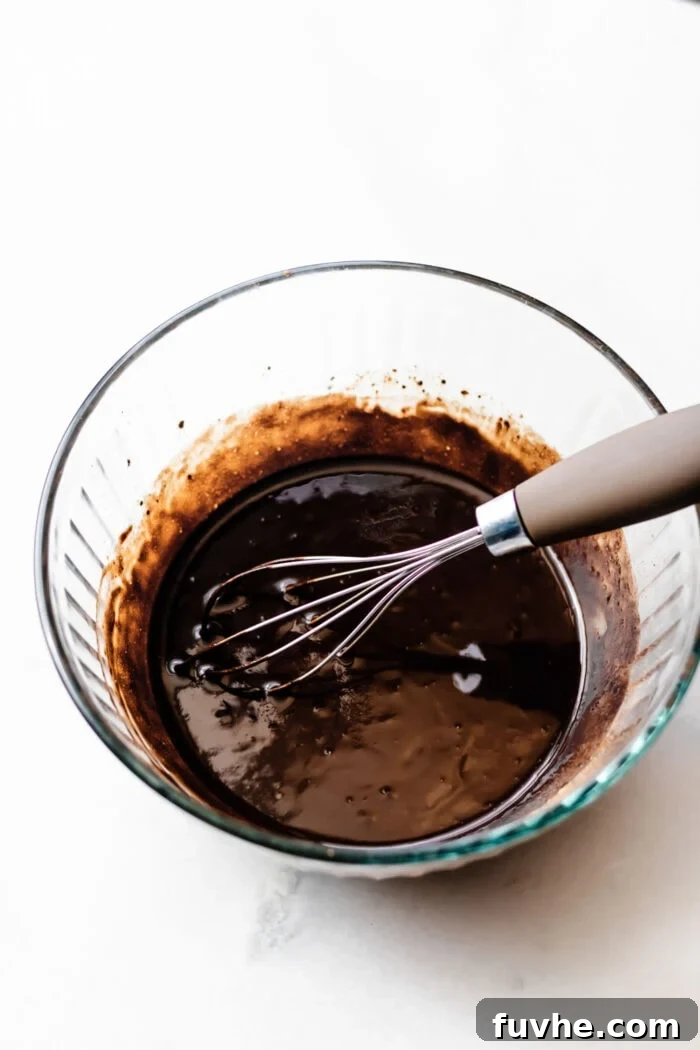
Step 1: Prepare the First Layer of Chocolate Shell. In a medium-sized mixing bowl, gently combine 1/4 cup of melted coconut oil, 3 tablespoons of pure maple syrup, and 1/4 cup of unsweetened cocoa powder. Whisk these ingredients together until the mixture is completely smooth, lump-free, and has a consistent, runny liquid consistency. Ensure all cocoa powder is fully incorporated, as this will result in a beautiful, even chocolate layer.
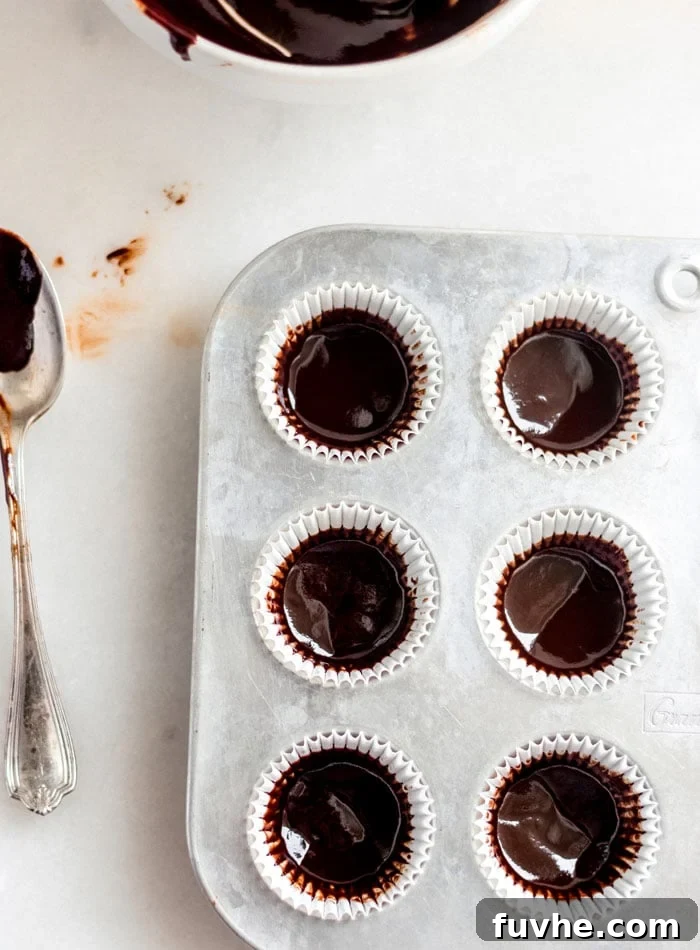
Step 2: Line and Pour the Base Chocolate Layer. Prepare a 12-cup standard muffin tin by lining each well with paper or silicone cupcake liners. If you prefer mini cups, you can use a 24-cup mini muffin tin. Spoon approximately 1/2 to 1 tablespoon of the prepared chocolate mixture into the bottom of each lined muffin cup. Start with about half a tablespoon per cup, then distribute any remaining chocolate evenly among them. For mini cups, aim for about 1 teaspoon per liner. Once filled, carefully place the entire muffin tray into the freezer. This initial chill is vital for hardening the chocolate base, preventing the peanut butter filling from sinking.
Quick Tip: If you don’t have a muffin tin, simply arrange your paper or silicone cupcake liners on a flat plate or baking tray. They will still hold their shape and allow the chocolate to set properly in the freezer.
Step 3: Prepare the Creamy Peanut Butter Filling. While your chocolate bases are firming up in the freezer, it’s time to create the luscious peanut butter filling. In a separate bowl, combine 1 cup of natural creamy peanut butter, 2 tablespoons of melted coconut oil, 1 tablespoon of pure maple syrup, 1/4 teaspoon of sea salt, and 1 tablespoon plus 2 teaspoons of nutritional yeast. Mix these ingredients thoroughly until they are completely combined and form a smooth, uniform paste. The nutritional yeast is key here, adding that signature salty, umami depth.
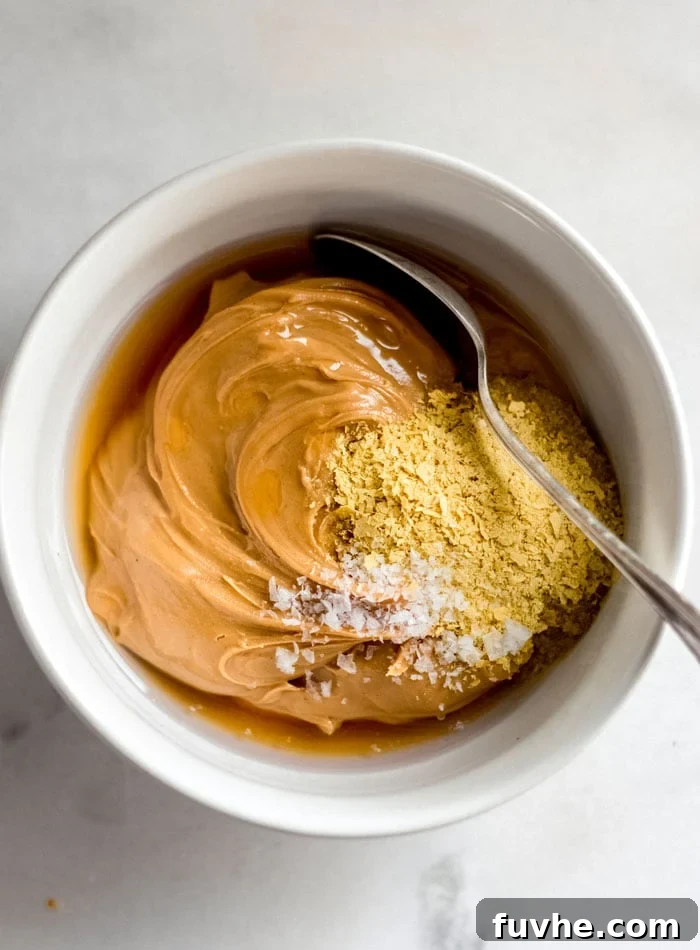
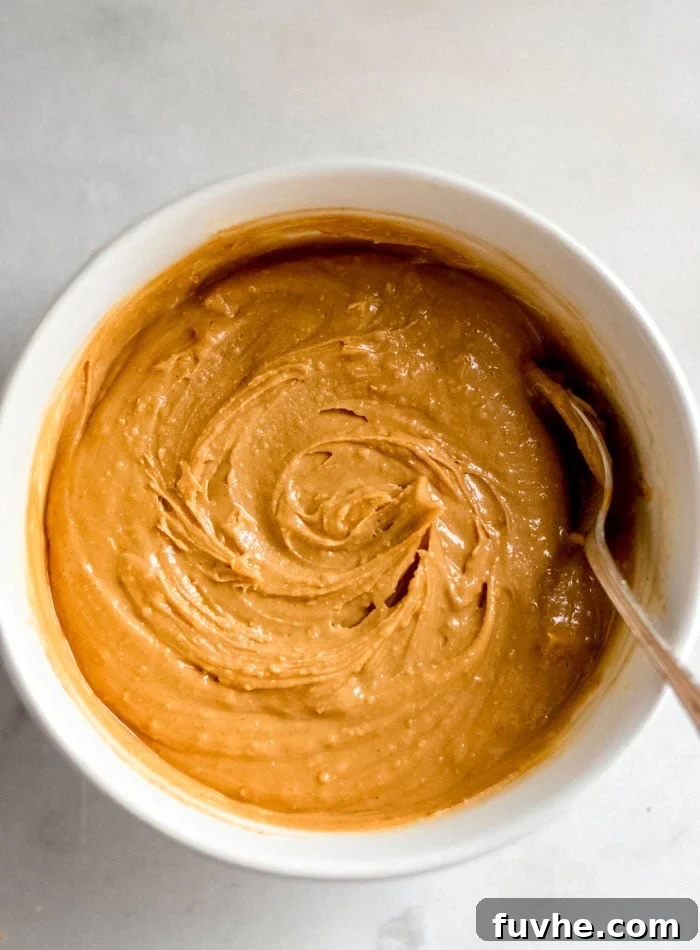
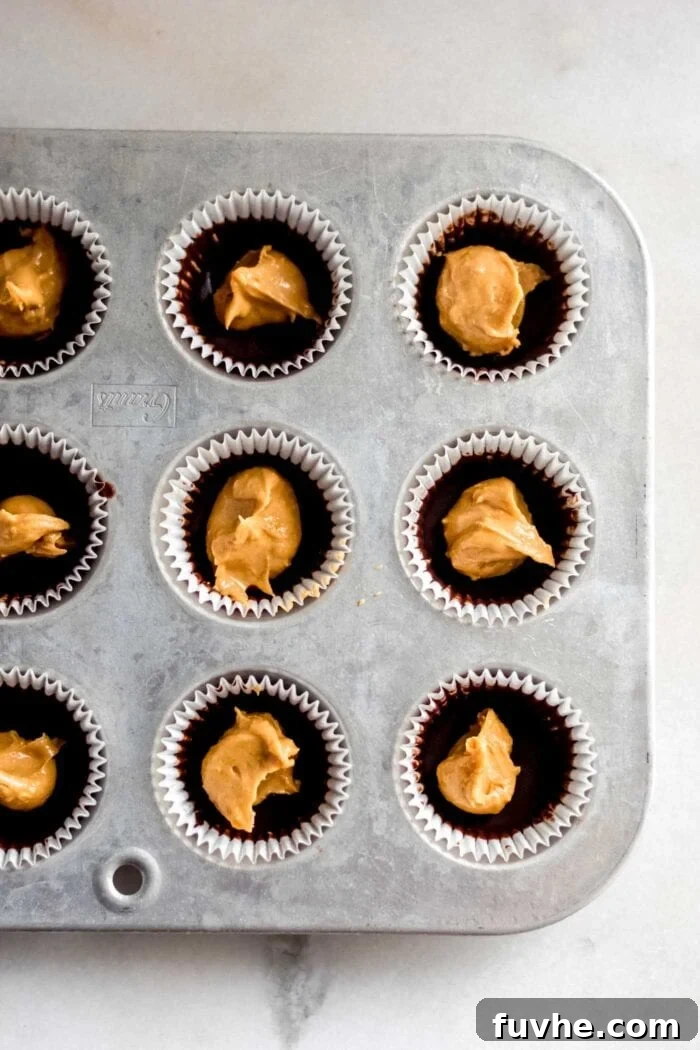
Step 4: Add the Peanut Butter Layer. Retrieve the muffin tin with the hardened chocolate bases from the freezer. Divide the peanut butter mixture evenly among the cups. For standard-sized cups, this will be about 1 heaping tablespoon per cup. Use the back of your spoon or a small spatula to gently spread the peanut butter filling, creating a relatively flat surface over the chocolate layer. Don’t press too hard, as you don’t want to break the delicate chocolate base. Once all cups are filled, return the entire tray to the freezer for approximately 20 minutes to allow the peanut butter layer to firm up. This prevents the top chocolate layer from mixing with the filling.
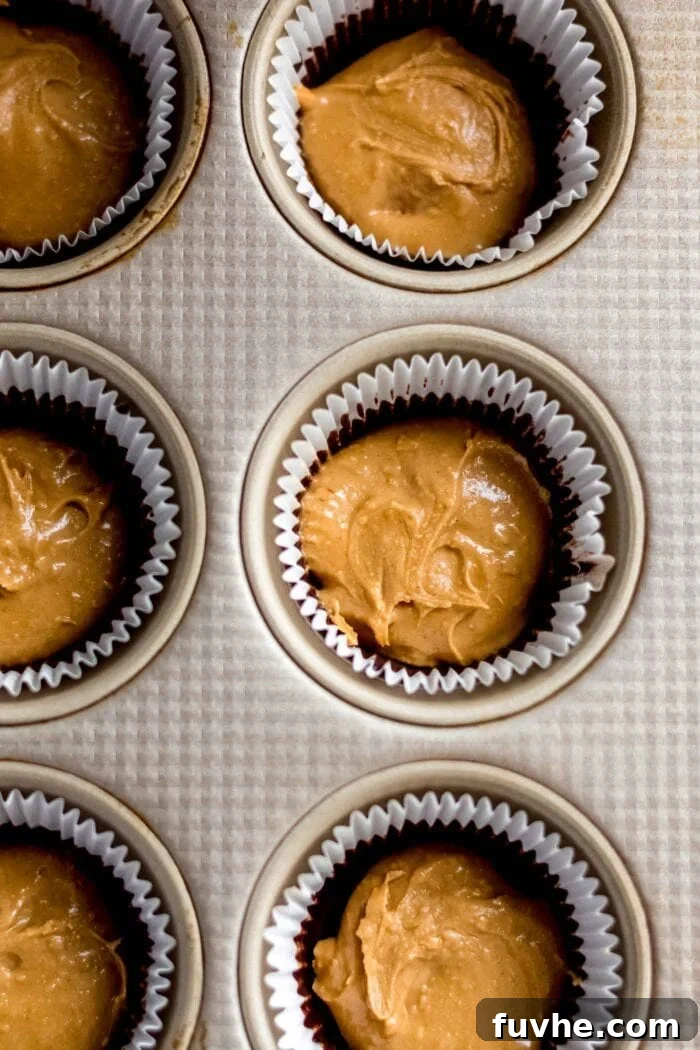
Step 5: Finish with the Top Chocolate Layer. Once the peanut butter filling has firmed up, prepare the second batch of chocolate mixture using the same method as in Step 1 (1/4 cup melted coconut oil, 3 tbsp maple syrup, 1/4 cup cocoa powder). Remove the cups from the freezer. Carefully spoon the freshly mixed chocolate over the peanut butter layer in each cup, ensuring it completely covers the filling. Gently tilt the tray from left to right, and back and forth, to help the chocolate spread evenly and create a smooth, appealing finish. Aim for a full, opaque chocolate topping.
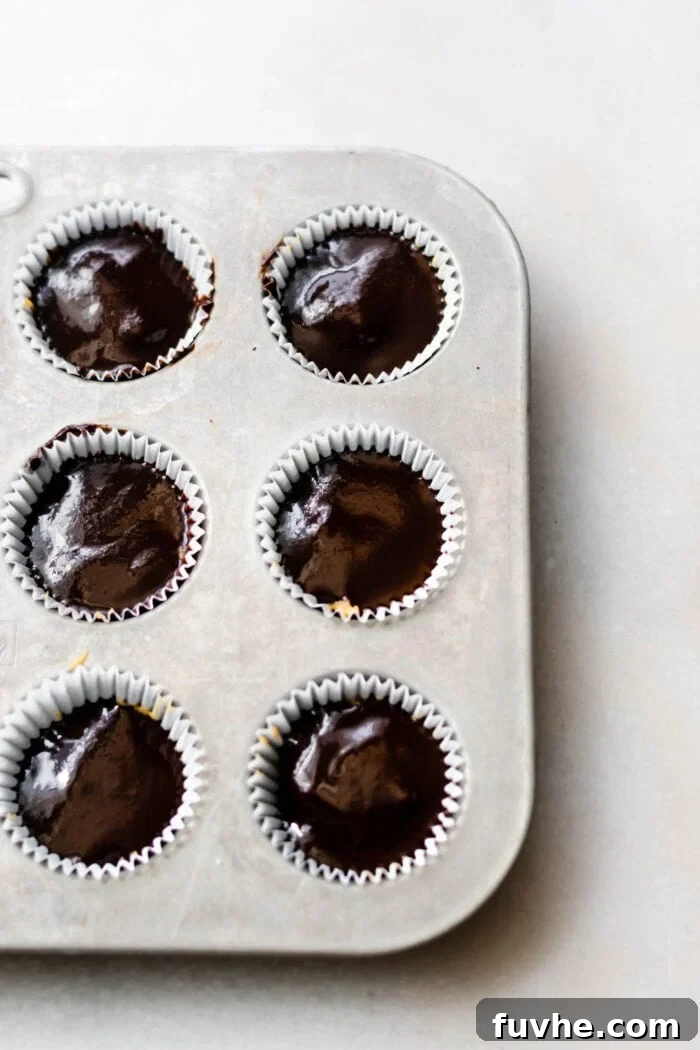
Place the muffin tin back into the freezer for approximately 10-15 minutes, or until the chocolate has completely hardened and the cups are firm to the touch. Once firm, they are ready to be unwrapped and savored!
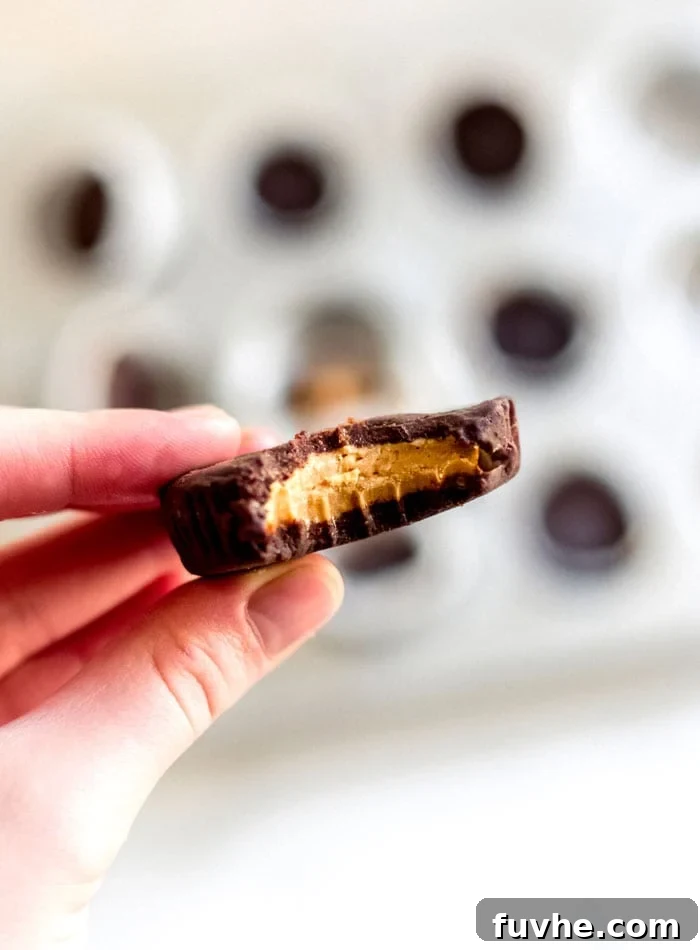
Expert Tips, Customizations, and Storage for Perfect Cups
To ensure your vegan chocolate peanut butter cups are absolutely perfect and to answer any questions you might have, here are some comprehensive tips and notes:
- No Muffin Tin? No Problem! Don’t let the absence of a muffin tin deter you. Standard paper or reusable silicone cupcake liners work just as well. Simply arrange them on a flat plate or a baking sheet before filling, and place the plate or tray directly into the freezer. The cold temperature will ensure the chocolate and filling set firmly, maintaining their shape.
- Peanut-Free and Nut-Free Options for All:
- For a **peanut-free** version, easily swap out the peanut butter for almond butter. Ensure it’s a natural, creamy almond butter for the best texture.
- For a completely **nut-free** option, sunflower seed butter (often sold under brands like SunButter) or Wowbutter are excellent substitutes for peanut butter. They offer a similar creamy consistency and rich flavor profile. You could also explore unique alternatives like my tahini cups for a different, yet equally delicious, experience.
- Optimal Storage for Freshness: These homemade treats are best enjoyed firm and chilled. Store the finished vegan chocolate peanut butter cups in an airtight container in the freezer. They will remain fresh and delicious for up to 2 months. For the ultimate enjoyment, take them straight from the freezer and let them sit for a minute or two before biting in – they’re wonderfully creamy and firm when cold!
- The Critical Role of Coconut Oil: The coconut oil in this recipe is not just for flavor; it’s essential for the structure of the cups. Its unique property of solidifying when cold is what gives the chocolate its crisp snap and the filling its firm texture. Therefore, coconut oil cannot be substituted with other liquid oils. If you prefer not to use coconut oil to make your own chocolate, an alternative is to use pre-made vegan chocolate chips or high-quality dark chocolate (ensure it’s dairy-free). Simply melt the chocolate chips according to package instructions and use that for your layers instead. For more detailed guidance on using melted chocolate chips in no-bake desserts, you can refer to my chocolate caramel cups recipe, which utilizes this method.
- The Magic of Nutritional Yeast Revisited: As highlighted earlier, nutritional yeast is the secret weapon in this recipe. Its unique umami, slightly cheesy, and nutty flavor profile is remarkably effective at mimicking the distinct taste found in classic peanut butter cups. It’s truly what makes these vegan versions taste so authentic to the original. If you’re new to nutritional yeast, don’t be intimidated! It’s a staple in vegan cooking and offers a fantastic nutritional boost. If you find yourself with extra, check out my list of recipes that use nutritional yeast for other delicious ways to incorporate it into your diet.
- Sweetener Adjustments: While pure maple syrup is recommended for its flavor and consistency, if you’re looking for other natural sweetener options, you could experiment with agave nectar. However, note that altering the sweetener might slightly change the final texture and taste.
- Quality of Cocoa Powder: The quality of your cocoa powder significantly impacts the depth of flavor in your chocolate. A high-quality unsweetened cocoa or cacao powder will yield a richer, more profound chocolate taste.
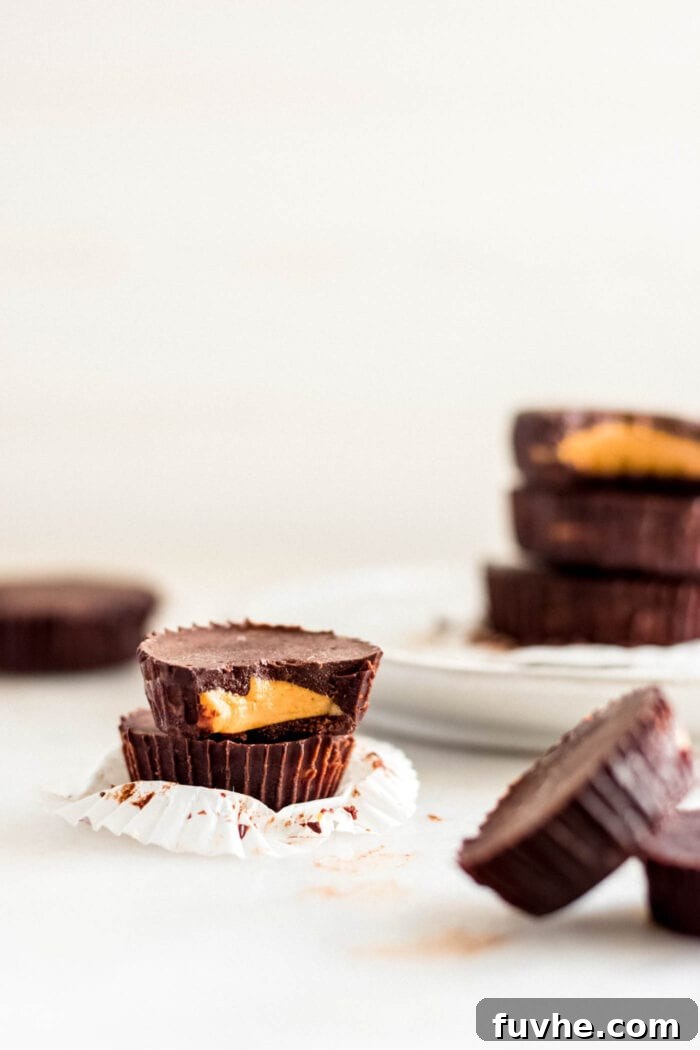
Discover More Delicious Vegan Treats
If you loved these vegan chocolate peanut butter cups, you’re in for a treat! Explore some of our other popular plant-based dessert recipes that are just as easy and satisfying:
- Salted Caramel Tahini Cups
- 2-Ingredient Vegan Chocolate Caramel Cups
- Homemade Snickers
- Homemade Twix Bars
- No-Bake Chocolate Caramel Bars
- Homemade Butterfingers with Corn Flakes
- Homemade Mounds Bars Recipe
- Homemade Reese’s Peanut Butter Eggs
Vegan Chocolate Peanut Butter Cups
Ingredients
For the Chocolate Shell
- 2 x 1/4 cup melted coconut oil
- 2 x 3 tbsp pure maple syrup
- 2 x 1/4 cup unsweetened cocoa powder
For the Creamy Peanut Butter Filling
- 1 cup natural creamy peanut butter
- 2 tbsp melted coconut oil
- 1 tbsp pure maple syrup
- 1/4 tsp sea salt
- 1 tbsp + 2 tsp nutritional yeast
Instructions
-
In a medium bowl, gently mix together 1/4 cup melted coconut oil, 3 tbsp maple syrup, and 1/4 cup unsweetened cocoa powder until smooth and runny.
-
Spoon about 1/2-1 tbsp of this chocolate mixture into each of 12 lined standard muffin cups (or 24 mini cups, starting with 1 tsp each). If you don’t have a muffin tin, place lined cups on a flat plate or tray.
-
Place the entire tray in the freezer for 10 minutes to allow the chocolate base to firm up.
-
While the chocolate chills, prepare the peanut butter filling: In another bowl, mix together 1 cup natural creamy peanut butter, 2 tbsp melted coconut oil, 1 tbsp maple syrup, 1/4 tsp sea salt, and 1 tbsp + 2 tsp nutritional yeast until completely smooth and thoroughly combined.
-
Remove the chocolate cups from the freezer. Spoon approximately 1 heaping tablespoon of the peanut butter filling into each chocolate-lined cup. Gently spread it out to create a relatively flat layer.
-
Return the tray to the freezer for about 20 minutes to firm up the peanut butter layer.
-
Once the peanut butter layer is firm, prepare the second batch of chocolate mixture (1/4 cup melted coconut oil, 3 tbsp maple syrup, 1/4 cup cocoa powder), similar to step 1.
-
Spoon this final chocolate mixture over each peanut butter-filled cup, ensuring full coverage. Gently tilt the tray to help spread the chocolate evenly.
-
Place the cups back in the freezer for a final 10-15 minutes, or until the chocolate is completely set and firm. Then, they are ready to enjoy!
Notes
Peanut-Free and Nut-Free Options: For peanut-free cups, use almond butter instead of peanut butter. For nut-free cups, use sunflower seed butter or Wowbutter. Alternatively, try my tahini cups.
Coconut Oil: Coconut oil is crucial for the chocolate to harden and cannot be substituted. If you prefer, use melted vegan chocolate chips or dark chocolate for the chocolate layers instead of making your own. See my chocolate caramel cups for a recipe using pre-made chocolate.
Nutritional Yeast: This ingredient is key to achieving that classic Reese’s-like salty, nutty flavor and texture. It’s available in health food stores and online. It’s highly recommended; don’t skip it! For more ideas, explore my recipes featuring nutritional yeast.
Nutrition Information
This recipe was originally published on August 13, 2013, and has been updated with fresh photos and expanded text on April 17, 2019, to enhance your cooking experience.
We hope you thoroughly enjoy creating and devouring these incredible vegan chocolate peanut butter cups. They’re a testament to how simple, wholesome ingredients can come together to create truly indulgent and satisfying treats. Don’t hesitate to share your creations and feedback with us!