
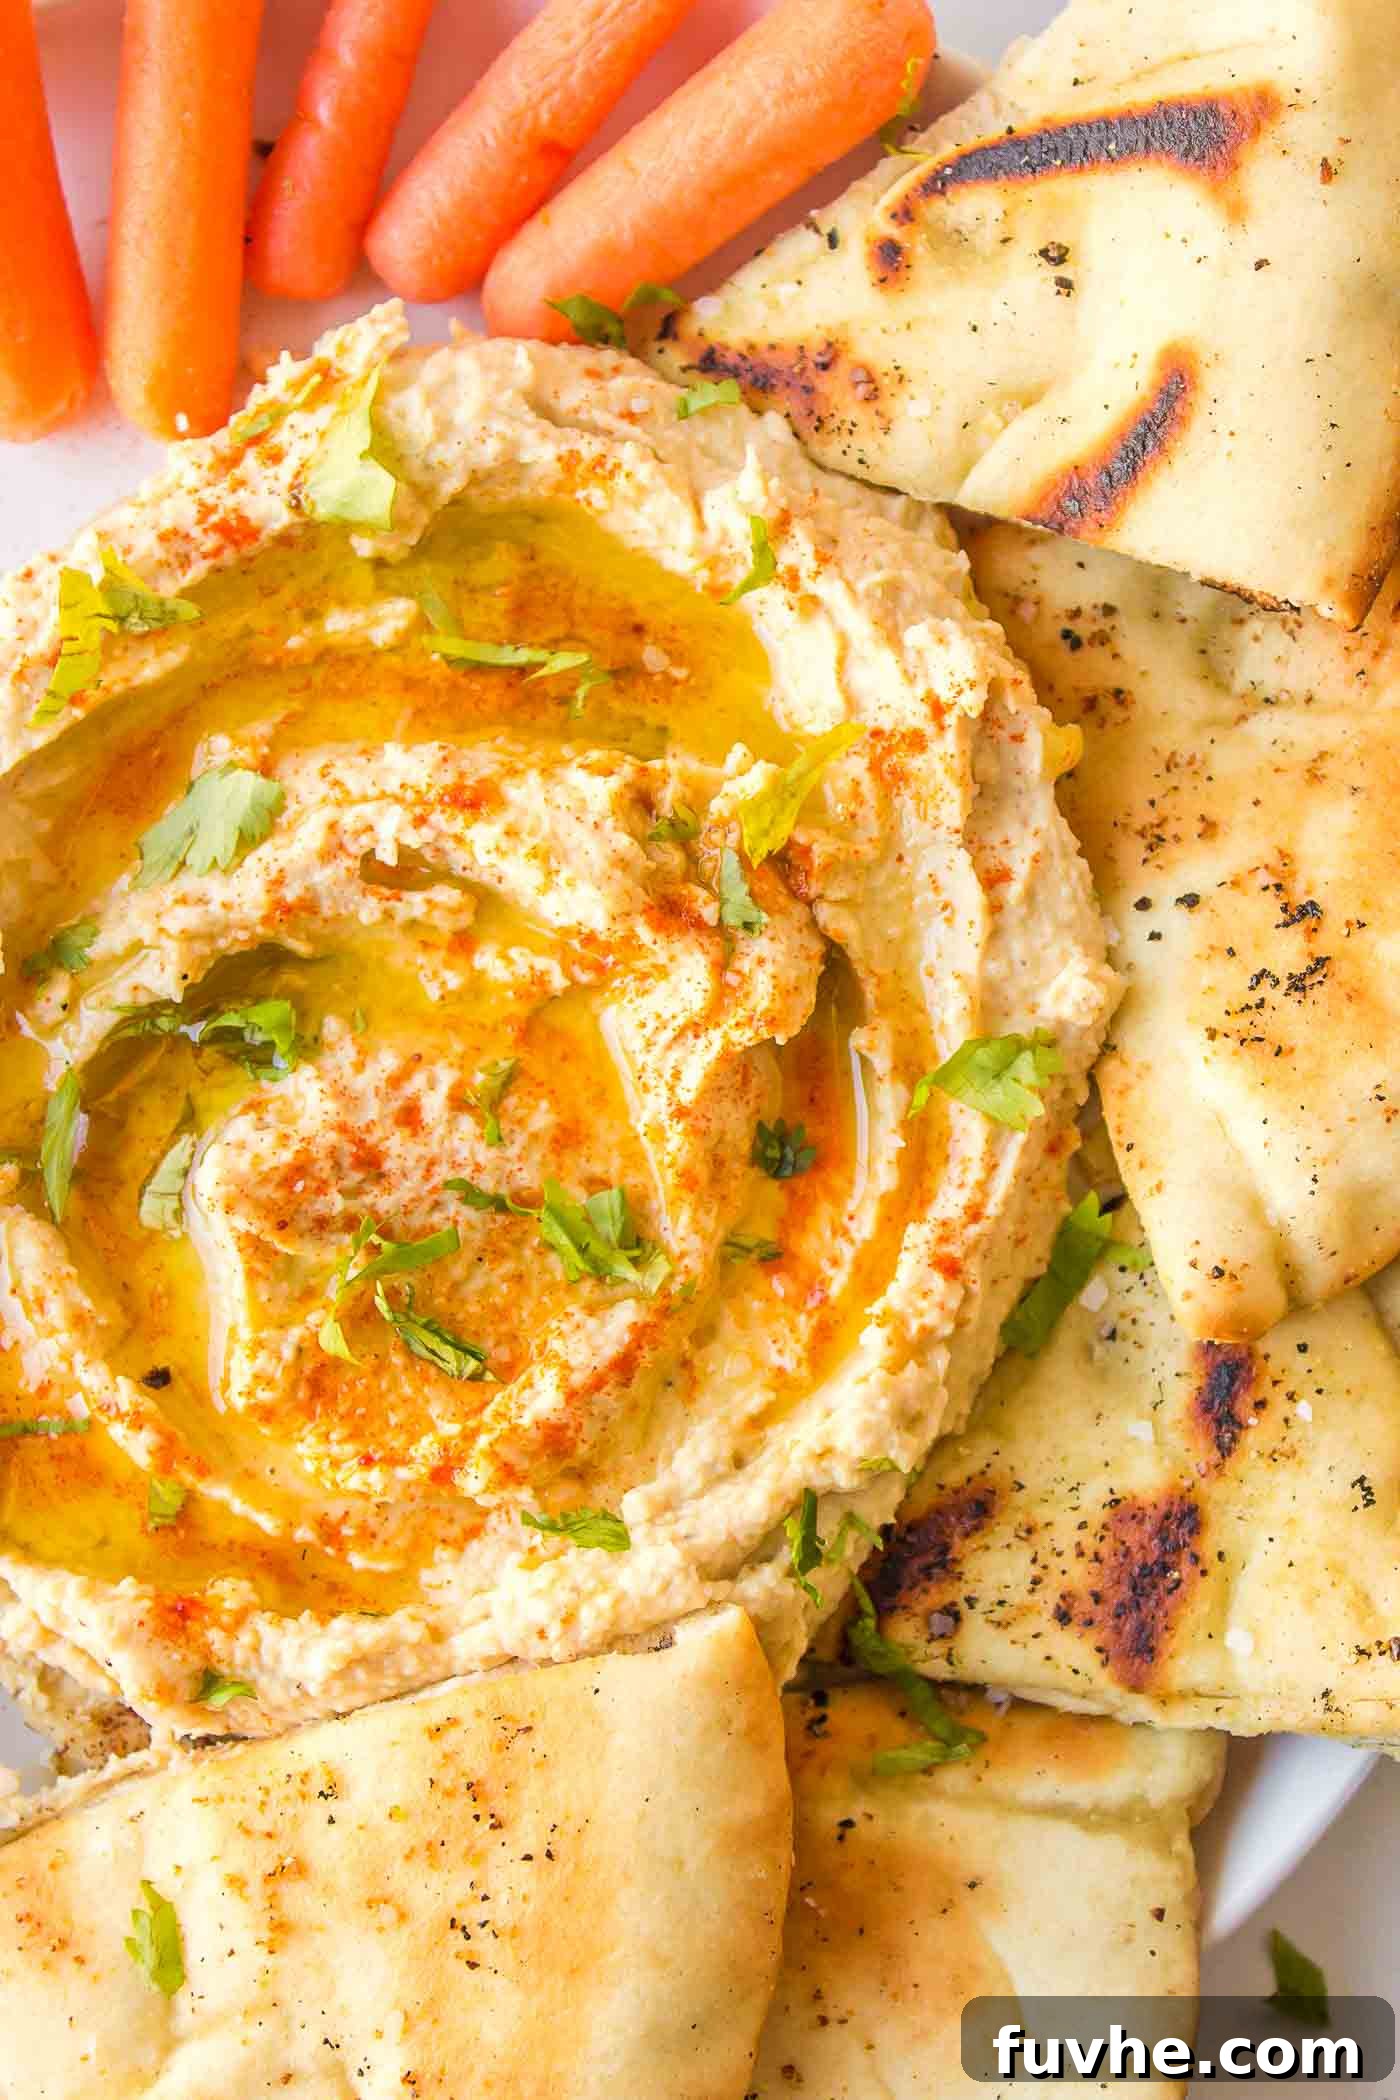
Delicious Homemade Roasted Garlic Hummus Recipe: The Ultimate Creamy Dip
Prepare to elevate your snack game with this incredible homemade roasted garlic hummus recipe! Fresh, intensely flavourful, and packed with wholesome nutrition, this dip is an absolute showstopper that’s guaranteed to be a crowd-pleaser at any gathering. Forget bland, store-bought options – once you taste the rich complexity of this homemade version, you’ll never look back.
The secret to its irresistible taste lies in the roasted garlic. Roasting transforms ordinary garlic cloves into golden, tender gems, imparting a unique nutty, subtly sweet, and wonderfully earthy flavour that deepens the entire hummus experience. If you consider yourself a true garlic enthusiast, this is the hummus recipe you’ve been searching for!
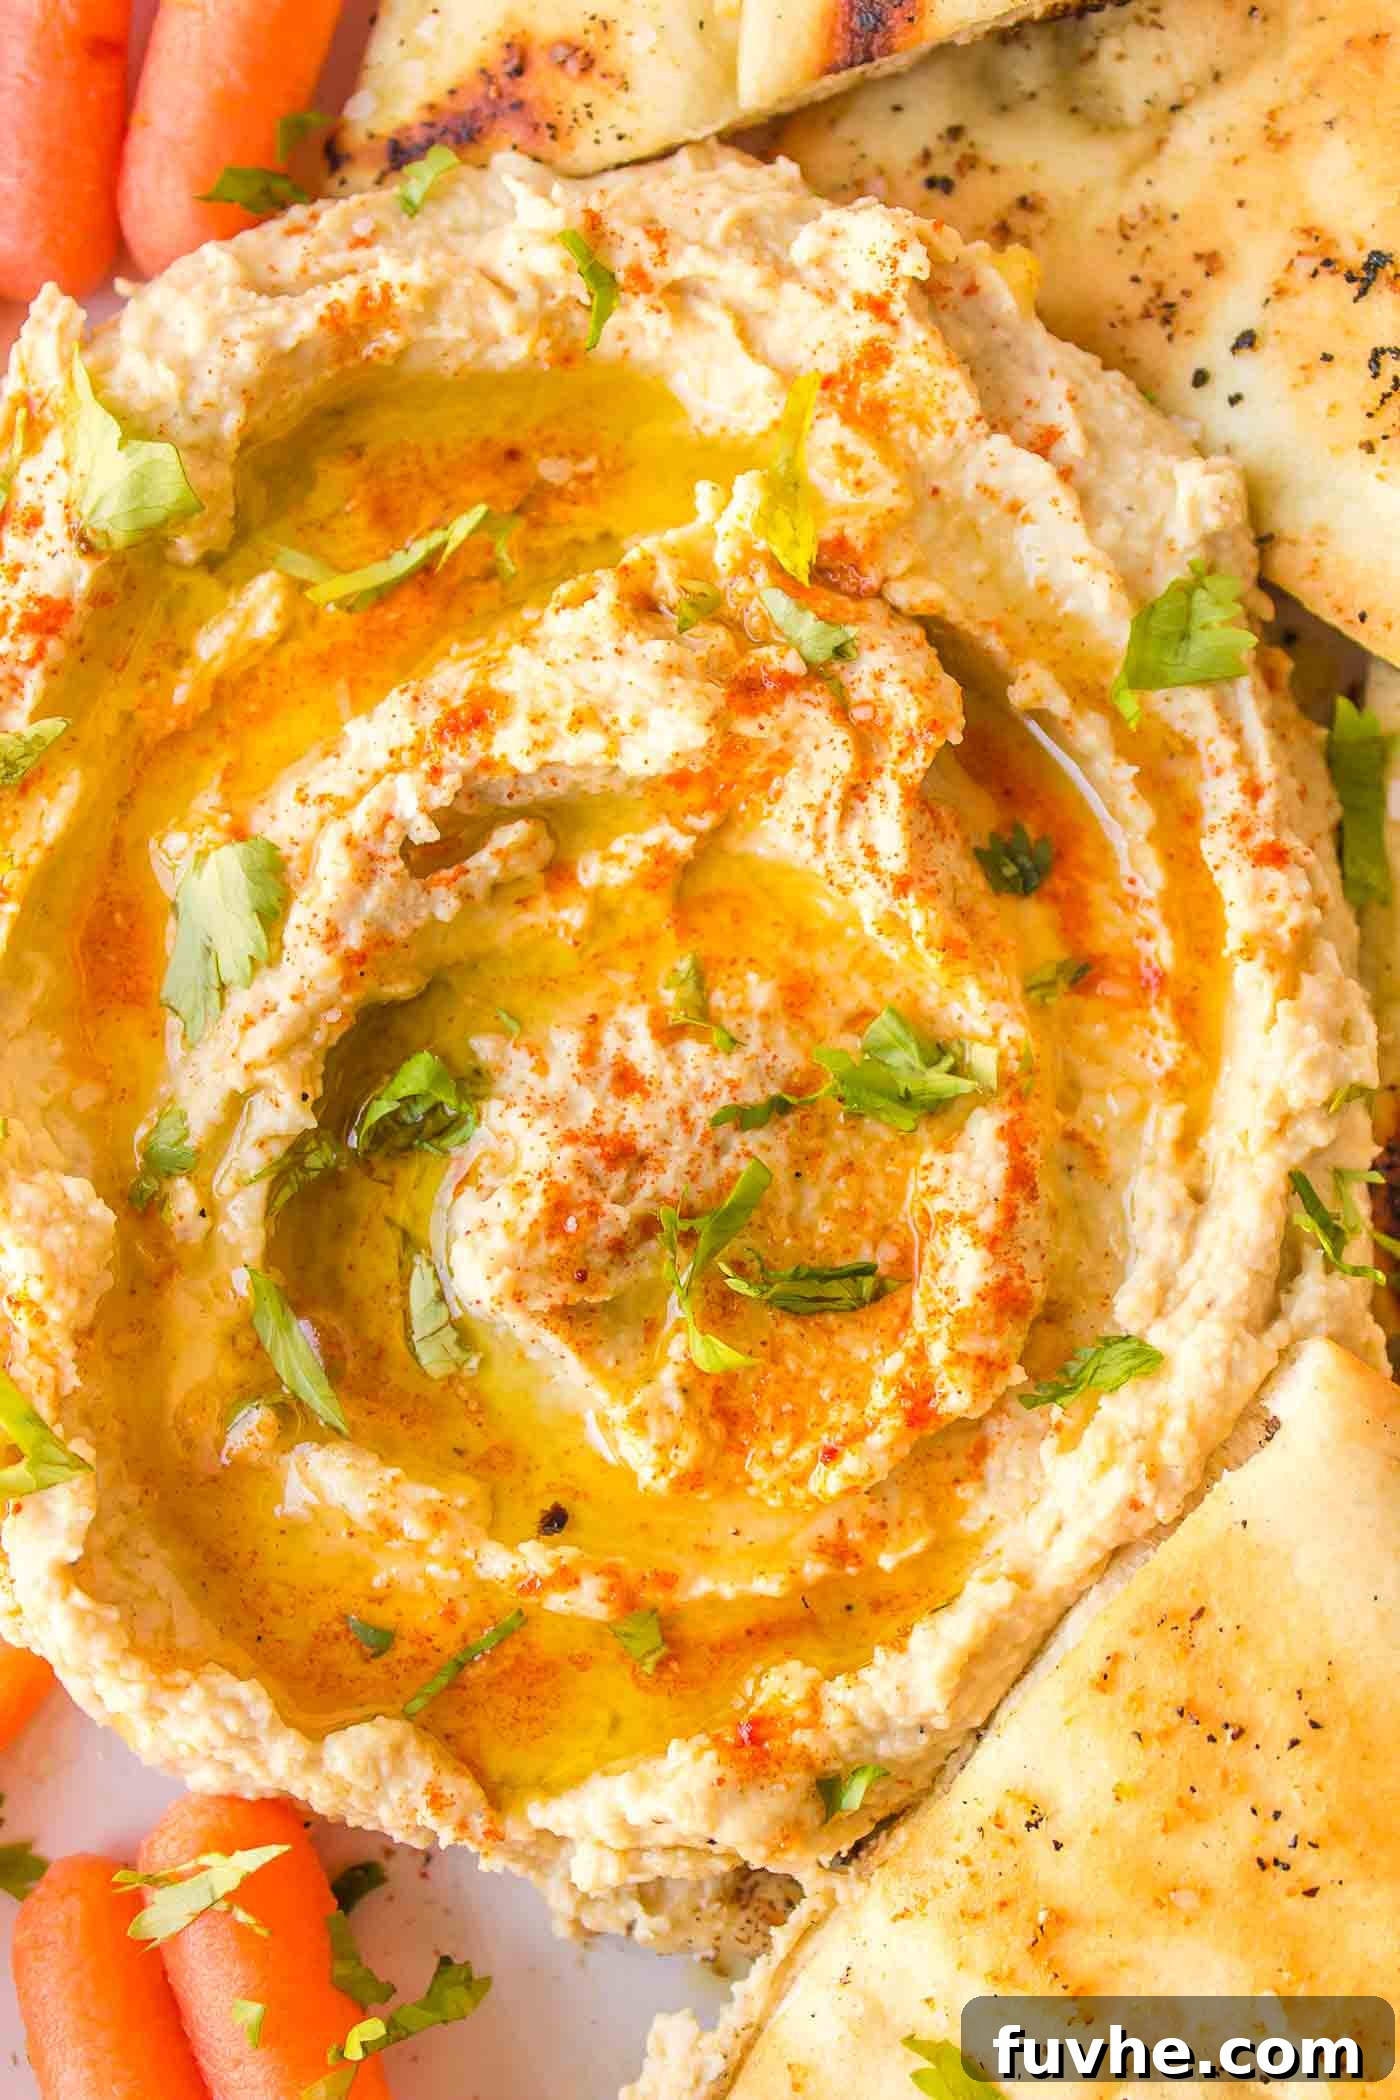
Why You Will Love This Roasted Garlic Hummus
Beyond its incredible taste, this roasted garlic hummus offers a multitude of benefits that make it a perfect addition to your culinary repertoire. It’s not just a dip; it’s a versatile and healthy staple you’ll find yourself making again and again.
- Effortless to Make: Crafted with just 5 essential ingredients, plus a pinch of salt and pepper, this recipe is surprisingly simple to prepare, even for beginner cooks.
- Budget-Friendly: Utilizing pantry staples like chickpeas and tahini, this homemade hummus is a far more economical choice than regularly purchasing pre-made versions.
- Perfect for Meal Prep: It stores beautifully in the refrigerator, making it an ideal candidate for weekly meal prep. Enjoy healthy snacks and quick meal additions throughout the week.
- Naturally Vegan and Gluten-Free: This recipe caters to a variety of dietary needs, making it a healthy and inclusive option for everyone to enjoy.
- Rich in Fibre and Protein: Thanks to the chickpeas, this hummus is a powerhouse of plant-based protein and dietary fibre, contributing to satiety and digestive health.
- Superior Flavor & Texture: The process of roasting garlic and optionally peeling chickpeas results in an exceptionally smooth, creamy, and deeply flavourful hummus that simply can’t be matched by store-bought alternatives.
This roasted garlic hummus is delicious spread generously on toast or crackers for a satisfying savoury snack, tucked into warm pitas and sandwiches for a hearty lunch, or served as a classic appetizer alongside crisp raw vegetables, fluffy pita bread, and crunchy crackers. The rich, zesty flavour from the roasted garlic and bright lemon juice ensures every bite is bursting with taste.
Looking for more exciting hummus variations to explore? Be sure to try our Edamame Hummus, Roasted Red Pepper Hummus, and Roasted Carrot Hummus for equally easy and delicious alternatives!
Key Ingredients for Perfect Roasted Garlic Hummus
Achieving that sublime taste and texture in your homemade hummus starts with quality ingredients. Here’s a closer look at what you’ll need and why each component is vital for creating the best roasted garlic hummus.
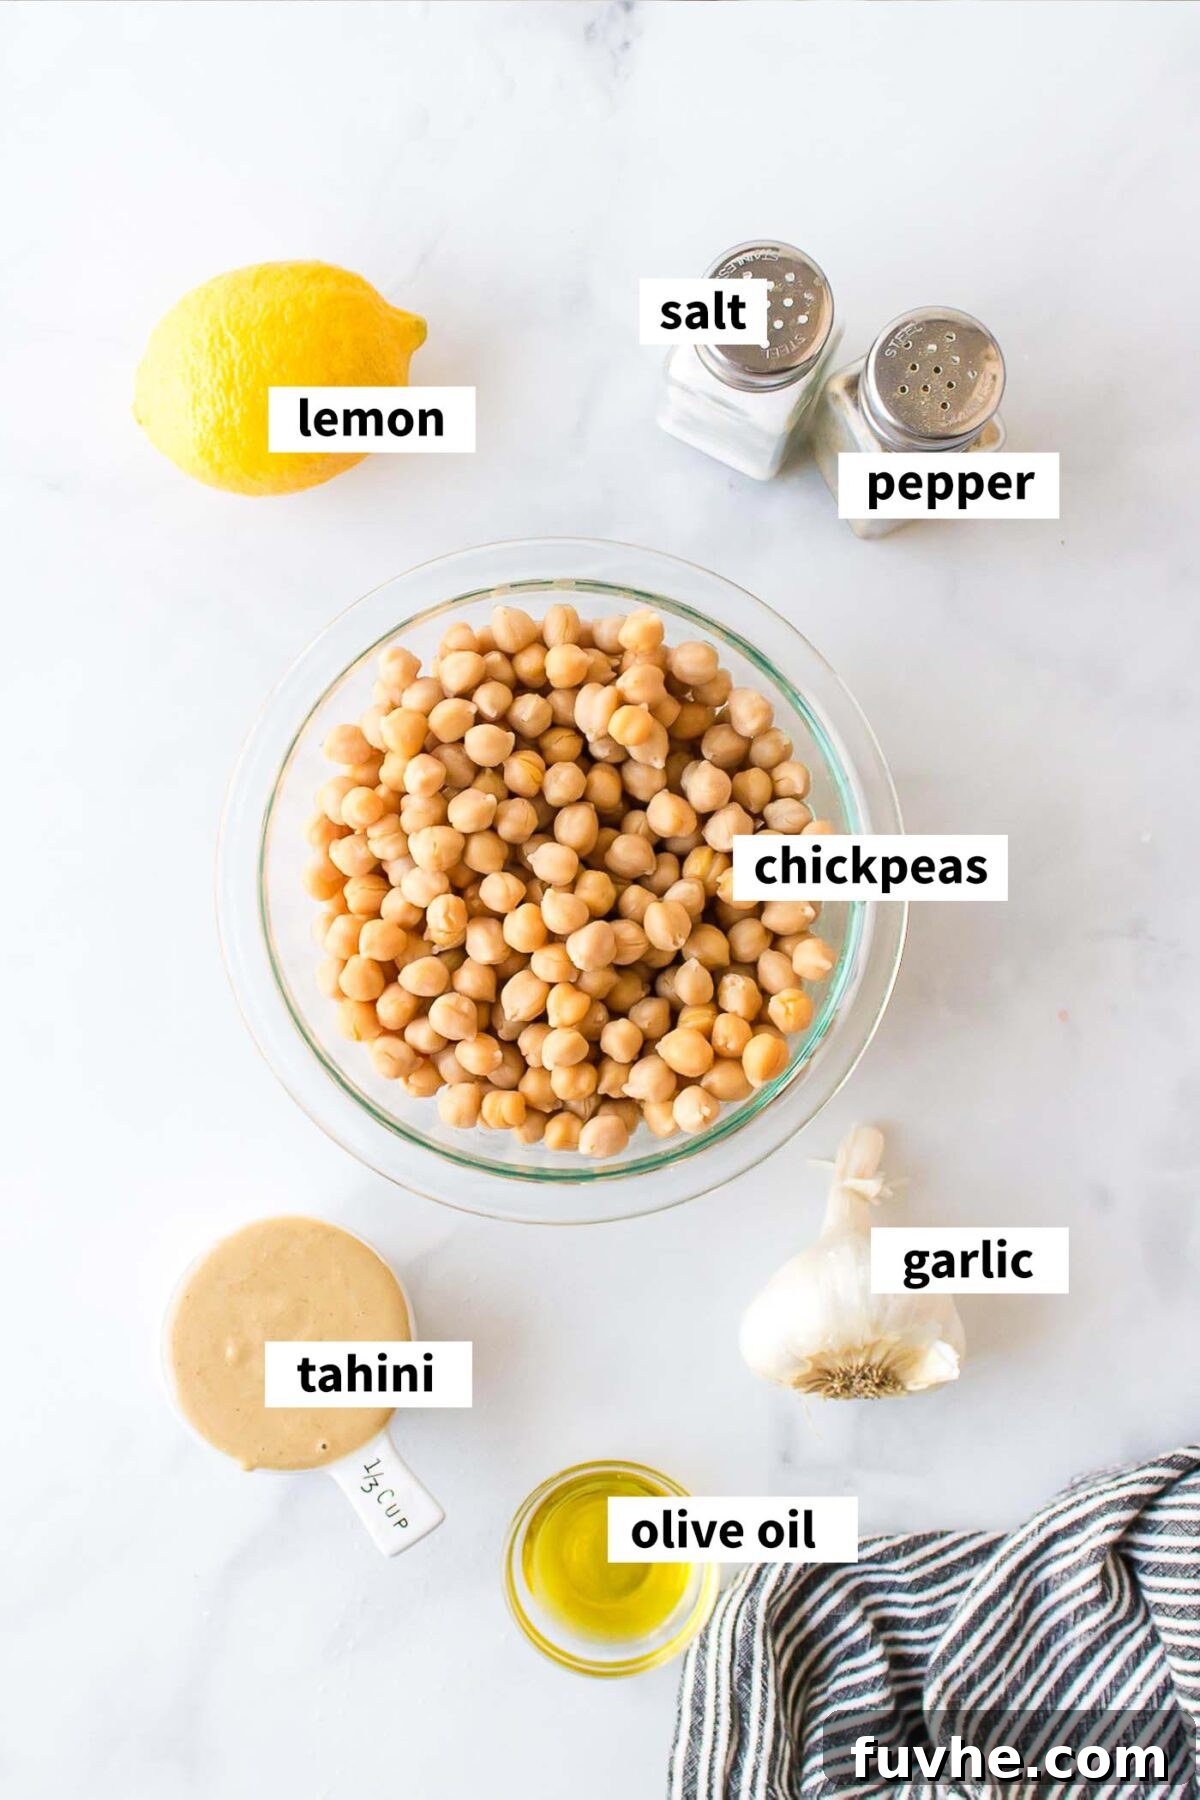
- Chickpeas: The cornerstone of any great hummus. This recipe conveniently calls for canned chickpeas, making it quick and accessible. Remember to drain and rinse them thoroughly. If you prefer to cook chickpeas from scratch, you’ll need approximately 3 cups of cooked chickpeas for this recipe.
- Garlic: The star of this particular hummus! You’ll need a whole head of garlic to roast. Roasting mellows the garlic’s sharp bite, transforming it into a soft, buttery, and slightly sweet delicacy. If you’re a true garlic aficionado, feel free to roast two heads for an extra intense flavour. For a quick alternative, you can skip the roasting and use 3-4 cloves of fresh garlic, though the flavour profile will be different.
- Tahini: Essential for authentic hummus, tahini is a paste made from ground sesame seeds. High-quality tahini should be relatively runny, not overly dry, and possess a slightly sweet, nutty taste without any bitterness. Always check the label to ensure it contains just one ingredient: sesame seeds. The quality of your tahini significantly impacts the smoothness and flavour of your hummus.
- Olive Oil: A good quality extra virgin olive oil is crucial for achieving that wonderfully smooth, creamy, and satisfying texture. It also adds a beautiful depth of flavour. You’ll use a portion for roasting the garlic and the remainder for blending into the hummus.
- Salt and Pepper: These foundational seasonings enhance all the other flavours. The amounts listed in the recipe are a guide; always adjust to your personal taste preferences.
- Lemon Juice: Freshly squeezed lemon juice provides a bright, zesty counterpoint to the richness of the garlic and tahini. You’ll typically need 1-2 fresh lemons to yield the ¼ cup of juice required for this recipe. Always opt for fresh lemon juice over bottled for the best flavour.
The complete ingredient list with precise measurements can be found in the detailed recipe card at the end of this post.
Creative Variations to Customize Your Hummus
While this roasted garlic hummus is perfect as is, it’s also wonderfully adaptable. Feel free to experiment with these delicious variations to suit your taste or dietary needs:
- Nut Butter Alternatives: For a twist on classic tahini, or if you have a sesame allergy, you can substitute tahini with other creamy nut or seed butters. Peanut butter, sunflower seed butter, almond butter, or cashew butter all offer unique flavour profiles and a similar creamy consistency.
- Classic Hummus: If you’re short on time or simply prefer the traditional flavour, you can omit the roasted garlic entirely. Simply use 3-4 cloves of fresh garlic in the blending step for a bright and zesty classic hummus.
- Extra Garlic Topping: For the ultimate garlic lover, roast an extra head or a few extra cloves of garlic. Once cooled, gently squeeze out the soft, sweet cloves and serve them whole or mashed on top of your finished hummus. It adds an extra layer of gourmet appeal and intense roasted flavour.
Step-by-Step Guide: How to Make Roasted Garlic Hummus
Creating this rich and creamy roasted garlic hummus is a straightforward process. Follow these simple steps for a truly exceptional homemade dip.
Step 1: Prepare and Roast the Garlic
The roasting process is key to developing that incredible sweet and nutty garlic flavour. Begin by preheating your oven to 400°F (200°C).
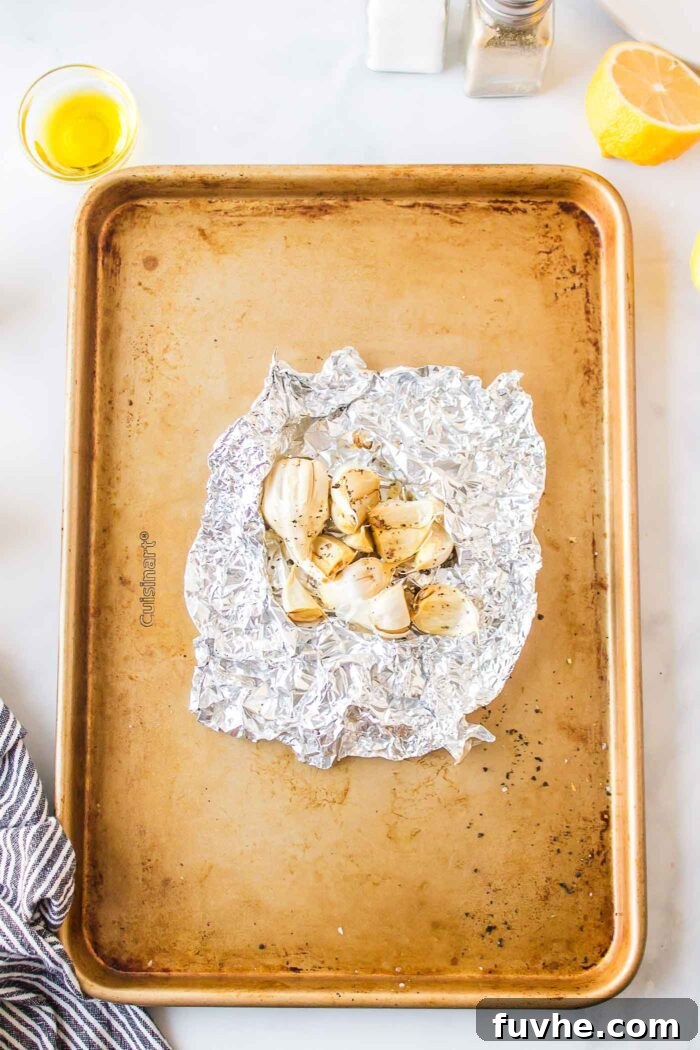
To prepare the garlic, take a whole head and carefully slice off the very top, just enough to expose the tips of the individual cloves. Don’t worry if a few cloves separate during this process. Place the garlic head on a small square of aluminum foil. Drizzle it with 1 tablespoon of olive oil and season generously with a good pinch of salt and black pepper. Wrap the garlic head tightly in the foil, creating a sealed packet.
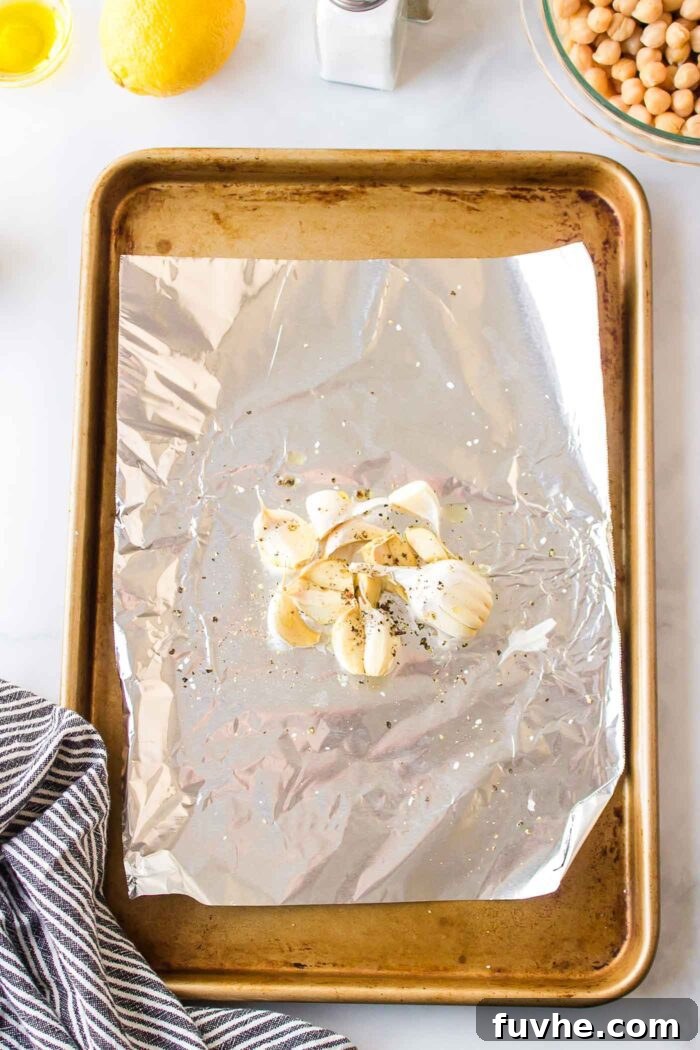
Place the foil-wrapped garlic on a baking sheet and roast in the preheated oven for approximately 30-40 minutes. The garlic should be soft, golden brown, and fragrant. Once roasted, remove it from the oven and let it cool in the foil packet until it’s comfortable enough to handle.
Quick Note: Are you a serious garlic lover? Consider roasting an extra head or a few additional cloves! You can always add more to your hummus if desired, or save any leftover roasted garlic to enhance soups, pasta sauces, mashed potatoes, or even spread on crusty bread. It freezes well too!
Step 2: Boil and Peel the Chickpeas for Ultimate Smoothness (Optional but Recommended)
While this step is technically optional, boiling and peeling the chickpeas is the secret to achieving that wonderfully smooth, creamy, and restaurant-quality hummus texture. If you don’t mind a slightly coarser hummus, you can skip this step and add the drained and rinsed chickpeas directly to your food processor.
If you’re opting for the ultra-smooth method, start by bringing a pot of water to a rolling boil on your stovetop. Add the drained and thoroughly rinsed canned chickpeas to the boiling water. Allow them to boil vigorously for 10 minutes. This softens the chickpeas and helps loosen their skins.
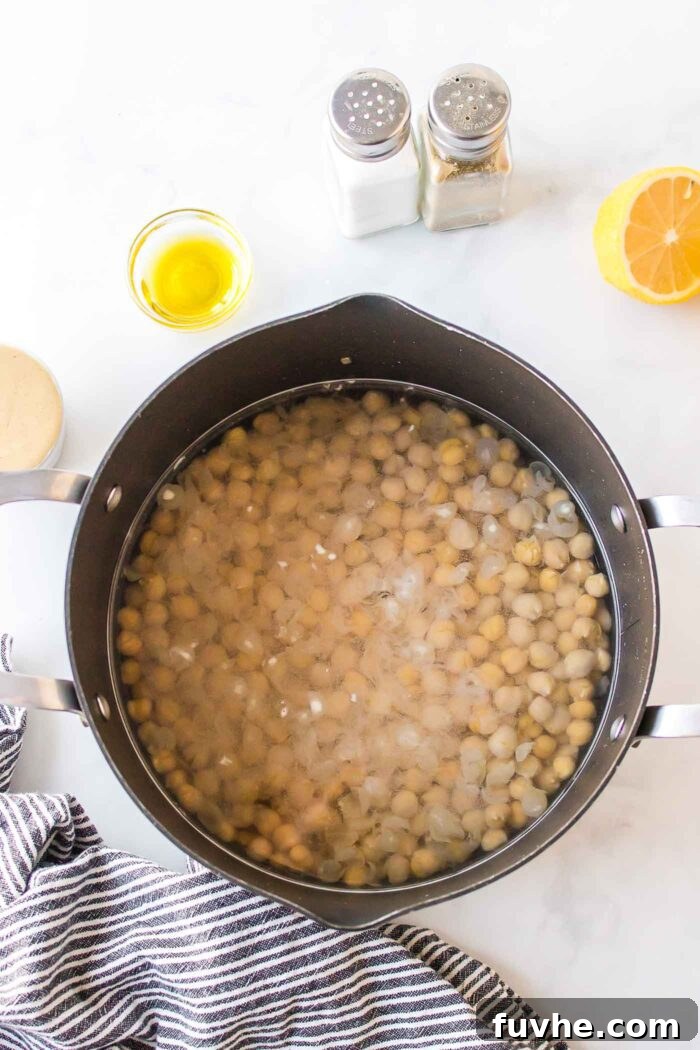
Before draining, be sure to reserve about ½ cup of the hot chickpea cooking water. This liquid is invaluable for achieving the perfect consistency in your hummus later on. Once reserved, drain the chickpeas and immediately transfer them back into the empty pot.
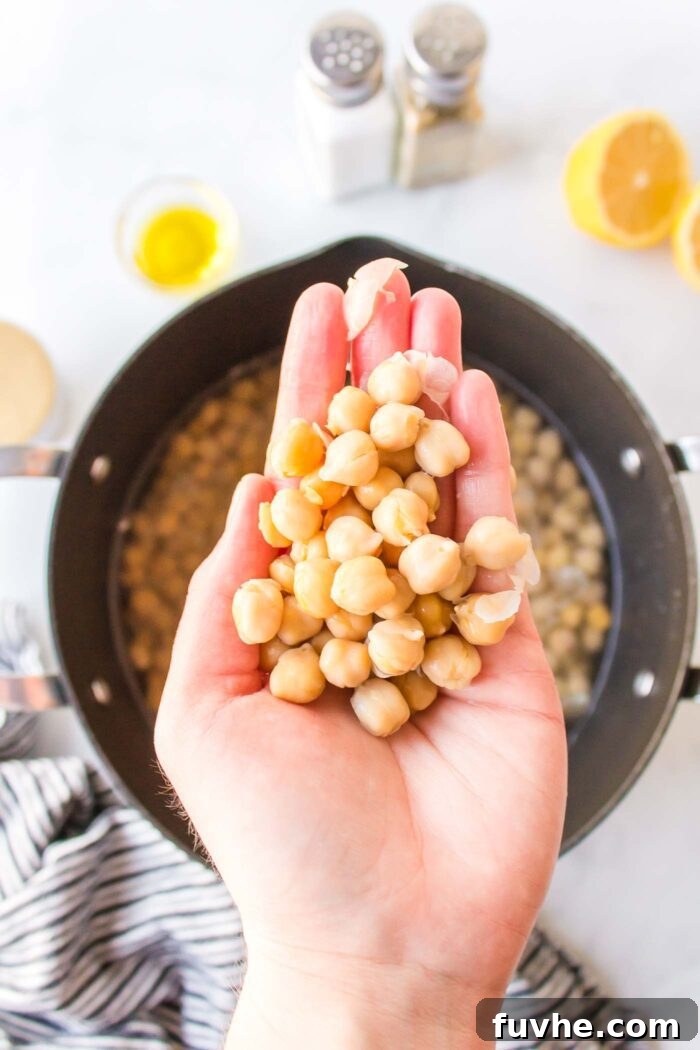
Cover the hot chickpeas with cold water. Using your hands, gently but firmly rub the chickpeas together. The cold water will help separate the skins from the softened chickpeas. You’ll notice the skins floating to the surface. Drain the chickpeas again and remove as many floating skins as you can. Don’t stress if a few skins remain; the hummus will still be incredibly smooth.
Quick Tip: Another method for removing skins is to roll the boiled chickpeas around in a clean dish towel. However, many find the cold water method slightly less messy and just as effective.
Step 3: Blend Your Hummus to Creamy Perfection
Now comes the exciting part – transforming your ingredients into glorious hummus! Take your cooled roasted garlic head and, using your fingers, gently squeeze the soft, caramelized cloves directly into the bowl of your food processor. Start with 4-5 cloves, or add more if you prefer a stronger garlic flavour.
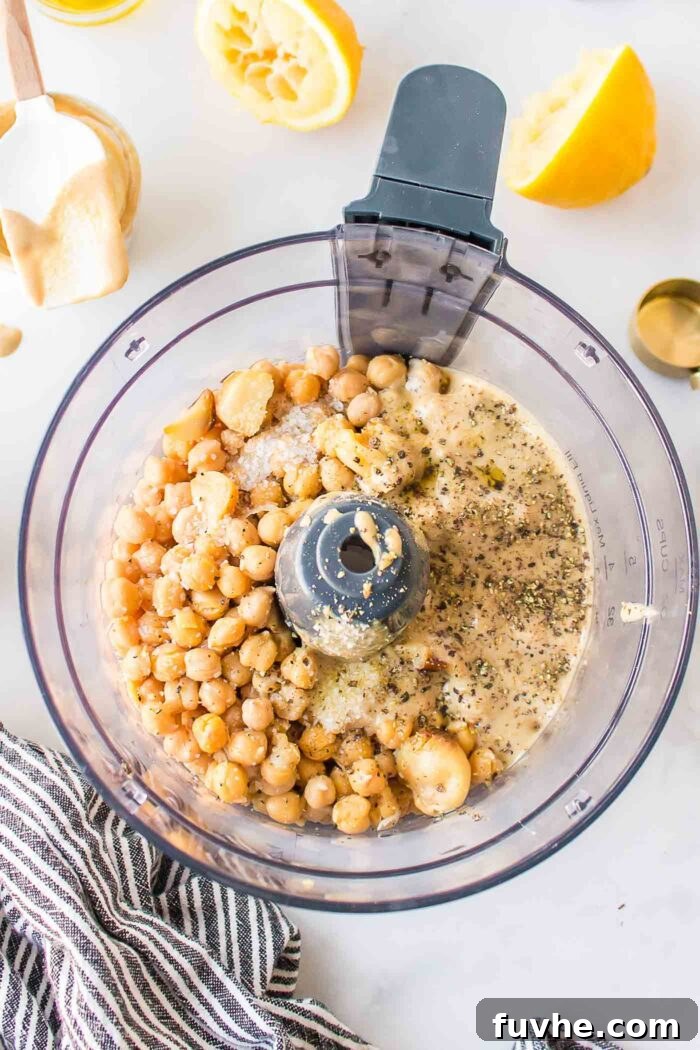
Add the prepared chickpeas, salt, black pepper, fresh lemon juice, the remaining 2 tablespoons of olive oil, and the tahini to the food processor. Secure the lid and begin to blend. Process the mixture until it starts to become smooth.
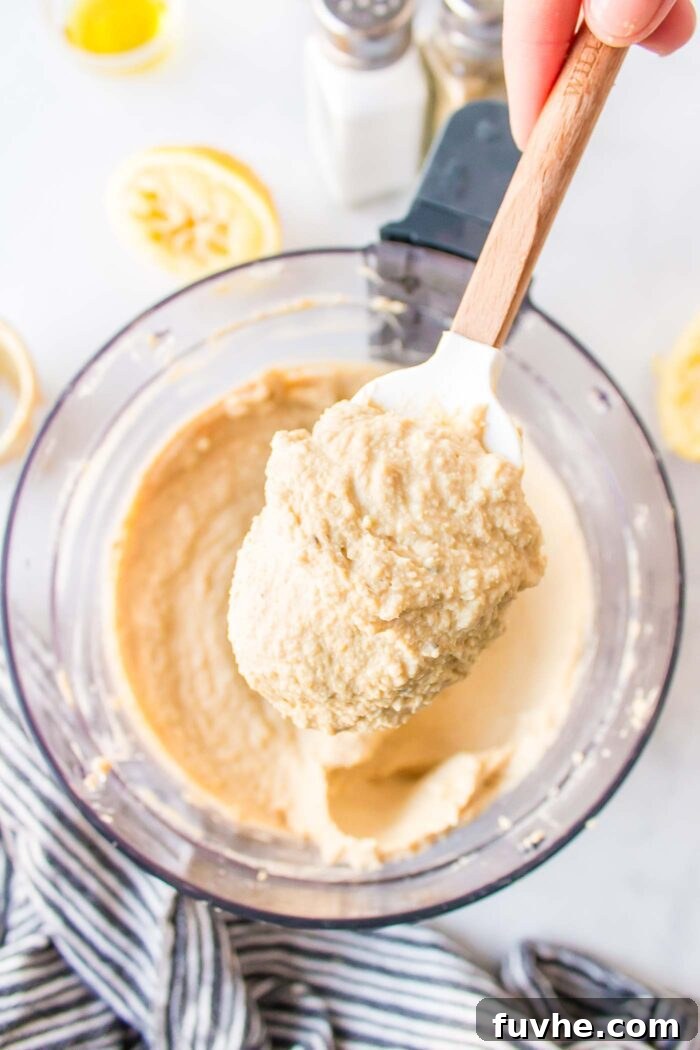
Gradually add the reserved chickpea water, a tablespoon at a time, while the food processor is running. Continue blending and adding water until you achieve your desired consistency – a beautifully smooth, light, and creamy hummus. You might not need all the reserved water, or you might need a tiny bit more; adjust according to how thick or thin you like your dip.
Quick Tip: This is the perfect moment to personalize your hummus with additional seasonings! For a spicy kick, add a pinch of cayenne pepper or red chili flakes. For an extra layer of aromatic warmth, try adding a teaspoon of ground cumin or smoked paprika to the mix.
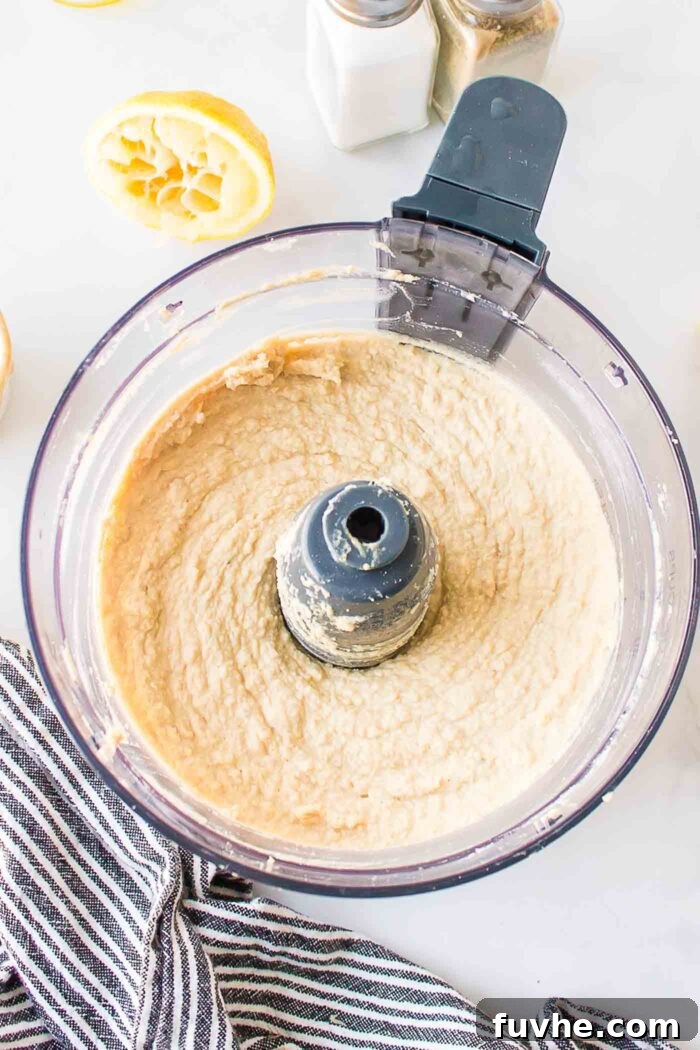
Once blended to perfection, transfer your luxurious roasted garlic hummus to a serving bowl. Garnish with a final drizzle of extra virgin olive oil, a sprinkle of fresh chopped parsley, a dash of vibrant paprika, or a touch of earthy sumac. Serve immediately with an abundance of warm pita bread, crunchy crackers, and a colourful assortment of fresh vegetables for dipping.
Endless Ways to Enjoy Your Homemade Hummus
The versatility of hummus knows no bounds! Beyond being a delightful dip, it can elevate countless meals and snacks. Here are some fantastic recipes where your roasted garlic hummus will shine:
- Mediterranean Quinoa Bowls
- Mediterranean Farro Salad
- Hummus Bowls
- Quinoa Grain Bowl
- Spicy Chickpea Wraps
- Chickpea Shawarma Salad
- Cauliflower Quinoa Tabouli Bowls
- Cauliflower Shawarma Bowls
Here are even more creative ideas to incorporate this creamy goodness into your daily diet:
- Breakfast Boost: Spread it generously on warm toast or crackers for a quick, protein-packed breakfast or snack.
- Avocado Toast Upgrade: Add a layer of hummus under your avocado for an extra burst of flavour and creaminess.
- Wrap and Sandwich Filler: Use it as a flavourful spread in any wrap, pita, or sandwich to replace mayonnaise or other condiments.
- Pizza Base: Instead of traditional tomato sauce, spread a thin layer of hummus on your pizza dough for a unique and delicious base.
- Salad Enhancer: Dollop a generous scoop of hummus onto any green or grain salad for added texture, flavour, and nutrition.
- Pasta Salad Mix-in: Mix it into pasta salad, like this lemon garlic orzo with roasted vegetables, for a creamy dressing and added protein.
- Quick Salad Dressing: Thin it out with a little extra lemon juice or water to create a quick and tangy salad dressing.
- Loaded Hummus Dip: Transform your hummus into an impressive appetizer by spreading it onto a platter and topping it with olives, toasted pine nuts, crumbled vegan feta, diced tomatoes, cucumbers, and roasted bell peppers.
Frequently Asked Questions (FAQs)
Absolutely! To prepare this recipe without oil, simply omit the tablespoon of olive oil used for roasting the garlic and the additional olive oil added during the blending process. To achieve your desired creamy consistency, add a little extra tahini and more reserved chickpea water as needed.
Yes, you can. If you wish to prevent direct contact between the garlic and aluminum foil, you can first wrap the garlic bulb in a layer of parchment paper, and then wrap that parchment package in foil. To avoid using foil entirely, you can place each garlic bulb into a muffin tin cup, then invert another muffin tin on top to create a covered roasting environment.
Both appliances can be used to make hummus, but many people, including myself, prefer a food processor. A food processor typically has a wider base, which allows for more even blending and easier scraping of the sides. While a high-speed blender (like a Vitamix) can also create very smooth hummus, it often requires more frequent stopping to scrape down the sides or the use of a tamper to push the ingredients towards the blades.
Yes, it’s possible to make this recipe without tahini. You can either omit the tahini entirely and add a little extra olive oil (or chickpea water for an oil-free version) to reach the desired consistency. Alternatively, you can substitute tahini with other creamy nut or seed butters such as peanut butter, cashew butter, sunflower seed butter, or almond butter for a unique flavour profile.
Expert Tips for the Best Roasted Garlic Hummus
Master your homemade hummus with these tried-and-true tips from the experts:
- Chickpea Quantity Flexibility: The amount of chickpeas doesn’t have to be exact. Canned chickpea sizes can vary slightly. You can use two 14-15 ounce (400-425g) cans or one larger 28-30 ounce (790-850g) can. The recipe is forgiving!
- Customize Your Garlic Intensity: Don’t be shy with the garlic! While the recipe suggests 4-5 cloves from one head, you can use the entire roasted head, or even roast two heads if you crave a truly robust garlic flavour. Remember, roasting significantly softens garlic’s pungent “bite,” transforming it into a mellow, slightly sweet, buttery, earthy, and nutty essence. You might find you want more than just a few cloves once you taste it!
- Simplify with Unpeeled Chickpeas: If you’re short on time or prefer a slightly more rustic texture, you can absolutely skip the step of boiling and peeling the chickpeas. Simply drain and rinse your canned chickpeas thoroughly, then add them directly to your food processor. In this case, you can reserve some of the liquid from the chickpea can to adjust the hummus consistency, or use a little extra water, olive oil, or tahini.
Storing Your Homemade Hummus
Proper storage ensures your delicious roasted garlic hummus stays fresh and flavourful for longer:
- Refrigeration: Homemade hummus can be stored in an airtight container in the refrigerator for up to 1 week. For best results, press a piece of plastic wrap directly onto the surface of the hummus before sealing the container to prevent a skin from forming and to maintain freshness.
- Freezing: Yes, hummus can be frozen! Transfer it to a freezer-safe container, leaving a little headspace as it may expand slightly. It can be frozen for up to 3 months. When ready to enjoy, let it thaw overnight in the refrigerator. Before serving, give it a good stir, as the texture and consistency may change slightly after freezing. You might need to add a splash of water or olive oil to restore its creaminess.
More Delicious Dip Recipes to Try
Loving this roasted garlic hummus? You might also enjoy these other fantastic dip recipes:
- Oil-Free Beet Hummus
- Roasted Red Pepper Hummus
- Edamame Hummus
- Vegan Buffalo Dip
- Vegan Spinach Artichoke Dip
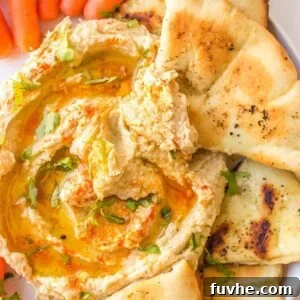
Roasted Garlic Hummus
Rate Recipe
Print Recipe
Ingredients
For the Hummus
- 28 ounces canned chickpeas, drained and rinsed
- 1 head of garlic
- ⅓ cup tahini (80 g)
- 3 tablespoons olive oil, divided (45 mL)
- 1-2 teaspoons salt
- 1-2 teaspoons black pepper
- ¼ cup lemon juice (60 mL), freshly squeezed
For Serving
- Olive oil, for drizzling
- Fresh Parsley, finely chopped
- Paprika, for sprinkling
- Fresh pita bread, vegetables, or crackers for dipping
Instructions
- Roast the Garlic: Preheat your oven to 400°F (200°C). Slice the top off your head of garlic to expose the cloves (it’s okay if they separate). Place on a small square of aluminum foil and drizzle with 1 tablespoon of olive oil, ¼ teaspoon salt, and ¼ teaspoon of black pepper. Wrap securely in foil and place on a baking sheet in the oven for 30-40 minutes, until soft and golden. Remove from the oven and let cool until manageable.
- Prepare the Chickpeas: While the garlic bakes, add the drained and rinsed chickpeas to a pot of water on the stovetop and bring to a boil. Boil for 10 minutes. Reserve ½ cup of the chickpea water, then drain the chickpeas. Return the drained chickpeas to the pot and cover with cold water. Use your hands to gently rub the skins away from the chickpeas. Drain again and remove any visible skins (a few remaining are fine).
- Blend the Hummus: Squeeze 4-5 cloves of roasted garlic (or more, to taste) out of their skins into a food processor. Add the prepared chickpeas, 2 teaspoons salt, 1 teaspoon black pepper, lemon juice, 2 tablespoons olive oil, and the tahini. Blend until smooth, gradually adding the reserved chickpea water until your desired creamy consistency is achieved.
- Serve: Transfer the hummus to a serving bowl. Top with a final drizzle of olive oil, a sprinkle of paprika, and fresh chopped parsley. Serve immediately with fresh pita bread, raw vegetables, or crackers for dipping.
Notes
For the chickpeas: The exact amount isn’t critical, as can sizes vary. Use two 14-15 ounce cans or one 28-30 ounce can.
For the garlic: You can use 4-5 cloves, the entire head of garlic, or even increase it to two heads if you’re a garlic enthusiast! Roasting garlic softens its flavour, reducing the sharpness and making it sweet and buttery, so you may find you want more than just a few cloves.
Nutrition Information (Approximate per Serving)
Serving Size: 4 tbsp
- Calories: 145 kcal
- Carbohydrates: 14 g
- Protein: 5 g
- Fat: 8 g
- Sodium: 382 mg
- Fiber: 4 g
Like this recipe? Rate and comment below!
This recipe was originally published March 2013.