
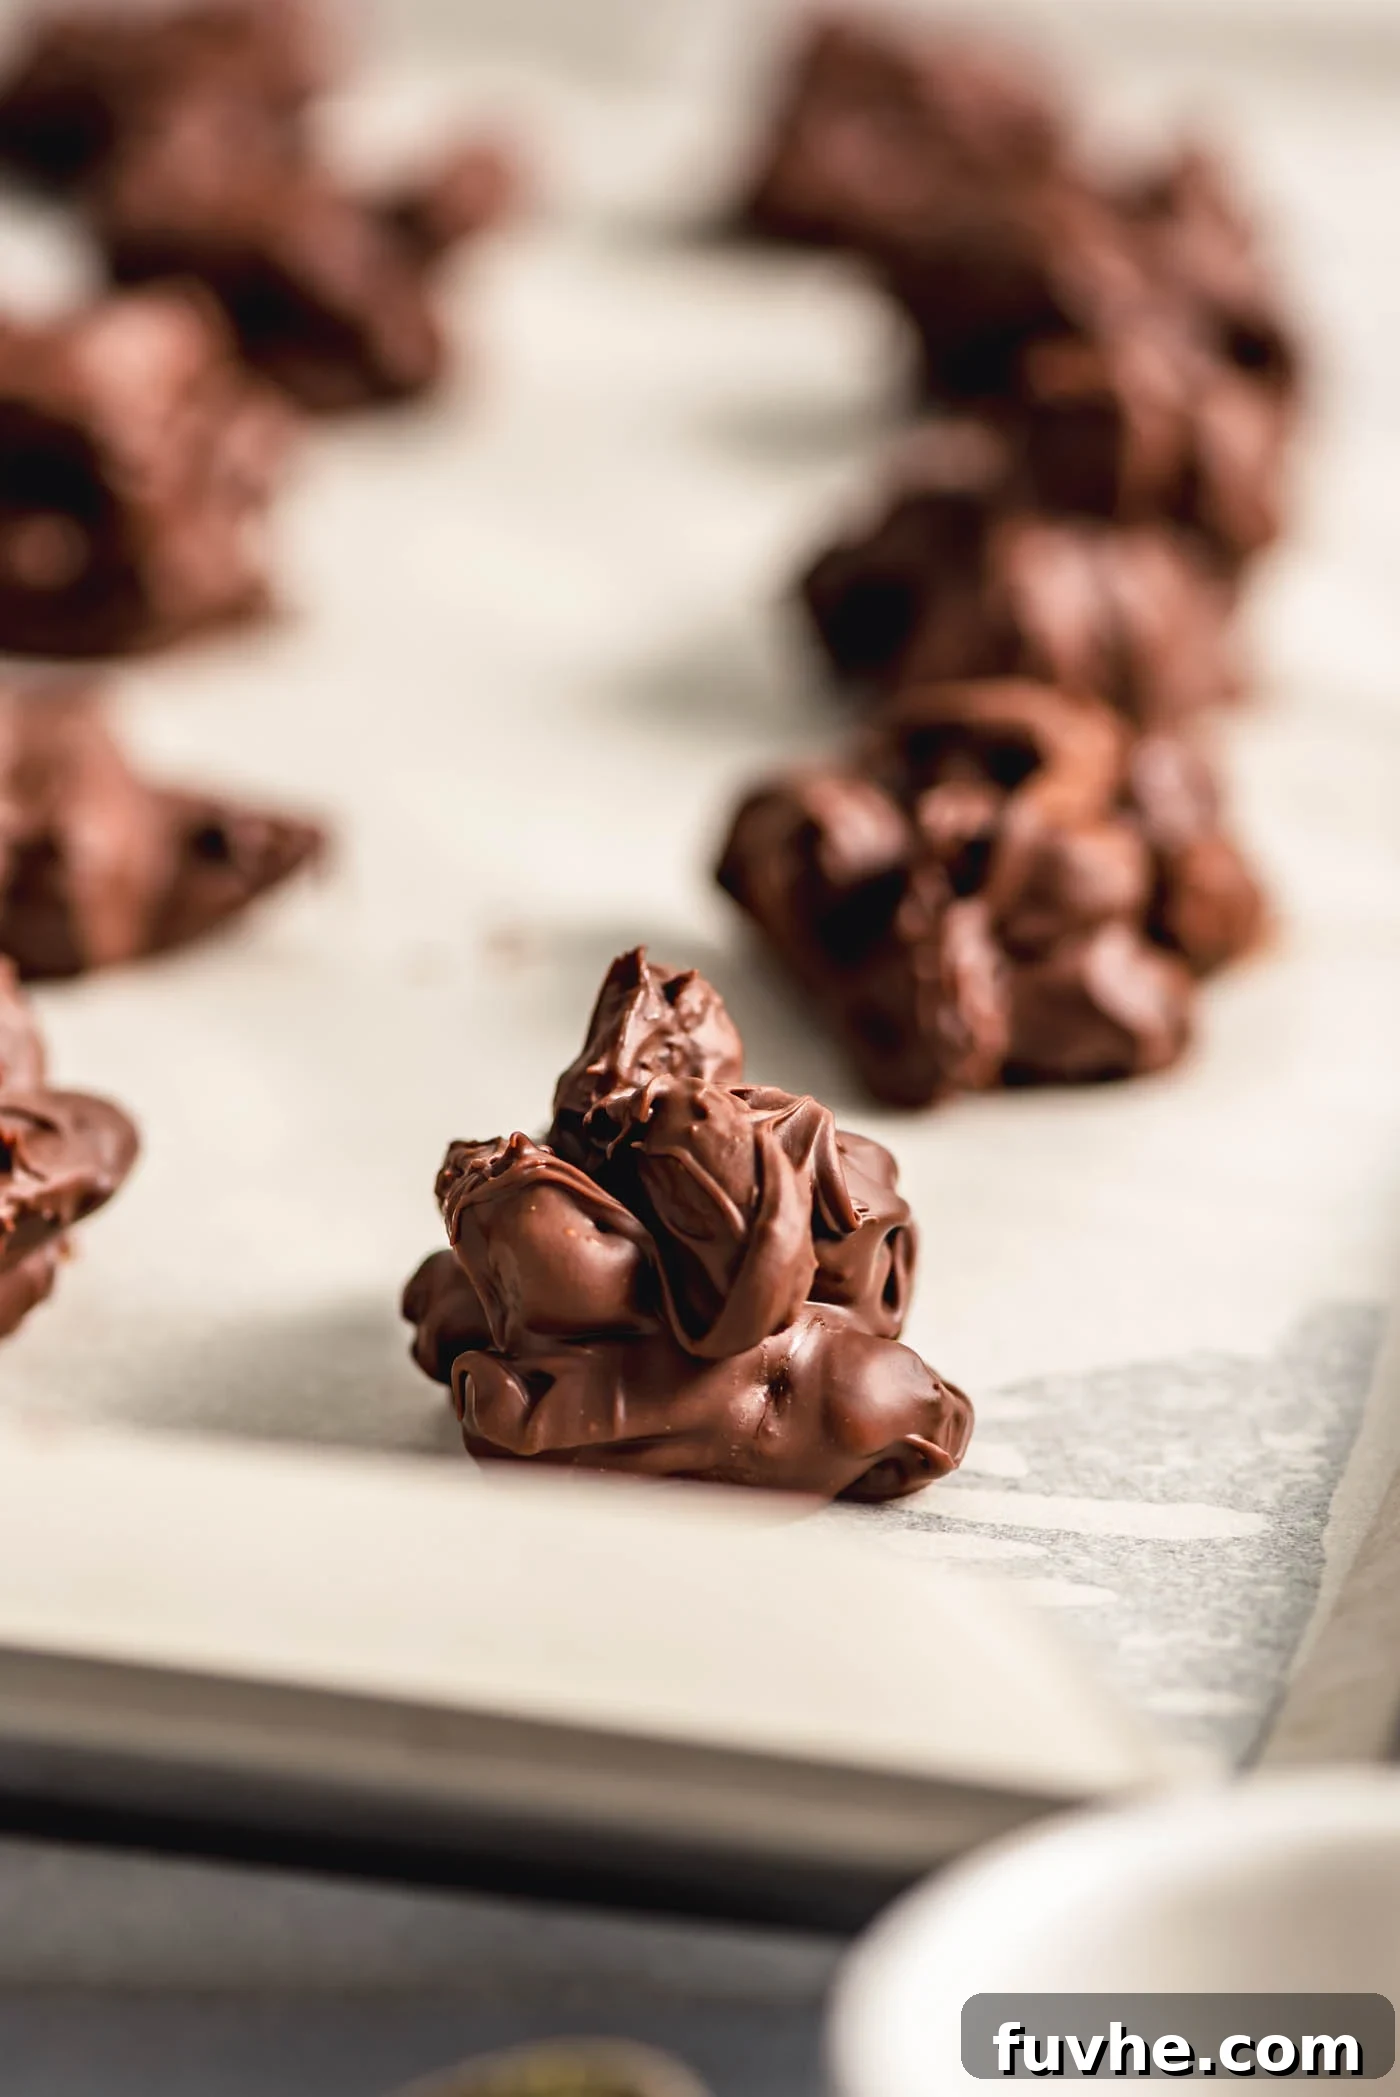
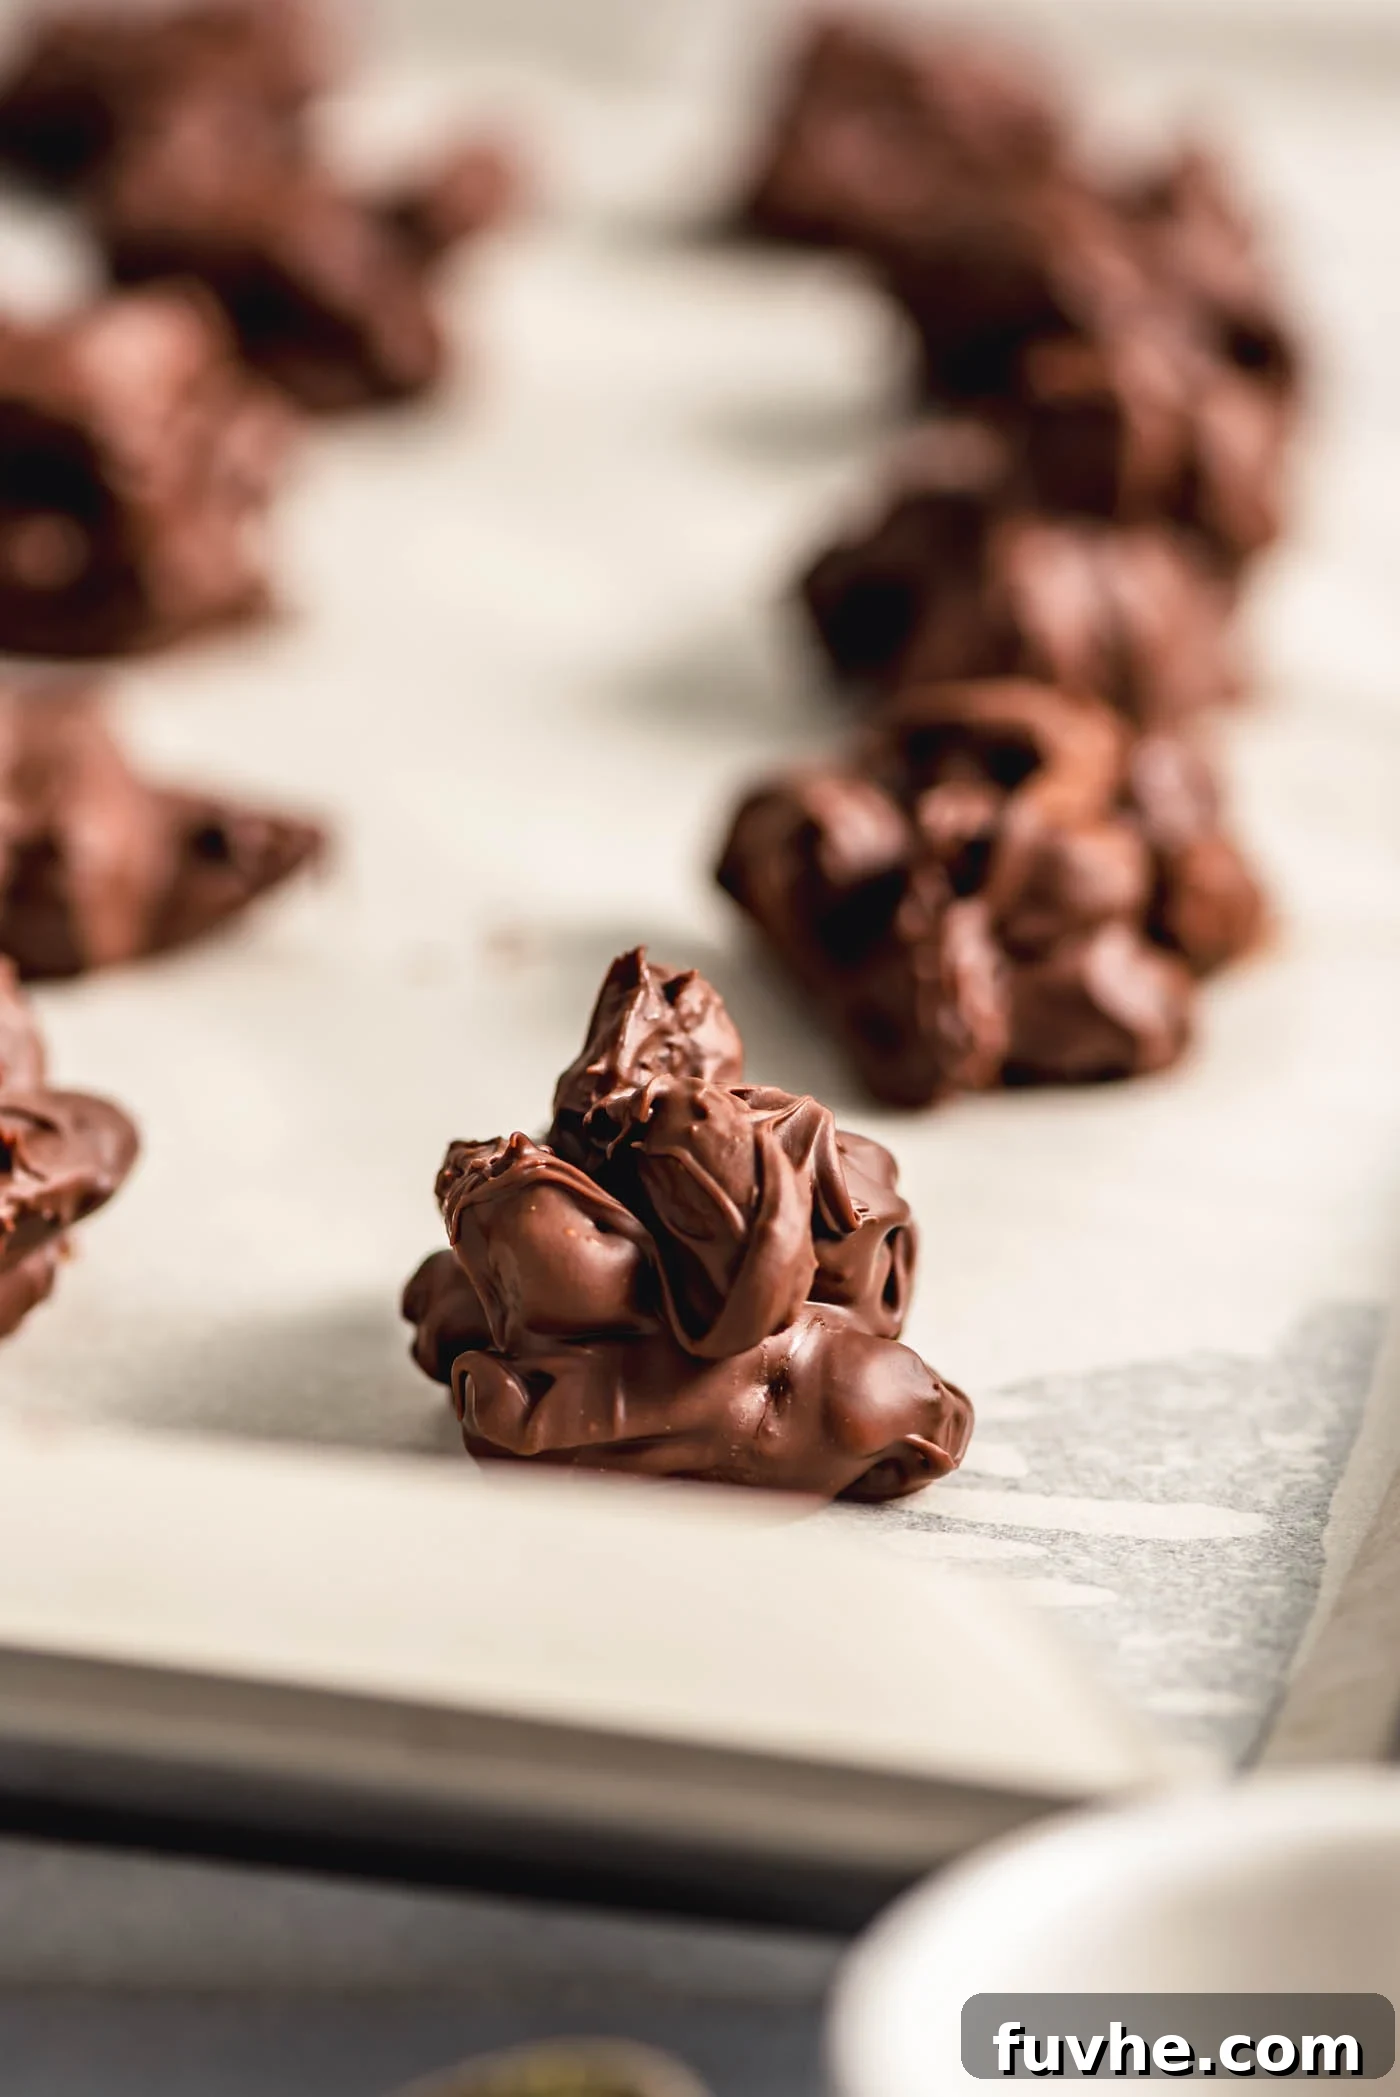
Effortless Elegance: The Ultimate Guide to Homemade Chocolate Nut Clusters
Indulge in the simplest yet most satisfying sweet treat with these incredibly easy-to-make **chocolate nut clusters**. Perfect for those moments when a craving strikes but time is short, these delightful bites can be whipped up in mere minutes, offering a versatile canvas for your culinary creativity. From classic almond cranberry to rich chocolate peanut, exotic cherry cashew, or festive peppermint dark chocolate, the flavor combinations are truly endless. Discover how to create your own signature clusters that are not only delicious but also perfect for gifting, holiday gatherings, or simply treating yourself to a wholesome, homemade delight.
⭐⭐⭐⭐⭐
“Love this recipe and used it many times for a quick elegant dessert.”Vijay
Why You’ll Fall in Love with These Chocolate Nut Clusters
In a world of complex desserts, the beauty of simplicity shines. We believe sweet treats should be easy to create and even easier to enjoy, and these nut clusters embody that philosophy perfectly. Here’s a detailed look at why these chocolate nut clusters will become your new go-to recipe:
- **Unmatched Simplicity:** Imagine a dessert that requires as few as two ingredients: chocolate and your choice of delicious add-ins. This recipe makes it possible! No complicated techniques, no extensive ingredient lists – just pure, unadulterated enjoyment.
- **The Perfect Gift:** Searching for a thoughtful, homemade present? These clusters are an ideal choice for Christmas, birthdays, hostess gifts, or any occasion that calls for a touch of sweetness. Package them elegantly in a decorative tin or bag, and you have a gift that speaks volumes.
- **Dietary-Friendly Delights:** Catering to various dietary needs is effortless. Simply use dairy-free chocolate chips or bars, and your clusters become completely vegan. They are naturally gluten-free, making them safe for those with sensitivities. Furthermore, with a simple swap of seeds for nuts, you can easily transform them into a nut-free treat, ensuring everyone can enjoy them.
- **Blazingly Fast Prep:** Your time is valuable, and this recipe respects that. With just 5 minutes of active preparation time, you can go from craving to creating in a flash. The only waiting involved is for the chocolate to set, which the refrigerator handles effortlessly.
- **Excellent for Batch Making & Freezing:** Planning for the holidays or a future gathering? These clusters freeze beautifully, allowing you to prepare them well in advance. Simply thaw for a few minutes before serving, and they’ll be as fresh and delicious as the day you made them. This makes holiday entertaining a breeze!
- **A Fun Family Activity:** Get the kids involved in the kitchen! This recipe is incredibly child-friendly, offering a fun, hands-on activity that encourages creativity and ends with a tasty reward. They’ll love mixing the ingredients and dropping the clusters, and especially eating them!
- **No-Fuss, No-Bake, Always a Hit:** Forget about turning on the oven or intricate baking steps. These no-bake clusters are the epitome of fuss-free dessert making. Their customizable nature means they always cater to diverse tastes, guaranteeing they’re a hit at any table.
If you’re still in the mood for more amazing no-bake holiday treats, be sure to explore our Easy Vegan Turtles, rich No-Bake Vegan Rum Balls, and luxurious Homemade Vegan Ferrero Rocher. And for a truly unique experience, you simply must try these delightful No-Bake Vegan Nanaimo Bars!
Ingredient Spotlight: Crafting Your Perfect Cluster
The beauty of chocolate nut clusters lies in their simplicity and the quality of their core ingredients. Below, we’ll dive into the essentials, offering tips for selecting the best components and suggesting substitutions to match your preferences. Remember to refer to the full recipe card at the end of the post for precise measurements.
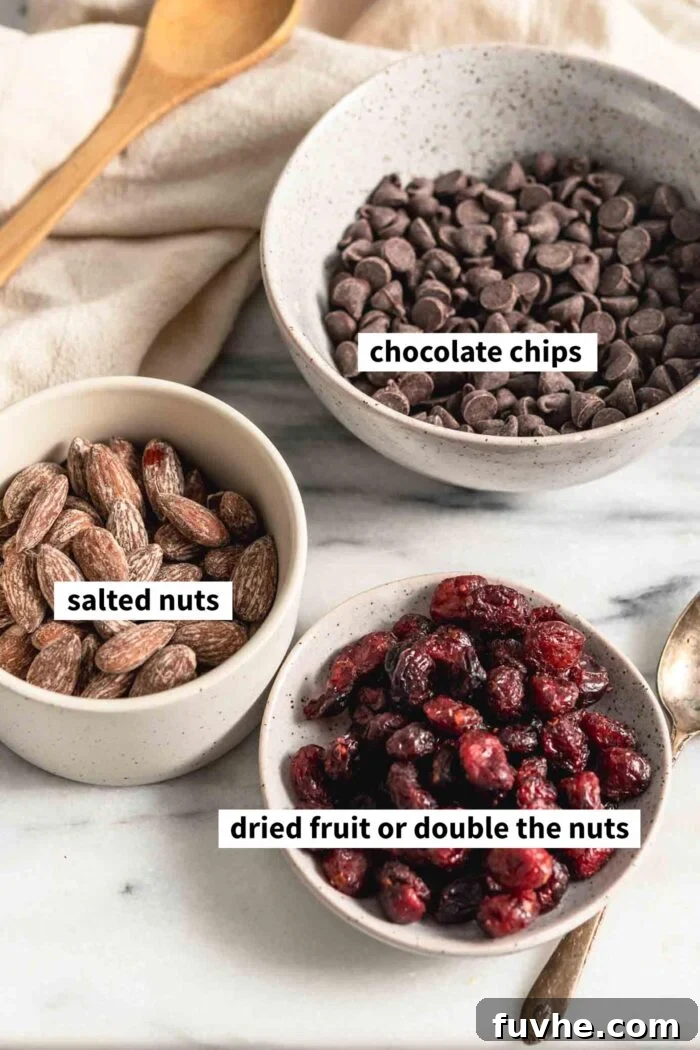
- Chocolate – The Heart of the Cluster: The type of chocolate you choose significantly influences the final flavor. You have a wide range of options, from classic milk chocolate chips for a sweeter profile to sophisticated dark chocolate chips for a richer, more intense taste. You can also chop up a chocolate bar of your preference. For those seeking dairy-free options, brands like Camino or Enjoy Life offer excellent dairy-free chocolate chips that melt beautifully and deliver superb flavor. We opted for dark chocolate chips in our featured clusters to provide a balanced sweetness. When choosing, consider the cacao percentage – higher percentages yield a less sweet, more bitter profile, which can be wonderfully balanced by the nuts and fruit.
- Nuts – The Crunchy Foundation: This is where your creativity can truly shine. Feel free to use a single type of nut or a custom blend. Popular choices include almonds, pecans, walnuts, cashews, peanuts, pistachios, or even macadamia nuts for a touch of luxury. We particularly love using salted nuts as they introduce a delightful sweet and salty contrast that elevates the clusters. If you opt for unsalted nuts, a sprinkle of flaky sea salt on top before chilling can achieve a similar effect, adding a gourmet touch. Roasting your nuts lightly before adding them can also enhance their flavor and crunch.
- Fruit – The Sweet and Chewy Element: Dried fruit adds a wonderful layer of sweetness and chewiness that complements the crunch of the nuts and the smoothness of the chocolate. While you can certainly double the quantity of nuts for a classic two-ingredient cluster, incorporating dried fruit introduces exciting textures and flavors. Dried cranberries are a festive choice, especially for the holidays, lending a tart balance to the sweet chocolate. Other fantastic options include chopped dried apricots, sweet dried cherries, plump dried blueberries, or even tropical chopped dried mango. Ensure your dried fruit is finely chopped if it’s large, to ensure even distribution in the clusters.
Endless Possibilities: Creative Variations and Flavor Combinations
One of the most exciting aspects of these chocolate nut clusters is their incredible versatility. You can endlessly experiment with ingredients to create unique flavor profiles that cater to any palate or occasion. Here are some inspiring ideas to get you started on your custom cluster journey:
- Classic Chocolate Peanut Clusters: For a timeless favorite, simply use 1 cup of crunchy, salted peanuts. The combination of rich chocolate and savory peanuts is irresistibly satisfying and reminiscent of beloved candy bars.
- Decadent Chocolate Cherry Clusters: Pair dark chocolate with dried cherries for a sophisticated treat. Use 1 cup of dried cherries, or combine 1/2 cup dried cherries with 1/2 cup of your favorite nuts (like almonds or cashews) for added texture.
- Robust Mixed Nut Clusters: Elevate the experience by omitting the cranberries and utilizing 1 cup of a premium salted mixed nut blend. Think crunchy walnuts, buttery pecans, creamy cashews, and classic almonds for a harmonious mix of flavors and textures.
- Gourmet Nut Clusters: For a truly fancy and indulgent treat, opt for luxurious nuts like creamy macadamia nuts, vibrant pistachios, or rich hazelnuts. These choices add a premium taste and a beautiful aesthetic to your clusters.
- Allergy-Friendly Nut-Free Clusters: To accommodate nut allergies, replace nuts entirely with seeds. A blend of pumpkin seeds and sunflower seeds provides a delightful crunch and a wealth of nutrients, ensuring everyone can enjoy these treats safely.
- Tropical Coconut Clusters: Infuse a taste of the tropics by combining 1/2 cup of shredded coconut (toasted for extra flavor) with 1/2 cup of your preferred nuts, such as macadamias or almonds. The coconut adds a lovely texture and aromatic sweetness.
- Crispy Cereal Clusters: For a unique crunch, incorporate your favorite cereals. Cheerios or any rice crisp cereal work wonderfully. Mix and match with nuts, seeds, or dried fruit for a playful twist that kids especially adore.
- Invigorating Peppermint Chocolate Mint Clusters: Add a few drops of peppermint extract to the melted chocolate for a refreshing burst of minty flavor. This combination is particularly popular during the holiday season and pairs wonderfully with dark chocolate.
- Elegant White Chocolate Drizzle: While the recipe primarily focuses on milk or dark chocolate, you can introduce white chocolate for an exquisite finish. Use white chocolate chips as the base for a sweeter cluster, or melt some white chocolate and drizzle it over your set dark or milk chocolate clusters for a striking visual contrast and an extra layer of sweetness.
Crafting Your Clusters: A Step-by-Step Guide
Making these chocolate nut clusters is incredibly straightforward, even for novice bakers. Follow these simple steps for perfectly set, delicious treats every time. We’ll ensure you have all the tips for success.
Step 1: Preparation and Chocolate Melting Mastery
Begin by preparing your workspace. Line a baking tray with parchment paper; this crucial step ensures your clusters won’t stick and makes for easy cleanup. Once your tray is ready, it’s time to melt the chocolate. This can be done using one of two popular methods:
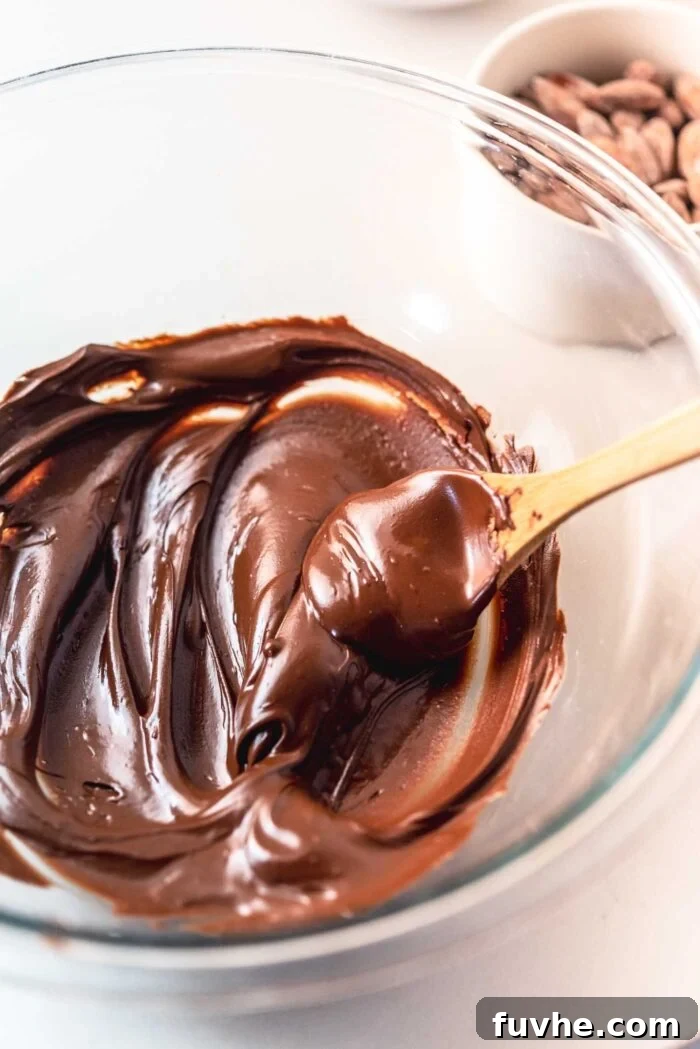
- Microwave Method: Place your chocolate chips or chopped chocolate bar in a heat-safe, microwave-friendly bowl. Heat for 30-second intervals, stirring thoroughly after each interval. Continue this process, reducing to 15-second increments as the chocolate begins to melt, stirring every 15 seconds. The key is to remove the chocolate from the microwave when it’s mostly melted but still holds a few small pieces. The residual heat will melt these last pieces as you continue stirring, ensuring a smooth, lump-free consistency without burning.
- Double Boiler Method: If you prefer a more gentle melting process, a double boiler is ideal. Place a glass or metal heat-safe bowl over a small pot of simmering water (ensure the bottom of the bowl does not touch the water). The steam will gently heat the chocolate. Stir continuously until the chocolate is completely melted and beautifully smooth. This method helps prevent the chocolate from seizing or burning, producing a glossy finish.
Step 2: Incorporating Your Favorite Add-ins
Once your chocolate is perfectly melted and smooth, it’s time for the delicious additions. Carefully add your chosen nuts and dried fruit (if using) into the bowl of melted chocolate. Using a spatula or spoon, gently fold and mix the ingredients until every single piece is thoroughly coated in the rich, melted chocolate. Whether you’re using half nuts and half dried fruit, or simply a full cup of your favorite nuts – salted or unsalted – ensure an even distribution for consistent flavor in every bite.
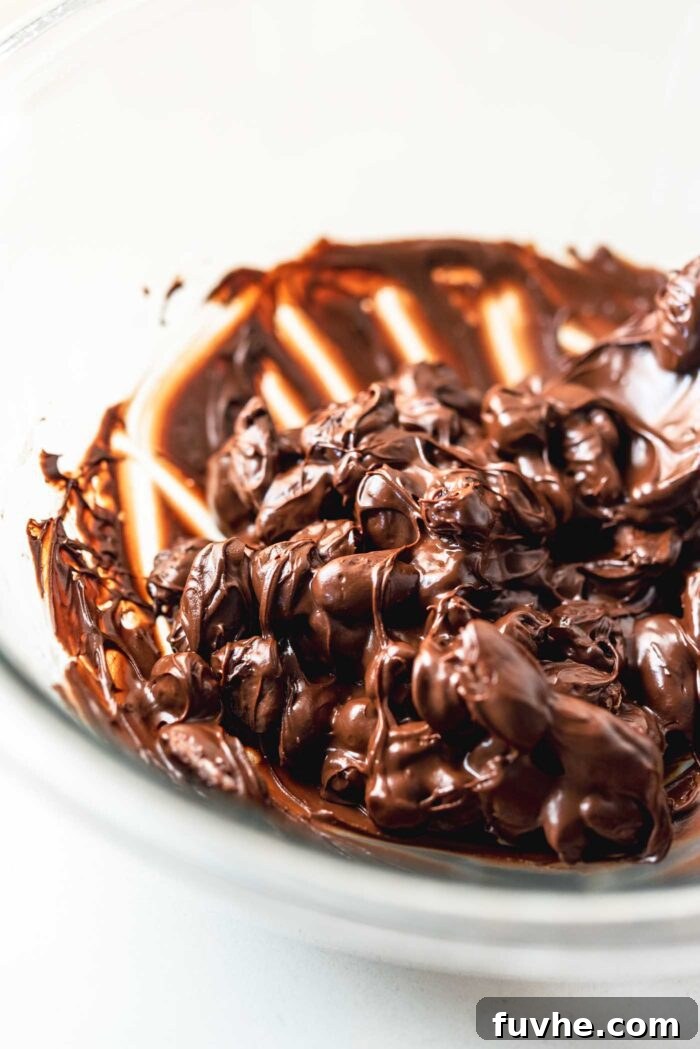
Step 3: Forming the Perfect Clusters
With your coated mixture ready, it’s time to form the clusters. Using a regular spoon, scoop small portions of the chocolate-covered nuts and fruit onto your prepared baking sheet. You can use your finger or a small rubber spatula to help gently push the mixture off the spoon and shape it into pleasing, bite-sized clusters. Aim for consistency in size to ensure they set evenly. Depending on your desired cluster size, you should be able to create approximately 14-16 delicious pieces from this recipe. For an extra touch, you might sprinkle a pinch of flaky sea salt or some colorful sprinkles over the wet chocolate before chilling.
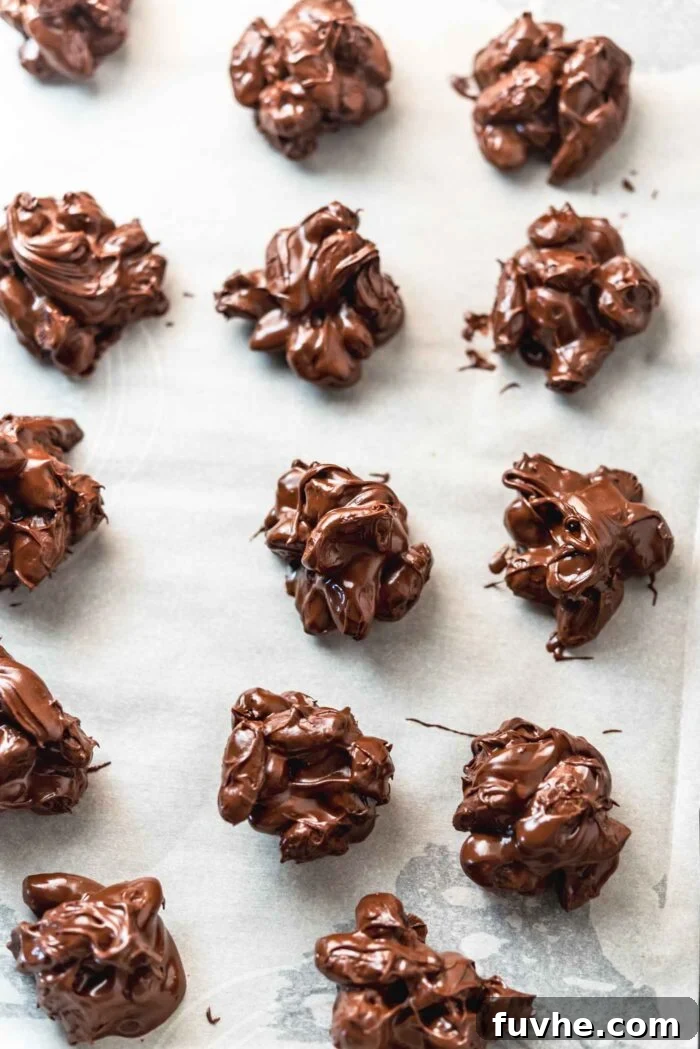
Step 4: Chilling to Perfection
The final, and perhaps easiest, step is to let your beautiful creations set. Carefully transfer the entire baking pan, laden with your newly formed clusters, into the refrigerator. The cooling environment will work its magic quickly, solidifying the chocolate until it is completely dry and firm to the touch. This process typically doesn’t take long, ensuring you can enjoy your homemade chocolate nut clusters in no time. Once fully set, they are ready to be savored!
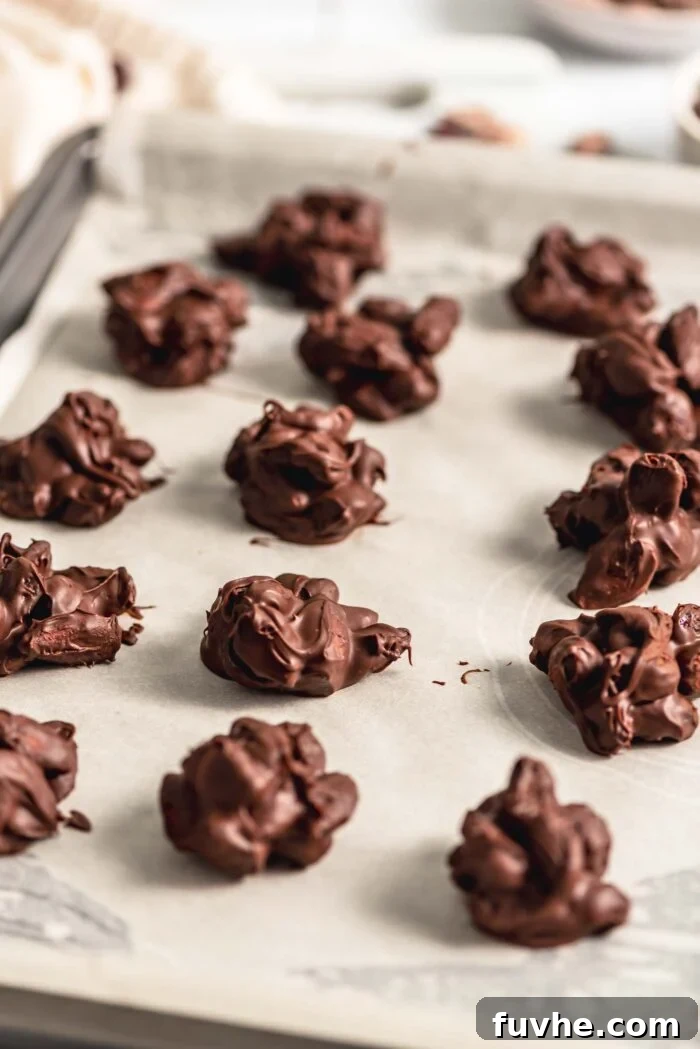
Frequently Asked Questions About Chocolate Nut Clusters
Do I have to use salted nuts?
Not at all! While salted nuts add a fantastic sweet and salty dynamic that many adore, you can absolutely use roasted unsalted nuts or even raw nuts for your clusters. If you still wish to achieve that delightful sweet and salty balance, a simple solution is to sprinkle a little coarse sea salt over the clusters just before you place them in the fridge to chill. This allows you to control the saltiness to your exact preference.
Can I double the recipe?
Absolutely! This recipe is incredibly adaptable and can be easily doubled, or even tripled, if you need a larger batch for entertaining, gifting, or simply to stock up. These clusters keep exceptionally well in both the fridge and freezer, and you’ll find they disappear quickly, so making a bigger batch is usually a very good idea!
Can I make these sugar-free?
Yes, you certainly can tailor this recipe to be sugar-free. The key is to use sugar-free chocolate chips or bars of your choice. Many brands now offer excellent sugar-free chocolate alternatives that melt beautifully. For a low-sugar option, consider using high cacao content dark chocolate, such as varieties with 70-90% cacao, instead of milk chocolate chips. These options offer deep chocolate flavor with significantly less added sugar.
Can I use fresh fruit in my clusters?
Unfortunately, fresh fruit is not recommended for these chocolate clusters. The high moisture content in fresh fruit can cause the chocolate to seize during mixing or become moldy during storage, significantly shortening the shelf life of your clusters. It’s always best to stick to dried fruits for this recipe.
What are some popular toppings for chocolate nut clusters?
Beyond the classic nuts and dried fruit, you can get creative with toppings! Before the chocolate sets, consider sprinkling with flaky sea salt (especially if using unsalted nuts), shredded coconut, colorful sprinkles for a festive touch, finely chopped candy canes (for peppermint clusters), or even a contrasting chocolate drizzle (like white chocolate over dark). These additions enhance both flavor and visual appeal.
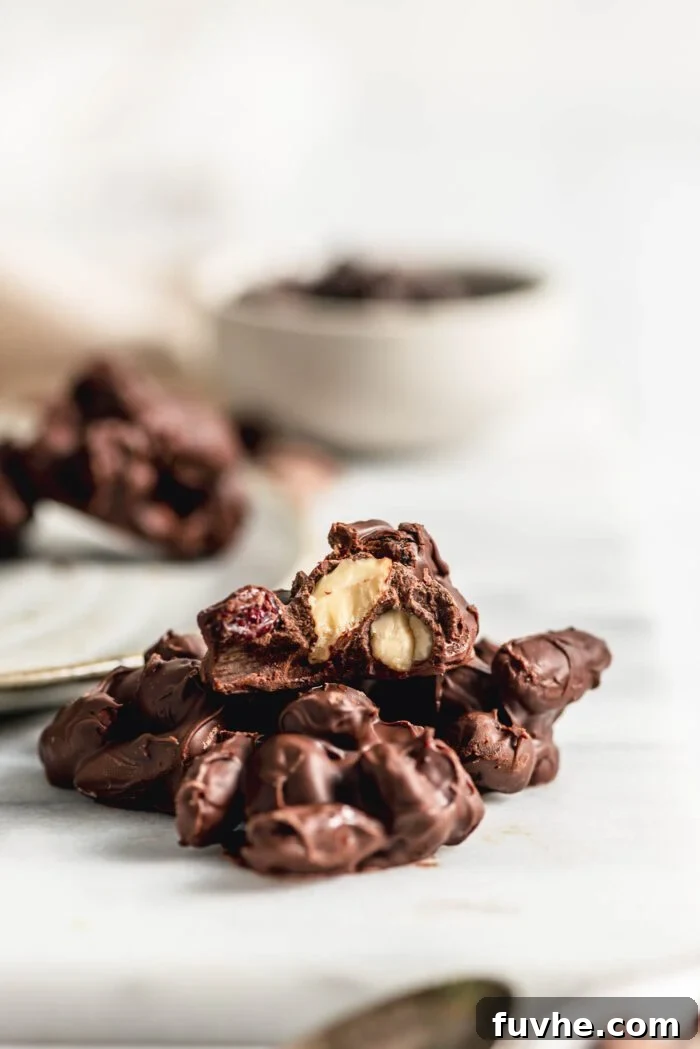
Storage and Shelf Life: Keeping Your Clusters Fresh
Proper storage is key to maintaining the delicious taste and texture of your chocolate nut clusters. Follow these guidelines to keep them fresh and enjoyable for as long as possible:
- **Refrigeration for Optimal Freshness:** These clusters are best kept chilled. Store them in an airtight container in the refrigerator, where they will remain fresh and firm for up to 2 weeks. It’s advisable to store them in the fridge until just before you plan to serve them, especially in warmer climates or seasons.
- **Freezing for Long-Term Enjoyment:** For extended storage, place the clusters in an airtight, freezer-safe container. They will keep well in the freezer for up to 2 months. When you’re ready to enjoy a frozen cluster, simply let it sit at room temperature for 5-10 minutes to soften slightly. Alternatively, many find them delightfully crunchy straight from the freezer, though they will be quite hard.
- **Room Temperature Considerations:** While the clusters are generally okay at room temperature for a short period, be mindful that the chocolate will soften and potentially melt if the room is warm or humid. For best results and to prevent any mess, chilling is always recommended.
Recipe Card: Chocolate Nut Clusters
Get ready to create these amazingly simple yet satisfying chocolate nut clusters!
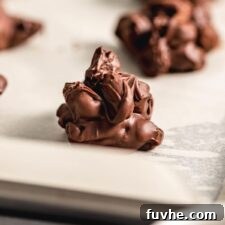
Chocolate Nut Clusters
By: Deryn Macey
These quick and easy nut clusters are perfect for a sweet chocolate treat! Try them with salted nuts and cranberries for the holidays or use your favourite nuts, seeds and dried fruit to create your own flavours.
- Prep Time:
- 5 mins
- Chill Time:
- 30 mins
- Total Time:
- 35 mins
- Servings:
- 14 clusters
Ingredients
- 1 cup chocolate chips or dark chocolate chips (170 g)
- 1/2 cup salted almonds or mixed nuts of choice (75 g)
- 1/2 cup dried cranberries (65 g, or double the nuts or other fruit of choice)
Instructions
- Line a sheet pan with parchment paper.
- Melt the chocolate chips in a mixing bowl using a double boiler or the microwave. If using the microwave, melt for 30-seconds, stir then continue in 15-second increments, stirring every 15 seconds until they’re mostly melted. Remove and continue stirring until any remaining pieces melt and you have a completely smooth melted chocolate.
- Add the nuts and cranberries to the melted chocolate and mix until coated.
- Use a spoon to drop clusters of the nuts and fruit onto the prepared baking tray. You should get 14-16 clusters.
- Place the pan in the fridge until the chocolate has completely hardened.
Notes
- If you’re using unsalted nuts, sprinkle each cluster with a little coarse salt before placing in the freezer.
- The recipe is completely flexible. Use about 1 cup of add-ins. You can use any nuts or seeds, any dried fruit, coconut chips, etc. Dried cherries or blueberries are nice. Pecans or peanuts work well! Any combo or single-ingredient works. For peppermint nut clusters, add a few drops of peppermint extract to the chocolate.
Nutrition
- Serving:
- 1 cluster
- Calories:
- 107 kcal
- Carbohydrates:
- 14g
- Protein:
- 2g
- Fat:
- 6g
- Fiber:
- 2g
- Sugar:
- 11g
We hope you adore these **Chocolate Nut Clusters** as much as we do! If you try this recipe or any other from Running on Real Food, please don’t hesitate to leave a comment and a ⭐⭐⭐⭐⭐ rating in the section below. Your feedback is invaluable and helps others discover these fantastic recipes. We always love to hear from you and see your creations, so remember to tag us on Instagram @runningonrealfood! Thank you for choosing our recipes! – Deryn