
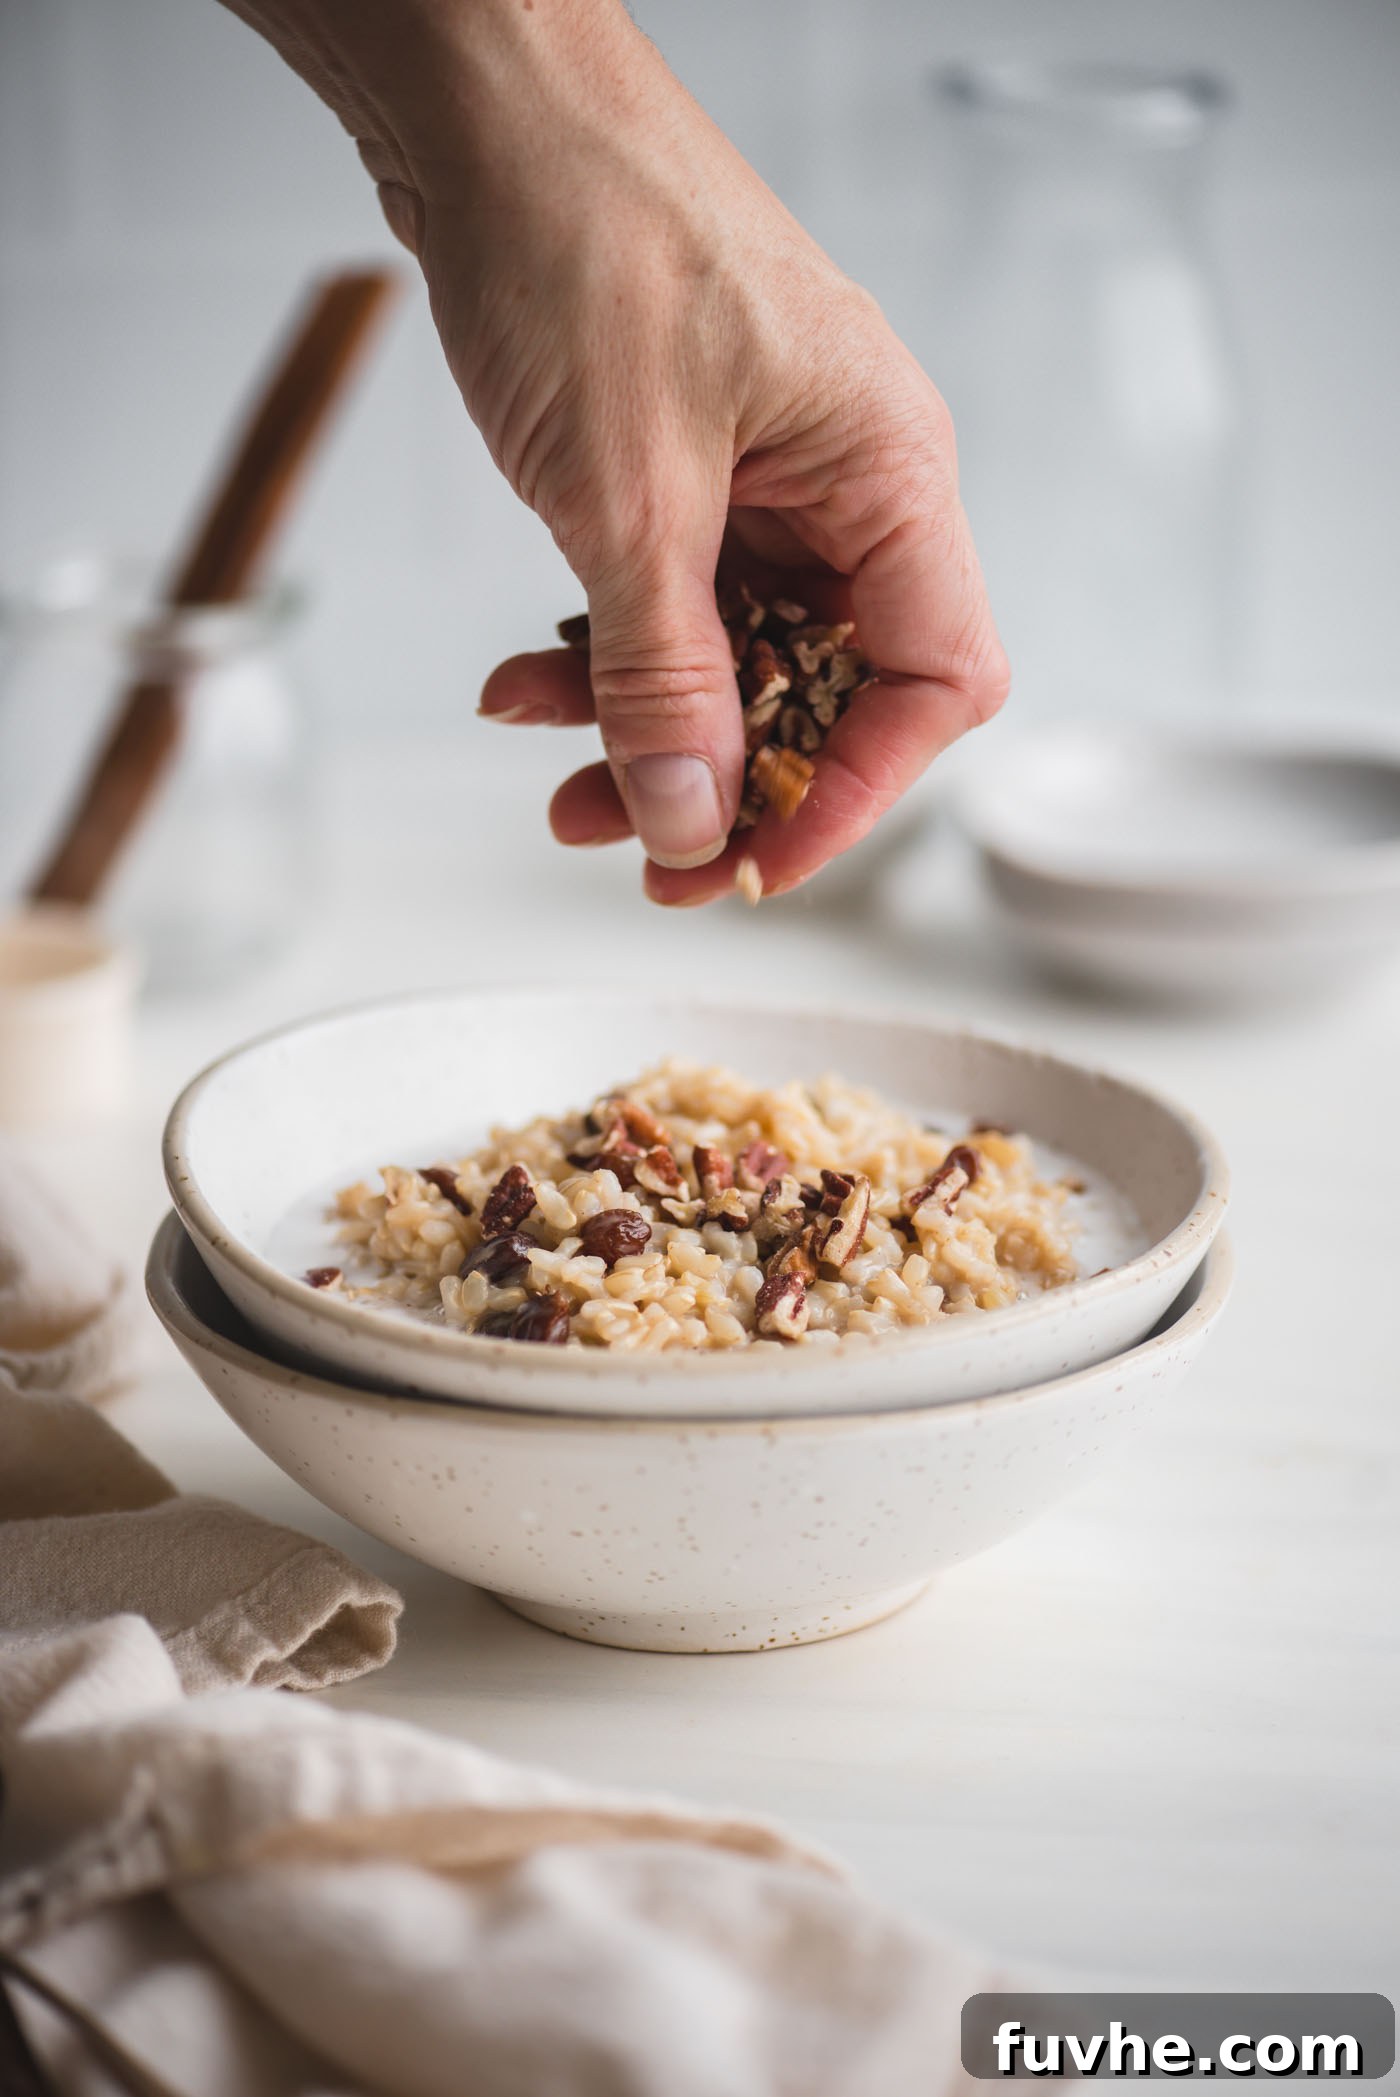
Welcome to a delightful journey of taste and comfort with our easy-to-make Instant Pot Brown Rice Pudding! This recipe isn’t just about creating a delicious dish; it’s about embracing wholesome ingredients and the unparalleled convenience of your Instant Pot to whip up a treat that’s perfect for any time of day. Whether you’re craving a satisfying breakfast to kickstart your morning, a wholesome snack to power through the afternoon, or a creamy, sweet dessert to end your day on a high note, this brown rice pudding is your answer.
Far from traditional rice puddings that often rely on white rice and dairy, our version elevates the classic to new heights of health and flavor. By opting for brown rice, we introduce a richer, nuttier flavor profile and a significant boost in fiber and whole-grain goodness. Paired with plant-based milks and naturally sweetened, this pudding becomes a guilt-free indulgence that caters to various dietary needs without compromising on that beloved creamy texture and comforting taste. The Instant Pot ensures a hands-off cooking experience, delivering perfectly tender brown rice every single time, making this an ideal recipe for busy individuals and families alike.
If you’re looking for more quick and healthy breakfast options using your Instant Pot, these Instant Pot Rolled Oats also make a super easy and nourishing choice.
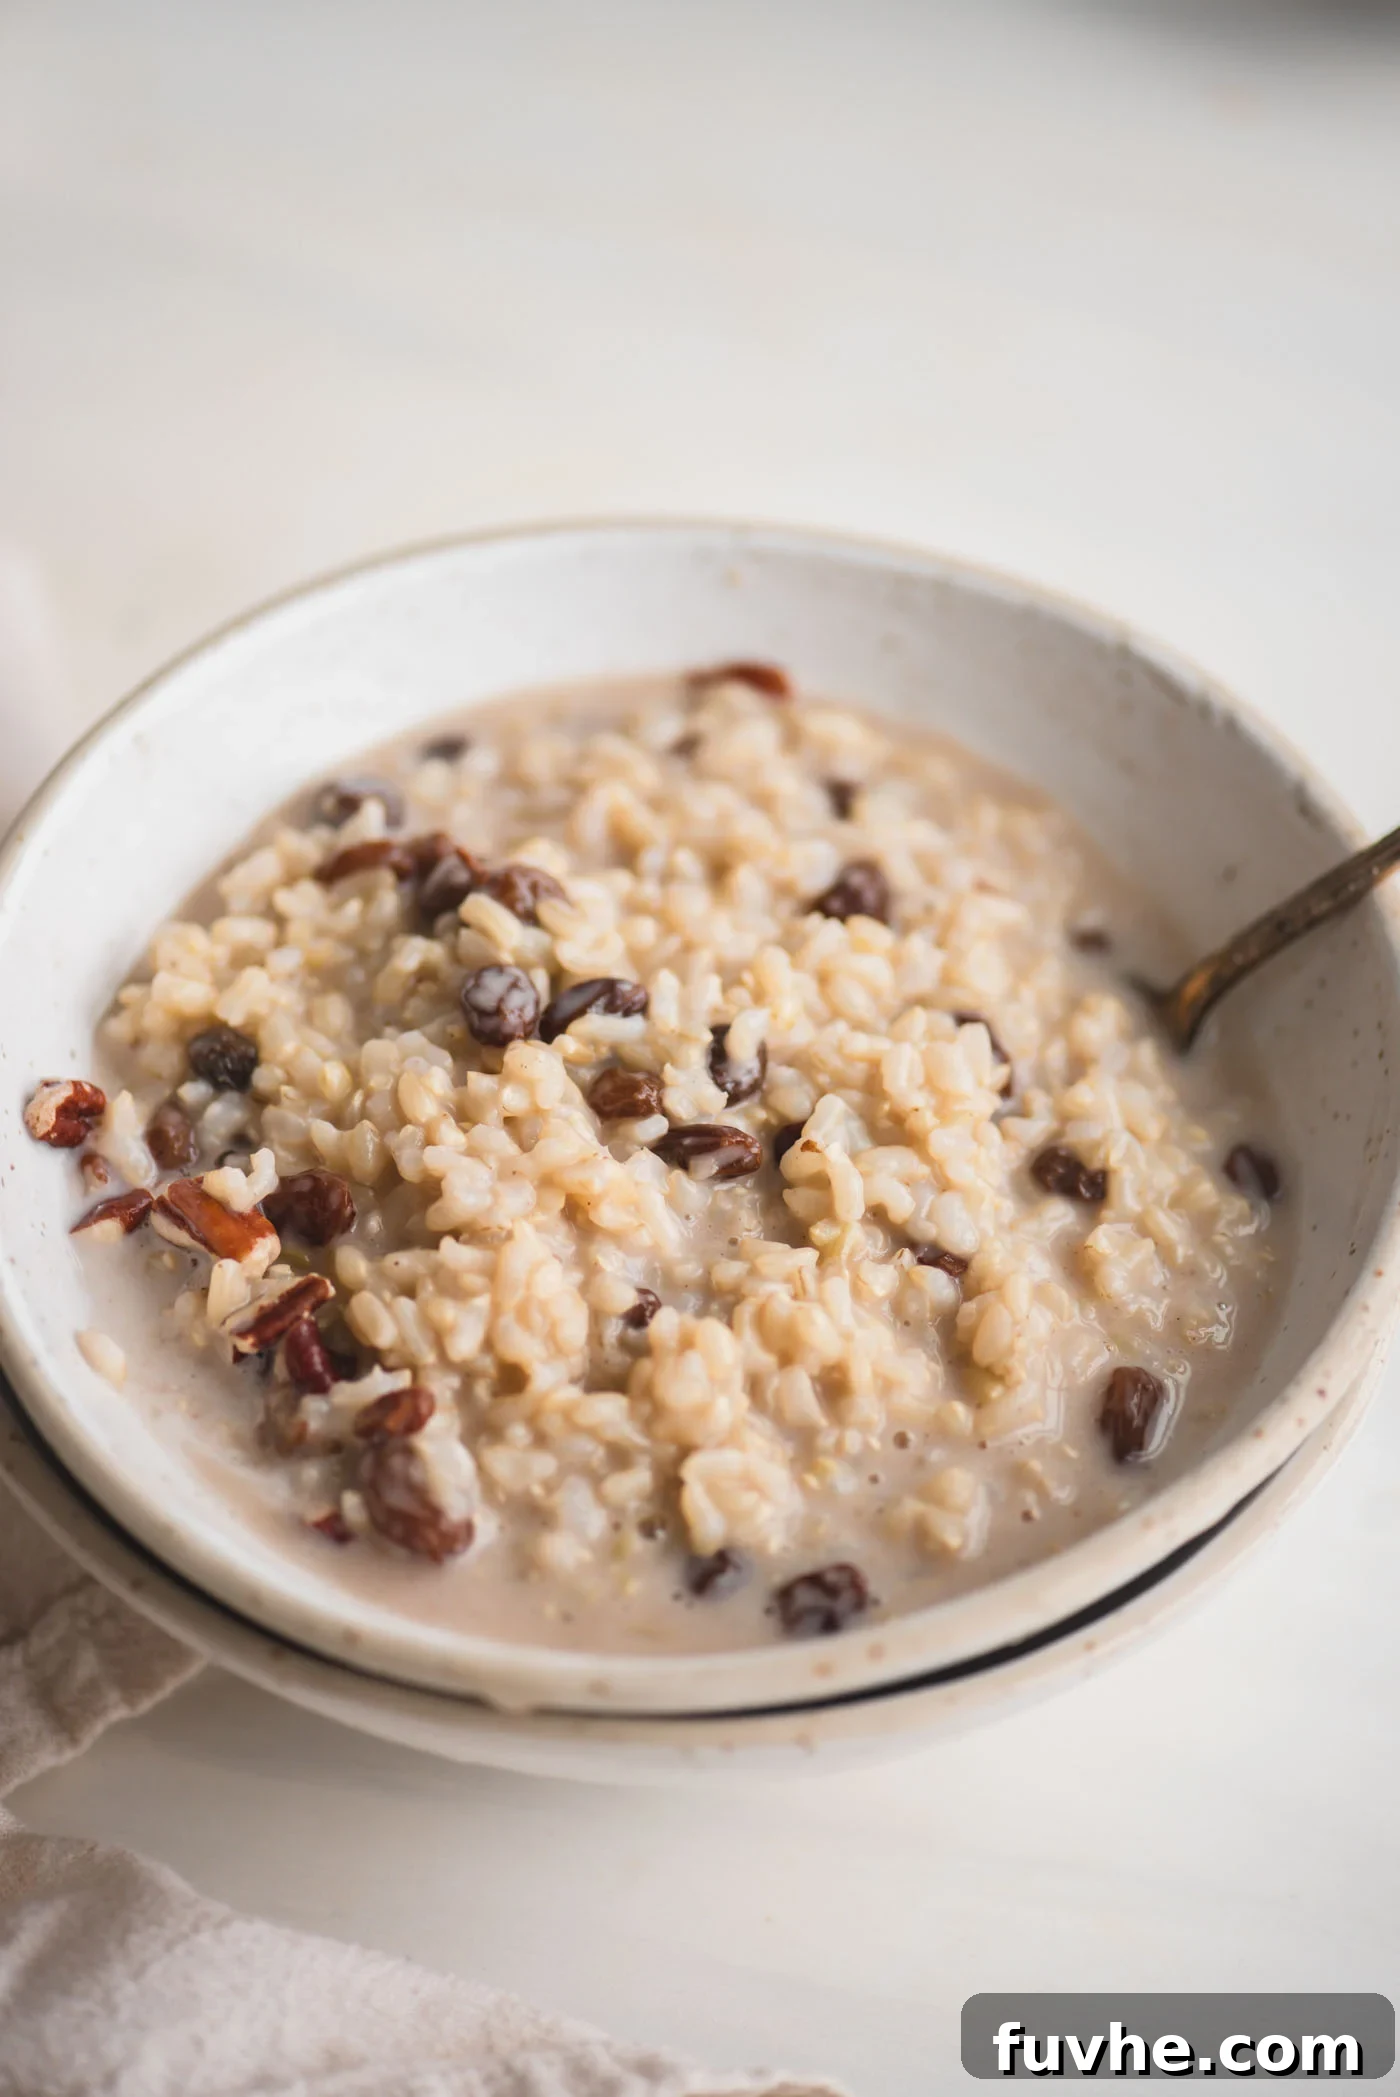
Why You’ll Love This Instant Pot Brown Rice Pudding
This isn’t just another recipe; it’s a game-changer for your meal planning, offering a harmonious blend of flavor, nutrition, and ease. Here’s why this Instant Pot Brown Rice Pudding will become a staple in your kitchen:
- Dietary Inclusivity: Crafted to be completely vegan, it’s naturally dairy-free and egg-free, making it suitable for those with allergies or following plant-based diets. It’s also gluten-free and nut-free, ensuring almost everyone can enjoy a spoonful.
- Health-Conscious Sweetness: We focus on minimal added sugar, allowing the natural sweetness of the brown rice, fruits, and maple syrup to shine through. You have full control to adjust the sweetness to your preference.
- Versatile Delight: Enjoy it as a warm, hearty breakfast, a satisfying mid-day snack, or a comforting dessert after dinner. Its adaptability makes it a perfect addition to any menu.
- Wholesome Oatmeal Alternative: If you’re looking to diversify your breakfast routine beyond oatmeal, this brown rice pudding offers a fantastic, equally nutritious, and flavorful option that’s just as easy to prepare.
- Family and Kid-Friendly: Its creamy texture and naturally sweet flavor make it a hit with both adults and children, even picky eaters! It’s an excellent way to introduce whole grains into their diet.
- Effortless Preparation: The Instant Pot transforms what could be a lengthy cooking process into a quick, hands-off operation, letting you enjoy more time doing what you love.
The Magic of Pressure Cooking: Why Instant Pot is Best for Rice Pudding
While traditional rice pudding often requires constant stirring and careful monitoring on the stovetop, the Instant Pot revolutionizes the process. Pressure cooking creates an enclosed, high-pressure environment that drastically reduces cooking time and ensures a perfectly cooked, creamy consistency every time. Here’s why your Instant Pot is the ideal tool for making brown rice pudding:
- Speed and Efficiency: Brown rice, known for its longer cooking time, becomes perfectly tender in a fraction of the time compared to conventional methods. The pressure cooker infuses moisture and heat deeply, yielding soft, chewy grains quickly.
- Hands-Off Cooking: Set it and forget it! Once you’ve added your ingredients and sealed the lid, the Instant Pot handles the rest. No need for continuous stirring to prevent sticking or scorching, freeing you up to attend to other tasks.
- Consistent Results: The controlled environment of the Instant Pot eliminates guesswork. You’re guaranteed uniformly cooked rice that’s neither mushy nor undercooked, forming the perfect base for your creamy pudding.
- One-Pot Wonder: Everything cooks together in a single pot, minimizing cleanup. This makes the entire process seamless, from preparation to serving.
- Enhanced Flavor Infusion: The pressure cooking process allows the spices, sweeteners, and milks to deeply penetrate the rice grains, resulting in a more profound and well-rounded flavor profile.
Ingredient Notes and Substitutions
This list highlights the key components. For precise measurements and detailed instructions, please refer to the comprehensive recipe card below.
- Brown Rice: The star of our pudding! Opt for short-grain brown rice for its naturally creamier texture once cooked, which is ideal for pudding. Ensure you rinse the rice thoroughly under cold water before cooking to remove excess starch. This step helps prevent stickiness and ensures a light, fluffy texture. While long-grain brown rice can be used, the texture may be slightly less creamy.
- Plant-Based Milk: Any unsweetened plant milk will work, but for the best flavor, I highly recommend using almond milk or cashew milk. Their mild, neutral flavors allow the other ingredients to shine. Soy milk or oat milk are also excellent choices for added creaminess. If using a sweetened variety, adjust the maple syrup accordingly.
- Sweetener: Our primary sweetener is natural maple syrup, offering a rich, warm sweetness. Feel free to substitute with agave syrup, brown sugar, cane sugar, or coconut sugar based on your preference. Each will impart a slightly different flavor profile, so choose what you love most.
- Spices: A blend of warming spices like cinnamon, nutmeg, and ground ginger creates that classic, comforting pudding flavor. These can be adjusted to your liking. For an exotic twist, a pinch of cardamom is also a wonderful addition that pairs beautifully with the other spices.
- Flavor Enhancers: A dash of vanilla extract deepens the sweet notes, while a pinch of sea salt is crucial for balancing the flavors and preventing the pudding from tasting bland. Don’t skip the salt!
- Coconut Milk (Added at the end): I recommend using light coconut milk for a creamy texture without being too heavy. If you prefer a richer pudding, full-fat coconut milk can be used; you can thin it out with a splash of water or lighter plant milk if desired. This addition at the end creates an extra layer of creaminess and tropical richness.
- Dried Fruit: Raisins are a traditional choice, providing bursts of natural sweetness and chewiness. However, feel free to get creative! Chopped dates, goji berries, dried figs, or dried cranberries make excellent substitutes or can be mixed for varied textures and flavors. If you’re not a fan of dried fruit, you can omit it entirely.
Step-by-Step Instructions for Perfection
Making this creamy brown rice pudding in your Instant Pot is incredibly straightforward. Follow these simple steps for a consistently delicious result:
Step 1: Prepare the Rice. The first crucial step is to rinse the brown rice thoroughly. Place the 1 cup of short-grain brown rice in a fine-mesh strainer and rinse it well under cold running water for about 30 seconds to a minute. This removes excess starch, which helps prevent the pudding from becoming overly sticky or gummy. Once rinsed, transfer the rice to your Instant Pot inner pot.
Step 2: Combine and Pressure Cook. To the rinsed brown rice in the Instant Pot, add the water, plant-based milk (almond or cashew recommended), maple syrup, sea salt, vanilla extract, cinnamon, nutmeg, and optional ground ginger. Make sure to add everything except for the coconut milk and raisins at this stage. Stir gently to combine the ingredients. Secure the Instant Pot lid and ensure the venting knob is sealed. Select the “Pressure Cook” or “Manual” setting on High Pressure and set the timer for 22 minutes.
Once the cooking cycle is complete, the Instant Pot will beep. It’s vital to allow the pressure to release naturally for at least 15 minutes. This natural release method is key to achieving a perfectly creamy texture and prevents the rice from getting too dry or sticking. After 15 minutes, carefully turn the venting knob to the “Venting” position to quick-release any remaining pressure. Once the float valve drops, you can safely remove the lid. Don’t be alarmed if the pudding appears quite watery at this point; it will continue to thicken significantly as it cools.
Step 3: Finish and Thicken. With the lid removed, now is the time to stir in the light coconut milk and raisins (or your chosen dried fruit). Give it a good stir to incorporate everything. The pudding might still look thin. To achieve the desired creamy consistency, press the “Saute” button on your Instant Pot. Bring the mixture to a gentle boil, stirring occasionally. This process should only take a couple of minutes, as you just want to warm through the added milk and activate the thickening process.
Once it reaches a light boil, press the “Cancel” button to turn off the Saute function. Rest the lid back on the Instant Pot (no need to seal it) and let it sit for another 10-30 minutes, stirring a few times throughout this period. The residual heat will continue to cook and thicken the pudding to a luxurious consistency. The longer it sits, the thicker it will become.
Quick Tip for Make-Ahead: If you’re preparing this pudding in advance and plan to store it, don’t worry too much about it reaching its absolute maximum thickness in the Instant Pot. It will continue to thicken even further as it cools and sets in the refrigerator, making it perfect for meal prep!
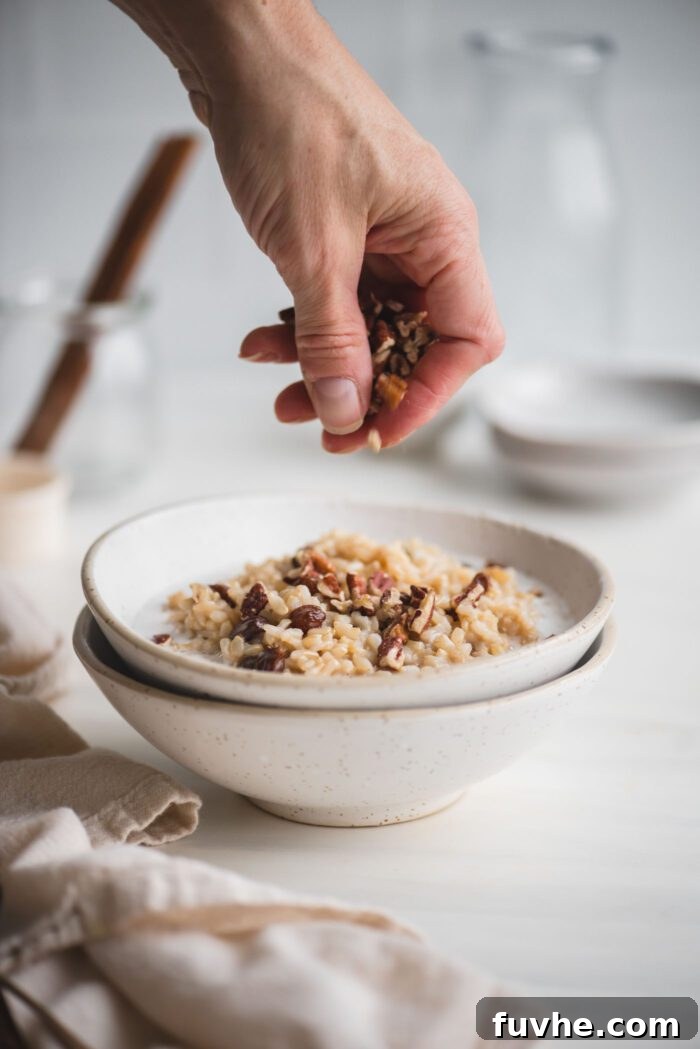
Serving Suggestions for Every Craving
This versatile brown rice pudding can be customized to suit any occasion, from a wholesome start to your day to an indulgent dessert.
- For a Decadent Dessert: Elevate your rice pudding with a sprinkle of brown or coconut sugar for extra sweetness and caramelization. Add a delightful crunch with chopped pecans or walnuts. A final drizzle of extra coconut milk or a dollop of coconut cream can transform it into a truly luxurious treat. Consider a dusting of cinnamon or a swirl of maple syrup.
- For a Nourishing Breakfast: Turn your rice pudding into a power-packed breakfast bowl. Top it with sliced fresh fruit like banana, apple, or a handful of vibrant berries (strawberries, blueberries, raspberries). A spoonful of your favorite plant-based yogurt adds tanginess and protein, while a sprinkling of chia seeds, flax seeds, or chopped nuts (almonds, cashews) provides healthy fats and fiber.
- Beyond the Basics: Experiment with different toppings like a drizzle of nut butter, a sprinkle of dark chocolate chips, or a spoonful of fruit compote. The possibilities are endless!
Storing and Reheating Tips
Proper storage ensures you can enjoy this delicious pudding for days to come.
- Cool Completely: Always allow the rice pudding to cool to room temperature before transferring it to storage containers. This prevents condensation buildup, which can make the pudding watery.
- Refrigeration: Store the cooled pudding in an airtight container in the refrigerator for up to 5 days. Its flavor often deepens overnight, making it an excellent make-ahead option.
- Freezing (with caution): While rice pudding isn’t always ideal for freezing due to potential changes in texture (it can become a bit grainy or separate), it is possible if necessary. Ensure it’s completely cooled before freezing. Transfer to a freezer-safe bag or container, leaving a little headspace. It can be frozen for up to 3 months. Thaw slowly in the refrigerator overnight before enjoying.
- Enjoying Leftovers: Rice pudding is delicious both cold or gently reheated. To reheat, you can use the microwave (in 30-second intervals, stirring in between) or the stovetop over low heat. If the pudding has thickened too much in the fridge, simply stir in a splash of additional plant milk or water until it reaches your desired consistency.
Variations and Customizations
One of the joys of this brown rice pudding is its adaptability. Here are some ideas to inspire your culinary creativity and make this recipe truly your own:
- Chocolate Lover’s Dream: Stir in a tablespoon or two of cocoa powder with the initial ingredients for a rich chocolate brown rice pudding. You can also add some vegan chocolate chips at the end.
- Pumpkin Spice Delight: During fall, add 1-2 teaspoons of pumpkin pie spice along with the other spices for a seasonal treat. A dollop of pumpkin puree can also be stirred in at the end for extra flavor and creaminess.
- Fruity Infusion: Instead of or in addition to raisins, experiment with other dried fruits like chopped apricots, candied ginger, or a mix of tropical dried fruits for different flavor profiles.
- Nutty Flavors: If not strictly nut-free, a tablespoon of cashew butter or almond butter stirred in at the end can add extra richness and a nutty depth of flavor.
- Citrus Zest: A teaspoon of lemon or orange zest added at the end can brighten the flavors and add a refreshing twist, especially when paired with berries.
- Spice It Up: Don’t limit yourself to cinnamon and nutmeg. Consider a pinch of allspice, cloves, or even a tiny dash of cayenne for a warming kick.
- Extra Sweetness: If you prefer a sweeter pudding than the recipe’s low-sugar base provides, feel free to increase the maple syrup to 1/4 cup or serve individual portions with an additional drizzle of sweetener like brown sugar, agave, or more maple syrup.
Health Benefits of This Wholesome Pudding
Beyond its incredible taste and comforting texture, this Instant Pot Brown Rice Pudding is packed with nutritional advantages:
- Whole Grain Goodness: Brown rice is a whole grain, meaning it contains all parts of the grain kernel – the bran, germ, and endosperm. This translates to higher fiber content compared to white rice, promoting digestive health and helping you feel fuller for longer.
- Rich in Nutrients: Brown rice is a good source of essential minerals like magnesium, selenium, and phosphorus, as well as B vitamins.
- Plant-Based Power: Being entirely vegan, this pudding avoids dairy, making it suitable for those with lactose intolerance or seeking to reduce animal product consumption. Plant milks also offer their own nutritional benefits, such as added vitamins and minerals.
- Fiber Boost: The fiber in brown rice helps regulate blood sugar levels, contributing to sustained energy throughout the day and preventing sharp spikes and crashes.
- Customizable Health: With control over added sugars and the ability to load up on fruits, nuts, and seeds, you can easily tailor this pudding to fit your personal dietary goals.
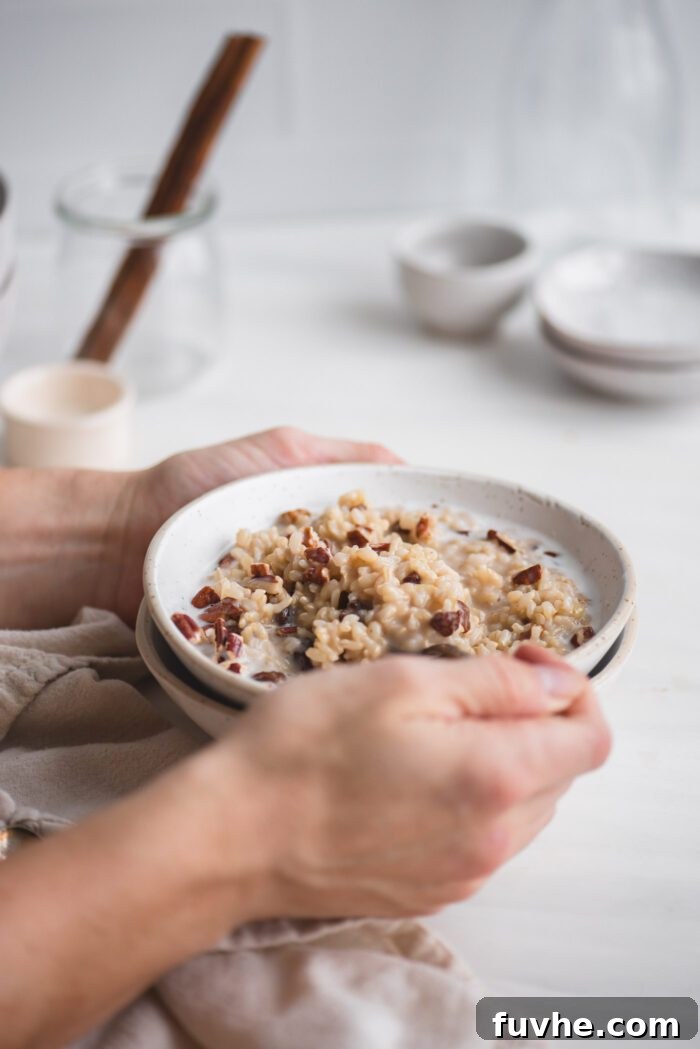
Related Recipes You Might Enjoy
- Simple Creamy Banana Oatmeal: A fan-favorite stovetop recipe for wholesome chia and banana oatmeal.
- French Toast Casserole: Skip the stovetop hustle and try this convenient oven-baked French toast for a crowd-pleasing breakfast or brunch.
- Baked Steel Cut Oatmeal: Easy and incredibly delicious steel cut oats that you can effortlessly prepare in the oven.
- Carrot Cake Baked Oatmeal: A delightful and simple baked oatmeal recipe that tastes just like a slice of comforting carrot cake.
- 5-Minute Breakfast Quinoa: Utilize leftover quinoa for a hearty and nutritious breakfast, topped with fresh fruit and crunchy nuts.
Instant Pot Brown Rice Pudding Recipe
Delicious, comforting, and healthier brown rice pudding that’s incredibly easy to make in an Instant Pot! This recipe is vegan, gluten-free, and low in added sugar, making it a perfect choice for breakfast, snack, or dessert.
Yields: 6 servings
Prep time: 5 minutes
Cook time: 40 minutes (includes pressure building, cooking, and natural release)
Ingredients
- 1 cup short-grain brown rice (220 g), rinsed well
- 1.5 cups water (375 mL)
- 1.5 cups unsweetened plant-based milk (375 mL), such as almond or cashew
- 3 tbsp maple syrup (45 mL), or other preferred sweetener
- 1/2 tsp sea salt
- 1 tsp vanilla extract
- 1/2 tsp ground cinnamon
- 1/4 tsp ground nutmeg (optional)
- 1/2 tsp ground ginger (optional)
- 1/3 cup raisins (50 g)
- 1 cup light coconut milk (250 mL), for stirring in at the end
Instructions
- Rinse Rice: Rinse the short-grain brown rice thoroughly under cold water in a fine-mesh strainer. Add the rinsed rice to your Instant Pot inner pot.
- Pressure Cook: To the Instant Pot, add the water, 1.5 cups plant-based milk, maple syrup, sea salt, vanilla extract, cinnamon, optional nutmeg, and optional ground ginger. Stir to combine. Secure the lid and set the venting knob to the Sealing position. Select “Pressure Cook” (or “Manual”) on High Pressure for 22 minutes.
- Natural Release: Once cooking is complete, allow the pressure to release naturally for 15 minutes. After 15 minutes, carefully quick-release any remaining pressure by turning the venting knob to the Venting position. Remove the lid. The pudding will appear watery at this stage.
- Thicken & Finish: Stir in the 1 cup of light coconut milk and the raisins. Press the “Saute” button and bring the mixture to a gentle boil, stirring occasionally, for 2-3 minutes.
- Rest & Serve: Press “Cancel” to turn off Saute. Place the lid back on the Instant Pot (without sealing) and let the pudding sit for 10-30 minutes, stirring a few times, until it thickens to your desired consistency. The longer it sits, the thicker it will become. Serve warm or cold, with your favorite toppings.
Notes
For alternatives to raisins, try chopped dates, dried figs, goji berries, or dried cranberries. If you prefer alternative sweeteners, coconut sugar, brown sugar, cane sugar, or agave are all suitable options. This recipe is not as sweet as traditional rice pudding, so feel free to increase the maple syrup to 1/4 cup for more sweetness, or serve topped with additional sweetener.
Nutrition facts are provided for 6 portions. If you prefer larger servings, for example, 4 servings, each portion would be approximately 307 calories with 6g fat, 59g carbohydrates, and 5g protein.
Enjoyed this recipe? Share your thoughts and experiences by leaving a comment below!