
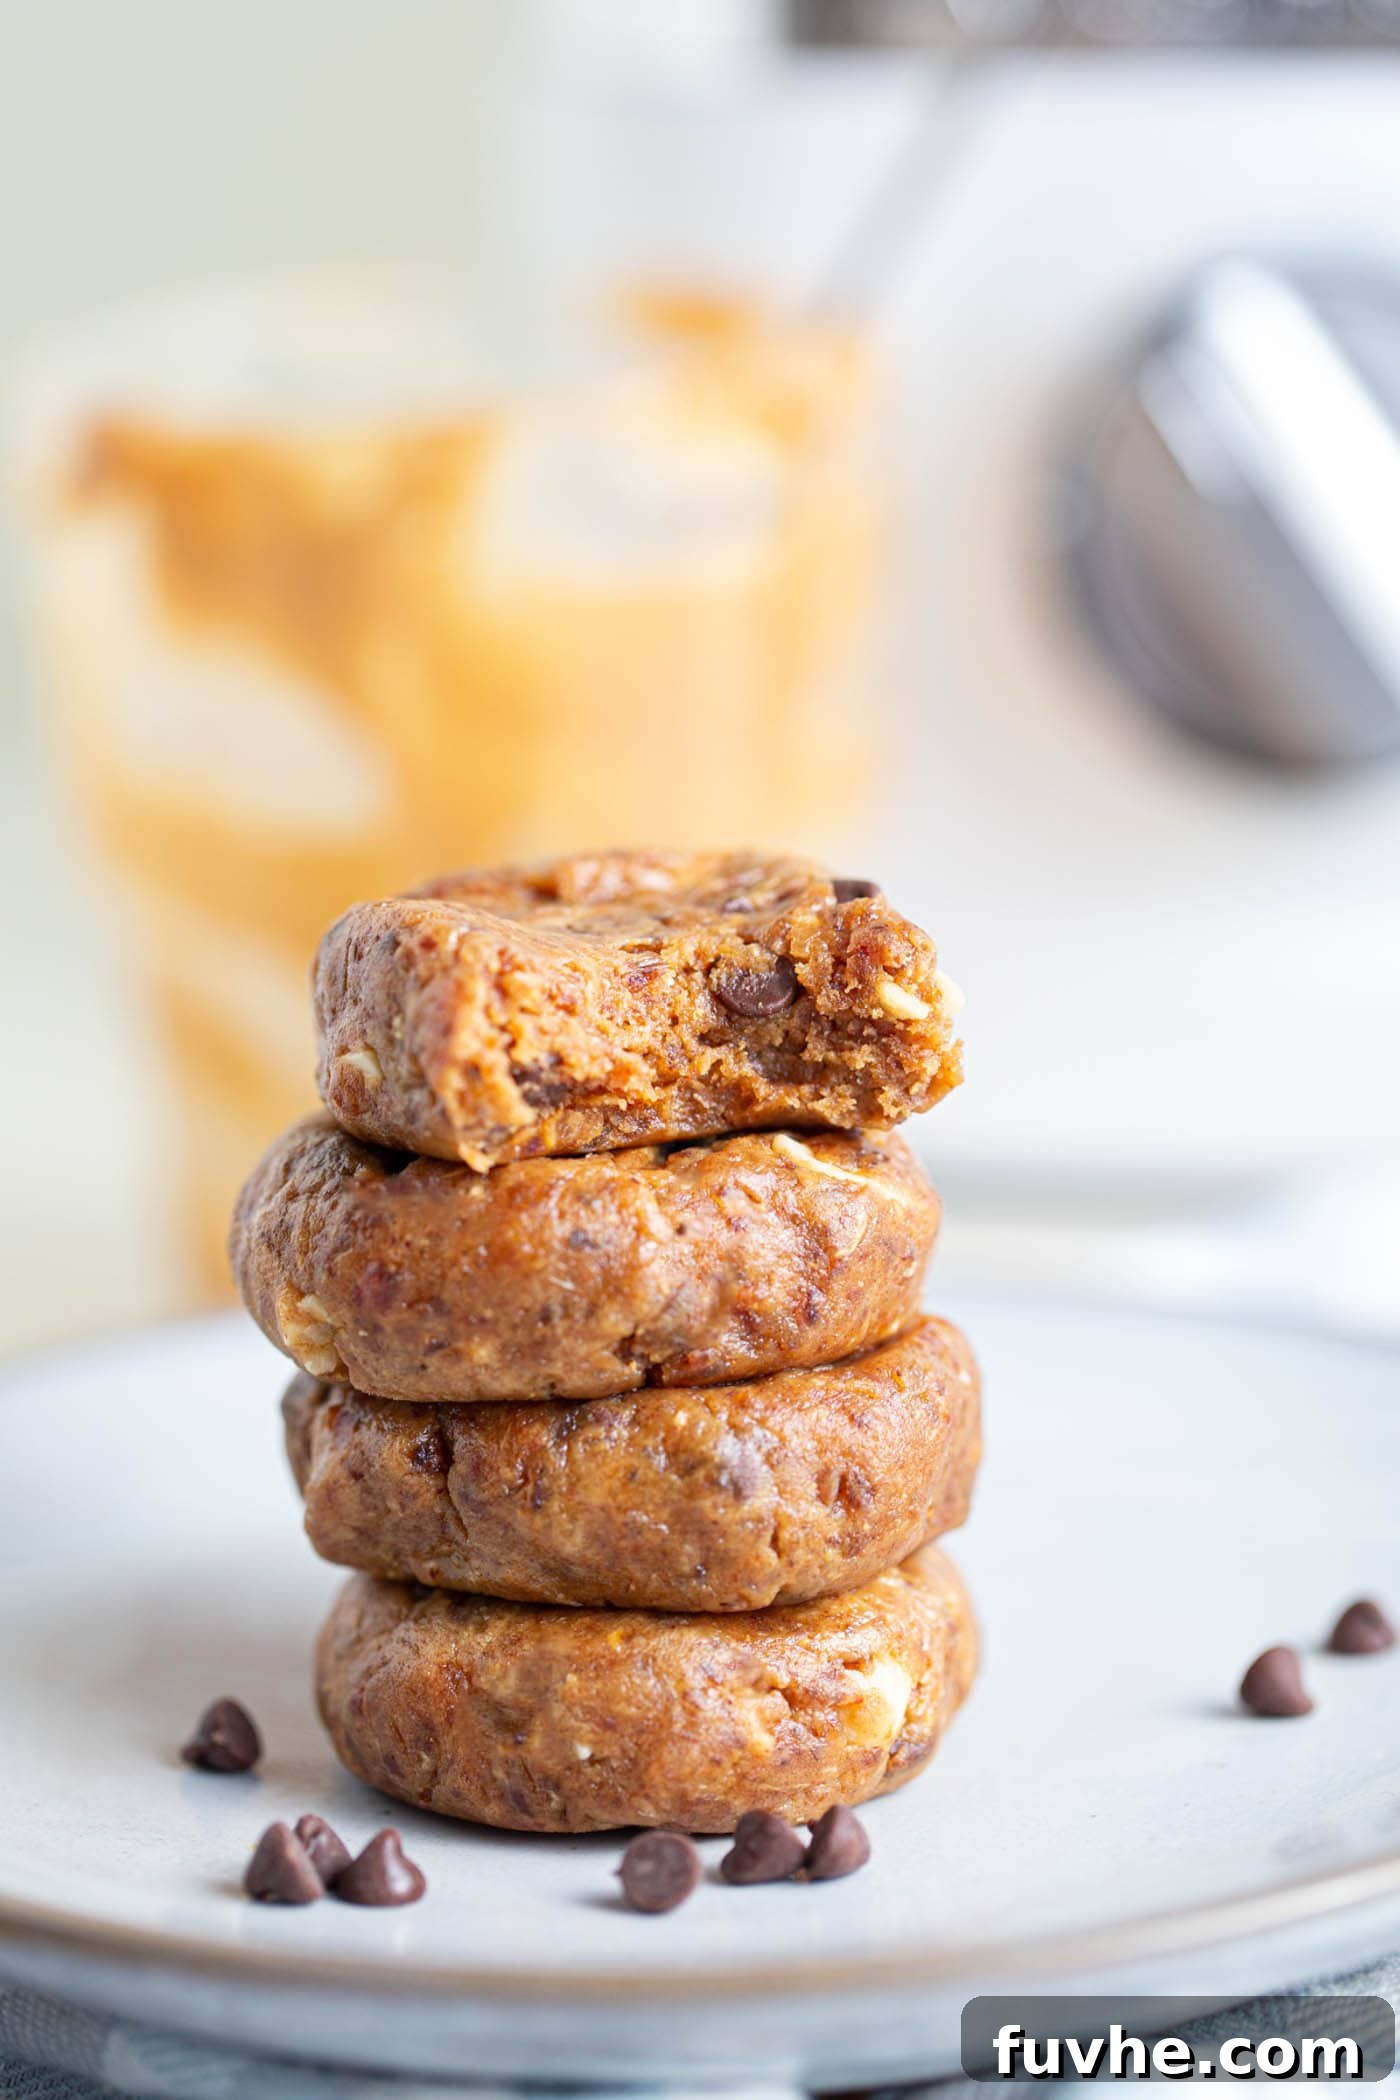
Effortless & Healthy: No-Bake Peanut Butter Chocolate Chip Cookies
Craving a sweet treat that’s both delicious and incredibly easy to make? Look no further than these delightful no-bake peanut butter chocolate chip cookies. Perfect for any time of day, these healthy, wholesome cookies come together in mere minutes, offering a satisfying burst of flavor without the need for an oven. They’re a fantastic option for a quick snack, a guilt-free dessert, or even a nutritious energy boost.
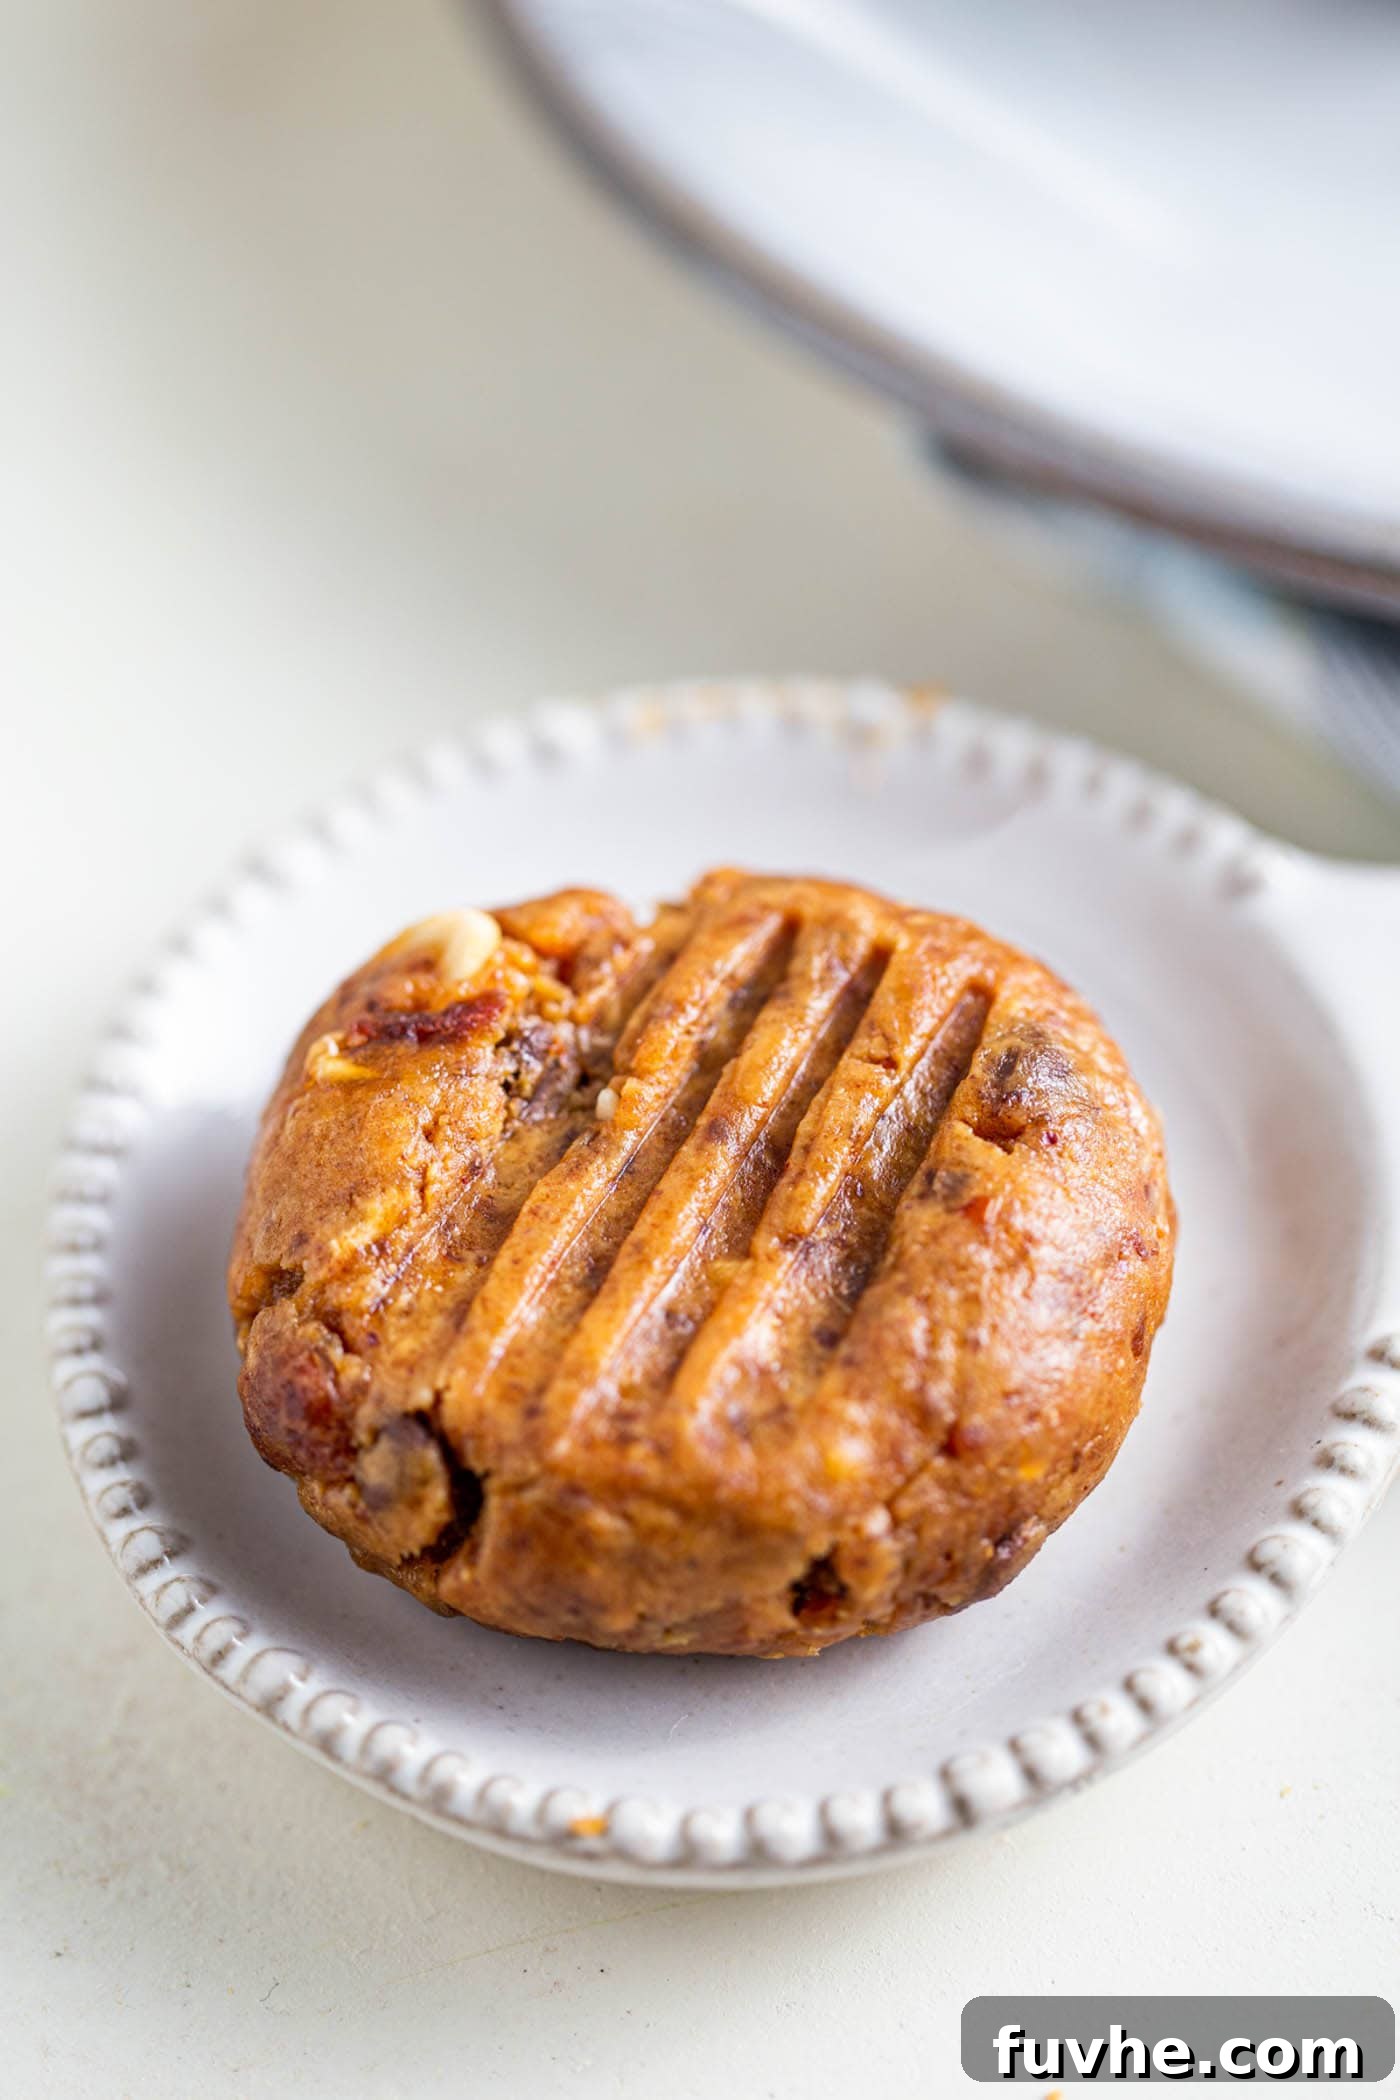
About These No-Bake Wonders
These no-bake cookies aren’t just easy; they’re designed with wellness in mind. They embody the ideal combination of convenience, flavor, and health benefits, making them a staple for anyone seeking smarter snack options.
- Dietary Friendly: This recipe proudly caters to various dietary needs. It’s naturally vegan, making it suitable for plant-based diets. It’s also completely oil-free and gluten-free, thanks to its wholesome ingredients. What’s more, it can easily be made nut-free by substituting peanut butter with a seed butter, and it’s refined sugar-free, relying on natural sweetness from dates and a touch of maple syrup.
- Unbeatably Quick and Easy: Forget lengthy baking sessions and complicated steps. You’ll need just 4 core ingredients and approximately 10 minutes of hands-on time to whip up a batch. The process involves minimal equipment, primarily a food processor, making cleanup a breeze.
- Freezer-Friendly Convenience: One of the greatest advantages of these cookies is their freezer-friendly nature. Prepare a larger batch and store them in the freezer for up to two months. They maintain their delightful texture even when frozen, meaning you can grab one straight from the freezer whenever a healthy dessert or snack craving strikes. It’s perfect for meal prepping your sweet treats!
- Versatile Energy Bites: If you’re short on time or prefer a different format, this dough is incredibly versatile. Instead of shaping them into traditional cookies, you can easily roll them into compact energy balls or press the mixture into a pan to create convenient energy bars. These are ideal for pre- or post-workout fuel, lunchbox additions, or a quick grab-and-go snack.
The Wholesome Ingredients You’ll Need
The beauty of this recipe lies in its simplicity and the quality of its minimal ingredients. Each component plays a crucial role in creating the perfect texture and flavor profile. Below is a closer look at what goes into these delectable no-bake cookies, along with helpful tips and substitution ideas.
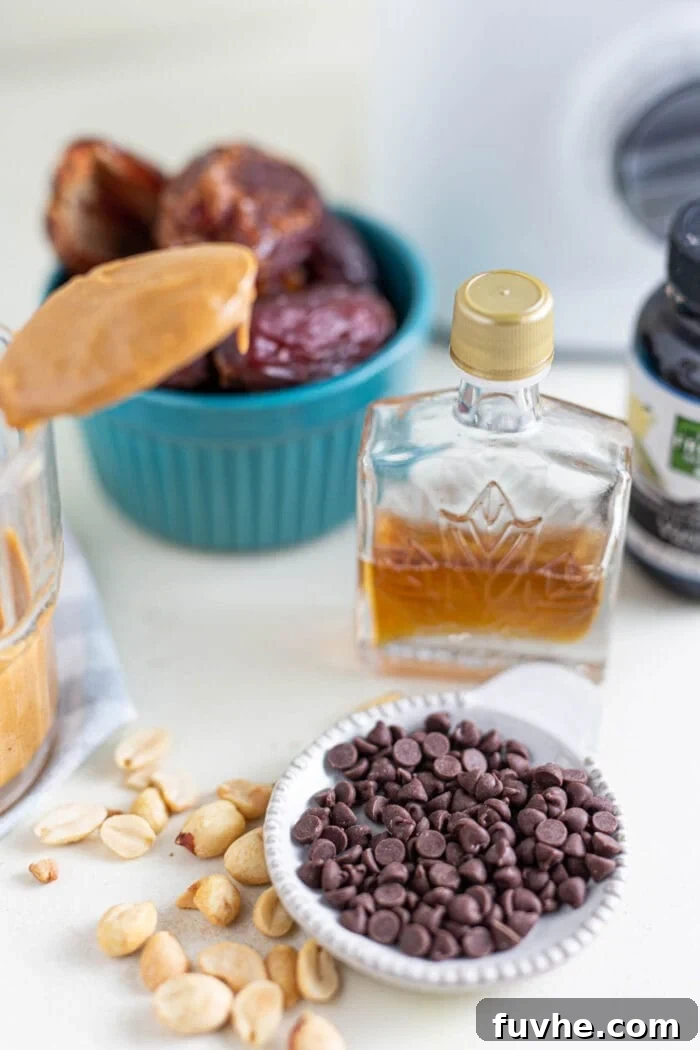
- Dates: The Natural Sweetener and Binder. For the best results, I highly recommend using soft, plump medjool dates. Their naturally caramel-like flavor and incredibly sticky texture are ideal for binding the cookie dough without added sugars or fats. If medjool dates are unavailable, other soft varieties like Sayer or Deglet Noor can work, but ensure they are not overly dry. If your dates feel a bit firm, simply soak them in hot water for about 15 minutes, then drain them thoroughly before use. This step ensures they blend smoothly and contribute to the perfect dough consistency.
- Peanut Butter: The Heart of the Flavor. The key to a truly healthy and delicious no-bake cookie is natural peanut butter. Look for brands that list only one or two ingredients: peanuts, or peanuts and salt. Avoid those with added oils, sugars, or preservatives, as these can alter the texture and nutritional profile of your cookies.
- Substitution Options: For those with peanut allergies or who prefer different flavors, almond butter, cashew butter, or even tahini (for a unique, slightly savory twist) work wonderfully. For a completely nut-free version, sunflower seed butter (sunbutter) is an excellent choice. Be aware that different nut/seed butters may slightly change the final flavor and firmness of the cookies, so adjust sweetness if needed.
- Chocolate Chips: The Classic Complement. To keep these cookies dairy-free and vegan, make sure to select dairy-free chocolate chips. Brands like Enjoy Life and Camino are popular choices, but many grocery stores now carry their own vegan-friendly options. If chocolate chips are hard to find, you can easily substitute them with finely chopped dark chocolate bars (aim for 70% cocoa or higher for a richer, less sweet profile). You can also opt for cacao nibs for a more intense, less sweet chocolate experience and an added crunch.
- Maple Syrup: A Touch of Refined Sugar-Free Sweetness. This recipe calls for just a touch of pure maple syrup to enhance the natural sweetness of the dates and add a nuanced flavor. It also aids in achieving the perfect sticky consistency.
- Substitution Options: Agave nectar is a direct substitute for maple syrup if you have it on hand. While coconut sugar could also be used, it would slightly alter the texture and might require a tiny bit of liquid to compensate, as it’s a granulated sweetener.
- Vanilla Extract: For Depth of Flavor. A good quality vanilla extract is essential for adding a warm, aromatic depth that elevates the overall taste of the cookies. Don’t skip it!
- Sea Salt: To Balance and Enhance. Just a pinch of sea salt (specifically ½ tsp) is crucial. It doesn’t make the cookies salty but rather balances the sweetness and enhances the rich flavors of the peanut butter and chocolate.
- Optional Extras: Customize Your Cookies! Feel free to get creative and add up to ½ cup of your favorite mix-ins for extra texture and flavor. Some popular additions include:
- Nuts: Chopped walnuts, almonds, or extra peanuts.
- Seeds: Chia seeds, flax seeds (for omega-3s and binding), or hemp seeds.
- Dried Fruit: Shredded coconut, dried cranberries, or raisins.
- Superfoods: Cacao nibs for extra crunch and a bitter chocolate note, or a scoop of protein powder for a post-workout boost (though this might alter the texture slightly, so add gradually).
Please note that this is a detailed overview of the ingredients. For precise measurements and a complete guide, refer to the full recipe card at the end of this post.
Crafting Your Perfect No-Bake Cookies: Step-by-Step
Making these no-bake cookies is incredibly straightforward. With a food processor and a few simple steps, you’ll have a batch of healthy, homemade treats ready in no time. Precision in measurements, especially for the dates and peanut butter, can make a significant difference in the final texture. Using a kitchen scale is highly recommended for accuracy, ensuring perfect results every time.
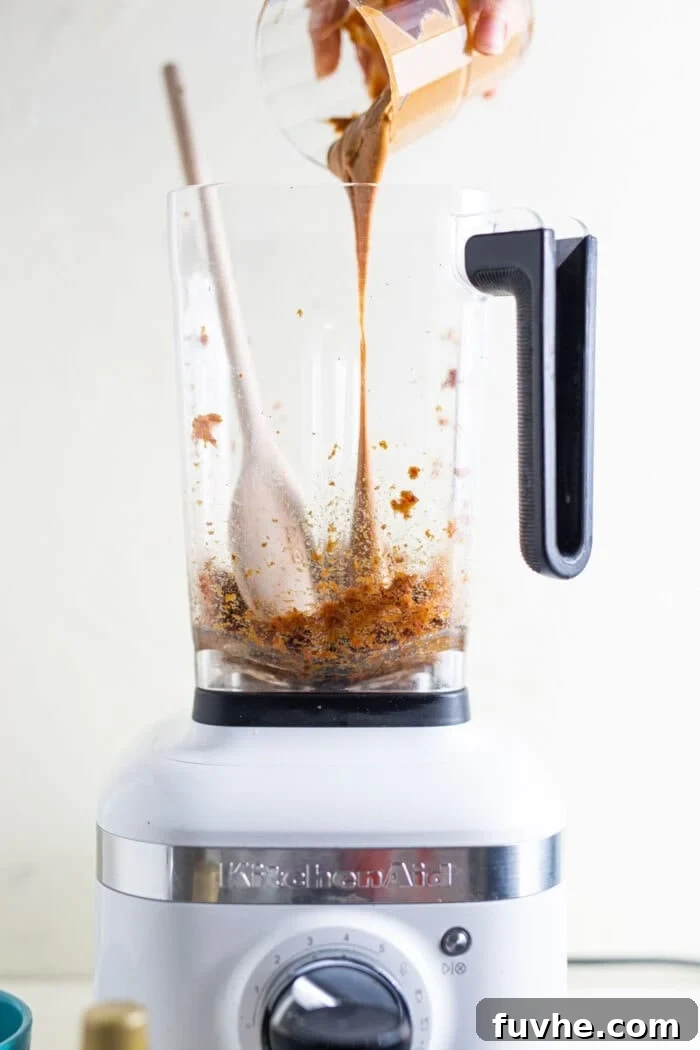
Step 1: Process the Dates and Wet Ingredients
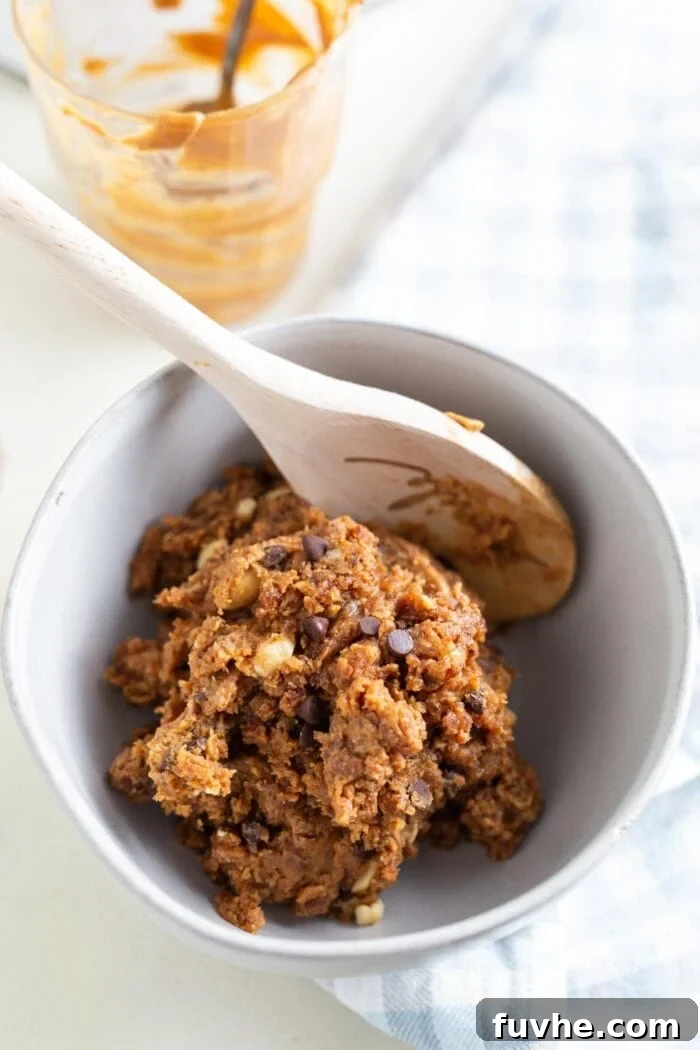
Begin by adding your soft, pitted dates to a high-speed food processor. Process the dates alone until they break down into a sticky, ball-like dough. It’s crucial for the dates to be soft enough to achieve this consistency; if they’re too dry, they won’t bind properly. Stop the processor a few times to scrape down the sides, ensuring all date pieces are evenly incorporated. Once the dates form a cohesive mass, add the natural peanut butter, maple syrup, vanilla extract, and sea salt to the food processor. Continue to process until all ingredients are thoroughly combined and the mixture forms a large, uniform ball of sticky dough. This base mixture should be firm enough to hold its shape but still pliable.
Step 2: Incorporate Chocolate Chips and Shape
Once your dough base is ready, gently add the dairy-free chocolate chips (or chopped dark chocolate) to the food processor. Pulse the processor just a few times—enough to evenly distribute the chocolate chips throughout the dough without completely breaking them down. Over-processing at this stage can melt the chocolate chips or turn your dough gray, so be mindful. Transfer the dough to a bowl.
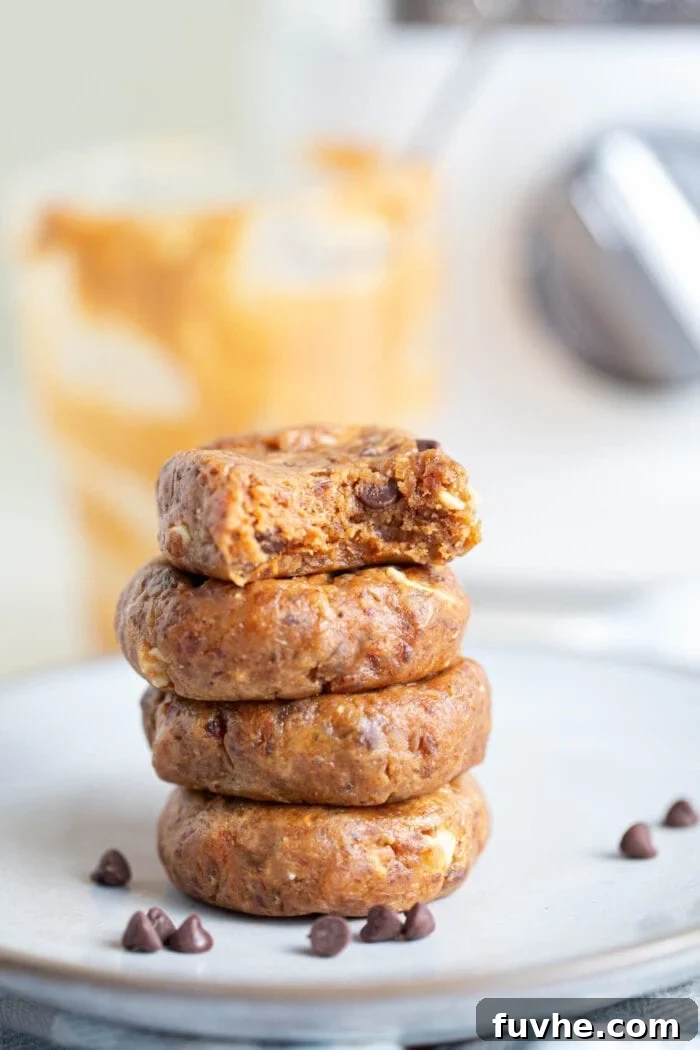
Now comes the fun part: shaping! Take small portions of the dough and roll them into bite-sized balls. Then, using your palm or the back of a fork, gently flatten each ball into a cookie shape. You can make them as thick or thin as you prefer. If you’re making energy bites, simply keep them as spheres. Arrange them on a plate or a parchment-lined tray. These cookies are ready to enjoy immediately, but a brief chill in the fridge can help them firm up even more.
Tips for Perfect No-Bake Cookies
- Date Quality is Key: Always use fresh, soft, and moist dates. If they are dry, soaking them in hot water for 15 minutes and then draining them thoroughly is a must. Dry dates will result in a crumbly dough that won’t hold its shape.
- Food Processor Power: A good quality food processor is essential for achieving the right dough consistency. A blender might work for the initial date processing but may struggle with the thick dough once peanut butter is added.
- Adjusting Consistency: If your dough is too dry and crumbly, add a tiny bit more maple syrup or a teaspoon of water/plant-based milk until it comes together. If it’s too sticky, try adding a tablespoon of oat flour or almond flour to absorb excess moisture.
- Chilling Time: While these cookies are delicious immediately, chilling them for 20-30 minutes in the refrigerator helps them firm up and develop a more satisfying chew.
- Customization: Don’t hesitate to experiment with different additions like chopped nuts, seeds, dried fruits, or even a dash of cinnamon for varied flavors and textures.
How to Store Your No-Bake Delights
Proper storage ensures your no-bake cookies remain fresh and enjoyable for longer, offering a convenient healthy snack whenever you need it.
- Fridge Storage: Store the cookies in an airtight container in the refrigerator for up to 1 week. This keeps them firm and prevents them from becoming too soft.
- Freezer Storage: For longer preservation, these cookies are excellent freezer candidates. Place them in a sealed container or a freezer-safe bag, and they will keep well for up to 2 months. The best part? They won’t freeze solid, so you can enjoy them straight from the freezer for a wonderfully cool and chewy treat, making them perfect for on-demand snacking.
Explore More No-Bake Dessert Recipes
If you’re a fan of easy, oven-free treats, you’ll love these other simple and healthy no-bake dessert ideas. They’re perfect for satisfying your sweet tooth without heating up your kitchen!
- No-Bake Sweet and Salty Peanut Butter Bars
- Raw Vegan Gingerbread Bites
- No-Bake Chocolate Chip Granola Bars
- No-Bake Oatmeal Bars
- No-Bake Brownie Bites
No-Bake Peanut Butter Chocolate Chip Cookies
By: Deryn Macey
These no-bake peanut butter cookies offer all the deliciousness of raw cookie dough, but in a much healthier package! Store the entire batch in a container and enjoy them by the spoonful, rolled into balls, or pressed into delightful cookie shapes. They are naturally vegan, oil-free, gluten-free, and require no baking at all.
Prep Time: 10 mins
Total Time: 10 mins
Yields: 12 servings
Ingredients
- 1 cup packed soft pitted dates (225 g)
- ½ cup natural peanut butter (125 g)
- 1 tbsp maple syrup (15 g)
- 1 tsp vanilla extract
- ½ tsp sea salt
- ½ cup dairy-free chocolate chips (90 g)
Instructions
- In a food processor or high-speed blender, process the pitted dates until they are completely broken down and begin to form a sticky, cohesive dough. Pause occasionally to scrape down the sides of the bowl to ensure even blending.
- Add the natural peanut butter, maple syrup, sea salt, and vanilla extract to the food processor. Continue to process until all ingredients are well combined and the mixture forms a large, uniform ball of sticky dough.
- Add the dairy-free chocolate chips to the dough. Pulse the food processor a few times – just enough to evenly distribute the chocolate chips without breaking them down too much.
- Remove the dough from the food processor. Roll the dough into 12 bite-sized balls, then gently flatten each ball with a fork or the palm of your hand to create cookie shapes. Enjoy immediately or chill for firmer cookies.
Notes
Be sure to use soft, moist dates for the best results. If your dates are overly dry or you’re unsure of their moisture content, soak them in hot water for about 15 minutes, then drain them thoroughly before adding them to the food processor. Store any leftover cookies in the fridge for up to a week or in the freezer for up to 2 months for extended freshness.
Nutrition Information (per serving)
Serving: 1 cookie,
Calories: 142 kcal,
Carbohydrates: 17g,
Protein: 3g,
Fat: 8g,
Saturated Fat: 3g,
Polyunsaturated Fat: 1g,
Monounsaturated Fat: 3g,
Sodium: 143mg,
Potassium: 145mg,
Fiber: 2g,
Sugar: 13g,
Vitamin A: 1IU,
Vitamin C: 0.05mg,
Calcium: 22mg,
Iron: 1mg
This beloved recipe was originally published on February 20, 2013, and has been updated for clarity, expanded information, and enhanced reader experience.