
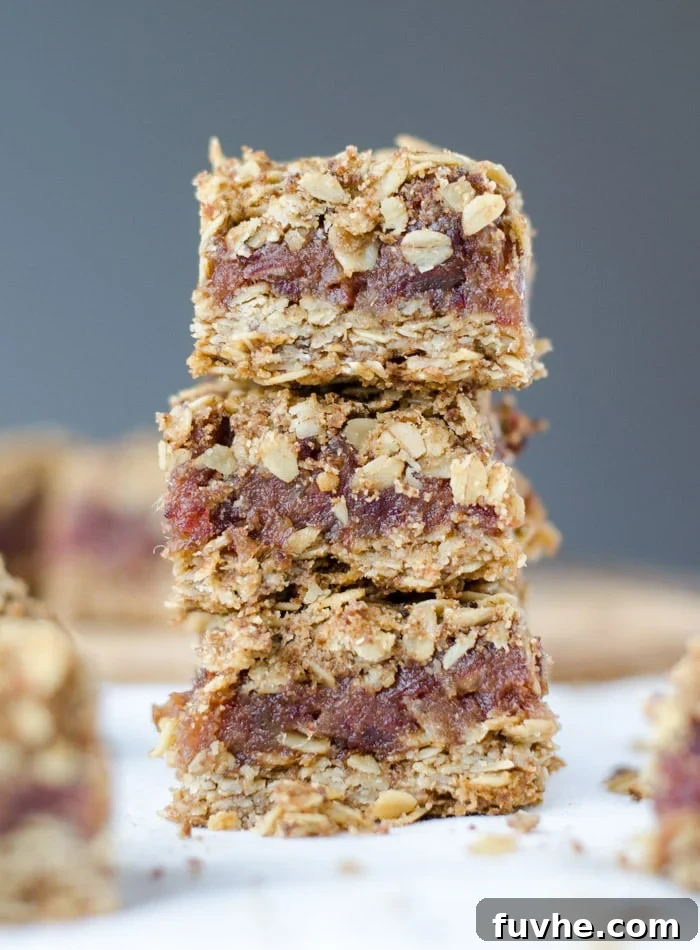
Indulge in the perfect blend of sweet, chewy, and wholesome with these incredibly satisfying **Gluten-Free Vegan Date Squares**. Boasting a delightful oat-based crust and topping that cradles a rich, naturally sweet date filling, these squares are designed to be a standout treat for any occasion, especially during the festive holiday season. Crafted with simplicity and mindful ingredients, they offer a healthier twist on a beloved classic without compromising on taste or texture. Prepare to impress friends and family with a dessert that caters to various dietary needs, ensuring everyone can enjoy a slice of this pure, plant-based bliss.
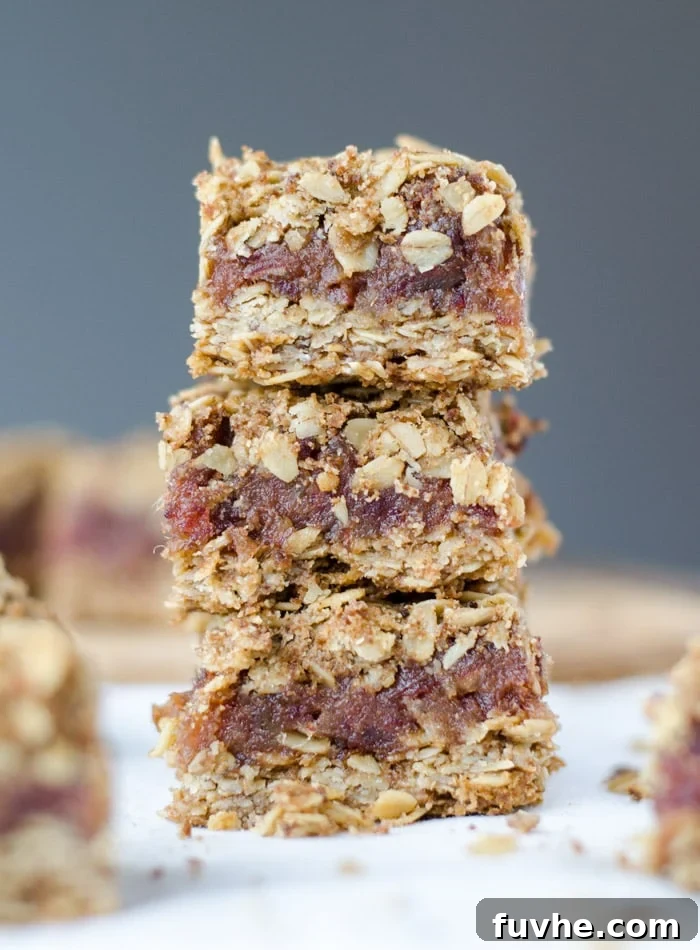
Why You’ll Love These Date Squares: Recipe Features
These date squares aren’t just a treat; they’re a celebration of simple, wholesome ingredients transformed into something truly special. Here’s what makes them an absolute must-try:
- Wholesome & Simple Ingredients: You only need a handful of pantry staples like oats, natural dates, a touch of sugar, and coconut oil. No obscure ingredients, just pure goodness.
- Perfect for Dietary Restrictions: Naturally gluten-free and vegan, these squares are ideal for those with specific dietary needs or anyone looking for a healthier dessert option. They’re also easily refined sugar-free.
- Irresistible Flavor & Texture: Experience the perfect harmony of a slightly crispy, golden-brown oat crumble topping and base, complementing a lusciously soft, naturally sweet date filling.
- Holiday Favorite: Their rich, comforting flavor profile makes them an instant hit during the holidays, perfect for sharing at gatherings or enjoying with a warm cup of tea.
- Easy to Prepare: Despite their impressive taste, these date squares are surprisingly straightforward to make, requiring minimal baking skills and basic kitchen equipment.
- Excellent for Meal Prep & Freezing: They store beautifully, making them perfect for preparing ahead of time or freezing for future enjoyment.
Ingredient Notes and Potential Substitutions
Using quality ingredients is key to achieving the best flavor and texture in your date squares. Here’s a detailed look at what you’ll need and some helpful tips:
- Oats: For the best results, use rolled oats or old-fashioned oats. Instant oats tend to absorb liquid too quickly and can result in a mushy texture, while steel-cut oats are too coarse. If you require truly gluten-free bars, ensure you use certified gluten-free oats to avoid cross-contamination.
- Dates: Any variety of pitted dates will work well for this recipe since they will be soaked and blended into a paste. Medjool dates are often preferred for their soft, caramel-like texture and natural sweetness, but regular Deglet Noor dates are also excellent and often more budget-friendly. Soaking is crucial regardless of the date variety to ensure a smooth, easily blendable filling.
- Sugar: You have flexibility here! Any granulated sugar will work. For a refined sugar-free option, we highly recommend using coconut sugar, which adds a lovely caramel note and is a natural alternative. If you’re aiming for a sugar-free recipe, a high-quality monk fruit sweetener can be used as a substitute. Adjust to your taste preferences.
- Coconut Oil: This ingredient is integral to the texture and structure of both the crust and topping. We strongly advise against substituting coconut oil with other types of oil as it solidifies at cooler temperatures, which is essential for the squares to firm up and hold their shape. While some vegan butter brands might work, it hasn’t been tested, so proceed with caution if experimenting.
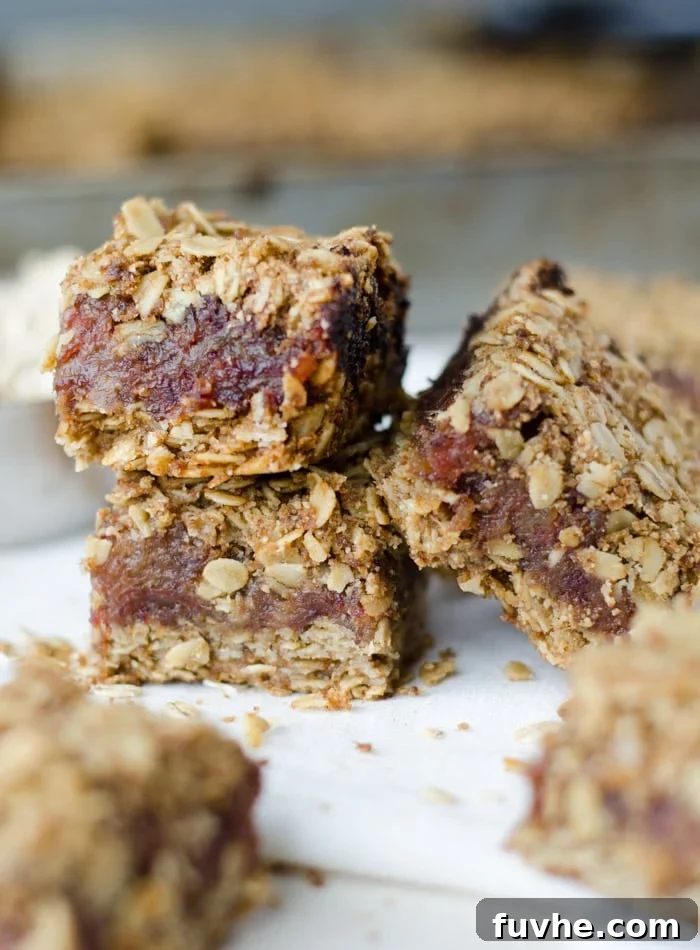
Step by Step Instructions for Perfect Date Squares
Creating these delightful gluten-free vegan date squares is a straightforward process. Follow these detailed steps to ensure a flawless batch every time.
Step 1. Prepare the Dates: Soaking is Key
This initial step is absolutely crucial for achieving a smooth, pliable date paste. Do not skip it! Place your pitted dates in a large heatproof bowl and cover them completely with hot water. Allow them to soak for a minimum of 30 minutes. This softens the dates, making them much easier to blend into a creamy consistency. You can even soak them for longer if your dates are particularly dry.
Step 2. Create the Oat Flour
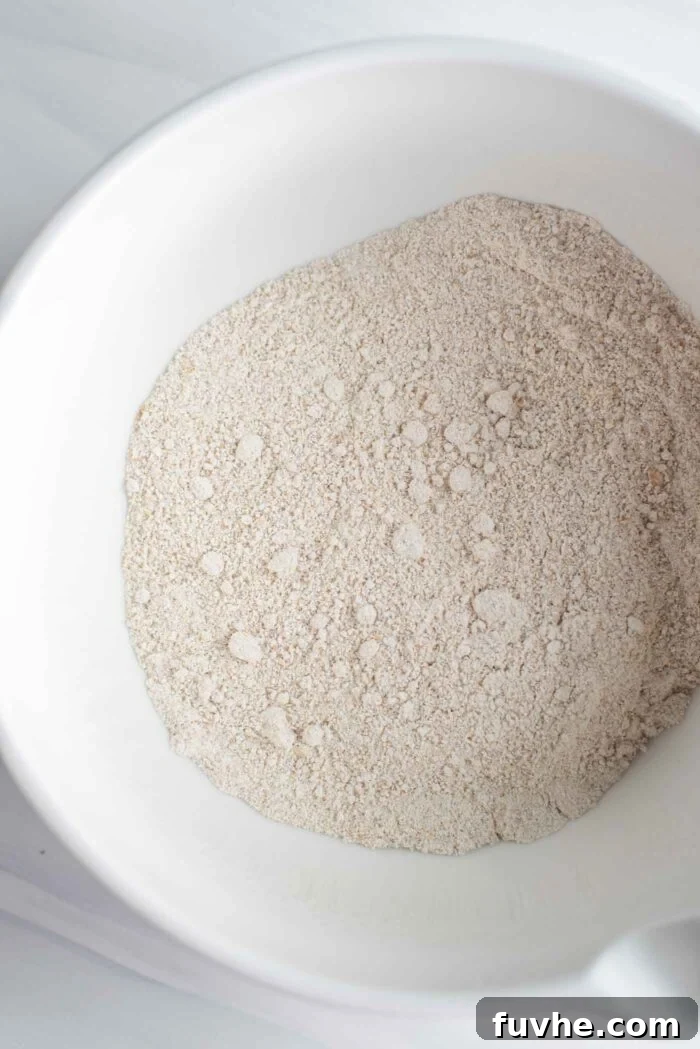
Measure out 1.75 cups of rolled oats. Transfer these oats to a food processor or a high-speed blender. Process the oats until they transform into a very fine, flour-like consistency. It’s important to let your machine run for a while to ensure there are no large oat chunks remaining, as a fine flour will give your crust and topping the best texture. If you’re using pre-made oat flour, use 175g for this step.
Step 3. Blend the Soaked Dates into a Paste
Once the dates have thoroughly soaked, drain them very well, discarding the soaking water. Transfer the drained dates to a food processor. Add the optional sea salt. Process them until they form a thick, uniform paste. It’s perfectly fine if there are a few small, delightful chunks remaining – this can add character to the filling! If you don’t have a food processor, you can achieve a similar paste by thoroughly mashing the softened dates with a fork or even squeezing them with your hands. This old-school method also saves on washing up!
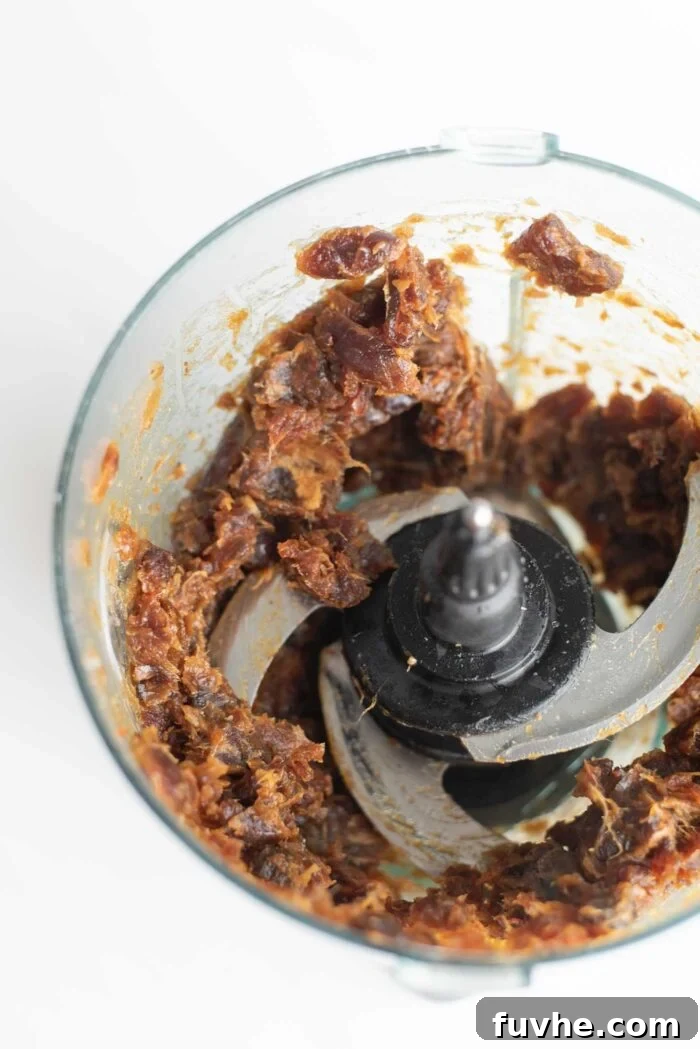
Step 4. Mix the Crumbly Crust and Topping
In a large mixing bowl, combine the remaining rolled oats, the freshly made oat flour (or pre-made oat flour), granulated sugar (or your chosen alternative), baking powder, and sea salt. Pour in the melted coconut oil. Using a spoon, spatula, or your hands, mix all the ingredients thoroughly until all the oats and oat flour are well-coated and moistened by the coconut oil. The mixture should resemble a coarse, crumbly texture, perfect for forming the base and top layers.
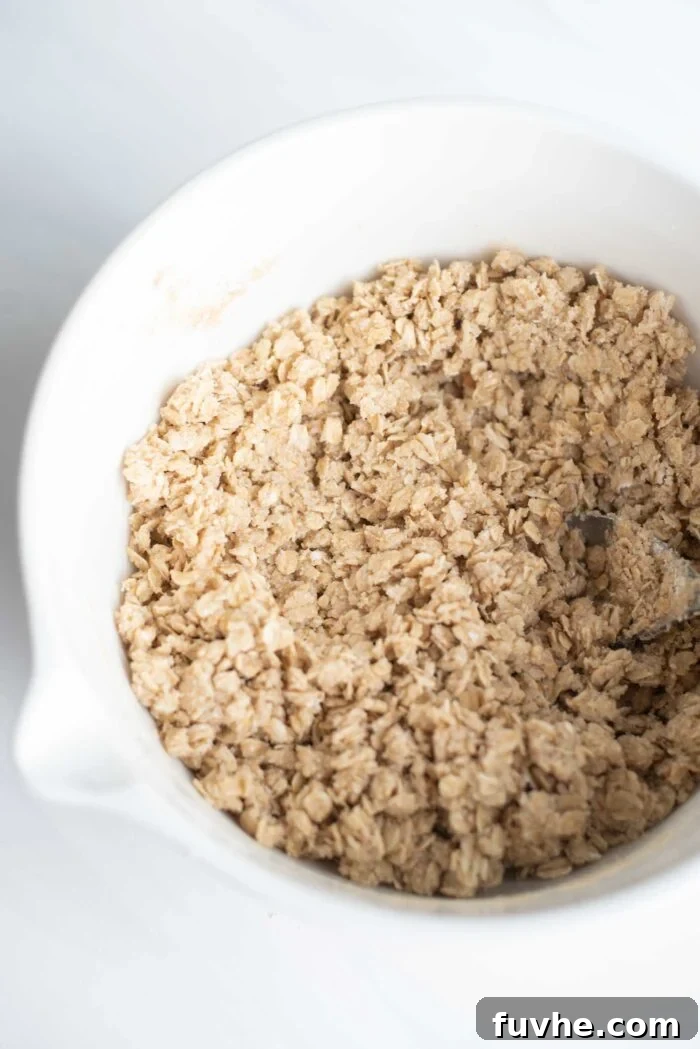
Step 5. Assemble the Date Bars
Preheat your oven to 350°F (175°C). Prepare a 7×8 inch square baking pan by lightly greasing it with non-stick cooking spray or a thin layer of coconut oil. Take approximately 2 cups of your oat mixture and firmly press it into the bottom of the prepared baking pan, forming an even crust. Ensure it’s packed down tightly to prevent crumbling later. Next, spoon the date mixture evenly over this crust layer, spreading it out to the edges. This forms the luscious, sweet middle layer.
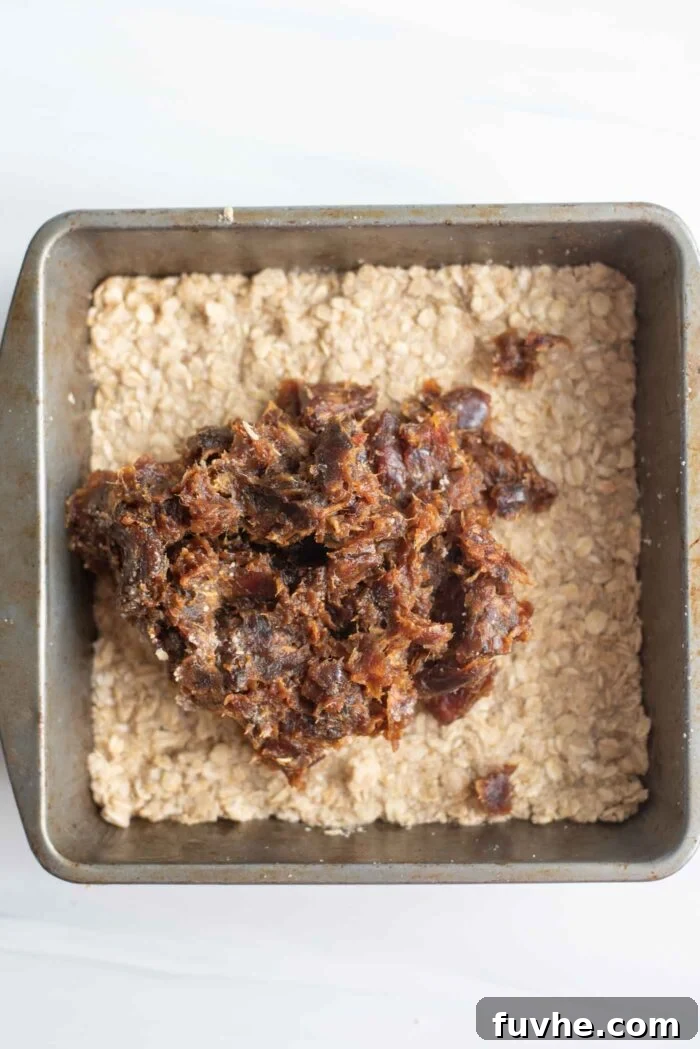
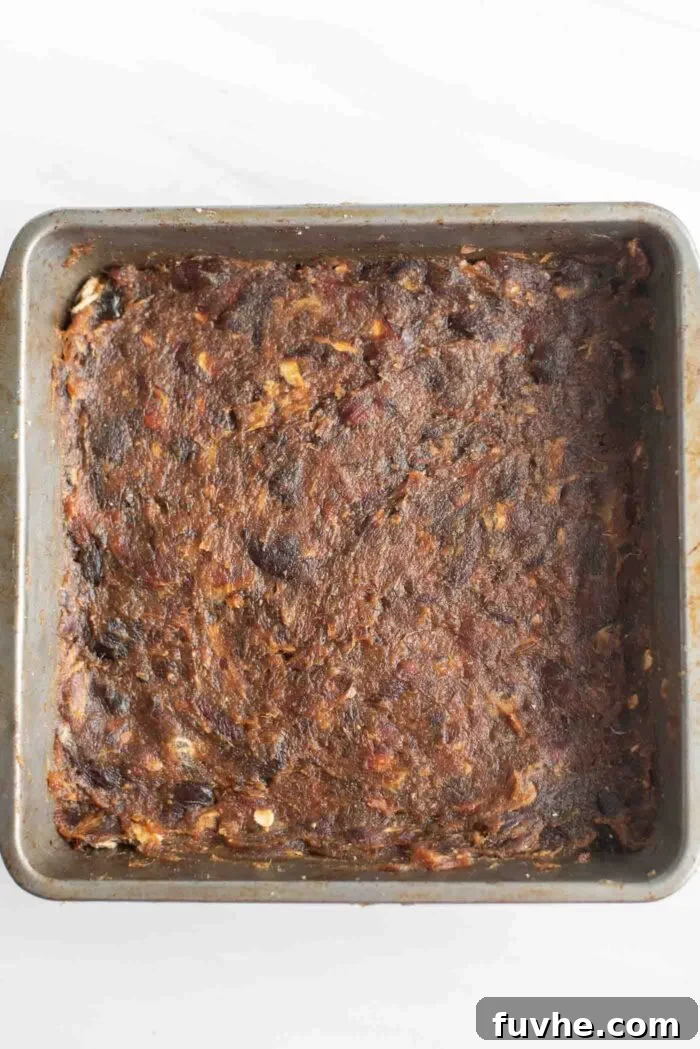
Finally, sprinkle the remaining oat mixture evenly over the date layer. Gently press this top layer down with a little pressure. This helps to meld all three layers together, ensuring your squares hold their shape beautifully after baking.
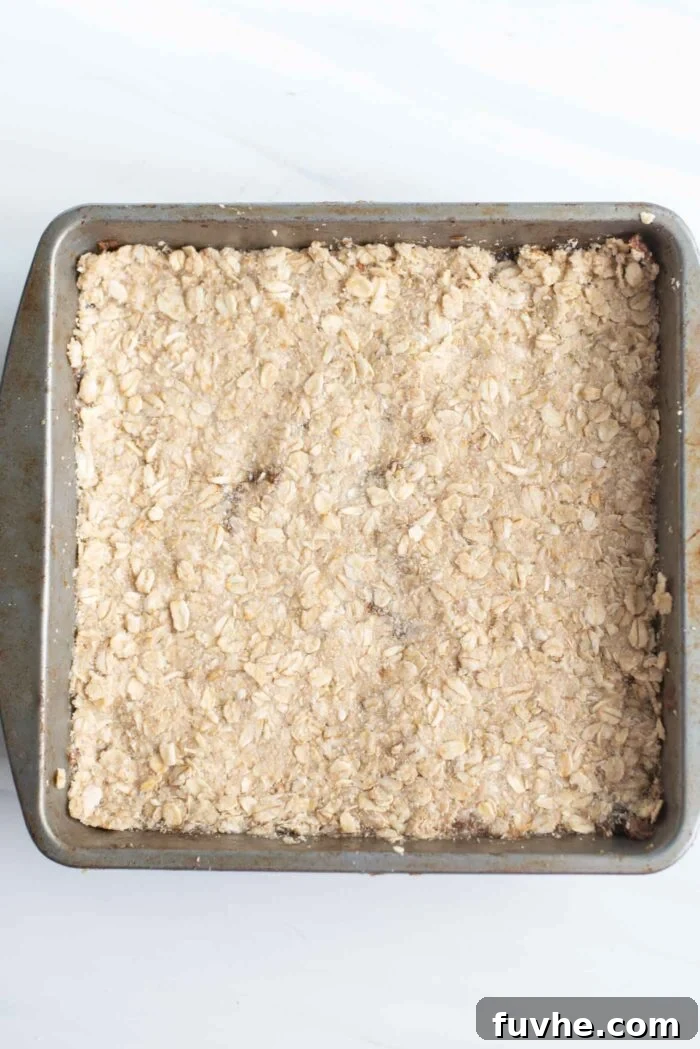
Bake the bars for approximately 40 minutes at 350°F (175°C) until golden brown. Once baked, it is imperative to let them cool for at least 2 hours before slicing to allow them to properly firm up and prevent crumbling.
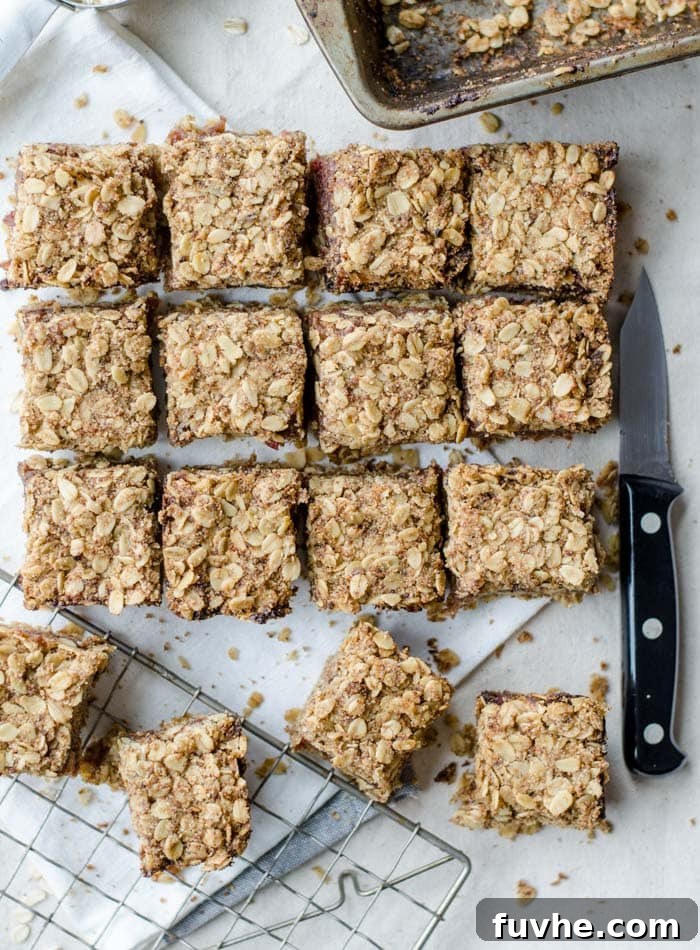
Expert Tips and FAQs for Success
To ensure your gluten-free vegan date squares turn out perfectly every time, keep these tips in mind:
- Cooling Time is Non-Negotiable: This is arguably the most critical step! You MUST let the squares cool completely in the pan for at least 2 hours, or even longer. This cooling period allows the coconut oil to solidify and the ingredients to bind properly, ensuring they firm up and hold together beautifully when sliced. Rushing this step will result in crumbly squares. You can place them in the fridge to speed up the cooling process if you’re eager to try them.
- Oat Flour Alternatives: If you don’t have rolled oats to make your own flour, you can substitute the homemade oat flour with a store-bought gluten-free all-purpose flour blend. Regular wheat flour can also be used if gluten is not a concern.
- Certified Gluten-Free Oats: For individuals with celiac disease or severe gluten sensitivity, always opt for oats specifically labeled as “certified gluten-free.” This ensures they haven’t been cross-contaminated during processing.
- Coconut Oil’s Role: Coconut oil is essential for the structure and consistency of these bars. It solidifies when cooled, which is what helps the squares hold their shape. While vegan butter might theoretically work, it has not been tested in this recipe and may alter the texture.
- Choosing Dates: While any pitted dates work, using softer, fresher dates like Medjool dates will give you an even smoother and richer date paste with less effort.
- Pan Size Matters: A 7×8 inch square pan yields a good thickness for these bars. If you use a larger pan, your bars will be thinner, and the baking time might need to be slightly reduced. A smaller pan will result in thicker bars, potentially requiring a longer baking time.
How Should I Store These Date Squares?
These date squares are fantastic for making ahead! Once completely cooled and sliced:
- Refrigeration: Store the baked squares in an airtight container in the fridge for up to 1 week.
- Freezing: For longer storage, freeze them in a single layer on a baking sheet until solid, then transfer them to a freezer-safe bag or container. They can be frozen for up to 2 months. To serve from frozen, simply thaw at room temperature for 20-30 minutes or overnight in the refrigerator.
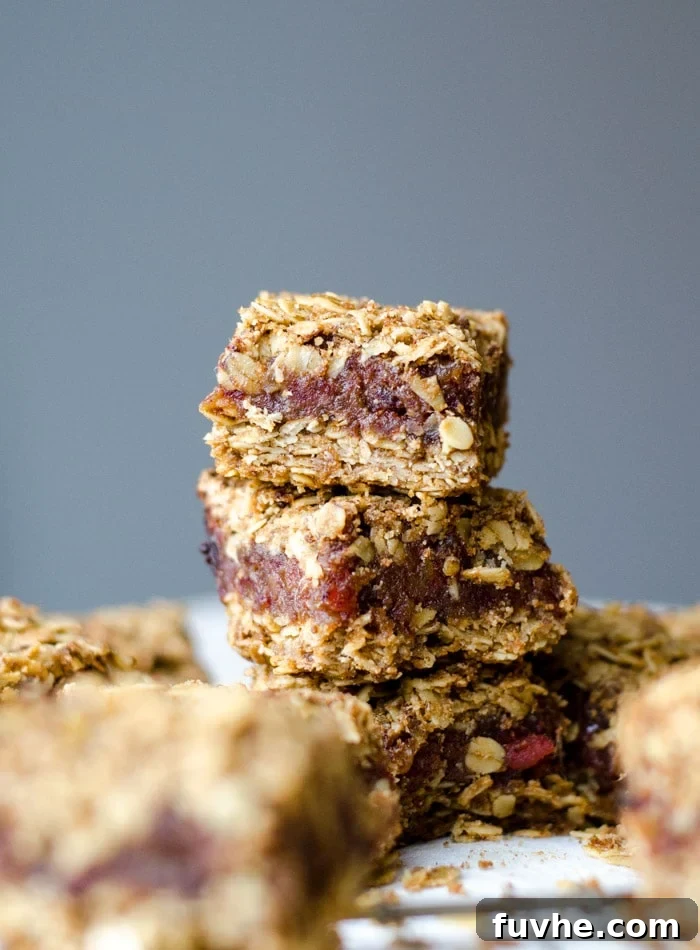
Serving Suggestions and Customization
These Gluten-Free Vegan Date Squares are incredibly versatile and delicious on their own, but here are some ideas to elevate your serving experience:
- Classic Enjoyment: Serve them at room temperature or slightly chilled, perhaps with a cup of coffee or herbal tea for a perfect afternoon treat.
- Warm & Cozy: A quick zap in the microwave can warm them slightly, enhancing their gooey texture and comforting aroma.
- Dessert Platter: Cut them into smaller bites and arrange them on a dessert platter for parties or holiday gatherings.
- Add a Scoop: For an extra decadent dessert, serve a square with a scoop of vegan vanilla ice cream or a dollop of coconut whipped cream.
Looking to customize your batch? Try these variations:
- Spiced Delight: Add 1/2 teaspoon of ground cinnamon or a pinch of nutmeg to the date filling for a warmer, spicier flavor profile.
- Nutty Crunch: Fold in 1/2 cup of chopped walnuts or pecans into the oat mixture for added texture and flavor.
- Chocolate Infusion: Mix 1/4 cup of dairy-free chocolate chips into the oat mixture before pressing it into the pan, or sprinkle some on top before baking.
- Citrus Zest: Add the zest of one orange or lemon to the date mixture for a brighter, fresher taste.
Related Recipes You Might Also Enjoy
If you loved these date squares, you’re sure to enjoy these other delightful vegan desserts from our collection:
- Gluten-Free Vegan Thumbprint Cookies
- Cranberry Orange Oatmeal Cookies
- Vegan Rum Balls
- Vegan Chocolate Coconut Bars
- Vegan Cranberry Crumble Bars
Gluten-Free Vegan Date Squares
These date squares are a healthier take on traditional date squares. They are a guaranteed holiday hit, and if you thought date squares were boring and usually left behind on the dessert tray, these ones are sure to change your mind with their delightful flavor and texture.
Ingredients
For the Date Layer
- 2.5 cups (500 g) pitted dates, packed
- 1/4-1/2 tsp sea salt (optional)
For the Crust and Topping
- 2.5 cups (250 g) rolled oats
- 1.75 cups (175 g) rolled oats, blended into fine oat flour (or 175 g pre-made oat flour)
- 1/2 cup (110 g) sugar (coconut sugar recommended for refined sugar-free)
- 2/3 cup (144 g) melted coconut oil
- 1 tsp baking powder
- 1/4 tsp sea salt
Instructions
- Soak the pitted dates in hot water for 20 minutes to soften. After soaking, drain them very well.
- Preheat your oven to 350°F (175°C).
- Place 1.75 cups of rolled oats in a food processor or high-speed blender and process until they become a very fine flour. If using store-bought oat flour, measure out 175g.
- In a large mixing bowl, combine the oat flour with the remaining 2.5 cups of rolled oats, sugar, baking powder, and sea salt. Pour in the melted coconut oil and stir until everything is well combined into a crumbly mixture.
- Lightly grease a 7-8 inch square baking pan with non-stick cooking spray or a touch of coconut oil.
- Firmly press about 2 cups of the oat mixture into the bottom of the prepared pan to form the crust.
- Add the drained, softened dates to a food processor along with the optional salt. Blend until it forms a smooth paste. A few small chunks are fine. Alternatively, you can mash the dates by hand.
- Evenly spread the date mixture over the oat crust layer in the pan.
- Sprinkle the remaining oat mixture over the date layer. Gently press the oat mixture down with slight pressure to help integrate the three layers.
- Bake for 40 minutes, or until the top is golden brown.
- Remove from the oven and, crucially, let the date squares cool completely in the pan for at least 2 hours before slicing. You can place them in the fridge to expedite this process. This step is essential for the squares to firm up and hold their shape without crumbling.
- Once fully cooled and firm, slice into 16 squares and serve. Store any leftovers in an airtight container in the fridge for up to 1 week, or freeze for up to 3 months.
Notes
It’s vital to allow these squares to cool completely in the pan for at least a couple of hours. This is the key to ensuring they firm up and hold together properly. Do not skip this step!
Nutrition
Serving: 1g,
Calories: 281kcal,
Carbohydrates: 43g,
Protein: 3g,
Fat: 10g,
Fiber: 4g,
Sugar: 25g
Loved this recipe? Share your thoughts and rate it below!