
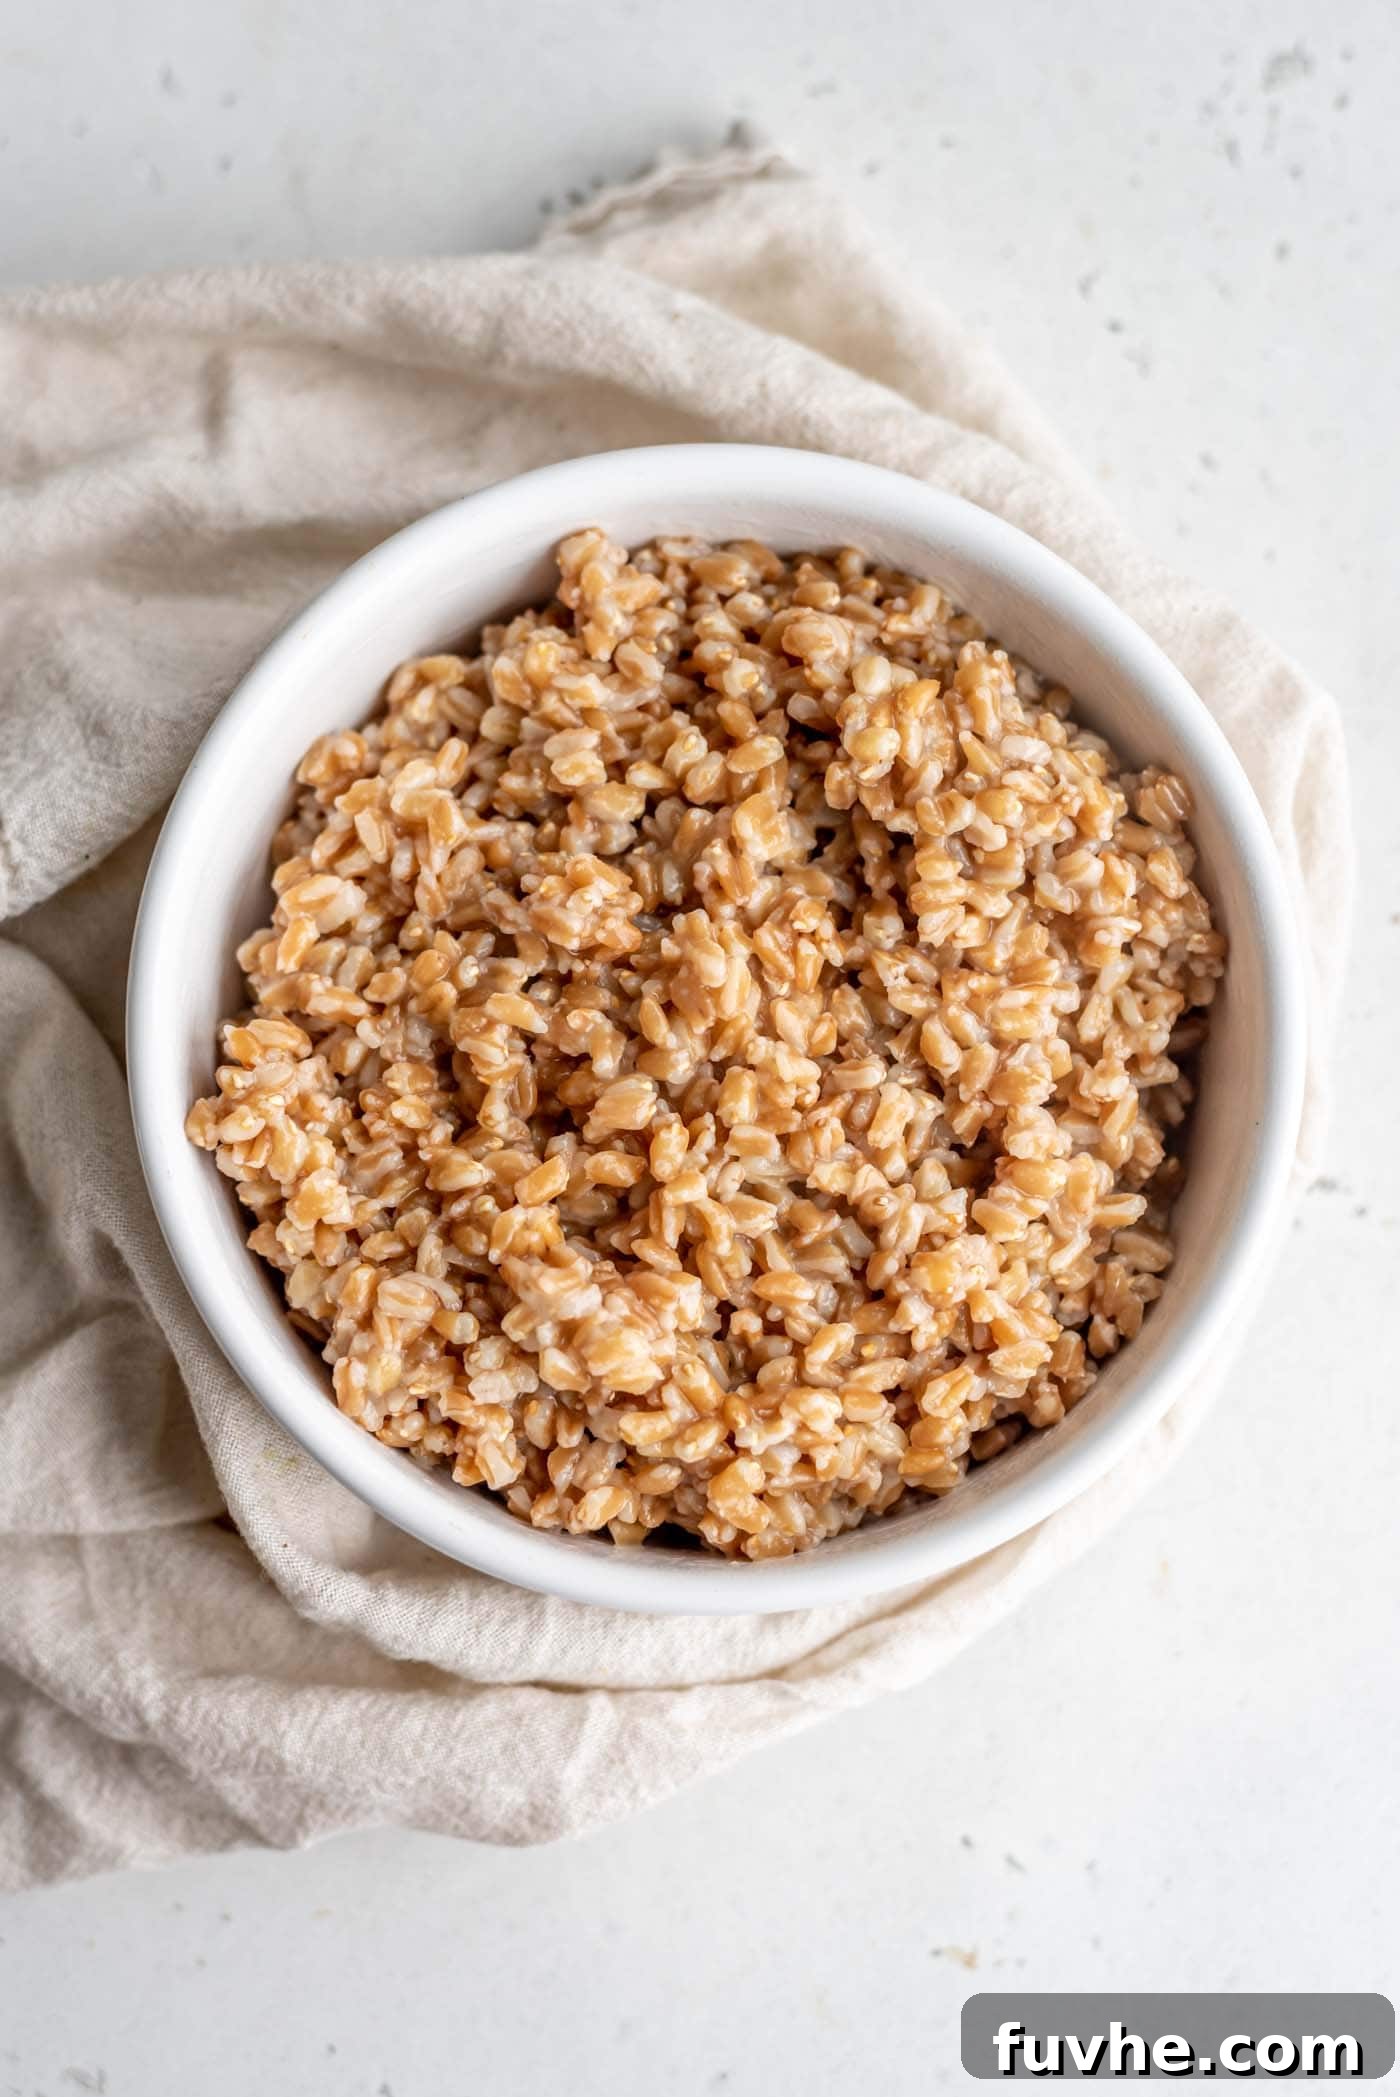
Instant Pot Farro: Your Ultimate Guide to Perfectly Cooked, Nutritious Ancient Grain
Discover the effortless way to prepare hearty, healthy, and incredibly delicious farro right in your Instant Pot. In approximately 30 minutes, you can transform simple farro and water into a versatile whole grain that’s ready to elevate any meal. Embrace this nutty, chewy ancient grain as a wholesome alternative to common staples like rice and quinoa, adding depth and nutrition to your culinary creations.
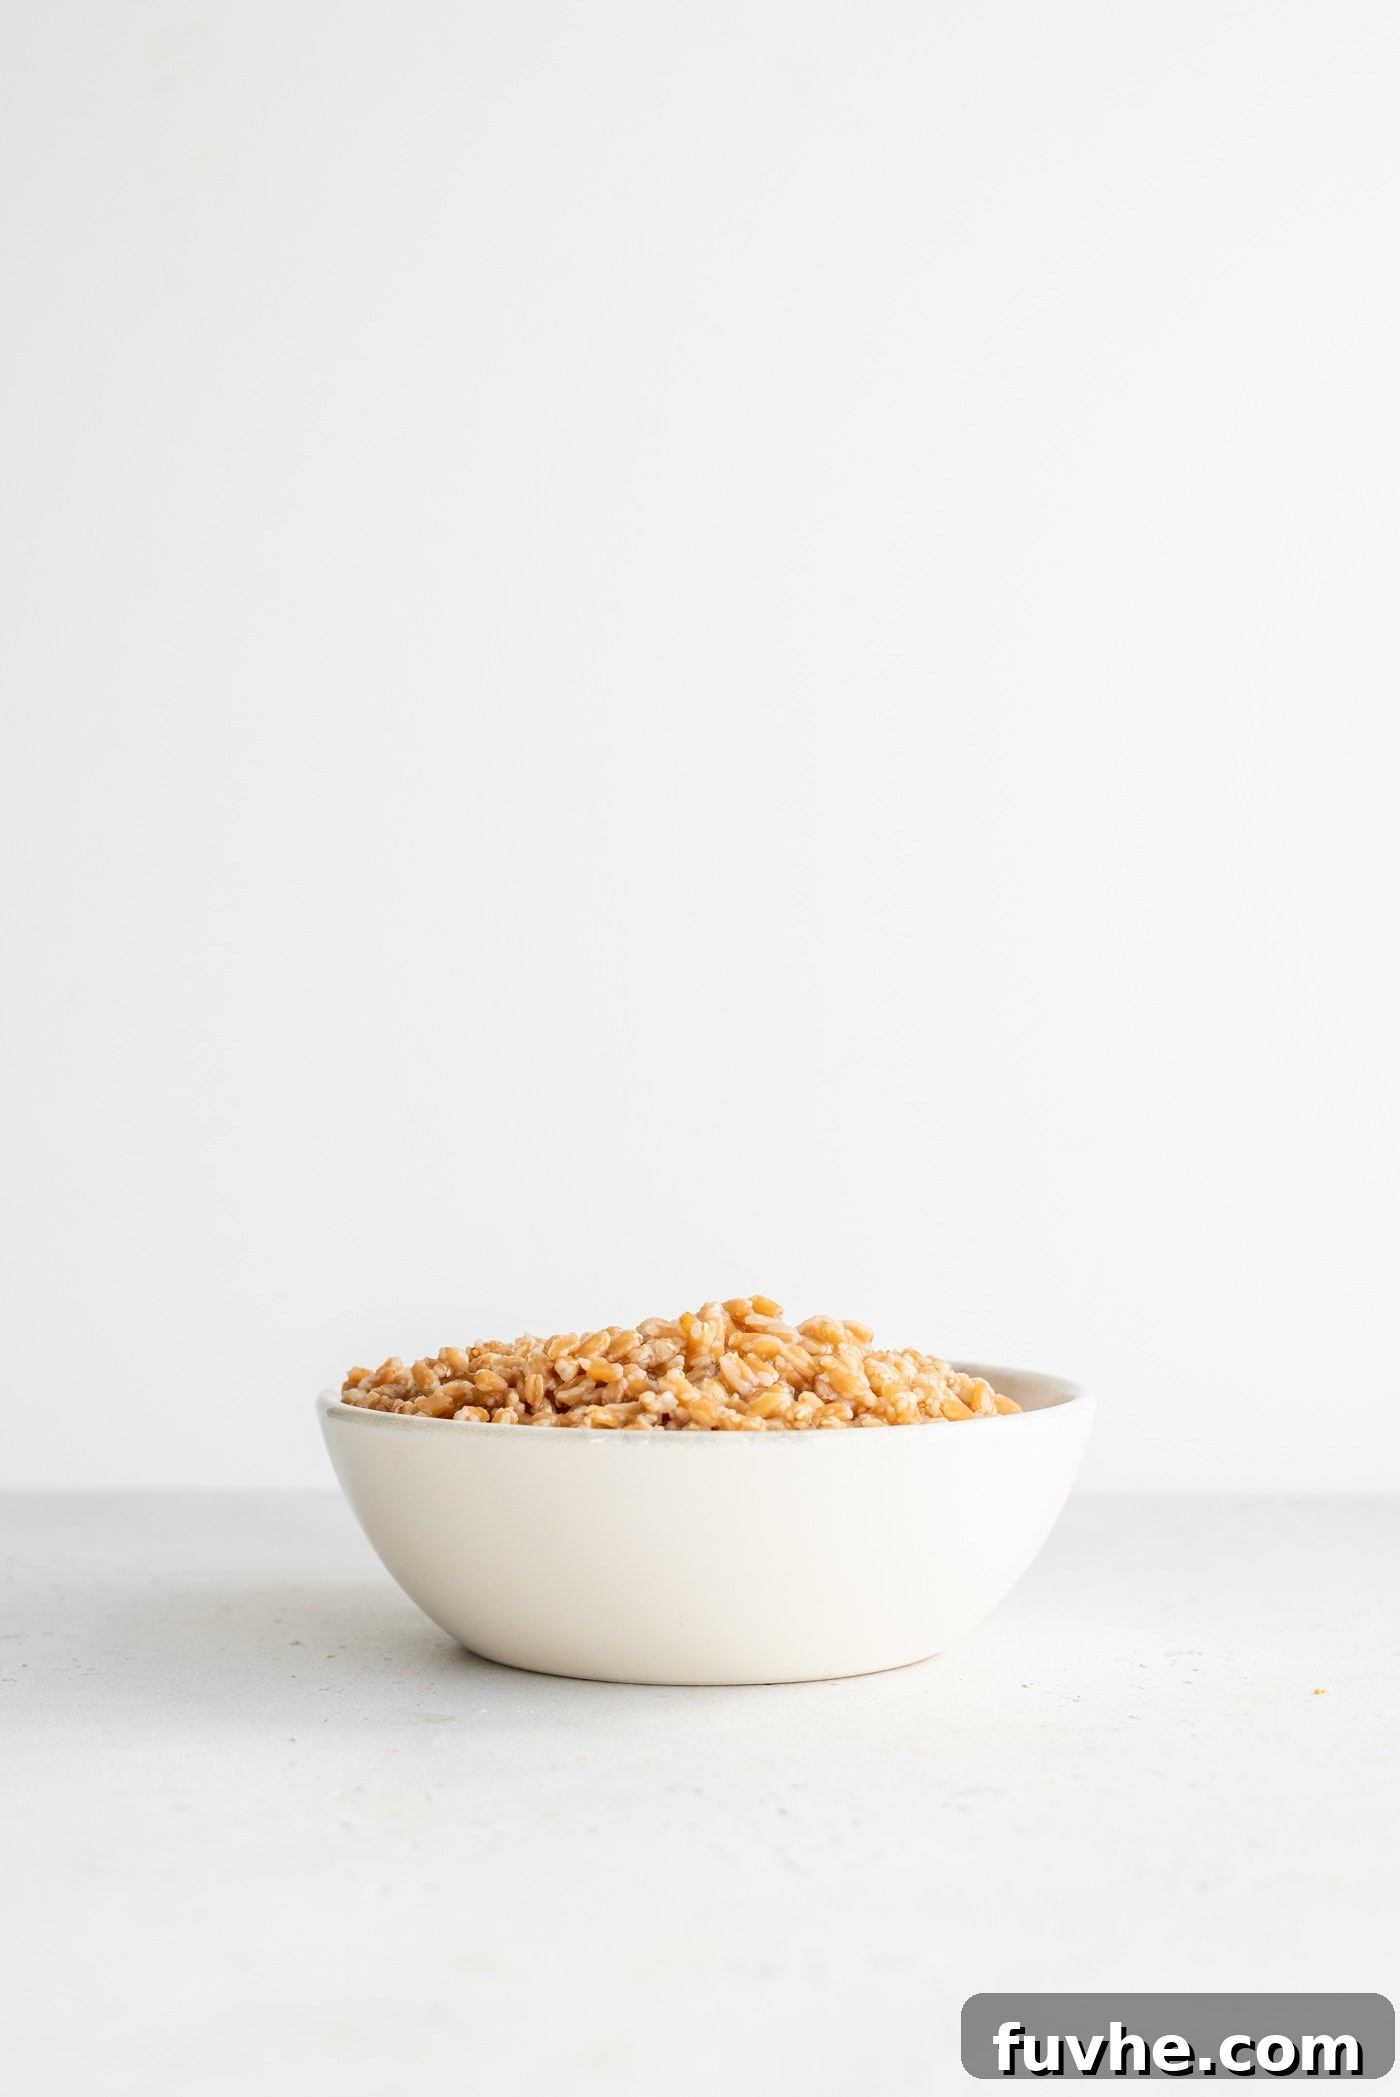
This guide simplifies cooking farro to its core. With just a few basic ingredients – farro, water, and a pinch of salt – your Instant Pot handles the rest, ensuring a hands-off and highly rewarding cooking experience. Once cooked, this incredibly adaptable grain can be incorporated into an endless array of dishes, making it a valuable addition to your kitchen repertoire.
What Exactly is Farro? Unveiling an Ancient Grain
Farro, often referred to as emmer, is not merely a grain; it’s a testament to ancient agricultural practices. Cultivated for thousands of years, farro holds a revered place in culinary history, particularly across the Mediterranean and Middle Eastern regions. Its enduring popularity stems from its robust flavor, satisfying chewiness, and impressive nutritional profile. Unlike many modern grains, farro has largely retained its original genetic makeup, offering a taste of history with every bite.
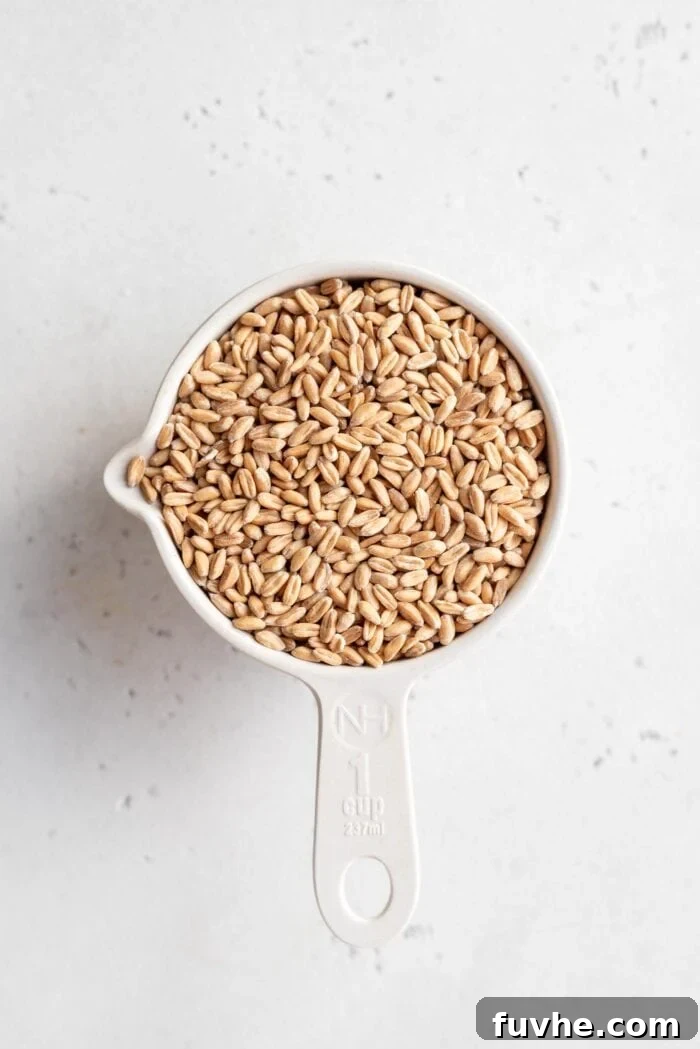
There are primarily three types of farro, each offering a slightly different texture and cooking experience: whole farro, semi-pearled farro, and pearled farro. Whole farro retains all of its bran and germ, making it the most nutritious but also requiring the longest cooking time, often benefiting from soaking. Semi-pearled farro has some of its bran removed, resulting in a quicker cooking time while still offering a good amount of fiber. Pearled farro has most, if not all, of its bran removed, cooking the fastest and yielding the tenderest result, though with a slightly reduced fiber content. The recipe provided in this article is typically for pearled farro, known for its convenience and widespread availability.
Characterized by its distinctively chewy texture and a mild, earthy, nutty flavor, farro stands out amongst other whole grains. This unique texture makes it a superb choice for adding substance to salads, creating hearty bowls, or even as a warm porridge. It offers a delightful change from the more common textures of rice or quinoa, inviting you to explore new dimensions in your meals. Farro can effortlessly substitute other grains such as quinoa, brown rice, buckwheat, barley, and spelt in virtually any recipe, providing a wholesome and delicious alternative.
Why the Instant Pot is Your Best Friend for Farro
While traditional stovetop methods can yield excellent farro, preparing it in an Instant Pot brings a level of convenience and consistency that is hard to beat. The primary advantage of using a pressure cooker isn’t necessarily a drastic reduction in total cooking time, but rather the complete hands-off approach it offers. Once you’ve added your ingredients and set the timer, you’re free to attend to other tasks, eliminating the need for constant monitoring, stirring, or checking water levels. This transforms what could be a somewhat involved process into an incredibly simple one.
The Instant Pot excels at delivering perfectly cooked grains every single time. Pressure cooking creates a consistently high-pressure environment that ensures uniform heat distribution, resulting in farro that is tender yet still retains its signature chewiness, without becoming mushy or undercooked. Say goodbye to guesswork and hello to consistently flawless results, whether you’re a seasoned chef or a beginner in the kitchen.
Beyond convenience, using an Instant Pot can also be more energy-efficient for cooking grains compared to prolonged stovetop simmering. The sealed environment minimizes heat loss, allowing your farro to cook thoroughly and efficiently. This method not only simplifies your cooking but also helps you conserve energy, making it a smart choice for busy weeknights and meal prep alike. It truly is a set-it-and-forget-it solution for delicious, healthy whole grains.
Nutritional Powerhouse: The Health Benefits of Farro
Farro isn’t just delicious; it’s a nutritional powerhouse, making it an excellent choice for a healthy diet. As a whole grain, it naturally offers a wealth of essential nutrients that contribute to overall well-being. Incorporating farro into your meals is a simple way to boost your intake of vital vitamins, minerals, and macronutrients.
One of farro’s most notable attributes is its high fiber content. Dietary fiber is crucial for digestive health, helping to regulate bowel movements, prevent constipation, and support a healthy gut microbiome. Furthermore, fiber plays a significant role in managing blood sugar levels, contributing to feelings of fullness and aiding in weight management by reducing overall calorie intake. The specific type of fiber in farro can also help lower cholesterol levels, promoting cardiovascular health.
Farro is also an impressive source of plant-based protein, making it an excellent grain for vegetarians, vegans, and anyone looking to increase their protein intake. Protein is essential for building and repairing tissues, producing enzymes and hormones, and supporting satiety. A single serving of farro provides a substantial amount of protein, contributing to muscle maintenance and sustained energy throughout the day.
Beyond fiber and protein, farro is rich in a variety of important micronutrients. It contains B vitamins, such as niacin (B3) and thiamine (B1), which are vital for energy metabolism and nervous system function. Magnesium, another abundant mineral in farro, is involved in over 300 biochemical reactions in the body, including muscle and nerve function, blood glucose control, and blood pressure regulation. Iron, crucial for oxygen transport and preventing anemia, is also present, along with zinc, which supports immune function and wound healing. Moreover, farro boasts a good profile of antioxidants, which help combat oxidative stress and protect cells from damage. Nutritionally, farro stands shoulder to shoulder with other esteemed whole grains like quinoa and brown rice, solidifying its status as a highly beneficial food choice.
How to Achieve Perfectly Cooked Farro in Your Instant Pot
Making farro in an Instant Pot is a straightforward process, requiring minimal effort for maximum reward. Follow these simple steps to ensure your farro turns out perfectly tender and chewy every time.
Step 1: Thoroughly Rinse the Farro
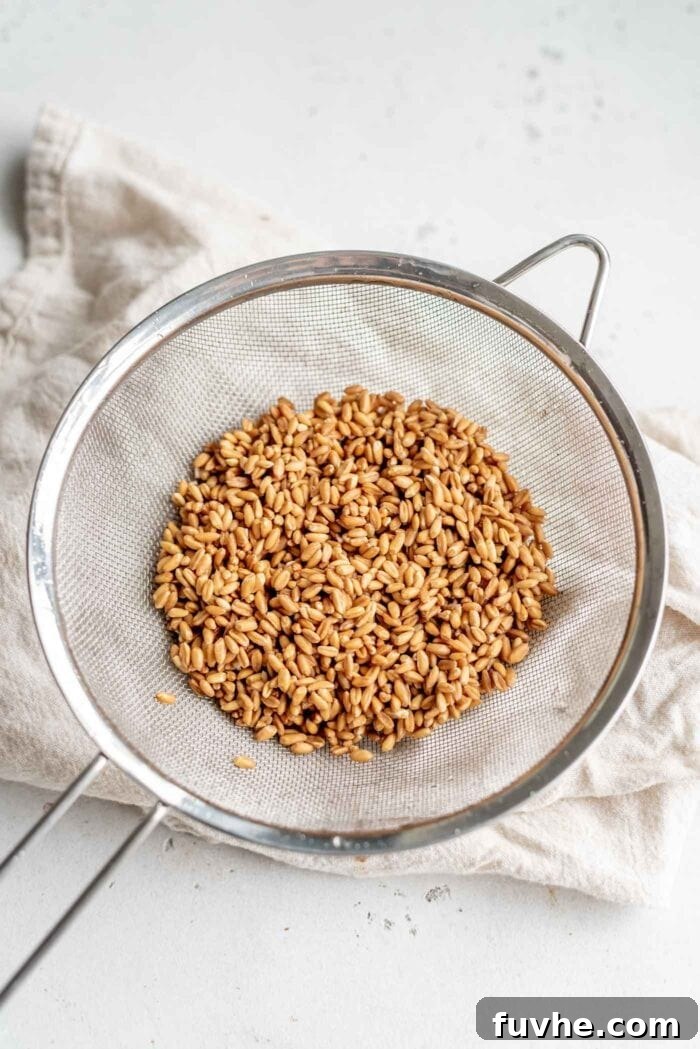
While this step might seem minor, rinsing your farro is a simple yet crucial preparation that significantly impacts the final outcome. Most farro, especially pearled varieties, often carries a fine, powdery residue or a light coating of starch from processing. Rinsing helps to wash away this residue, preventing the grains from clumping together and ensuring a cleaner, fluffier texture once cooked. It also helps to remove any lingering debris or dust, making your farro truly pristine. To do this, simply place the dry, uncooked farro in a fine-mesh strainer and rinse it thoroughly under cold running water for approximately 60 seconds, gently tossing the grains as you go. You’ll notice the water initially running cloudy, then clearing up as the residue is removed.
Step 2: Add Farro, Water, and Salt to the Instant Pot
Once rinsed, transfer the farro into the inner pot of your Instant Pot. The key to perfectly cooked farro lies in the precise water-to-farro ratio. For pearled farro, I’ve found that a ratio of 1.75 parts water to 1 part farro yields the best results. For example, if you’re cooking 1 cup of farro, you’ll need 1 ¾ cups of water. This specific ratio ensures that all the liquid is absorbed, resulting in perfectly plump grains with no excess water to drain. While a 2:1 ratio (two parts water to one part farro) is common for many grains, it often leaves a bit of residual water with farro, which, although easily strained, is unnecessary with the optimized 1.75:1 ratio.
To enhance the flavor of your farro, a small pinch of salt is highly recommended. About ¼ to ½ teaspoon of sea salt for every cup of dry farro is usually sufficient. Salt not only seasons the grain but also helps to bring out its natural nutty notes. For an even richer flavor profile, consider using vegetable broth or chicken broth instead of water. This simple substitution can infuse your farro with additional savory notes, making it an even more delectable side dish or ingredient for your recipes.
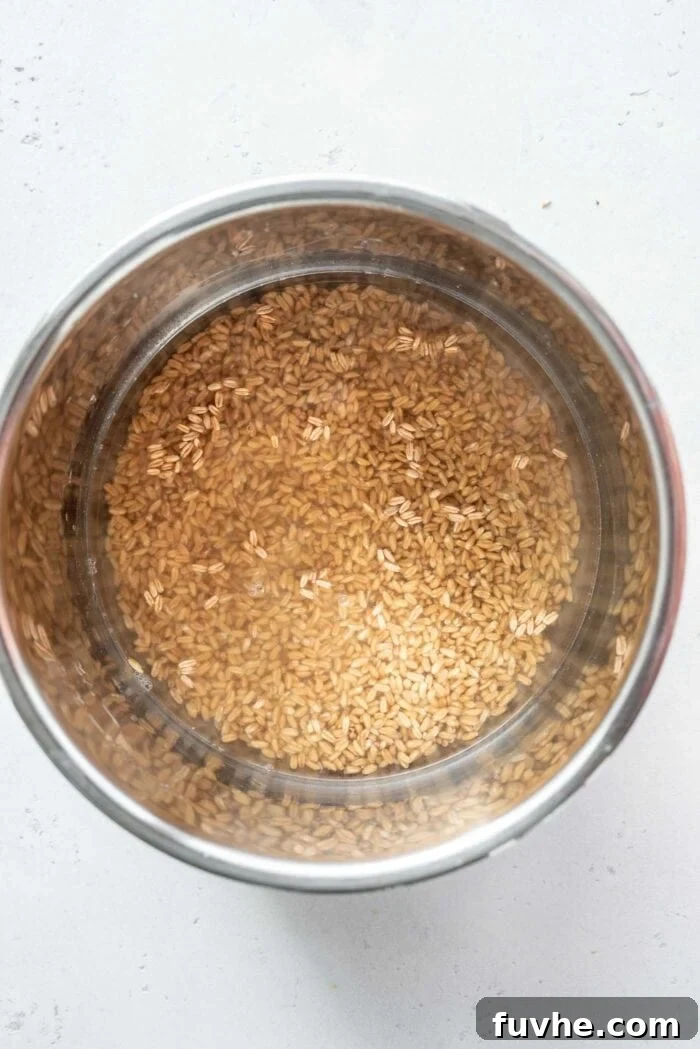
Step 3: Pressure Cook to Perfection
Now, it’s time to let your Instant Pot work its magic. Carefully secure the lid on your Instant Pot and ensure the Venting Knob is set to the “Sealing” position. This prevents steam from escaping, allowing the pressure to build correctly within the pot.
- Set the Cooking Time: Press the “Pressure Cook” (or “Manual”) button and set the timer for 14 minutes. It’s important to remember that the timer won’t start immediately. The Instant Pot will first display “On” as it works to build the necessary pressure inside the pot. This process can take anywhere from 5 to 10 minutes, depending on the volume of ingredients and the temperature of the water. Once full pressure is reached, the 14-minute countdown will begin.
- Allow for Natural Release: After the cooking timer beeps to signal completion, resist the urge to immediately open the pot. Instead, allow the pressure to release naturally for at least 12 minutes. This “Natural Pressure Release” (NPR) is a critical step for grains, as it allows the farro to continue absorbing steam and moisture evenly, preventing it from drying out and ensuring a perfectly tender, fluffy, and chewy texture. Once 12 minutes have passed, or if the float valve has already dropped (indicating depressurization), you can then move the Venting Knob to the “Quick Release” position to release any remaining pressure. Always exercise caution when performing a quick release, as steam will be hot.
- Open and Fluff: Once the float valve has dropped completely, it’s safe to open the lid. If by chance there’s any minimal excess water remaining at the bottom (which is rare with the 1.75:1 ratio), you can simply drain it off. Use a fork to gently fluff the cooked farro, separating the grains and releasing any remaining steam. Your hearty, nutty farro is now ready to enjoy!
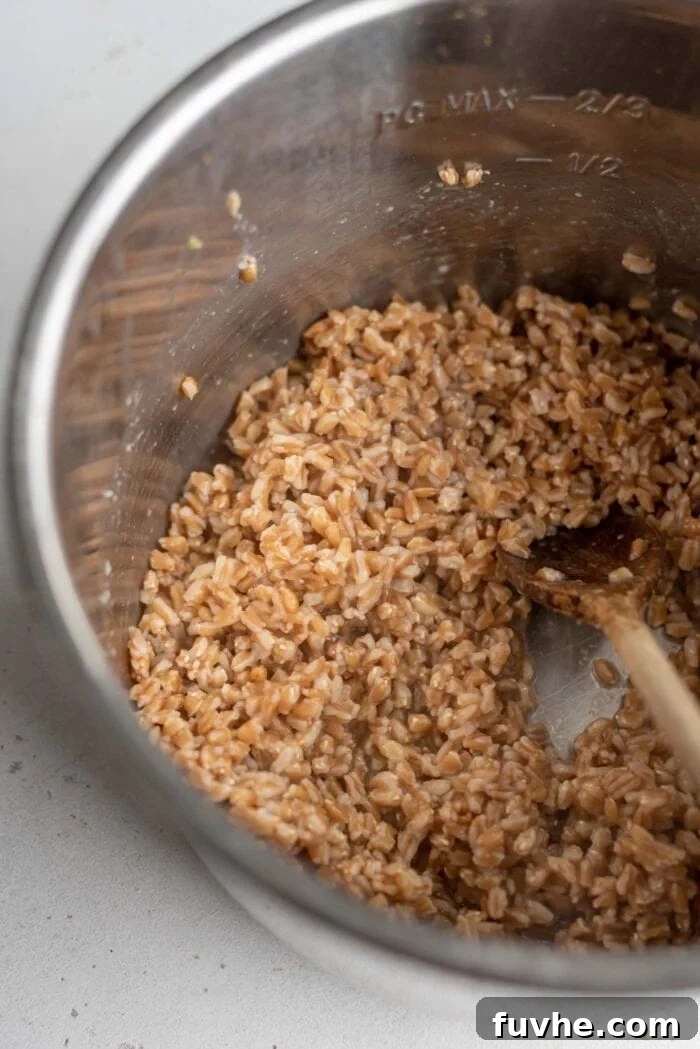
Creative Culinary Uses for Your Instant Pot Farro
Once you’ve mastered cooking farro in your Instant Pot, you’ll discover its incredible versatility in the kitchen. Its robust texture and earthy flavor make it a fantastic foundation or addition to countless dishes, offering both substance and nutrition.
- Hearty Salads and Grain Bowls: Farro is an ideal candidate for both warm and cold salads. Its chewiness holds up beautifully to dressings and other ingredients. Mix it with roasted vegetables, fresh greens, herbs, nuts, seeds, and a vibrant vinaigrette for a satisfying main course salad. It’s also perfect for building nutritious grain bowls, paired with protein, healthy fats, and an assortment of colorful veggies. For inspiration, try a Mediterranean Farro Salad Bowl.
- Flavorful Soups and Stews: Add cooked farro to your favorite soups and stews for an extra layer of texture and a significant boost of heartiness. It absorbs flavors wonderfully and helps to thicken the broth, making your comforting dishes even more substantial and satisfying.
- Satisfying Stir-fries and Side Dishes: Use farro as a base for stir-fries, much like you would rice. Its chewy grains stand up well to stir-frying and soak up the delicious sauces. Alternatively, serve it simply as a wholesome side dish seasoned with fresh herbs, a drizzle of olive oil, and a squeeze of lemon juice. Don’t miss out on trying a unique Fried Farro recipe.
- Wholesome Breakfast Porridge: For a nourishing start to your day, transform cooked farro into a warm, comforting porridge. Simmer it with plant-based milk, a touch of maple syrup, and top with fresh fruit, nuts, and a sprinkle of cinnamon. It’s a delightful alternative to oatmeal. A Vegan Farro Bowl can also make for an excellent breakfast or lunch.
- Easy Meal Prep: Cook a large batch of farro at the beginning of the week and portion it out for quick additions to meals throughout the week. It reheats well and is a convenient way to ensure you always have a healthy whole grain on hand.
More Instant Pot Grain Recipes to Explore
The Instant Pot is a game-changer for cooking various grains and legumes. If you loved the simplicity of preparing farro, you’ll surely appreciate these other pressure cooker recipes:
- 25 Healthy Plant-Based Instant Pot Recipes
- Instant Pot Rolled Oats
- Instant Pot Rice Pilaf
- Instant Pot Refried Black Beans
Frequently Asked Questions About Instant Pot Farro
Absolutely! Farro’s unique, delightful chewiness is one of its most defining and beloved characteristics. Unlike the softer texture of white rice or the fluffy feel of quinoa, farro retains a satisfying bite even when fully cooked. This hearty texture is what makes it so versatile and enjoyable in a wide range of dishes, adding substance and a pleasant mouthfeel.
Toasting farro before cooking is an optional step that can significantly enhance its flavor profile. While I often skip it for convenience, taking the extra few minutes to toast can deepen its inherent nuttiness and add a layer of complexity to your dish. You have two main methods for toasting:
Oven Method: Spread the dry farro in a single layer on a baking sheet. Toast in a preheated oven at 350°F (175°C) for 10-15 minutes, or until it’s lightly browned and emits a fragrant, nutty aroma. Be sure to keep a close eye on it, as grains can burn quickly.
Stovetop Method: Add the uncooked farro to a dry skillet over medium heat. Stir frequently to prevent burning, toasting until the grains are lightly browned and fragrant. This usually takes 5-7 minutes.
While not strictly necessary for a delicious result, toasting farro is a simple trick that can elevate your cooking when you have the time.
Yes, I highly recommend rinsing farro before cooking. This simple step helps remove any dry, powdery residue or excess starch that often clings to the grains from processing. Rinsing also ensures that your cooked farro will be cleaner and less likely to clump together, resulting in a fluffier, more distinct texture. Place the farro in a fine-mesh strainer and rinse it under cold running water for about a minute until the water runs clear.
No, farro is a type of wheat, which means it naturally contains gluten and is therefore not gluten-free. For individuals with celiac disease or a severe gluten allergy, farro is not a suitable choice. However, as an ancient grain, farro is thought by some to have lower levels of gluten or a different type of gluten protein compared to modern wheat varieties, making it potentially more digestible for those with mild gluten sensitivities or intolerances. If you have any concerns about gluten consumption, it’s always best to consult with a healthcare professional.
Yes, farro is exceptionally good for you! It’s a highly nutritious whole grain packed with dietary fiber, plant-based protein, and essential micronutrients. As detailed in our “Nutritional Powerhouse” section, farro provides B vitamins, magnesium, iron, zinc, and antioxidants, all of which contribute to various aspects of health, including digestion, energy production, muscle health, and immune support. Its nutritional profile is comparable to other healthy whole grains like quinoa and brown rice, making it a valuable addition to a balanced diet.
The main difference lies in how much of the bran (outer layer) has been removed. Whole farro is the least processed, retaining all of its nutritious bran and germ, making it the highest in fiber and nutrients but also requiring the longest cooking time and often a pre-soak. Semi-pearled farro has some of the bran removed, offering a good balance of nutrition and a slightly quicker cooking time. Pearled farro has most, if not all, of the bran removed, resulting in the quickest cooking time and a more tender texture, though with a slight reduction in fiber. This Instant Pot recipe is generally optimized for pearled or semi-pearled farro due to their faster cooking times and ease of preparation.
Absolutely! Using vegetable broth or chicken broth instead of water is a fantastic way to infuse your farro with additional flavor and depth. The farro will absorb the savory notes from the broth as it cooks, making it an even more delicious side dish or component for your recipes. Just substitute the water with an equal amount of your preferred broth in the recommended ratio.
Instant Pot Farro Recipe
By: Deryn Macey
Use your Instant Pot to effortlessly prepare a batch of hearty, nutty, and perfectly chewy farro, ideal for enhancing salads, enriching soups, building wholesome grain bowls, or crafting a comforting breakfast porridge.
- Prep Time: 2 minutes
- Cook Time: 25 minutes
- Total Time: 27 minutes
- Yield: 3 cups cooked farro
Ingredients
- 1 cup pearled farro
- 1 ¾ cups water (or vegetable broth for added flavor)
- ¼ – ½ teaspoon sea salt (optional, adjust to taste)
Instructions
- Rinse the Farro: Before cooking, place the dry farro in a fine-mesh sieve and rinse thoroughly under cold running water for approximately 1 minute. This crucial step helps remove any powdery residue or debris, ensuring a cleaner, fluffier grain.
- Combine in Instant Pot: Add the rinsed farro, water (or broth), and the optional sea salt to the inner pot of your Instant Pot or other electric pressure cooker. Ensure the farro is fully submerged in the liquid.
- Pressure Cook: Secure the lid on the Instant Pot and turn the Venting Knob to the “Sealing” position. Select the “Pressure Cook” (or “Manual”) setting and set the cooking timer for 14 minutes. The Instant Pot will display “On” as it builds pressure, and the 14-minute countdown will begin only once full pressure is achieved.
- Natural Release: Once the cooking cycle is complete and the Instant Pot beeps, allow the pressure to release naturally for at least 12 minutes. This natural release period is vital for the farro to absorb remaining moisture and achieve its ideal tender-chewy texture. After 12 minutes, or once the Float Valve has dropped (whichever comes first), carefully move the Venting Knob to “Quick Release” to vent any residual pressure. Once the Float Valve has completely dropped, it is safe to open the lid.
- Serve: Carefully open the lid. While unlikely with the 1.75:1 ratio, if there is any minimal excess water remaining, you can gently pour it off. Use a fork to fluff the cooked farro, separating the grains and preparing it for serving. It’s now ready to enjoy immediately or incorporate into your favorite recipes.
Notes
- Storage: Leftover cooked farro stores beautifully. Keep it in an airtight container in the refrigerator for up to 5 days. For longer preservation, farro can be frozen for up to 3 months; simply thaw and reheat gently when ready to use.
Nutrition Information
(Per ½ cup cooked serving)
- Calories: 135 kcal
- Carbohydrates: 28 g
- Protein: 6 g
- Fat: 2 g
- Sodium: 89 mg
- Potassium: 327 mg
- Fiber: 2 g
- Iron: 3 mg
Embrace the simplicity and nutritional benefits of Instant Pot farro. This ancient grain, effortlessly prepared with modern technology, is sure to become a staple in your kitchen, offering endless possibilities for healthy and delicious meals. Enjoy the journey of incorporating more wholesome grains into your diet!