
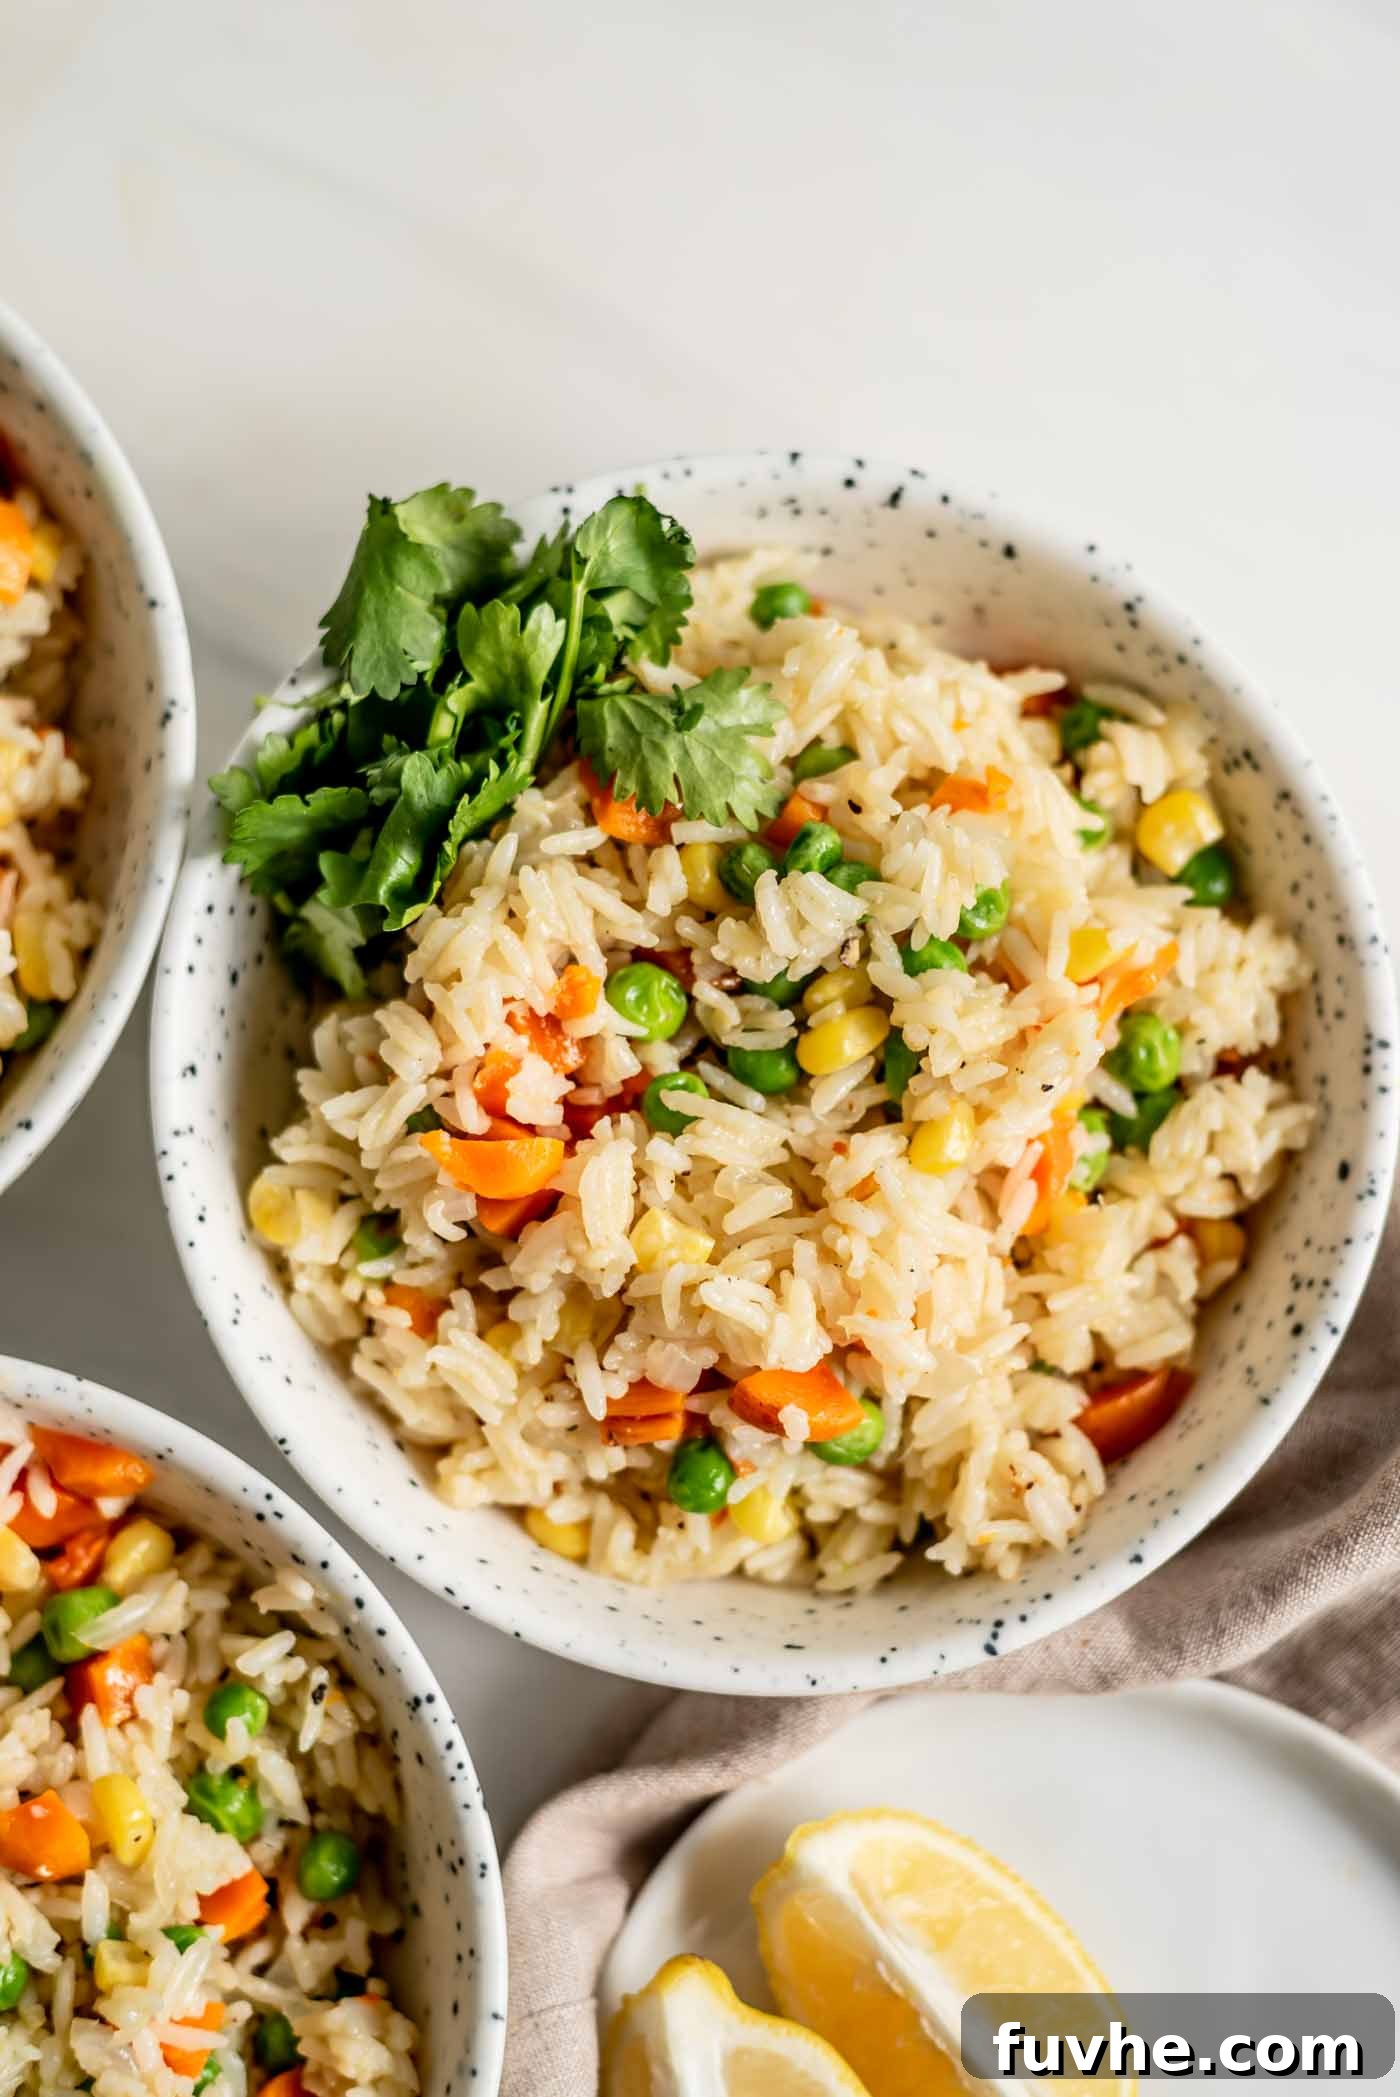
Welcome to your new favorite weeknight meal solution! This incredible vegan Instant Pot vegetable rice pilaf is not just easy to make; it’s a powerhouse of flavor and nutrition, designed for busy individuals who refuse to compromise on healthy eating. Imagine a vibrant, aromatic rice dish, packed with tender vegetables, all ready to enjoy in less than 40 minutes from start to finish. This recipe promises a comforting, wholesome experience with minimal effort, making it a perfect addition to your plant-based repertoire.
The beauty of cooking pilaf in an Instant Pot lies in its efficiency and consistency. The pressure cooker ensures that every grain of rice is perfectly cooked and infused with the rich flavors of the vegetables and broth, resulting in a fluffy, non-sticky texture every time. Beyond its speed, this pilaf is naturally vegan, gluten-free, oil-free, soy-free, and sugar-free, catering to a wide array of dietary needs without sacrificing taste. Whether you’re seeking a simple yet satisfying side dish or a light, complete meal, this customizable vegetable rice pilaf is destined to become a staple in your kitchen.
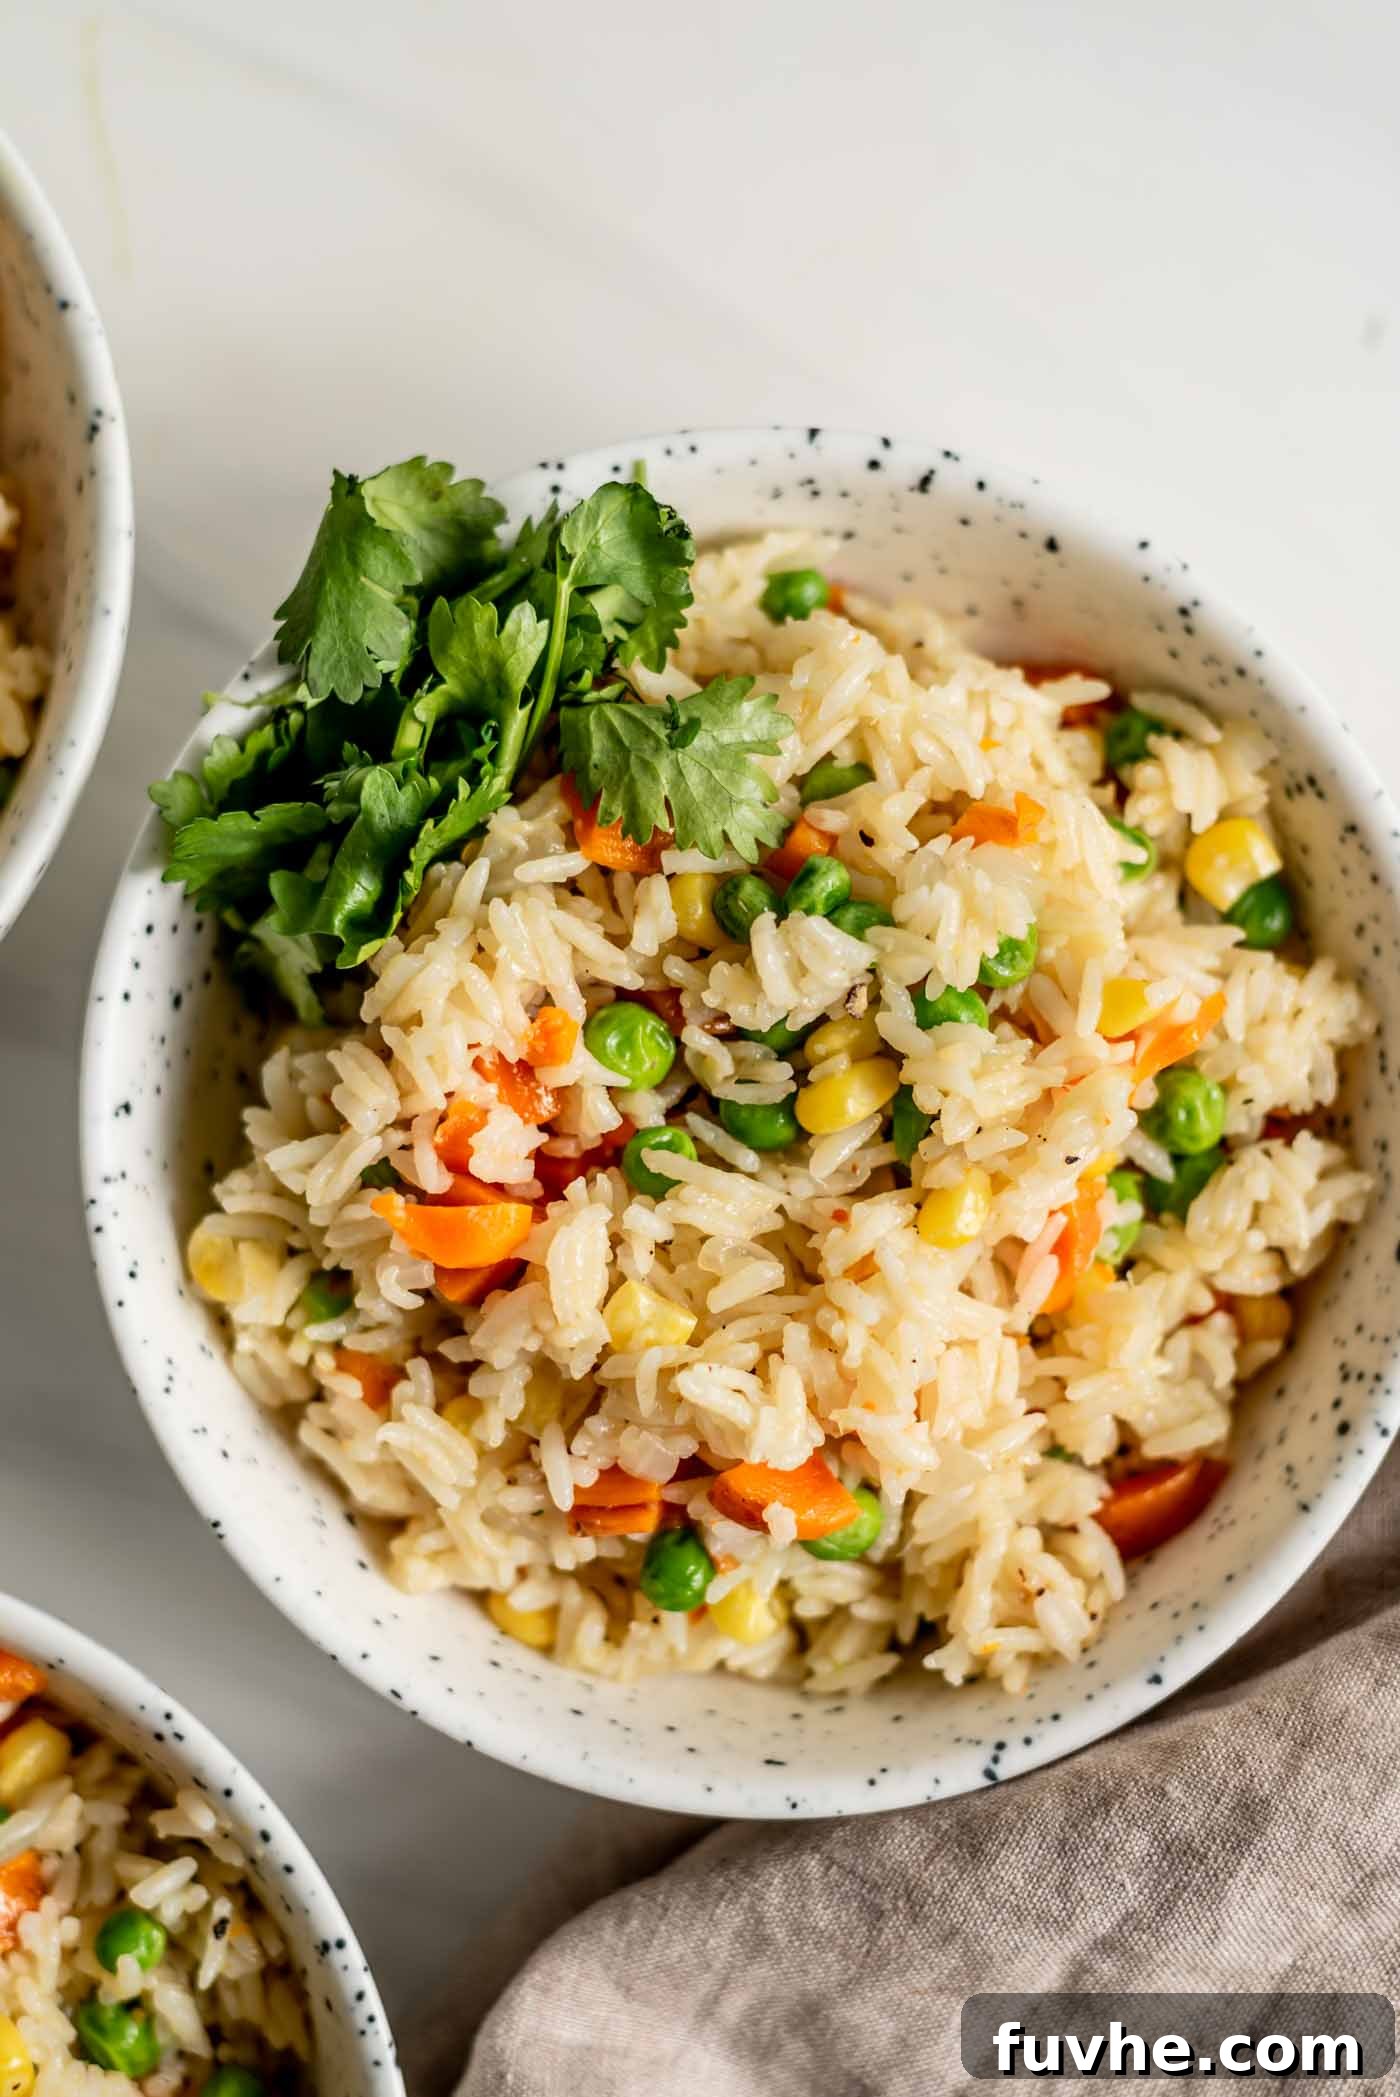
Discover the Magic of This Instant Pot Vegetable Pilaf
This Instant Pot Vegetable Rice Pilaf isn’t just another recipe; it’s a testament to how simple, wholesome ingredients can come together to create something truly delicious and convenient. Designed with modern lifestyles in mind, it brings together speed, health, and incredible taste. Let’s explore the standout features that make this pilaf an absolute must-try:
-
Perfect for Diverse Dietary Needs
In today’s diverse culinary landscape, finding recipes that cater to various dietary preferences is key. Our Instant Pot Vegetable Rice Pilaf shines brightly here. It is meticulously crafted to be vegan, ensuring no animal products are used, making it ideal for plant-based diets. It’s also completely gluten-free, a crucial consideration for those with gluten sensitivities or celiac disease. Furthermore, we’ve made it oil-free, opting for vegetable broth to sauté the aromatics, and proudly soy-free and sugar-free. This comprehensive approach means almost everyone can enjoy a bowl of this delicious, guilt-free pilaf.
-
Infinitely Customizable for Any Palate
One of the most exciting aspects of this recipe is its incredible versatility. While the combination of carrots, peas, and corn offers a classic and universally loved flavor profile, this pilaf is a blank canvas for your creativity. Have a surplus of seasonal vegetables? Toss them in! Want to sneak in some extra greens? Spinach or kale would be fantastic additions. You can easily swap or add ingredients based on what you have on hand, what’s in season, or simply what you’re craving. Consider incorporating chopped mushrooms for an umami boost, bell peppers for a sweet crunch, or even green beans for added texture. This adaptability not only helps reduce food waste but also ensures that your Instant Pot pilaf never gets boring.
-
Unbelievably Quick and Effortless Preparation
We understand that time is a precious commodity, especially on busy weeknights. This Instant Pot Vegetable Rice Pilaf is specifically designed to be a time-saver without compromising on flavor or nutritional value. With mere minutes of active preparation—think chopping a few vegetables and rinsing rice—the Instant Pot handles the rest. The total time, including the crucial pressure build-up and natural release, comes in at under 40 minutes. This efficiency makes it an unbeatable choice for a fast, healthy side dish or a light main course, allowing you to spend less time in the kitchen and more time enjoying your delicious, homemade meal.
The Essential Ingredients for a Fluffy & Flavorful Pilaf
The secret to a truly outstanding rice pilaf lies in the quality and balance of its ingredients. Each component in this recipe plays a vital role in creating the perfect texture, aroma, and flavor. Here’s a detailed look at what you’ll need and why these choices make a difference, along with some helpful tips for substitutions and enhancements.
-
Basmati Rice: The Heart of the Pilaf
For this recipe, white basmati rice is the star. Originating from the Indian subcontinent, basmati is known for its distinctive long, slender grains and delicate, nutty aroma. When cooked correctly, it yields a wonderfully fluffy, separate texture that is characteristic of a good pilaf, unlike stickier rice varieties. Its ability to absorb flavors without becoming mushy makes it the perfect choice. Remember to rinse your basmati rice thoroughly before cooking; this crucial step removes excess starch, which is key to achieving that desired non-clumpy texture. While other long-grain white rices can be used, basmati offers an unparalleled experience. -
Onion and Garlic: The Aromatic Foundation
These two ingredients form the indispensable aromatic base of virtually countless savory dishes, and our pilaf is no exception. White onion, when diced and sautéed, releases a gentle sweetness and provides a foundational layer of flavor. Freshly minced garlic, with its pungent and savory notes, deepens the complexity of the dish and contributes to that enticing aroma that fills your kitchen. Always opt for fresh garlic cloves over pre-minced varieties for the brightest, most potent flavor. Sautéing them until fragrant and softened is vital for extracting their full potential. -
Vibrant Vegetables: Carrots, Peas, and Corn
This classic trio brings a beautiful spectrum of colors and a delightful balance of textures and natural sweetness to the pilaf. Diced carrots add an earthy sweetness and a satisfying chew, while green peas burst with tender sweetness, and corn kernels provide a lovely pop. These vegetables are widely available and universally loved. You have the flexibility to use fresh, frozen, or canned options. If using canned peas or corn, always rinse them thoroughly under cold water to wash away any excess sodium and improve their flavor. For an even more packed pilaf, consider adding other finely chopped vegetables such as mushrooms, celery, broccoli florets, or cauliflower during the initial sauté with the carrots and onion. A diced bell pepper can also be stirred in with the peas and corn for added freshness and a gentle crunch. -
Vegetable Broth: The Flavor Carrier
As this recipe is oil-free, vegetable broth serves a dual purpose: it’s the liquid for cooking the rice and a primary source of flavor. Using a good quality, low-sodium vegetable broth is highly recommended. A low-sodium option allows you to control the overall saltiness of your dish, letting the natural flavors of the vegetables and aromatics shine through. You can always adjust the seasoning at the end, but it’s hard to reduce salt once it’s in. Homemade vegetable broth would elevate the flavor even further. -
Salt and Pepper: Essential Seasoning Agents
Never underestimate the power of simple salt and freshly ground black pepper. These fundamental seasonings are crucial for enhancing and balancing all the other flavors in the pilaf. Add them to taste throughout the cooking process, remembering that you can always add more, but you can’t easily take it away. A good pinch of salt will bring out the sweetness of the vegetables and the nutty notes of the rice.
This detailed guide to ingredients will help you understand the role each plays in achieving a delicious and well-balanced Instant Pot vegetable rice pilaf. For precise measurements and step-by-step instructions, please refer to the comprehensive recipe card located at the end of this article.
Effortless Step-by-Step Guide to Perfect Instant Pot Pilaf
Preparing this vegan vegetable rice pilaf in your Instant Pot is a simple and rewarding process. Follow these detailed steps carefully, and you’ll be rewarded with a perfectly cooked, fluffy, and flavorful dish every time. Remember, a little preparation goes a long way!
Crucial Preparation Tip: Before you even think about starting your Instant Pot, take a moment to thoroughly rinse your basmati rice. Place it in a fine-mesh sieve and rinse under cold running water for a couple of minutes, stirring gently with your hand. Continue until the water that drains away is completely clear. This step is essential for removing excess starch, which prevents the rice from becoming gummy or sticky and ensures each grain cooks up separately and fluffy, true to pilaf tradition.
Step 1: Sauté the Flavorful Base
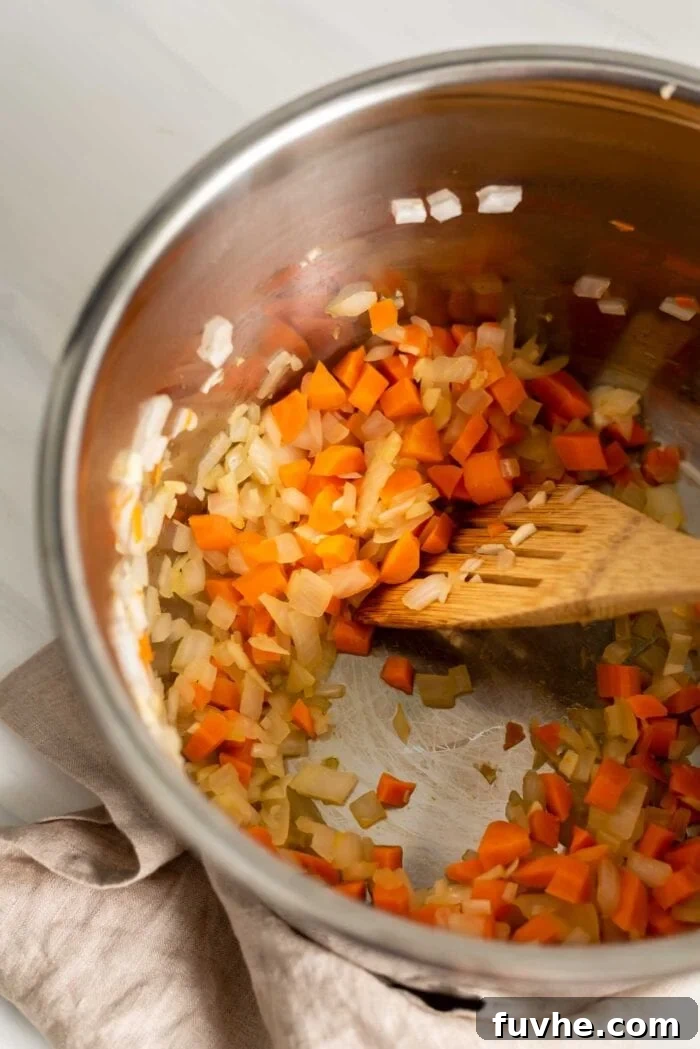
To begin building the rich flavor of your pilaf, add the diced white onion, peeled and diced carrot, and minced garlic to the inner pot of your Instant Pot. Instead of oil, we’ll use 1/4 cup of the vegetable broth. This small amount of liquid helps to create steam and prevent the vegetables from sticking to the bottom of the pot while they soften. Select the “Saute” function (usually on “Normal” setting). Stir the vegetables frequently, cooking them for 6-7 minutes. During this time, the onions will become beautifully translucent, the carrots will begin to soften, and the garlic will release its incredibly fragrant aroma, forming a savory foundation for your rice.
Step 2: Pressure Cook the Rice to Fluffy Perfection
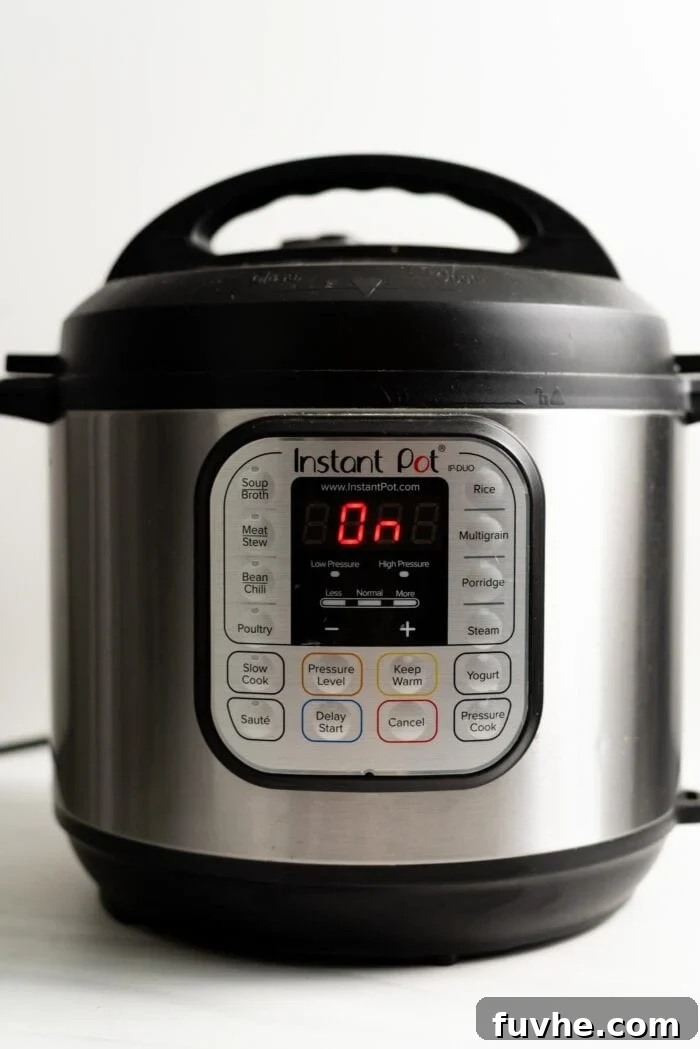
Once your aromatics and carrots are perfectly softened and fragrant, it’s time to add the star of the dish: the well-rinsed basmati rice. Pour it into the Instant Pot, along with the remaining 1 cup of vegetable broth. Give everything a gentle stir to ensure the rice is evenly distributed and submerged in the liquid. This helps in uniform cooking. Next, secure the lid onto your Instant Pot, making sure to twist it until it locks into place. Critically, ensure that the venting knob on the lid is set to the “Sealing” position. Now, press the “Pressure Cook” (or “Manual”) button and set the cooking time to just 3 minutes. The Instant Pot display will show “On” as it diligently works to build up to full pressure. Once the necessary pressure is achieved, the 3-minute timer will automatically begin its countdown.
After the brief 3-minute pressure cooking cycle concludes, it’s vital to resist the urge to immediately release the pressure. Instead, allow the Instant Pot to perform a natural pressure release (NPR) for 15 minutes. This extended resting period is a game-changer for rice: it allows the grains to gently steam, fully absorb any remaining moisture, and settle, resulting in rice that is incredibly tender, perfectly cooked through, and wonderfully fluffy without being sticky or mushy. After the 15 minutes of NPR, carefully and slowly move the venting knob to the “Venting” position to release any residual pressure. Wait until the float valve drops completely before you attempt to open the lid.
Step 3: Gently Incorporate Peas and Corn for Freshness
With the pressure fully released and the float valve down, carefully and slowly open the Instant Pot lid. You’ll be greeted by beautifully cooked, aromatic rice and tender carrots. Now, gently add the green peas and corn into the pot. These tender vegetables are added at the end to ensure they retain their vibrant color, fresh taste, and slightly crisp texture, preventing them from becoming overcooked and mushy. Give the mixture a quick, gentle stir to evenly distribute the peas and corn throughout the rice. Then, simply place the lid back on the Instant Pot – there’s no need to seal it this time, just rest it on top. Let the pilaf sit for an additional 3-4 minutes. The residual heat from the freshly cooked rice will perfectly warm the peas and corn, infusing them with warmth without further cooking. This method locks in their natural sweetness and appealing texture.
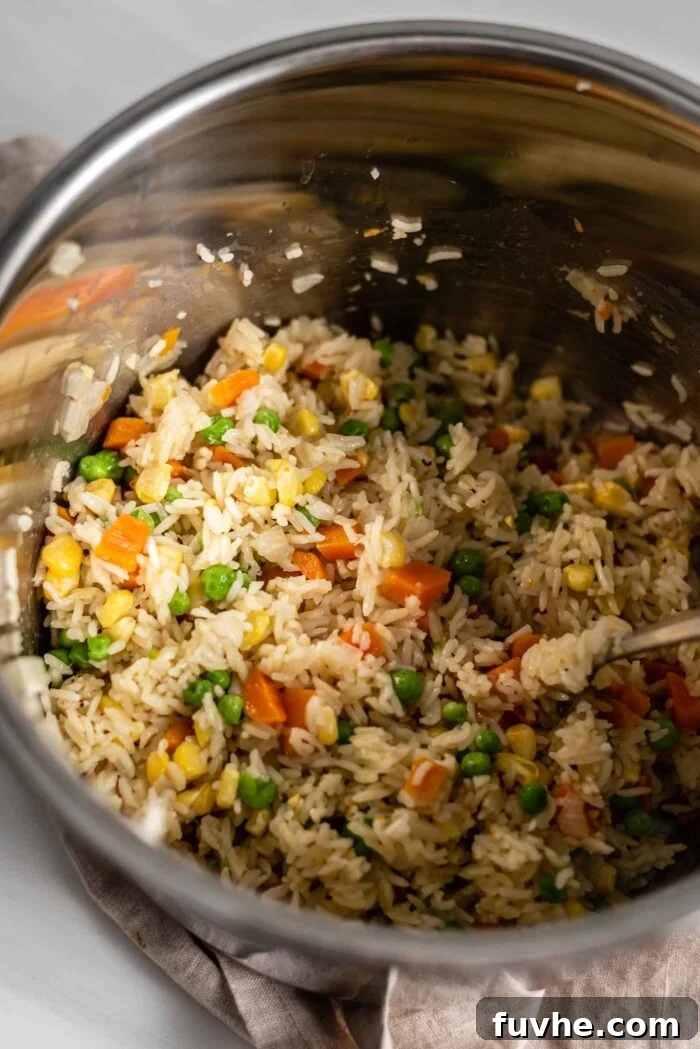
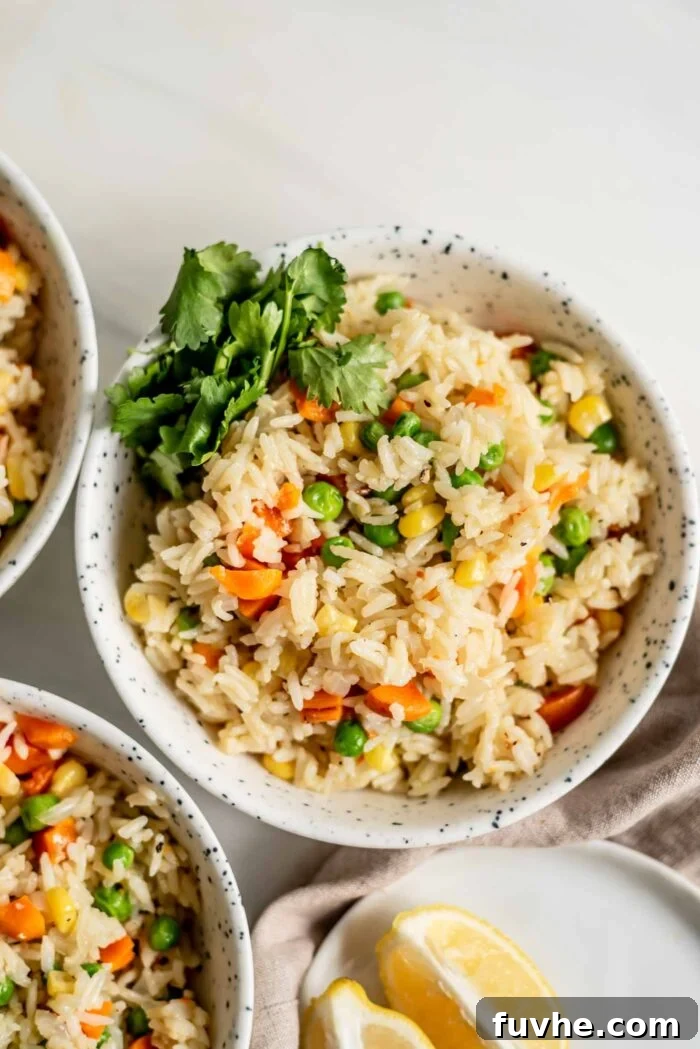
Finally, remove the lid, and using a fork, gently fluff the rice pilaf to separate the grains and break up any potential clumps. This action also helps to release steam and achieve that light, airy texture characteristic of a perfect pilaf. Your aromatic and perfectly cooked vegan Instant Pot vegetable rice pilaf is now ready to be served! It makes a wonderfully healthy and satisfying side dish. To transform it into a more substantial, protein-rich meal, consider stirring in some pre-cooked tofu, chickpeas, or tempeh, which will beautifully complement the savory flavors of the pilaf.
Smart Storage & Reheating for Easy Meal Prep
This Instant Pot vegetable rice pilaf is not only delicious freshly made but also fantastic for meal prepping! Preparing a larger batch means you’ll have wholesome, healthy meals ready to go throughout the week. Proper storage is key to maintaining its freshness, flavor, and texture. Here’s how to best store and reheat your delicious leftovers:
-
Refrigeration: Once your pilaf has fully cooled to room temperature (this is important to prevent bacterial growth and condensation), transfer it to an airtight container. Store it in the refrigerator for up to 4 days. This makes it an ideal option for packing into lunchboxes or enjoying as a quick, healthy dinner on busy evenings. Ensure the container is sealed well to maintain moisture and prevent the rice from drying out or absorbing other odors from the fridge.
-
Freezing for Longer Storage: If you’re looking to store your pilaf for an extended period, it freezes beautifully! After allowing it to cool completely, portion the pilaf into individual freezer-safe containers or heavy-duty freezer bags. Properly stored, it can maintain its quality and flavor in the freezer for up to 3 months. This is a fantastic strategy for bulk cooking, ensuring you always have a healthy, homemade meal option at your fingertips, ready for those days when cooking from scratch isn’t possible.
-
Effortless Reheating: When you’re ready to enjoy your stored pilaf, reheating it is simple. If frozen, it’s best to thaw it overnight in the refrigerator for optimal results. For reheating:
- Microwave Method: Place your desired serving of pilaf in a microwave-safe bowl. To prevent the rice from drying out, add a tablespoon or two of water or vegetable broth. Cover the bowl loosely with a lid or microwave-safe plastic wrap (vented) and heat on high until warmed through, stirring occasionally to ensure even heating.
- Stovetop Method: Transfer the pilaf to a skillet or saucepan. Add a splash of water or vegetable broth, cover with a lid, and heat over medium-low heat, stirring occasionally. This method gently rehydrates the rice and ensures it’s heated evenly, bringing it back to a fluffy, tender state.
Adding a little extra liquid during reheating is a simple trick to revive the rice, ensuring it remains as moist and delicious as when it was first cooked.
Frequently Asked Questions (FAQs) About Instant Pot Rice Pilaf
To help you master this delicious Instant Pot Vegetable Rice Pilaf and confidently make it your own, here are answers to some common questions you might have:
-
Can I use brown rice for this recipe instead of basmati?
While basmati rice is specifically chosen for its light, fluffy texture and quick cooking time, you can certainly use brown rice. However, brown rice requires a significantly longer cooking time and a different liquid-to-rice ratio in the Instant Pot. For brown rice, you would typically use 1:1.25 ratio (1 part rice to 1.25 parts liquid) and pressure cook for about 20-22 minutes with a full natural pressure release. Adjustments will be necessary to achieve the best results. -
What other spices can I add to enhance the flavor?
This pilaf offers a wonderful base for additional spices. For an earthy warmth, consider adding a pinch of ground turmeric (which also gives a lovely golden color) or cumin along with the vegetables in Step 1. A touch of smoked paprika can add depth, or a small amount of a mixed spice blend like garam masala for an Indian-inspired twist. Freshly chopped herbs like parsley, cilantro, or dill stirred in just before serving also add a burst of fresh flavor. -
How can I make this pilaf a complete, protein-rich meal?
This vegetable pilaf is wonderfully versatile and can easily be transformed into a hearty main course. To boost the protein content, stir in cooked chickpeas, black beans, or lentils after the rice has cooked and been fluffed. Crumbled or diced cooked tofu or tempeh are also excellent plant-based protein additions that pair beautifully with the pilaf’s flavors. -
Why is it so important to rinse the rice thoroughly?
Rinsing the rice is a crucial step that many overlook! It effectively removes the excess surface starch from the grains. This starch, if not removed, can cause the rice to become sticky, gummy, or clump together during cooking. Rinsing ensures that your basmati rice cooks up light, fluffy, and with perfectly separate grains, which is the hallmark of a well-made pilaf. -
Is this recipe truly oil-free, and does it still taste good?
Yes, this recipe is intentionally designed to be completely oil-free, making it a healthier option without compromising on taste. We achieve this by using a small amount of vegetable broth during the initial sautéing of the onion, garlic, and carrots. The broth prevents sticking and allows the vegetables to soften and release their natural flavors and aromas beautifully, contributing to a lighter, cleaner, yet incredibly flavorful pilaf. -
Can I add frozen vegetables without thawing them first?
Yes, absolutely! You can add frozen peas and corn directly to the hot pilaf in Step 3 without thawing. The residual heat from the freshly cooked rice is sufficient to warm them through perfectly within 3-4 minutes, keeping them tender-crisp and vibrant.
Explore More Delicious Instant Pot Vegan Recipes!
If you’ve discovered the incredible convenience and delicious results of cooking with your Instant Pot, especially for plant-based meals, you’re in for a treat! This versatile appliance is a game-changer, making healthy and flavorful dishes easier than ever. If you loved this vegetable rice pilaf, we encourage you to dive into more of our Instant Pot creations, designed for simplicity, taste, and wholesome goodness.
- A Curated Collection of Plant-Based Instant Pot Recipes
- Creamy & Flavorful Instant Pot Refried Black Beans
- Hearty & Warming Vegan Instant Pot Quinoa Chili
- Comforting Instant Pot Kale Potato Soup
- Sweet & Satisfying Instant Pot Brown Rice Pudding
Instant Pot Vegetable Rice Pilaf Recipe Card
This tasty Instant Pot Vegetable Rice Pilaf offers a quick and easy solution for a healthy side dish or a light main course. Ready to enjoy in approximately 35 minutes of active preparation and cooking time, it’s perfectly seasoned and loaded with vibrant vegetables, making it a crowd-pleaser for any occasion. It’s truly a testament to how simple ingredients can create profound flavors!

Instant Pot Vegetable Rice Pilaf
By:
Deryn Macey
This wholesome and flavorful Instant Pot Vegetable Rice Pilaf is a quick and easy solution for a healthy side dish or a light main course, ready in just 35 minutes. It’s naturally vegan, gluten-free, oil-free, soy-free, and sugar-free.
10 mins
25 mins
35 mins
4
Save Recipe |
Pin Recipe |
Rate Recipe |
Print Recipe
Ingredients
- 1 cup diced white onion (approx. 150 g)
- 1 cup peeled and diced carrot (approx. 150 g)
- 3 cloves minced garlic (approx. 12 g)
- 1 cup basmati rice, thoroughly rinsed (approx. 185 g)
- 1 1/4 cups low-sodium vegetable broth
- Salt and freshly ground black pepper, to taste
- 3/4 cup green peas (approx. 130 g) (fresh, frozen, or well-rinsed canned)
- 3/4 cup corn (approx. 130 g) (fresh, frozen, or well-rinsed canned)
Instructions
- Prepare Ingredients: Begin by thoroughly rinsing the basmati rice under cold running water until the water runs clear. Dice the white onion and carrot, and mince the garlic cloves.
- Sauté Aromatics: Add the diced onion, carrot, minced garlic, and 1/4 cup of the vegetable broth to the inner pot of your Instant Pot. Select the “Saute” function (Normal setting). Cook the vegetables for 5-6 minutes, stirring frequently, until they are softened and fragrant.
- Add Rice and Broth: Stir in the well-rinsed basmati rice and the remaining 1 cup of vegetable broth. Ensure the rice is submerged. Season the mixture lightly with salt and pepper to your preference.
- Pressure Cook: Secure the lid on the Instant Pot and turn the venting knob to the “Sealing” position. Press “Pressure Cook” (or “Manual”) and set the timer for 3 minutes. The Instant Pot will display “On” as it builds pressure, then begin the 3-minute cooking countdown.
- Natural Pressure Release: Once the 3-minute cooking time is complete, allow the Instant Pot to naturally release pressure for 15 minutes. Do not manually release the pressure immediately; this natural release step is crucial for achieving fluffy rice.
- Vent Remaining Pressure: After the 15 minutes of natural pressure release, carefully move the Vent Knob to the “Venting” position to release any remaining pressure. Wait until the float valve drops completely before safely opening the lid.
- Incorporate Peas and Corn: Stir in the green peas and corn into the cooked rice. Place the lid back on the Instant Pot (no need to seal it) and let it sit for 3-4 minutes. The residual heat will perfectly warm the peas and corn through, keeping them tender and vibrant.
- Fluff and Serve: Remove the lid and gently fluff the rice pilaf with a fork to separate the grains and break up any clumps. Serve immediately as a delicious and healthy side dish, or enhance it with your favorite plant-based protein for a complete meal.
Notes
Veggie Options: Feel free to customize your pilaf with other vegetables! You can add up to 1 cup of finely chopped mushrooms, celery, broccoli, or cauliflower with the carrots and onion during the initial sauté. For a fresh and colorful addition, stir in up to 1 whole diced bell pepper along with the peas and corn after the pressure cooking stage.
Storage: To store, allow the pilaf to cool completely to room temperature. Transfer it to an airtight container and refrigerate for up to 4 days, or freeze for up to 2 months. This makes for excellent meal prep!
Peas and Corn: You can use fresh, frozen, or canned peas and corn in this recipe. If opting for canned, remember to rinse them very well before adding. If using frozen, there’s no need to thaw them first; they will warm through perfectly with the residual heat.
Flavor Boost: For an additional layer of herbaceous flavor, consider adding a bay leaf or a pinch of dried thyme along with the rice and broth before pressure cooking. Remember to remove any bay leaves before serving.
Nutrition Information
Serving Size: 1/4 of recipe
Calories: 154 kcal
Carbohydrates: 33.1 g
Protein: 4.9 g
Fat: 0.8 g
Sodium: 237 mg
Fiber: 3.9 g
Sugar: 7.8 g
Loved this easy vegan Instant Pot Vegetable Rice Pilaf? We would be thrilled to hear your thoughts! Please consider rating this recipe and leaving a comment below to share your experience and tips. Your feedback helps our community!