
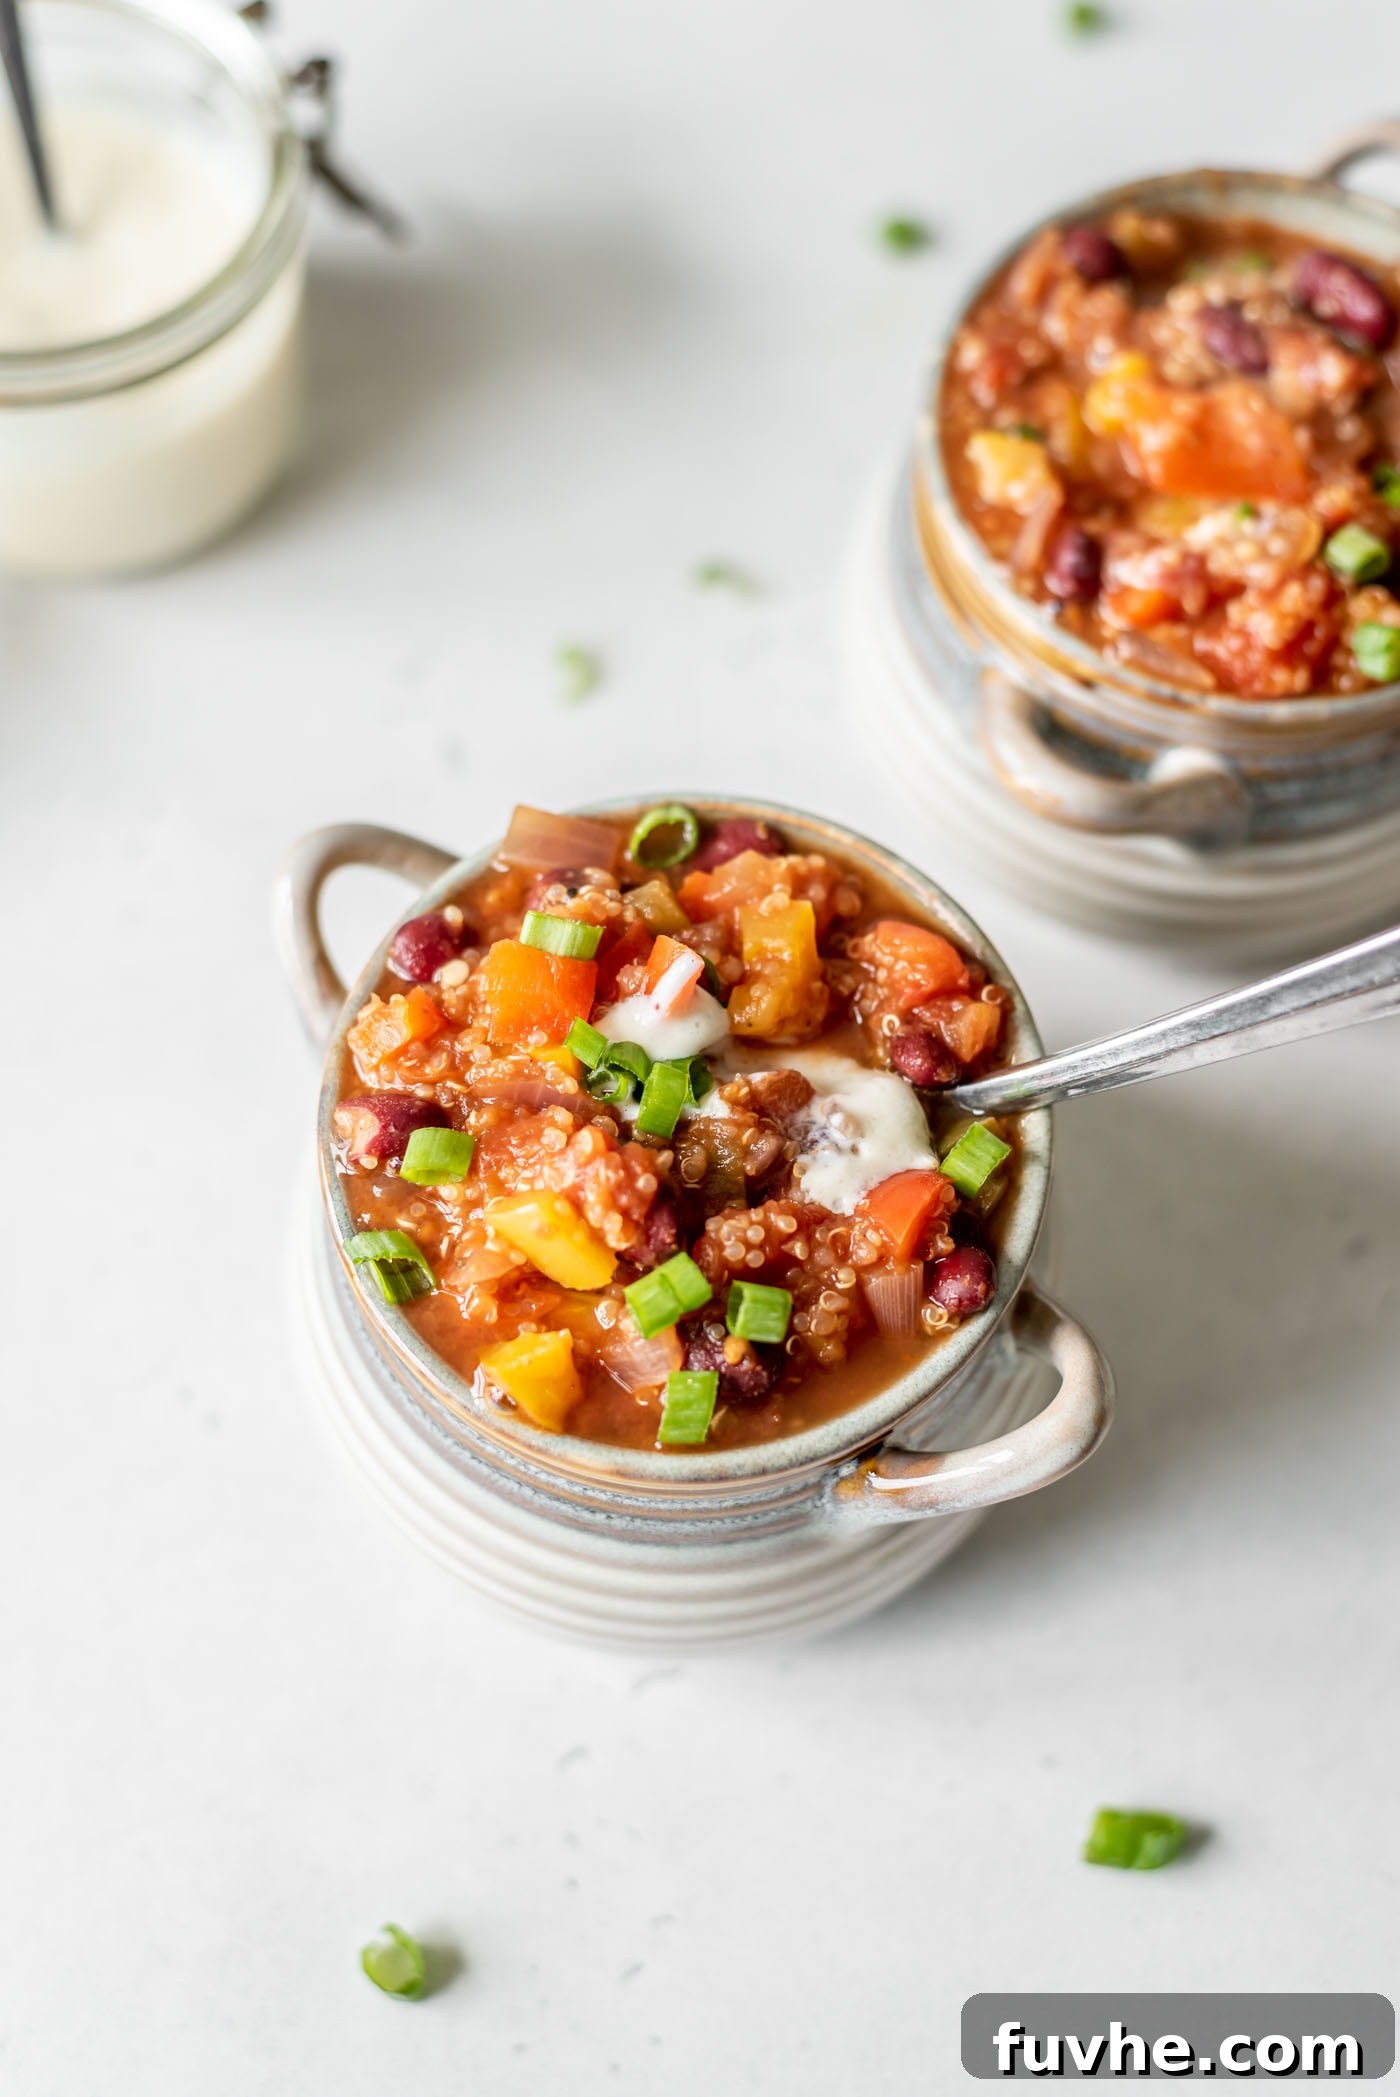
Welcome to the ultimate guide for crafting a truly exceptional Vegan Instant Pot Quinoa Chili! This recipe isn’t just another meal; it’s a hearty, flavorful, and incredibly convenient plant-based powerhouse that will quickly become a staple in your kitchen. Designed for busy weeknights or relaxed weekend gatherings, this chili boasts a rich, smoky depth and a satisfying texture, all thanks to the magic of your Instant Pot and wholesome ingredients like protein-packed quinoa and hearty beans. Requiring minimal hands-on prep, you can simply load your ingredients into the pressure cooker, set it, and step away, allowing it to transform into a delicious, freezer-friendly meal that’s perfect for meal prepping or enjoying fresh.
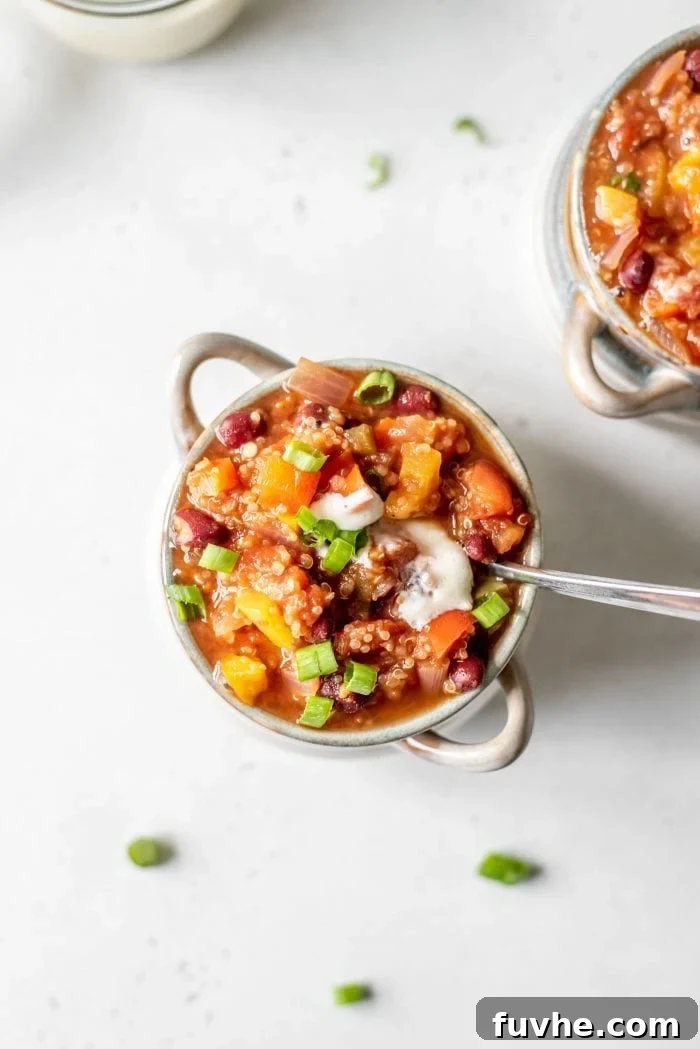
Why Cook Chili in an Instant Pot? The Benefits of Pressure Cooking
The Instant Pot has revolutionized home cooking, and for good reason. When it comes to making a robust vegan chili, the pressure cooker offers unparalleled advantages, making it the ideal tool for this quinoa chili recipe. One of the primary benefits is its ability to drastically reduce cooking time. While traditional stovetop chili might simmer for hours to achieve a deep flavor, the Instant Pot uses pressure to infuse flavors rapidly and cook ingredients like quinoa and beans to perfection in a fraction of the time.
Beyond speed, the Instant Pot is celebrated for its “set it and forget it” convenience. Once you’ve added your ingredients and sealed the lid, your involvement is minimal. This hands-off approach frees you up to tackle other tasks or simply relax while your delicious vegan chili cooks itself. The sealed environment of the pressure cooker also locks in moisture and nutrients, resulting in a more flavorful and tender dish compared to conventional cooking methods. This means every spoonful of your plant-based quinoa chili will be bursting with rich, well-developed flavors.
Understanding Instant Pot Cooking Dynamics
When cooking with an Instant Pot, it’s important to understand that the “cooking time” you set on the device isn’t the total time required. The Instant Pot goes through several phases: pressure building, actual pressure cooking, and pressure release. For this vegan quinoa chili, you’ll set the pressure cook time for 5 minutes, but the total process will be longer.
Once you load all the ingredients and secure the lid, the Instant Pot will display “ON” as it works to build pressure. This initial phase can take anywhere from 10 to 20 minutes, depending on the volume and temperature of the ingredients. Only after sufficient pressure has built up will the float valve rise, and the 5-minute timer you set will begin counting down. Therefore, plan for a total active cooking duration of approximately 15-25 minutes from the moment you start the Instant Pot to when the pressure is fully released.
After the pressure cooking cycle is complete and the timer beeps, you have two options for releasing the pressure: natural release or quick release. For this recipe, we recommend allowing a natural pressure release for about 10 minutes. This method allows the chili to settle and further tenderize, often resulting in a thicker consistency. After 10 minutes, carefully turn the venting knob to “Quick Release” to release any remaining pressure. This dual approach helps prevent the chili from thinning out too much while still saving some time compared to a full natural release.
Crafting Your Instant Pot Quinoa Chili: The Method
Preparing this Instant Pot quinoa chili is remarkably straightforward, requiring only about 5-10 minutes of hands-on prep time, depending on your chopping speed. The beauty of this recipe lies in its simplicity: you don’t even need to sauté the vegetables beforehand, though you certainly could for added flavor depth if you wish. This “dump and cook” style makes it perfect for busy individuals seeking a wholesome meal without the fuss.
Step-by-Step Assembly
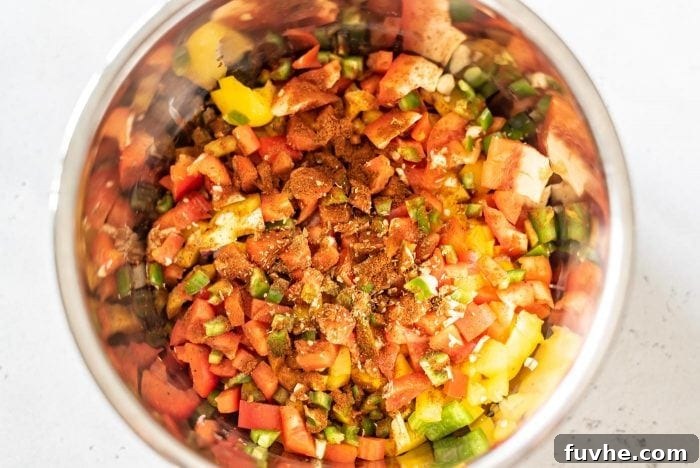
To begin, gather all your fresh ingredients and your Instant Pot. Start by dicing your onion, bell peppers, and jalapeño, and mincing your garlic. These aromatics and vegetables form the foundational flavors of your chili. Once prepped, you’ll simply layer them directly into the Instant Pot’s inner pot.
First, add the chopped onion, bell peppers, minced garlic, diced jalapeño (with seeds removed for less heat, or left in for more kick!), and all your spices: cumin, oregano, paprika, and chili powder. There’s no need to stir or mix; simply layer them in.
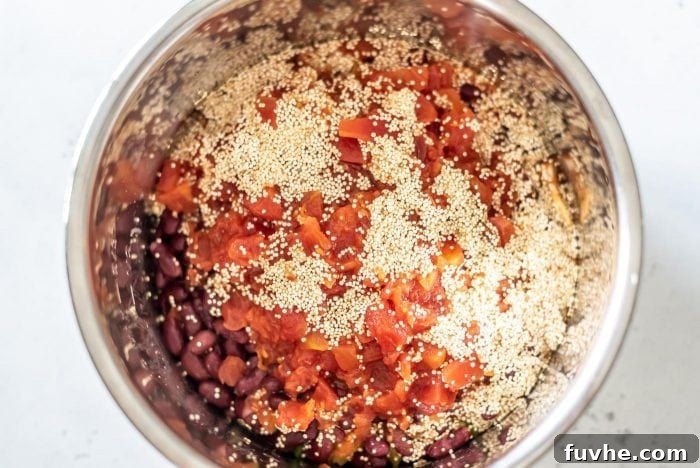
Next, introduce the liquid and remaining bulk ingredients. This includes the tomato paste, a finely chopped chipotle pepper in adobo sauce (the secret to that wonderful smoky flavor!), the can of diced tomatoes (fire-roasted tomatoes are highly recommended for an extra layer of flavor), rinsed and drained kidney beans, uncooked quinoa, and vegetable broth. The quinoa will cook directly in the chili, absorbing all the delicious flavors.
Setting the Instant Pot for Perfection
Once all your ingredients are layered into the pot, it’s time to seal and cook. Follow these steps carefully to ensure a perfectly cooked vegan quinoa chili:
- **Secure the Lid:** Place the lid on your Instant Pot and twist it clockwise until it locks into place and you hear a chime.
- **Verify Venting Knob:** Ensure the Venting Knob on top of the lid is set to the “Sealing” position. This is crucial for the pot to build and maintain pressure.
- **Select Program:** Press the “Pressure Cook” button (or “Manual” on older models).
- **Adjust Time:** Use the “+” or “-” buttons to set the cooking time to 5 minutes. The display will read “ON” as the Instant Pot preheats and builds pressure. Don’t worry if the timer doesn’t start immediately; this is normal. The float valve will pop up, indicating pressure has been reached, and then the 5-minute countdown will begin.
- **Pressure Release:** Once the timer beeps, allow the Instant Pot to naturally release pressure for about 10 minutes. After 10 minutes, if the float valve hasn’t dropped on its own, carefully switch the Venting Knob to “Venting” to quick release any remaining pressure. (You can also let it naturally release all the way if you have more time.)
- **Open Safely:** Once the float valve has fully dropped, it is safe to remove the lid.
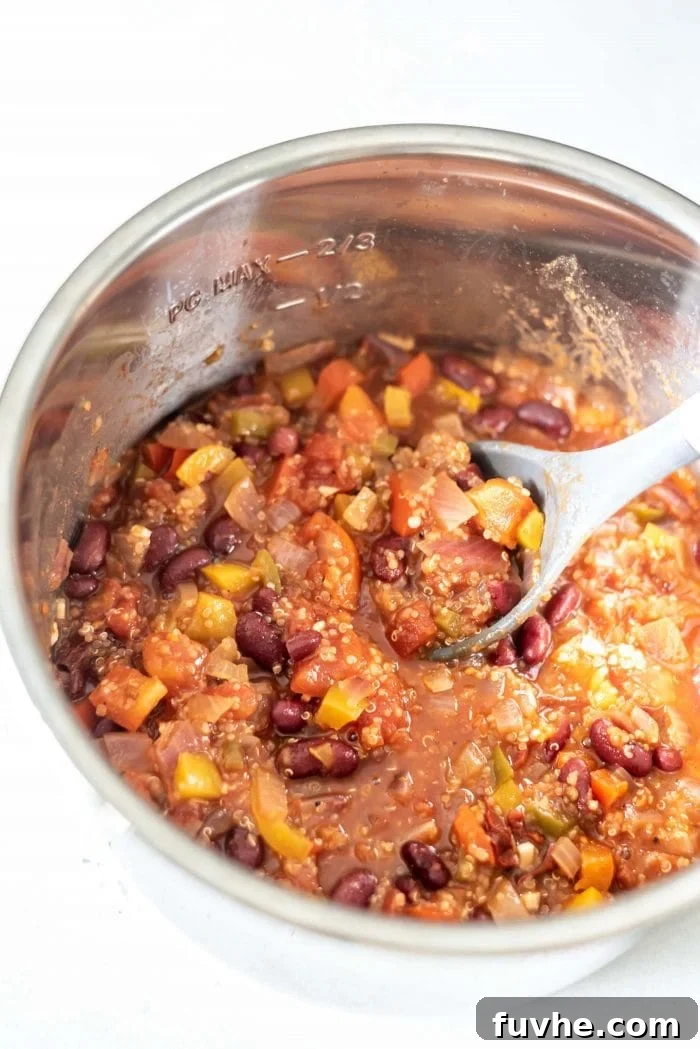
The chili might appear a little watery when you first open the Instant Pot, but don’t fret! Quinoa continues to absorb liquid as it cools, and the chili will thicken beautifully as it sits. Stir well, season with salt and pepper to taste, and get ready to enjoy a deeply satisfying, healthy, and easy vegan meal.
Stovetop Method: A Classic Alternative
No Instant Pot? No problem! This delicious vegan quinoa chili can be easily adapted for stovetop cooking, offering a slightly different but equally rewarding culinary experience. While it requires a bit more active stirring, the stovetop method allows you to visually monitor the chili’s progress and adjust textures as it cooks. You’ll still achieve a rich, flavorful result, perfect for those who prefer traditional cooking or don’t own a pressure cooker.
- **Sauté Aromatics:** In a large pot or Dutch oven, begin by sautéing the diced onions and minced garlic. Instead of oil, use a splash of vegetable broth or water to water-sauté them for about 5-7 minutes over medium heat until they soften and become translucent. This builds a foundational layer of flavor.
- **Add Peppers and Spices:** Introduce the diced bell peppers and jalapeño to the pot and continue to cook for another 3-5 minutes until they start to tenderize. Next, stir in the cumin, oregano, paprika, and chili powder. Cook for about 1 minute, stirring constantly, to toast the spices and release their aromatic oils.
- **Combine Remaining Ingredients:** Add the tomato paste, finely chopped chipotle pepper in adobo sauce, diced tomatoes, rinsed kidney beans, uncooked quinoa, and vegetable broth. Stir everything together thoroughly to combine all the ingredients and ensure the spices are evenly distributed.
- **Simmer to Perfection:** Bring the chili to a gentle simmer over medium-high heat. Once simmering, reduce the heat to low, cover the pot, and let it cook for 15-20 minutes. Stir occasionally to prevent sticking and ensure even cooking. The chili is ready when the quinoa is fully cooked and fluffy, and the sauce has thickened to your desired consistency.
- **Season and Serve:** Taste the chili and adjust seasoning with salt and pepper as needed. If the chili is too thick, add a little more vegetable broth; if it’s too thin, simmer uncovered for a few more minutes. Serve hot with your favorite toppings.
Recipe Notes and Customization Tips
This vegan Instant Pot quinoa chili is inherently versatile, allowing you to tailor it to your personal preferences and pantry staples. Here are some detailed notes and ideas for customizing your next batch:
- **Spice Level Adjustment:** The recipe as written provides a moderate, smoky heat. If you prefer a milder chili, reduce the amount of jalapeño and/or chipotle pepper, or omit the chipotle pepper entirely. For those who crave extra heat, consider adding another chipotle pepper, 1-2 teaspoons of the adobo sauce from the chipotle can, or a pinch of cayenne pepper.
- **Consistency Matters:** Upon opening the Instant Pot, the chili may appear slightly watery. This is completely normal! Quinoa and other starches continue to absorb liquid as the chili cools and rests, leading to a perfectly thick and hearty consistency. If you desire an even thicker chili, you can use the “Sauté” function for a few minutes after cooking (with the lid off) to simmer down excess liquid.
- **Bean Varieties:** Kidney beans are classic, but feel free to experiment! This chili is fantastic with pinto beans, black beans, or even chickpeas. A mix of different beans can also add more textural complexity and nutritional value.
- **Adding More Vegetables:** Boost the veggie content and flavor by incorporating 1/2 cup of corn (fresh or frozen) along with the other ingredients. Diced sweet potatoes or zucchini are also wonderful additions, providing extra nutrients and a touch of sweetness. Add them with the other vegetables at the start.
- **Boost of Protein:** For an extra protein punch, consider adding crumbled tempeh or textured vegetable protein (TVP) when you add the beans. These absorb flavors beautifully and add a meaty texture.
- **Fresh Herbs:** A handful of fresh cilantro stirred in at the very end brightens the flavor considerably.
Elevate Your Chili with Perfect Toppings
No chili is truly complete without a generous array of delicious toppings! These additions not only enhance the flavor and texture but also allow for personal customization, turning a simple bowl of chili into a culinary masterpiece. Here are some fantastic ideas to take your vegan quinoa chili to the next level:
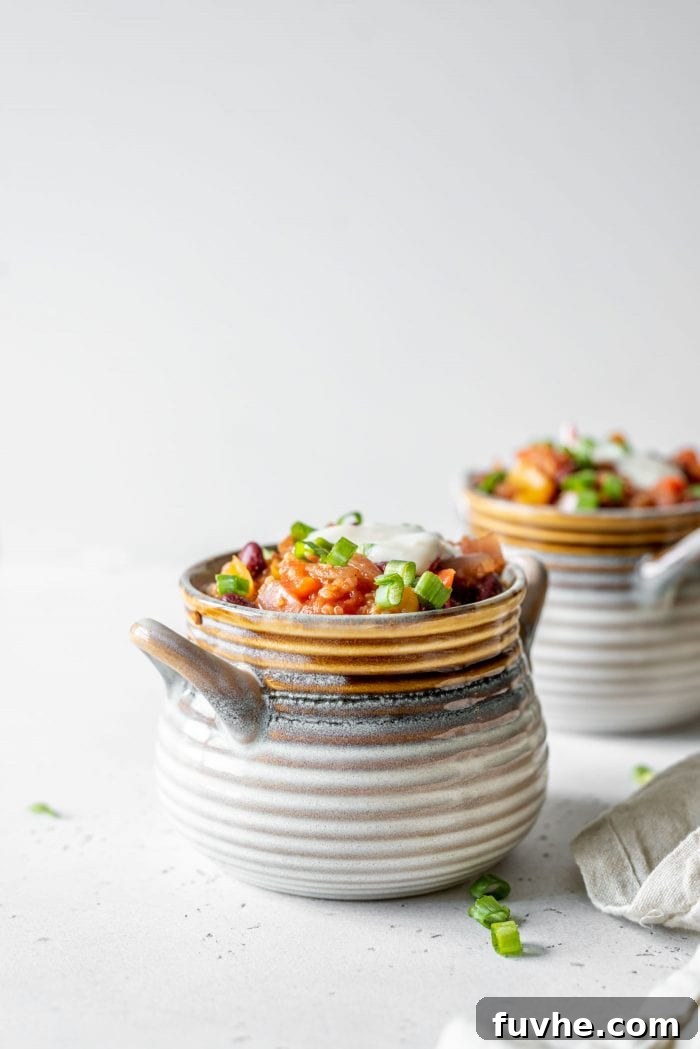
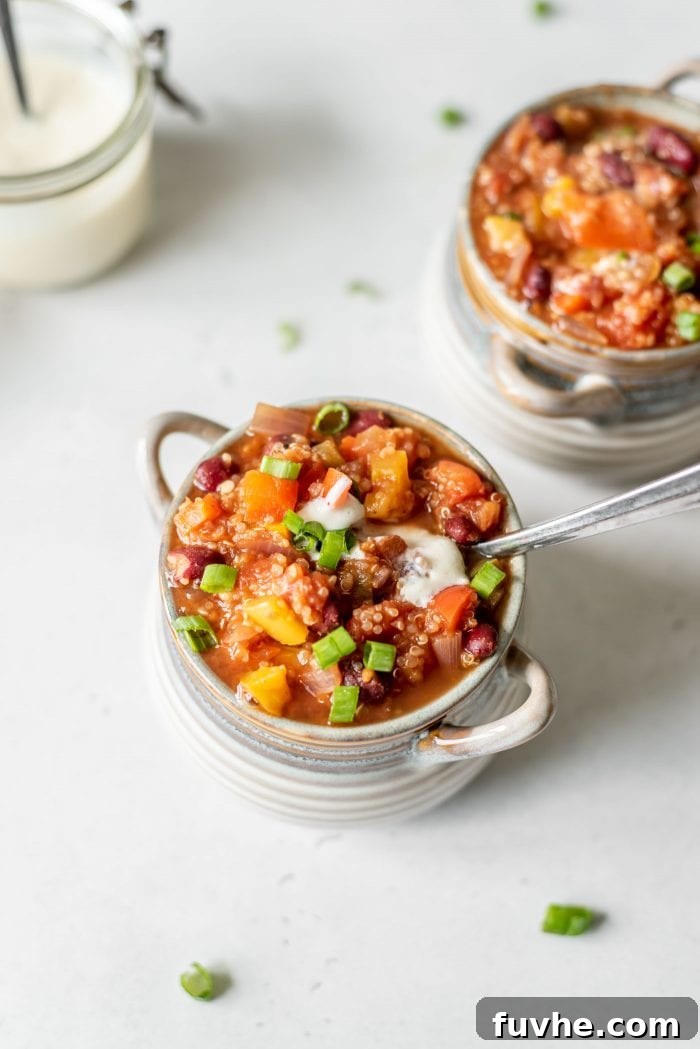
- **Creamy Goodness:** A dollop of tofu sour cream, cashew cream, or a swirl of plain vegan yogurt provides a cool contrast to the chili’s warmth and spice.
- **Crunchy Texture:** Crushed tortilla chips, crispy baked tortilla strips, or even a sprinkle of toasted pumpkin seeds add a satisfying crunch.
- **Freshness and Zest:** Freshly chopped cilantro and thinly sliced green onions are classic choices that brighten the entire dish with their vibrant flavors.
- **Healthy Fats:** Diced avocado or a dollop of guacamole adds a rich, creamy texture and healthy fats that complement the chili beautifully.
- **Extra Heat (if desired):** A few slices of fresh jalapeño or a dash of your favorite hot sauce can intensify the spice factor.
- **Cheese Alternative:** If you enjoy a cheesy flavor, sprinkle on some vegan shredded cheddar or a nutritional yeast blend.
Don’t forget to serve your chili with a side for dipping! A slice of toasted sourdough bread, warm corn tortillas, or even homemade cornbread are perfect for soaking up every last bit of this delicious plant-based goodness.
Meal Prep, Storage, and Nutrition
One of the best qualities of this vegan Instant Pot quinoa chili is its excellent suitability for meal prepping and long-term storage. Its flavors actually deepen and meld even further after a day or two in the fridge, making it an ideal candidate for batch cooking.
For storage, allow the chili to cool completely before transferring it to airtight containers. It will keep beautifully in the refrigerator for up to 5 days, making it perfect for healthy lunches or quick dinners throughout the week. This chili is also incredibly freezer-friendly! Portion it into individual freezer-safe containers or bags, and it will maintain its quality for up to 2 months. When ready to enjoy, simply thaw in the refrigerator overnight and reheat gently on the stovetop or in the microwave until warmed through.
From a nutritional standpoint, this plant-based quinoa chili is a true powerhouse. Quinoa is a complete protein, offering all nine essential amino acids, while the kidney beans contribute significant amounts of dietary fiber, iron, and plant-based protein. The medley of bell peppers, onions, and jalapeños provides a rich source of vitamins, minerals, and antioxidants, supporting overall health and well-being. This recipe is naturally gluten-free and packed with wholesome ingredients, making it a fantastic choice for a nourishing and satisfying meal.
More Irresistible Vegan Soups and Stews
If you’ve fallen in love with the comforting warmth and ease of this quinoa chili, you’re in for a treat! There’s a whole world of delicious plant-based soups and stews waiting to be explored. These recipes are perfect for nourishing your body and soul, offering a variety of flavors and textures to suit every palate. Here are some more incredible vegan soup and stew recipes you might enjoy:
- Curried Chickpea Potato Stew
- Sweet Potato Black Bean Chili
- Instant Pot Potato Soup
- Slow Cooker Red Lentil Chili
- Vegan 3-Bean Chili
- Vegan White Bean Chili Recipe
Vegan Instant Pot Quinoa Chili Recipe

By: Deryn Macey
This smoky, spicy chili recipe takes just minutes to prepare. Throw everything in an Instant Pot, set it and forget it for a delicious plant-based meal!
- Prep Time: 5 mins
- Cook Time: 15 mins
- Servings: 5
Ingredients
- 1 white or yellow onion, diced (approx. 2 cups)
- 2 bell peppers, diced (I used one yellow and one red, approx. 2 cups)
- 3 cloves garlic, minced
- 1 jalapeño, seeds removed, diced
- 1 tsp cumin
- 1 tsp oregano
- 1/2 tsp paprika
- 1 tbsp chili powder
- 2 tbsp tomato paste
- 1 chipotle pepper in adobo sauce, finely chopped
- 1 x 28 oz can diced tomatoes, fire-roasted if you can find them
- 1 x 14 oz can kidney beans, 1.5 cups, drained and rinsed
- 1/2 cup uncooked quinoa, rinsed
- 1 cup vegetable broth
- salt and pepper, to taste
Instructions
- Start layering the ingredients into the Instant Pot. Begin with the onions, bell peppers, garlic, and spices. Then, add the tomato paste, chipotle pepper, diced tomatoes, kidney beans, quinoa, and vegetable broth. There’s no need to mix it up at this stage.
- Secure the lid on the Instant Pot and ensure the Venting Knob is set to “Sealing.”
- Press “Pressure Cook” (or “Manual”) and set the timer to 5 minutes. The Instant Pot will take some time to build pressure before the timer begins, which is normal. Total cooking time, including pressure build-up, might be 15-20 minutes.
- Once the timer goes off, allow the pressure to release naturally for about 10 minutes. After 10 minutes, if the Float Valve hasn’t dropped yet, carefully turn the Venting Knob to “Quick Release” to release any remaining pressure. (Alternatively, you can let the pressure release naturally all the way if time permits.)
- Once the Float Valve drops, you can safely remove the lid. Stir the chili well, season with salt and pepper to taste, and serve immediately.
- Serve topped with fresh cilantro, vegan sour cream, and green onion. Store leftovers in the fridge for up to 5 days, or freeze for up to 2 months in a sealed container.
Notes
This recipe is easily customizable. Try adding pinto beans, black beans, corn, or chickpeas for variation. Adjust spice levels by modifying the amount of jalapeño and chipotle pepper.
Nutrition
- Serving: 1/5th of recipe
- Calories: 178 kcal
- Carbohydrates: 33g
- Protein: 8g
- Fat: 3g
- Fiber: 9g
- Sugar: 9g