
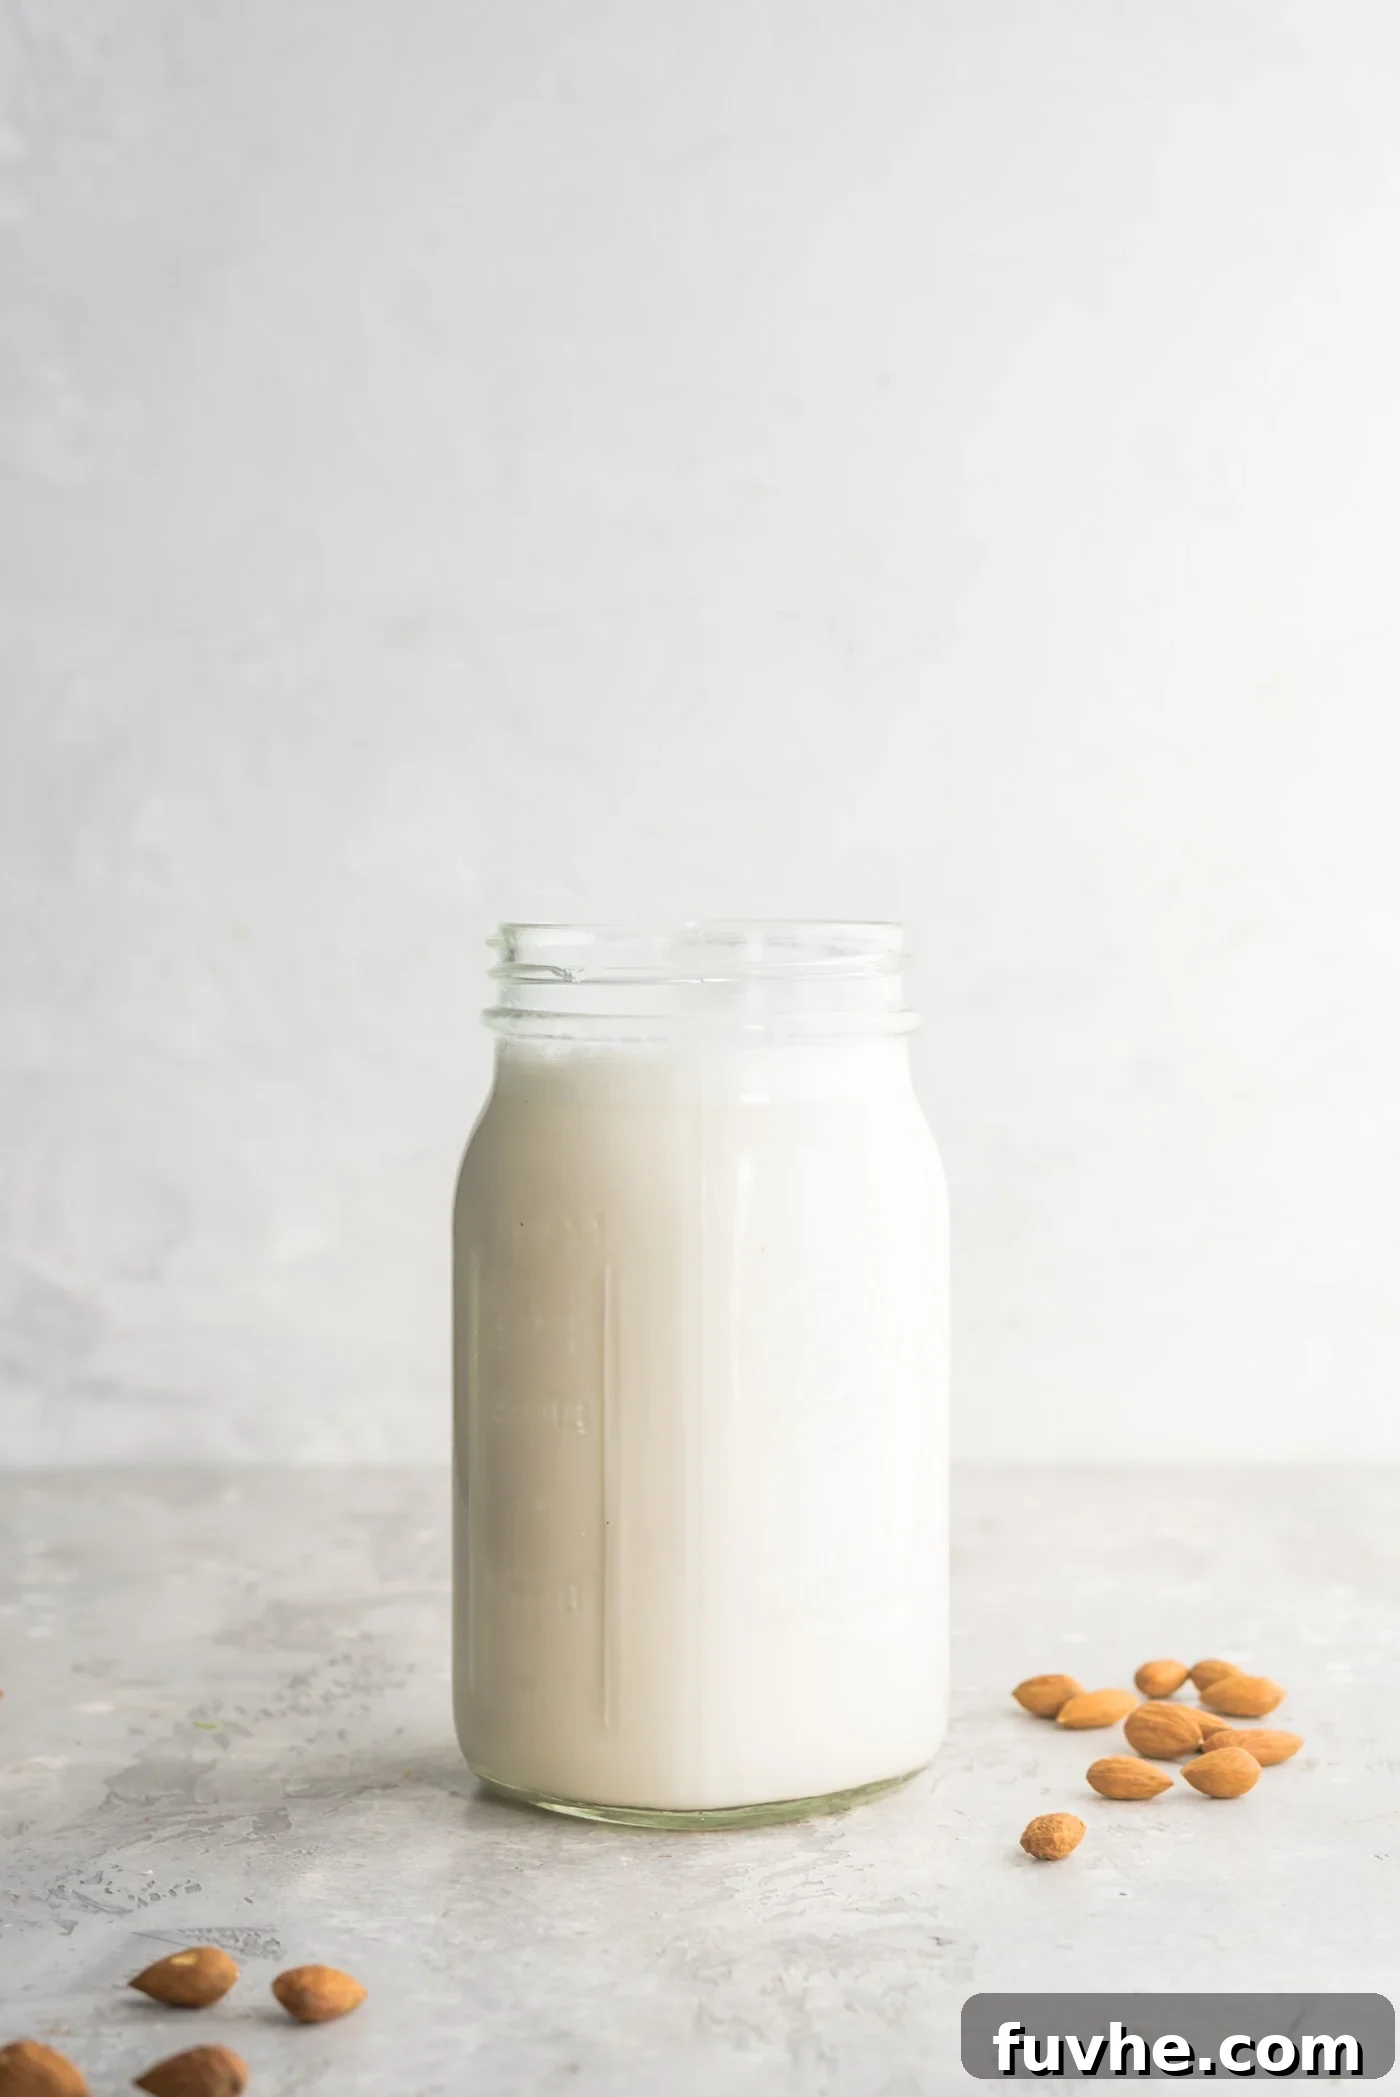
Welcome to the ultimate guide to crafting your very own **homemade almond milk**! If you’ve been searching for a healthier, creamier, and more delicious alternative to traditional dairy milk or often-processed store-bought nut milks, you’ve landed in the right place. Making almond milk from scratch is surprisingly simple, empowering you to control every ingredient and enjoy a fresh, wholesome beverage free from unwanted additives.
Beyond almond milk, the world of homemade plant-based beverages is vast and rewarding. You might also be interested in exploring my homemade hemp milk or homemade oat milk recipes for other nutritious and delicious options.
Why Make Your Own Almond Milk? The Unbeatable Advantages
There’s a significant difference between homemade almond milk and its store-bought counterparts. When you prepare almond milk at home, you unlock a superior taste and texture that simply can’t be matched by commercially produced varieties. You have complete control over the ingredients, ensuring your milk is free from thickeners, gums (like carrageenan and gellan gum), added sugars, artificial flavors, and preservatives that are commonly found in cartons on supermarket shelves. This means a purer, cleaner, and healthier beverage for you and your family. Plus, the process itself is incredibly satisfying, connecting you more deeply with the food you consume.
Essential Equipment for Homemade Almond Milk
Gathering the right tools is the first step to successful almond milk making. While you don’t need highly specialized equipment, a few key items will make the process much smoother and ensure a perfectly creamy result.
High-Quality Blender
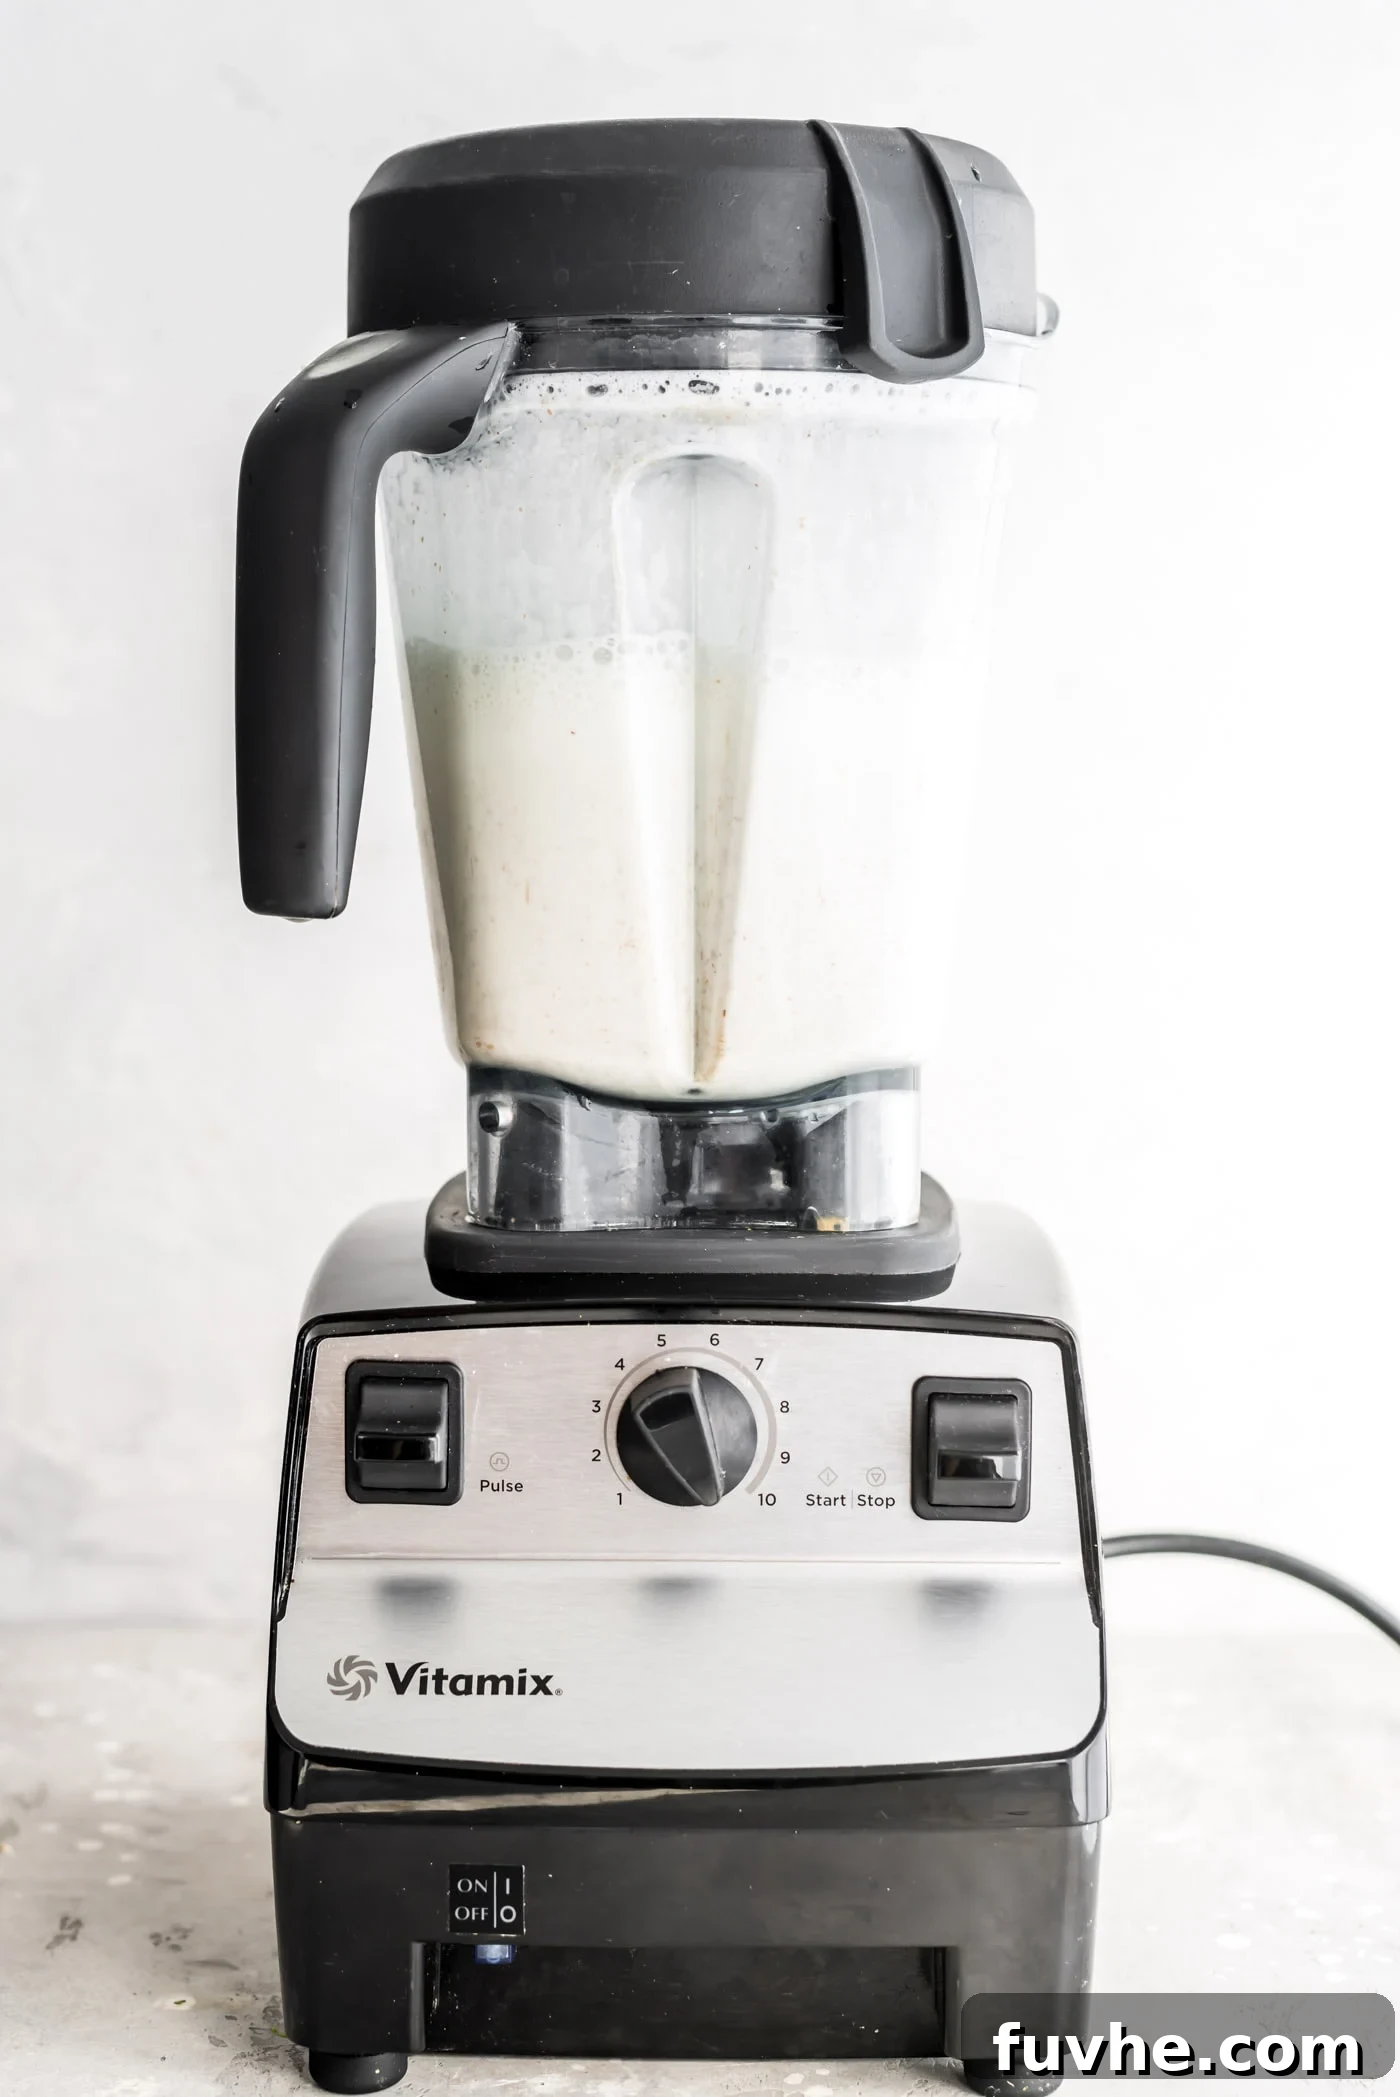
A good blender is arguably the most crucial piece of equipment for making creamy homemade almond milk. While any decent blender can work, especially if you properly soak your almonds, a high-speed blender will yield the smoothest, most luxurious texture. I personally swear by my Vitamix, which effortlessly pulverizes almonds into a fine consistency. However, I’ve also had great success using a Ninja blender. Brands like Blendtec and Kitchenaid also offer powerful models that are perfectly suitable. The key is to ensure your blender can handle breaking down nuts thoroughly to extract all the creamy goodness.
Bowl for Soaking
Before blending, the almonds need a good soak. For this, a simple glass mixing bowl or a large glass measuring cup works wonderfully. You won’t need anything excessively large unless you’re planning to make multiple batches of almond milk at once. Opt for a bowl that allows the almonds enough space to expand as they absorb water.
Fine-Mesh Strainer or Sieve
After soaking, you’ll need to drain and rinse your almonds. Any standard kitchen strainer or a fine-mesh sieve will do the trick for this initial step. It’s important to rinse the almonds thoroughly to remove any impurities and the soaking water, which can sometimes have a slightly bitter taste.
Nut Milk Bag or High-Quality Cheesecloth
To achieve truly smooth and pulp-free almond milk, a reliable straining method is essential. While you can technically use several layers of high-quality cheesecloth or even a clean, old t-shirt, I wholeheartedly recommend investing in a dedicated nut milk bag. These bags are designed specifically for this purpose, featuring a fine weave that effectively separates the liquid from the almond pulp, resulting in a wonderfully smooth and creamy finished product. Nut milk bags are also incredibly durable, easy to clean, and relatively inexpensive, making them a worthwhile long-term investment for any plant-milk enthusiast.
Airtight Storage Jar or Bottle
Once your fresh almond milk is ready, you’ll need a suitable container for storage. I find that a 1-quart mason jar with a plastic lid is ideal for convenience and airtight sealing. Any glass bottle, jar, or container that can be sealed tightly and is easy to pour from will work. Glass is preferable as it doesn’t absorb odors or flavors and allows you to easily see the contents.
Ingredients for the Perfect Homemade Almond Milk
One of the most appealing aspects of homemade almond milk is its incredibly simple ingredient list. You only need two core ingredients, with a few optional additions to elevate the flavor and sweetness to your preference.
Raw Almonds
The star of the show! For the best results, always opt for raw almonds. Organic raw almonds are my top recommendation, as they are free from pesticides and often have a superior taste. If organic isn’t available, conventional raw almonds are still an excellent choice. Avoid using roasted almonds, as they often contain added oils and salt, which can negatively affect the flavor and purity of your milk. Blanched or unblanched? Unblanched (with skins on) are perfectly fine and often provide more nutrients; the skins are easily strained out.
Filtered Water
Since water makes up the majority of your almond milk, its quality matters. Using filtered water can make a noticeable difference in the taste of your finished product and may even help extend its shelf life. While tap water can be used, filtered water ensures a cleaner, purer flavor profile.
Optional Flavor Enhancers
This is where you can truly customize your almond milk! While delicious on its own, a few additions can take it to the next level:
- Sweeteners: For a touch of sweetness, consider adding 1-2 soft Medjool dates (pitted), 1-2 tablespoons of maple syrup, or a teaspoon of raw honey (if not strictly vegan). Adjust to your desired level of sweetness.
- Sea Salt: A tiny pinch of sea salt (about 1/4 to 1/2 teaspoon) can significantly enhance the natural flavors of the almonds and balance any sweetness. It’s a secret ingredient that truly makes a difference.
- Pure Vanilla Extract: A teaspoon of pure vanilla extract adds a lovely aroma and subtle warmth to your almond milk, making it feel more like a treat.
How to Make Almond Milk: A Simple Step-by-Step Guide
Making almond milk at home is a straightforward process that yields incredibly rewarding results. Follow these simple steps for a perfect batch every time.
Step One: Soak Your Almonds
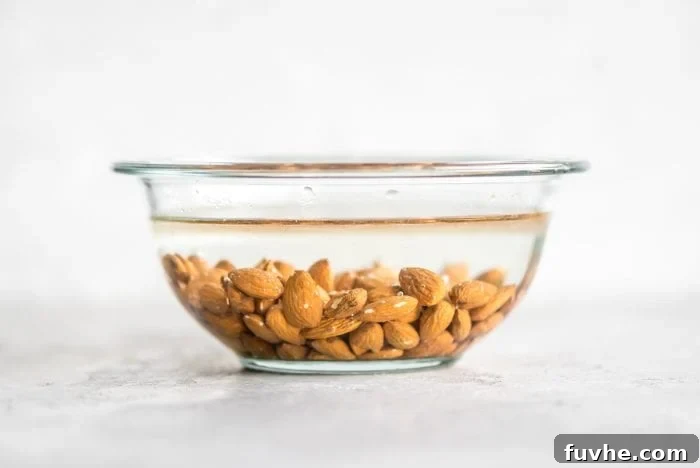
Place your raw almonds in a glass bowl and cover them completely with water. Allow them to soak for a minimum of 8 hours, and up to 24 hours. Soaking softens the almonds, making them easier to blend into a smooth, creamy milk. It also aids in digestion and nutrient absorption by breaking down enzyme inhibitors. For optimal results, change the water once or twice if soaking for more than 12 hours.
Step Two: Drain and Rinse
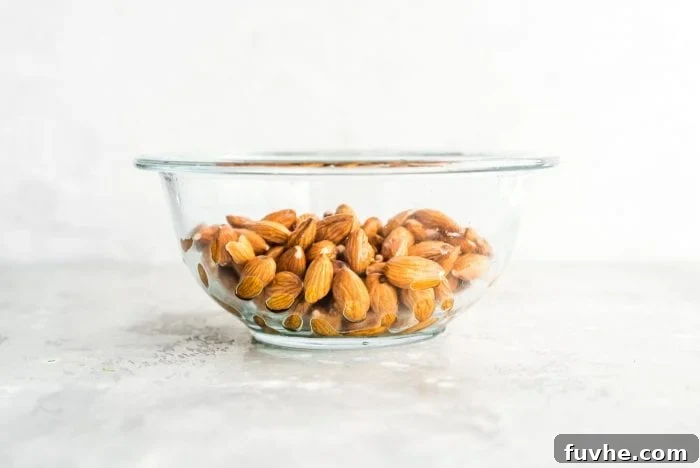
Once the soaking time is complete, drain the almonds thoroughly in a fine-mesh strainer. Discard the soaking water, as it can contain phytic acid and enzyme inhibitors released during the soaking process. Rinse the soaked almonds under cool, running water until they are completely clean. This ensures the freshest taste for your milk.
Step Three: Blend with Fresh Water and Flavorings
Transfer the rinsed, soaked almonds to your high-speed blender. Add 3-4 cups of filtered water. When making your first batch, start with 3 cups of water to achieve a richer, creamier consistency, then add more water if you prefer a thinner milk. I personally use 4 cups for a well-balanced texture.
Now is the time to add any optional flavor enhancers: a pinch of sea salt, 1 teaspoon of pure vanilla extract, and 1-2 pitted Medjool dates or 1-2 tablespoons of maple syrup for sweetness. Blend on high speed for approximately 60 seconds, or until the mixture appears smooth, creamy, and slightly frothy. You’ll notice the almonds have been completely pulverized, creating a milky liquid.
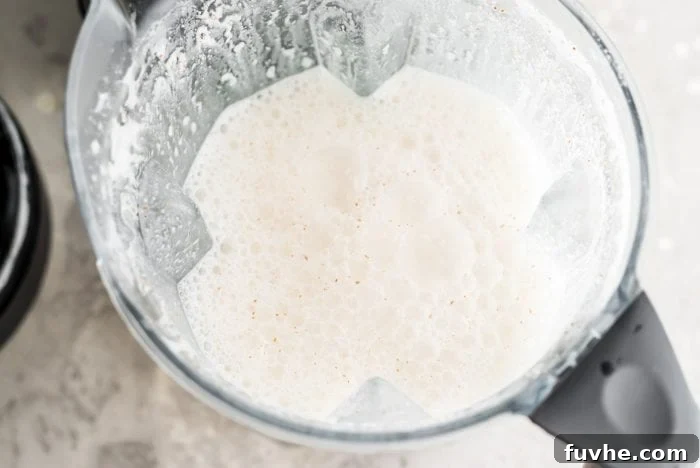
Step Four: Strain for Smoothness
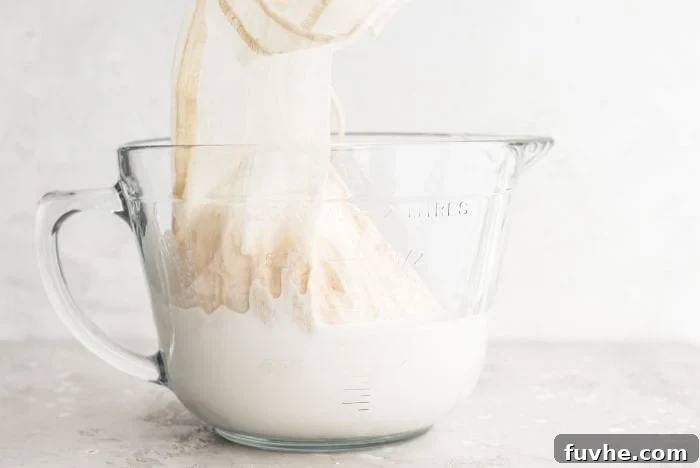
This step is crucial for achieving that silky-smooth texture. Place your nut milk bag over a large bowl or a large glass measuring cup with a spout. Slowly pour the blended almond mixture into the nut milk bag. Gather the edges of the bag and gently squeeze the liquid through, allowing the almond milk to collect in the bowl or measuring cup below. Continue squeezing until no more liquid can be extracted, leaving behind a dry, flour-like almond pulp in the bag.
If you’re straining into a bowl, use a funnel to transfer the strained milk into your storage jar. A large measuring cup with a spout makes this transfer much easier. Be patient during this step; thorough straining ensures a truly luxurious and pulp-free beverage.
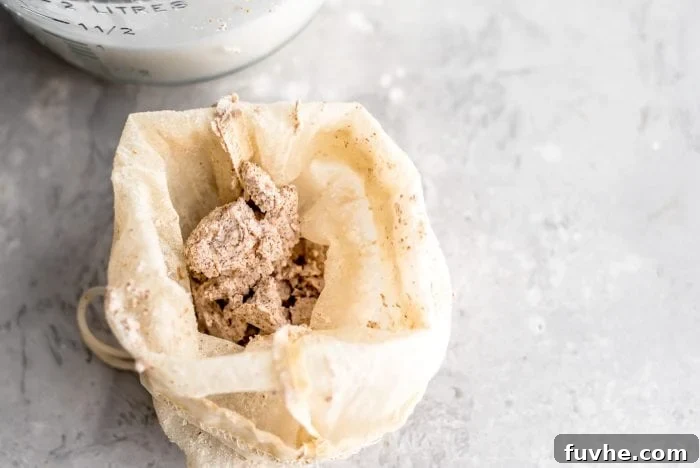
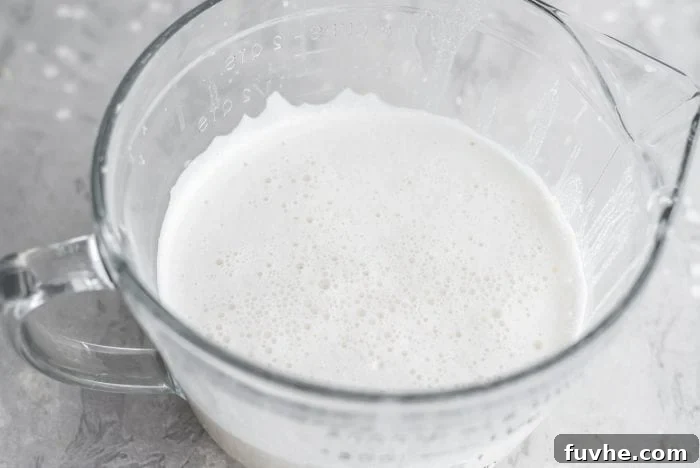
Versatile Uses for Your Fresh Homemade Almond Milk
The smooth, creamy, and undeniably delicious taste of homemade almond milk makes it far superior to any store-bought alternative. Its versatility means you’ll find countless ways to incorporate it into your daily routine. Here are just some of my favorite ways to enjoy this liquid gold:
- Luxurious Coffee & Lattes: Warm it up and froth it for a delightful topping on your homemade lattes or cappuccinos. For an extra creamy coffee creamer, simply use slightly less water when blending.
- Smoothie Base: It’s the perfect neutral yet creamy base for all your favorite smoothies, adding richness without overpowering other flavors.
- Hearty Breakfasts: Use it to prepare creamy stovetop oatmeal, overnight oats, or even chia seed pudding.
- Cereal & Granola: Pour it over your morning cereal or granola for a wholesome and satisfying breakfast.
- Nourishing Drinks: It’s fantastic for making comforting beverages like golden milk or as a key ingredient in vegan bulletproof coffee.
- Simply Drinking: Enjoy it chilled on its own as a refreshing, healthy, and hydrating beverage.
- Baking & Cooking: Substitute it for dairy milk in most baking recipes, sauces, and soups for a plant-based twist.
Frequently Asked Questions About Homemade Almond Milk
My almond milk separated! Has it gone bad?
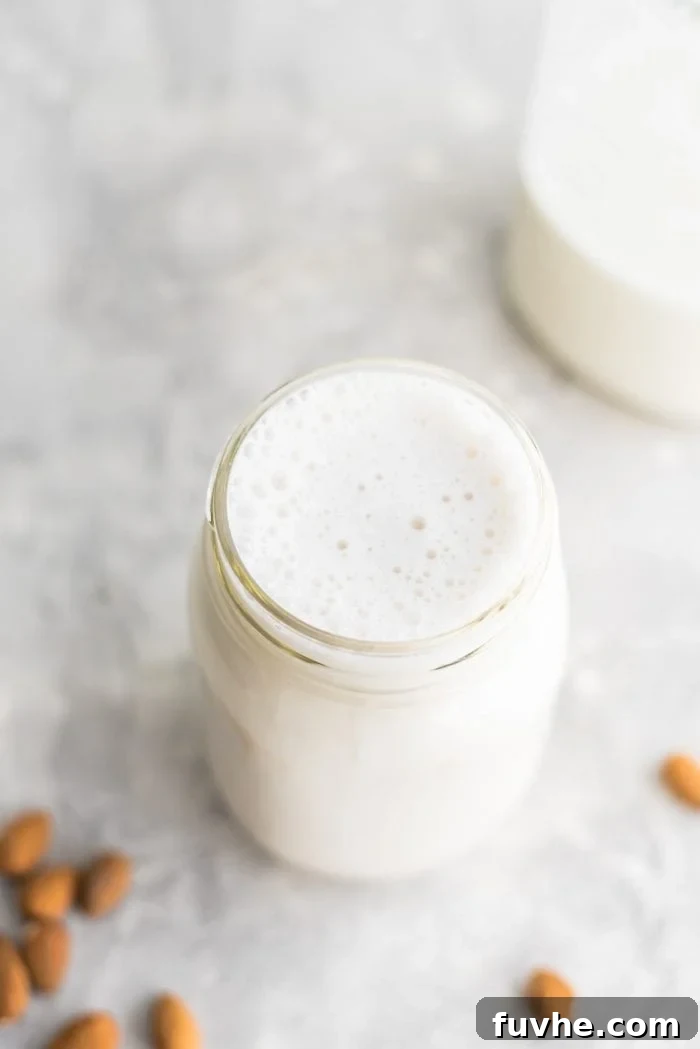
Absolutely not! Separation is a completely natural phenomenon for homemade almond milk and is a sign of its purity. Unlike commercial almond milks that often contain stabilizers and emulsifiers to keep them uniformly mixed, homemade versions lack these additives. The almond solids will naturally separate from the water and settle at the bottom when stored in the fridge. Simply give your jar a good shake before each use, and it will be perfectly fine and delicious. This separation doesn’t indicate spoilage; it just means you’re enjoying an all-natural product!
Is it cheaper to make your own almond milk?
The cost-effectiveness of making your own almond milk versus buying it can vary, but generally, the prices are comparable, sometimes even slightly cheaper to make at home. It largely depends on the current price of raw almonds in your region and the cost of your preferred brand of store-bought almond milk. For me, in Vancouver, I find it’s often a little less expensive to make my own. However, regardless of the direct monetary cost, the superior taste, quality, and control over ingredients of homemade almond milk make it an invaluable choice. You get a pure product with just one or two natural ingredients, free from gums, carrageenan, preservatives, or artificial flavors.
That being said, convenience is also a factor. My household consumes a significant amount of almond milk, especially for daily smoothies. While making it is easy, producing it frequently can be time-consuming. Therefore, I sometimes still purchase store-bought almond milk for high-volume uses like smoothies, where the slight difference in taste is less critical. For an even more budget-friendly and simple homemade plant milk, I highly recommend exploring oat milk, which typically requires just 1 cup of rolled oats per 3-4 cups of water.
What kind of almonds should I use for making almond milk?
For the best flavor and nutritional profile, I highly recommend using organic, raw almonds. Organic ensures you’re avoiding pesticides and herbicides, while raw almonds provide a pure, unadulterated flavor base for your milk. If organic options are not accessible, conventional raw almonds are the next best choice. It is crucial to avoid roasted almonds, as they are typically treated with oils and salt during the roasting process, which will impart unwanted flavors and potentially unhealthy additives to your homemade milk. Freshness also plays a role, so try to source good quality almonds from a reliable supplier.
How do you sweeten almond milk?
Sweetening your almond milk is entirely a matter of personal preference and how you plan to use it. If you enjoy almond milk as a standalone beverage or in your coffee, a touch of sweetness can be a delightful addition. My go-to natural sweeteners are:
- Medjool Dates: Add 1-2 soft, pitted Medjool dates directly to the blender with your soaked almonds and water. They provide a rich, caramel-like sweetness and natural fiber.
- Maple Syrup: A tablespoon or two of pure maple syrup blended in offers a clean, straightforward sweetness.
- Raw Honey: (For non-vegans) A teaspoon or two of raw honey can add a lovely floral sweetness.
I often leave my almond milk unsweetened, especially if I’m using it in recipes where other ingredients provide sweetness or in savory dishes. Experiment to find your perfect balance!
How do you flavor almond milk?
Beyond sweetness, you can infuse your homemade almond milk with a variety of delicious flavors. Start with simple additions and explore from there:
- Vanilla & Salt: A dash of pure vanilla extract (about 1 teaspoon) and a tiny pinch of sea salt (1/4 to 1/2 teaspoon) are classic enhancements that bring out the best in the almonds.
- Spices: A pinch of cinnamon, nutmeg, or cardamom can add warmth, especially for seasonal drinks.
- Cacao/Cocoa: For a chocolatey treat, see the next FAQ!
- Herbs: Fresh mint or lavender could provide unique, refreshing notes.
Simply add your chosen flavorings to the blender along with the soaked almonds and water, then blend as usual.
How do you make chocolate almond milk?
Making delicious chocolate almond milk at home is incredibly easy and a fantastic way to enjoy a natural, indulgent treat. Just add 1-2 tablespoons of high-quality cacao powder (or unsweetened cocoa powder), a couple of soft Medjool dates (for natural sweetness), and a pinch of sea salt to your blender along with the soaked almonds and water. Blend on high until completely smooth and creamy. The dates provide sweetness and body, while the salt enhances the chocolate flavor. Adjust the cacao and dates to your taste preferences for a perfectly customized chocolate beverage.
How long does homemade almond milk last?
Homemade almond milk, free from preservatives, has a shorter shelf life than its store-bought counterparts. It can typically be stored in an airtight container in the refrigerator for up to 4 days. For optimal freshness and taste, I recommend consuming it within 2-3 days. Always give it a good shake before each use. If you notice any changes in smell, color, or taste, it’s best to discard it. To avoid waste, consider making smaller batches more frequently if you don’t consume a lot of milk, or plan your usage within its freshest window.
What do I do with leftover almond pulp?
After straining your homemade almond milk, you’ll be left with a nutrient-rich, moist, flour-like almond pulp. Don’t throw it away! This “waste” product is actually a fantastic ingredient with many uses, helping you minimize food waste and add extra nutrition to your meals:
- Baking: Incorporate it into baked goods like cookies, muffins, crackers, or bread for added fiber and a subtle almond flavor. You might need to adjust liquid content slightly in recipes.
- No-Bake Treats: Use it in no-bake energy bars, bliss balls, or raw desserts.
- Granola: Mix it into homemade granola recipes before baking for extra crunch and nutrition.
- Smoothies & Oatmeal: Add a spoonful or two to your smoothies or stir it into your morning oatmeal for a boost of fiber.
- Yogurt & Pudding: Sprinkle it over coconut yogurt or mix it into chia pudding for added texture and nutrients.
- Dehydrated Almond Flour: You can even dehydrate it in a low oven or dehydrator to create a coarse almond flour, which can then be used in gluten-free baking.
The possibilities are endless! Store any unused almond pulp in an airtight container in the fridge for a few days or freeze it for longer storage.
How to Make Almond Milk
By: Deryn Macey
This easy almond milk recipe requires just two ingredients: raw almonds and water. You can enjoy it just like that for a smooth and creamy plant-based beverage but it’s even better with a pinch of salt, dates and vanilla blended in.
Prep: 10 mins | Soaking Time: 8 hrs | Total: 8 hrs 10 mins
Yields: 8 servings (approx. 4 cups)
Ingredients
- 1 cup raw almonds
- 4 cups filtered water (filtered water is not necessary but may help extend shelf-life)
- Pinch of sea salt (approx. 1/4-1/2 tsp), optional
- 1 tsp pure vanilla extract, optional
- 1 tbsp maple syrup or 1-2 Medjool dates, pitted (optional, for sweetness)
Instructions
- Soak the almonds in water in a glass bowl for 8-24 hours.
- When the almonds have finished soaking, drain (discard the water they soaked in) and rinse well.
- Add the rinsed, soaked almonds, salt, and water to a high-speed blender. Add the dates and vanilla if using.
- Blend on high for 60 seconds until smooth, creamy, and frothy.
- Either pour directly into a container for storing or strain through a nut milk bag for smooth, creamy homemade almond milk. The leftover almond meal can be discarded or used in baking, oatmeal, or to make granola. It is recommended to strain it into a glass measuring cup with a spout and then pour it into your storage container for ease. If straining into a bowl, a funnel will facilitate transfer to a jar.
- Store in the refrigerator for up to 4 days. Shake well before each use.
Notes
I often leave my almond milk unsweetened by omitting dates or maple syrup. This depends on what you’ll be using the milk for. If you’re using it for drinking on its own or in coffee, a hint of sweetness is a nice addition, but if you’re using it in recipes, I don’t find it necessary.
Homemade almond milk lasts 3-4 days in the fridge. It may last longer, but always monitor for any changes in color or smell to ensure freshness.
This recipe makes approximately 4 cups of almond milk.
Nutrition
Serving: 60ml, Calories: 103kcal, Carbohydrates: 4g, Protein: 4g, Fat: 9g, Sodium: 6mg, Potassium: 131mg, Fiber: 2g, Sugar: 1g, Vitamin A: 0.2IU, Calcium: 52mg, Iron: 1mg
This recipe was originally published on January 27, 2013, and has been updated for clarity and comprehensiveness.