
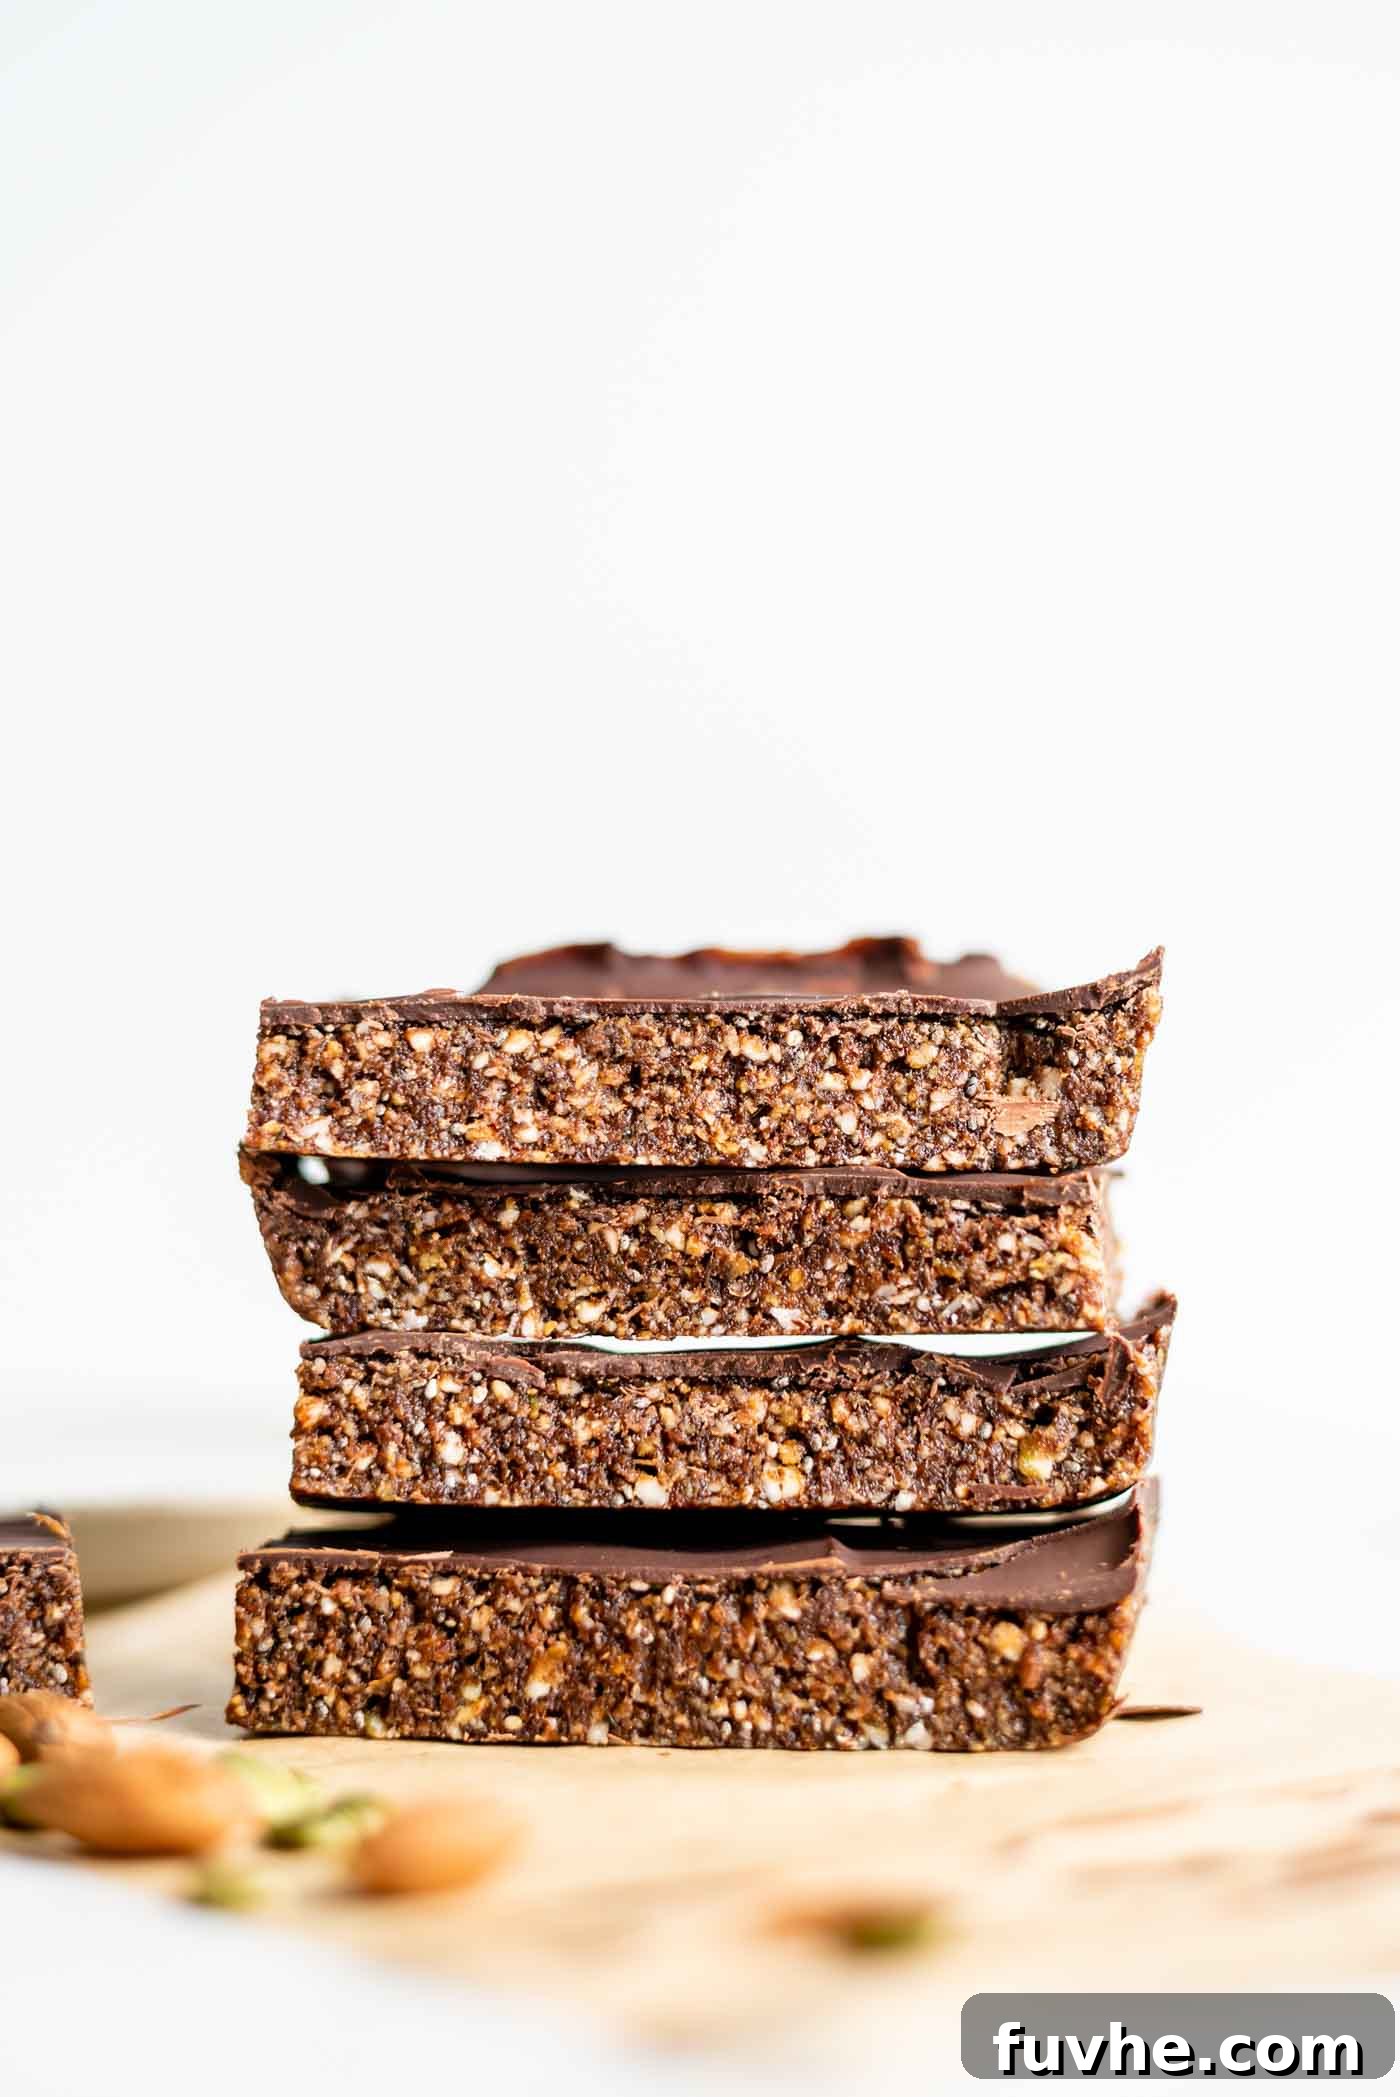
Delicious No-Bake Chocolate Energy Bars: Your Ultimate Healthy Snack Guide
Discover the magic of these no-bake chocolate energy bars – a truly remarkable snack that perfectly blends health with indulgence. Crafted to be vegan, gluten-free, and bursting with nutrient-dense ingredients, these bars are more than just a treat; they’re a powerhouse of sustained energy. They are incredibly simple to prepare, requiring no oven, and offer endless customization possibilities to suit your pantry and preferences. Get ready to transform your snacking habits with a homemade delight that tastes absolutely amazing!
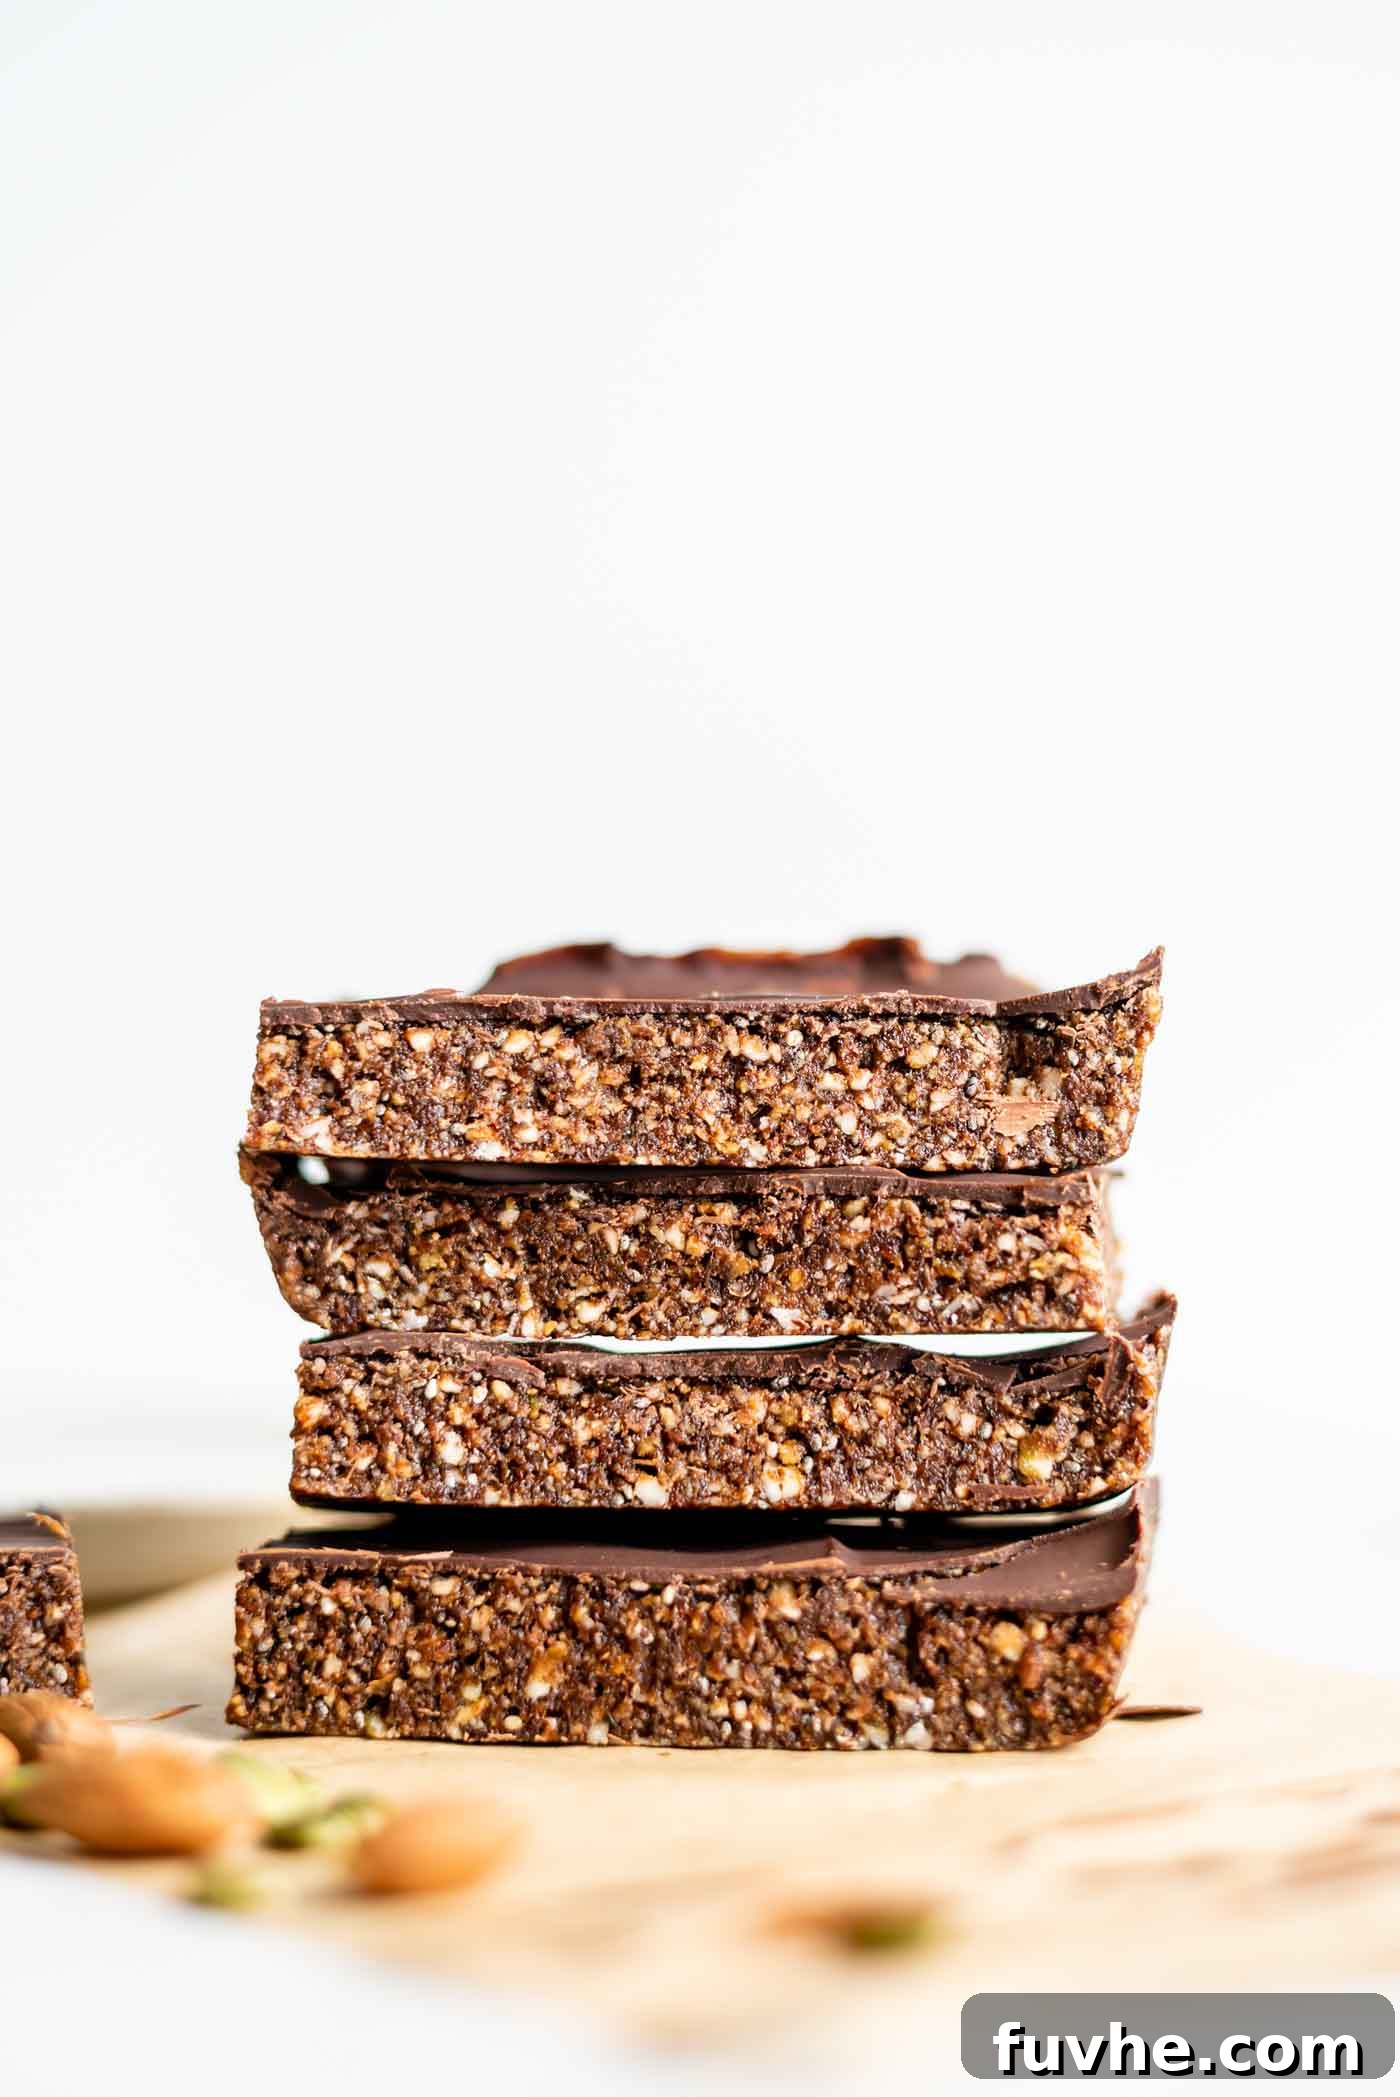
Crafting Your Perfect No-Bake Chocolate Energy Bars
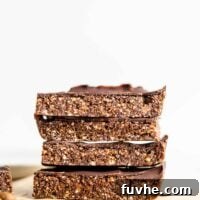
These homemade chocolate energy bars are a testament to how effortlessly delicious and nutritious snacks can be. Their rich chocolate flavor, enhanced by an optional decadent chocolate topping, is truly irresistible. What makes them even better is their simplicity: a food processor does most of the work, eliminating the need for baking. This quick and easy method makes them ideal for busy lifestyles, meal prep, or whenever you crave a wholesome pick-me-up.
Beyond their convenience, these bars are remarkably versatile. You can easily adapt the recipe to incorporate whatever superfoods you have on hand, making them a flexible addition to any healthy eating plan. Whether you’re looking for a pre-workout boost, a mid-day snack, or a healthier dessert option, these no-bake bars fit the bill perfectly. They’re also an excellent alternative to store-bought bars, offering complete control over ingredients and ensuring a fresh, preservative-free treat.
If you enjoy the convenience of energy bites, explore our No-Bake Chocolate Energy Balls. For those seeking an extra protein punch, our No-Bake Chocolate Protein Bars offer a fantastic alternative.
Essential Ingredients and Smart Substitutions for Your Energy Bars
While this recipe calls for a diverse range of ingredients, many are interchangeable, allowing you to customize based on what’s available in your pantry. Let’s delve into the key components and their potential swaps, ensuring your bars are always delicious and nutritious.
- Almonds: Raw almonds form the foundational dry base of these bars, providing healthy fats, protein, and a satisfying crunch. They contribute to the bars’ texture and nutritional profile.
- Substitutions: Feel free to swap almonds with other nuts like cashews, pecans, walnuts, or even a mix of your favorites. The key is to maintain a total of 1 cup of nuts for optimal consistency and structure.
- Super Seeds: The recipe incorporates a powerful blend of hemp seeds, pepitas (pumpkin seeds), chia seeds, and ground flax seeds. Each of these “super seeds” brings a unique set of health benefits, from omega-3 fatty acids and fiber to essential minerals.
- Substitutions: Don’t stress if you don’t have all four! These seeds are highly interchangeable. You can use any combination of them, or even just one or two types, to reach a total of 10 tablespoons. This flexibility makes the recipe incredibly adaptable and ensures you can always whip up a batch.
- Cacao Powder: Raw cacao powder provides the rich, deep chocolate flavor and a significant boost of antioxidants and minerals. It’s the less processed form of cocoa, retaining more nutrients.
- Substitutions: If raw cacao powder isn’t available, you can easily use regular unsweetened cocoa powder. While processed cocoa powder may have slightly fewer nutrients, it will still deliver a delicious chocolate taste. The ratio remains the same.
- Dates: Dates are the non-negotiable binder in this recipe. Their natural stickiness and sweetness are crucial for holding all the ingredients together and creating a chewy texture without added sugars or syrups. They also provide natural fiber and a caramel-like flavor.
- Substitutions: Dates cannot be substituted in this recipe as they are essential for binding. However, the type of date matters. It’s vital to use soft, moist dates to ensure the mixture comes together correctly. If your dates feel a bit dry or firm, a simple trick is to soak them in hot water for about 15 minutes. After soaking, drain them thoroughly before adding them to your food processor. Medjool, Sayer, or Deglet Noor dates are all excellent choices.
- Additional Flavor Enhancers: A touch of sea salt balances the sweetness and enhances the chocolate flavor, while cinnamon adds a warm, aromatic note that complements the other ingredients beautifully.
Step-by-Step Guide: Crafting Your No-Bake Chocolate Energy Bars
Creating these nutrient-packed chocolate energy bars is surprisingly straightforward. You’ll need a food processor for efficient blending and an approximately 7×7 inch square baking pan, preferably lined with parchment paper for easy removal. Follow these simple steps to make your own batch of delicious and wholesome bars:
Step 1: Prepare the Almonds for the Base
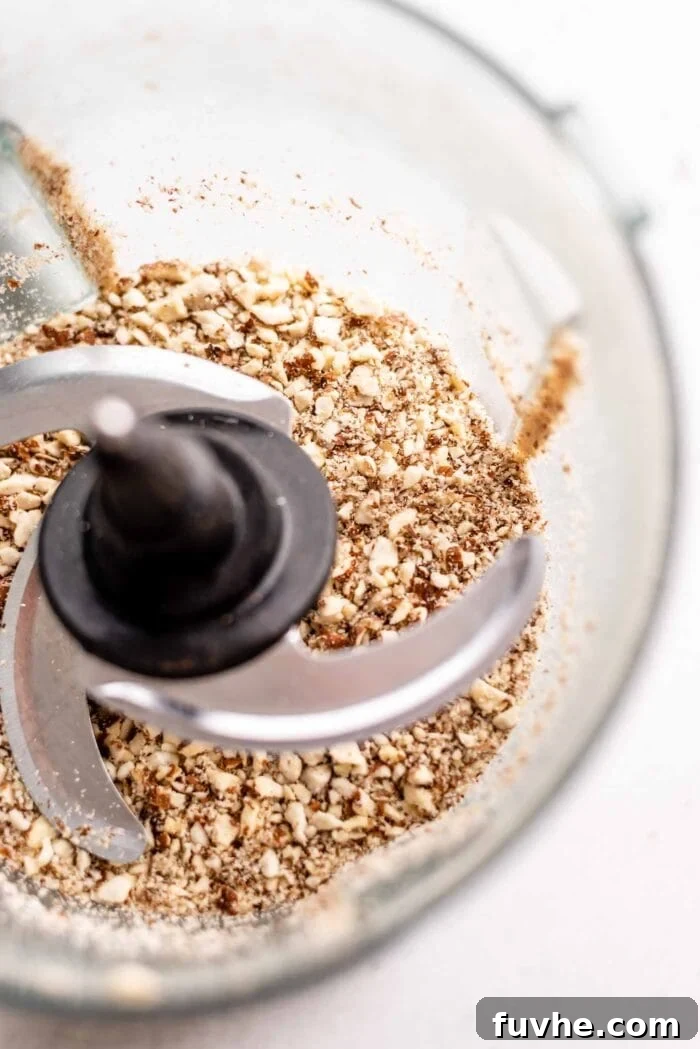
Begin by placing your raw almonds into the food processor. Pulse and blend them until they form a coarse, grainy flour. It’s perfectly fine if some slightly larger chunks remain; these will add a delightful texture and crunch to your finished bars.
Step 2: Combine the Dry Superfood Ingredients
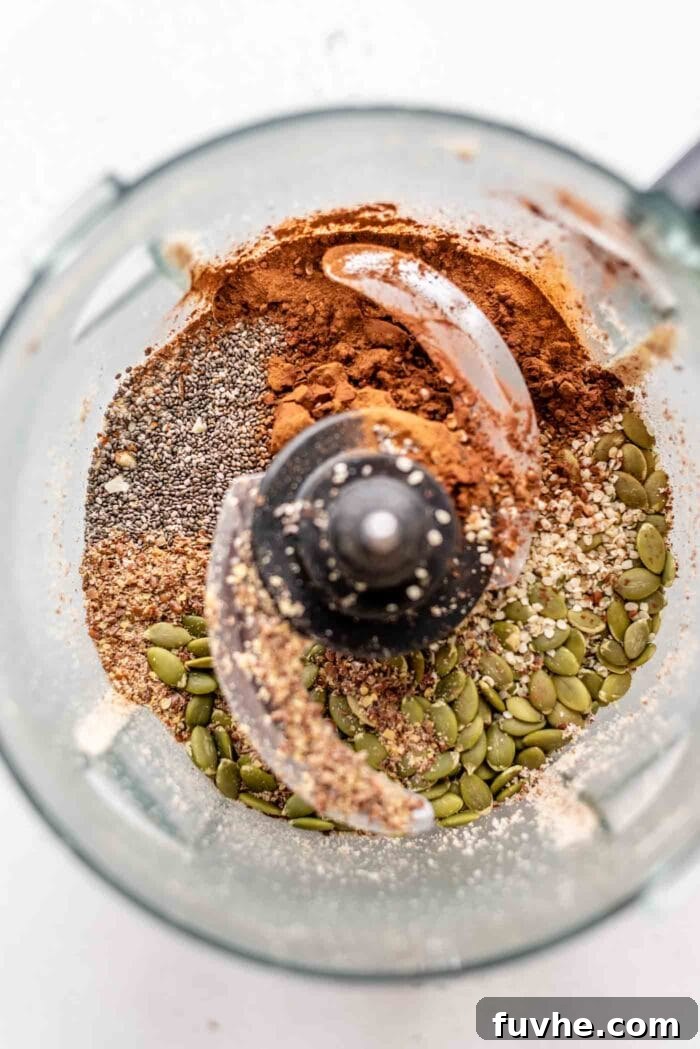
To the processed almonds, add the hemp seeds, chia seeds, ground flax seeds, pepitas (pumpkin seeds), cacao powder, sea salt, and cinnamon. Pulse the food processor again until all these dry ingredients are well combined and broken down into a consistent grainy texture. This ensures an even distribution of flavors and nutrients throughout the bars.
Step 3: Integrate the Dates to Form a Sticky Dough
Now, add the soft, pitted dates to the food processor with the dry mixture. Process on high until the mixture transforms into a thick, cohesive, and sticky dough. It should easily stick together when pressed between your fingers. If, after 30-40 seconds of blending, the mixture still seems too crumbly and isn’t holding, add one tablespoon of warm water and continue processing. This small amount of liquid often helps bind everything together perfectly without making it too wet.
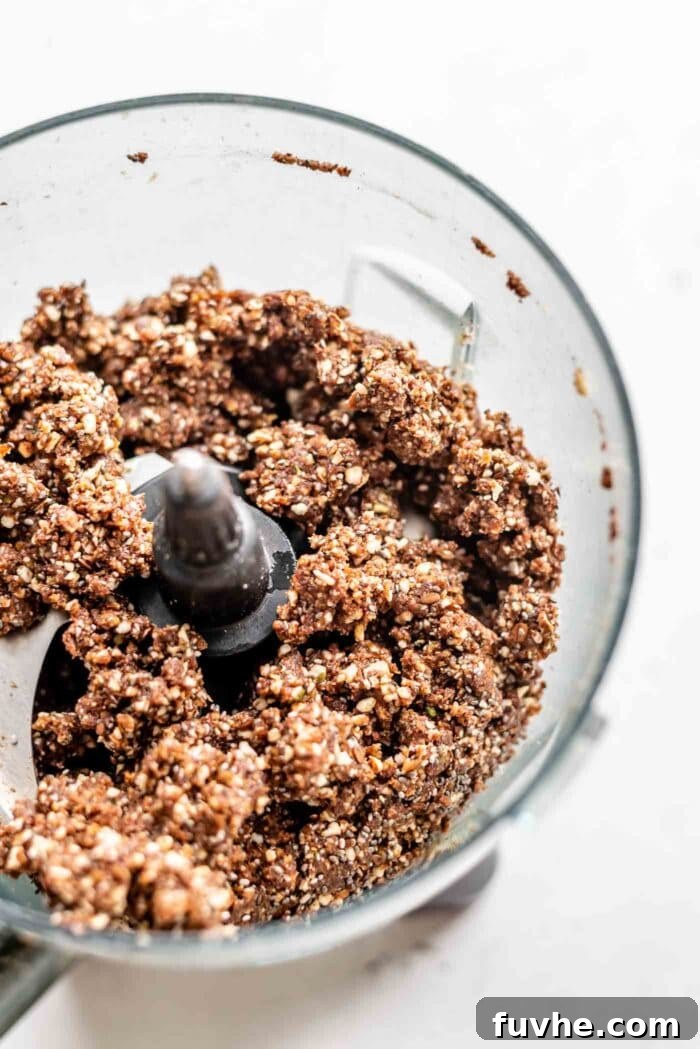
Step 4: Press the Dough into the Pan
Prepare your 7×7 inch square baking pan by lining it with two strips of parchment paper. Arrange the paper so that it extends over the edges on all four sides. These “handles” will make it incredibly easy to lift the finished bars out later. Once the pan is ready, transfer the sticky dough into it. Press the dough down firmly and evenly across the bottom of the pan to create a compact, uniform layer. Ensure there are no air pockets and the surface is as flat as possible.
Quick Tip: For a perfectly smooth and professional-looking top surface, lightly wet your fingers with water and use them to gently press and smooth out the dough. This trick prevents sticking and creates a beautiful finish.
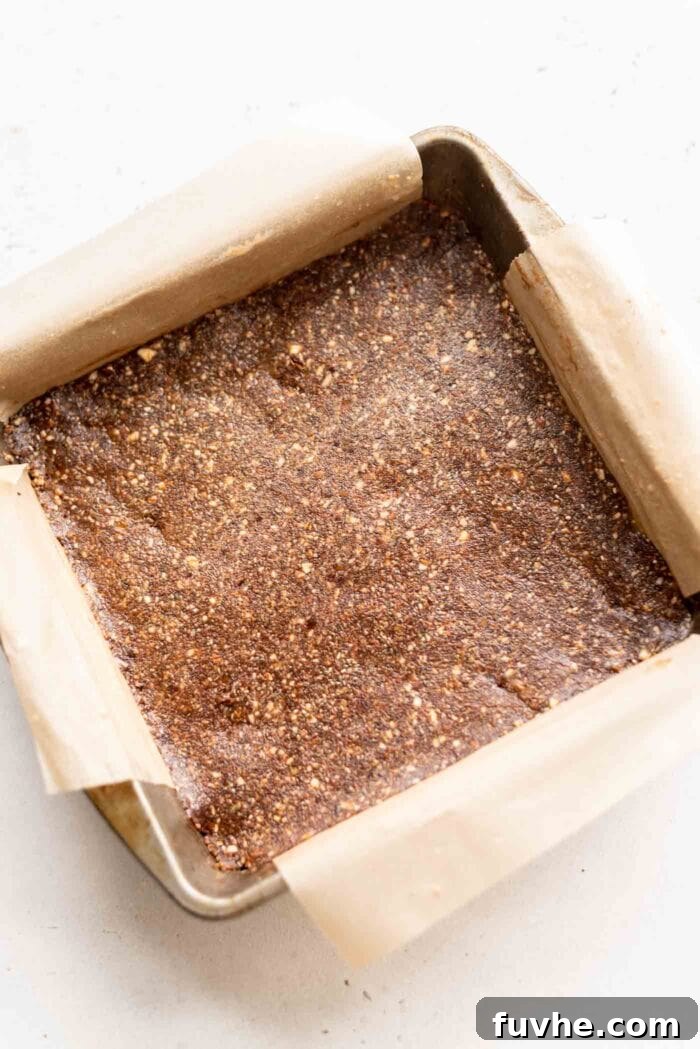
Step 5: Add the Optional (but Highly Recommended!) Chocolate Topping
This step is entirely optional, but trust us, it takes these bars to the next level! Melt your choice of dark chocolate or dairy-free chocolate chips. You can do this either in a microwave-safe bowl, stirring every 15-20 seconds until smooth, or using a double boiler on the stovetop. Once melted, spread the glossy chocolate evenly over the pressed bars using a spoon or an offset spatula.
Once topped, carefully transfer the entire pan into the refrigerator or freezer. Allow it to chill for at least 20-30 minutes, or until the chocolate topping has fully set and hardened. This ensures a clean cut later.
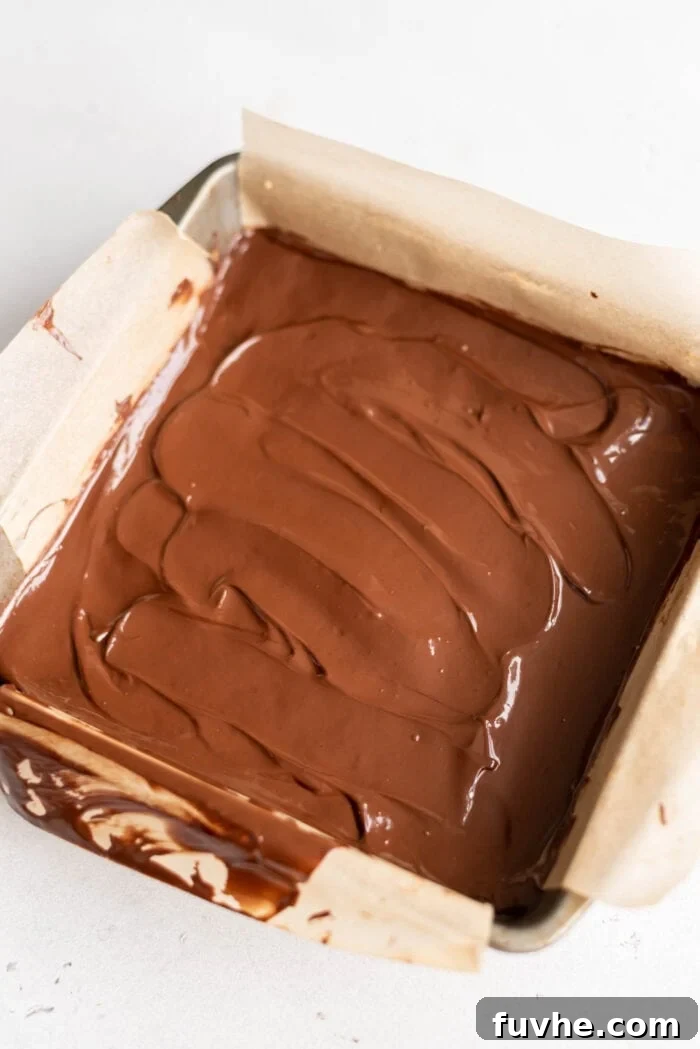
Step 6: Slice and Store Your Energy Bars
Once the chocolate topping is firm, use the parchment paper overhangs to gently lift the entire slab of bars out of the baking pan and transfer it to a clean cutting board.
Before you begin slicing, here are a few expert tips to ensure clean cuts and prevent the chocolate from cracking or crumbling:
- Let the chilled bars sit at room temperature for about 5-10 minutes. This allows the chocolate to soften just slightly, making it easier to cut.
- For super clean cuts, use a thin, sharp knife. For an even better result, heat the knife under hot running water for about 30 seconds, then quickly dry it before each cut. The warm blade will glide through the chocolate smoothly.
- To guide your cuts, gently score the top of the bars with faint lines before slicing all the way through. This helps create uniform portions.
Slice the slab into 8 generously sized bars, or for smaller, more snack-friendly portions, cut each bar in half to yield 16 squares. Store your freshly cut no-bake chocolate energy bars in an airtight container in the refrigerator for up to two weeks, or in the freezer for up to three months. This makes them perfect for grab-and-go snacks throughout the week or month!
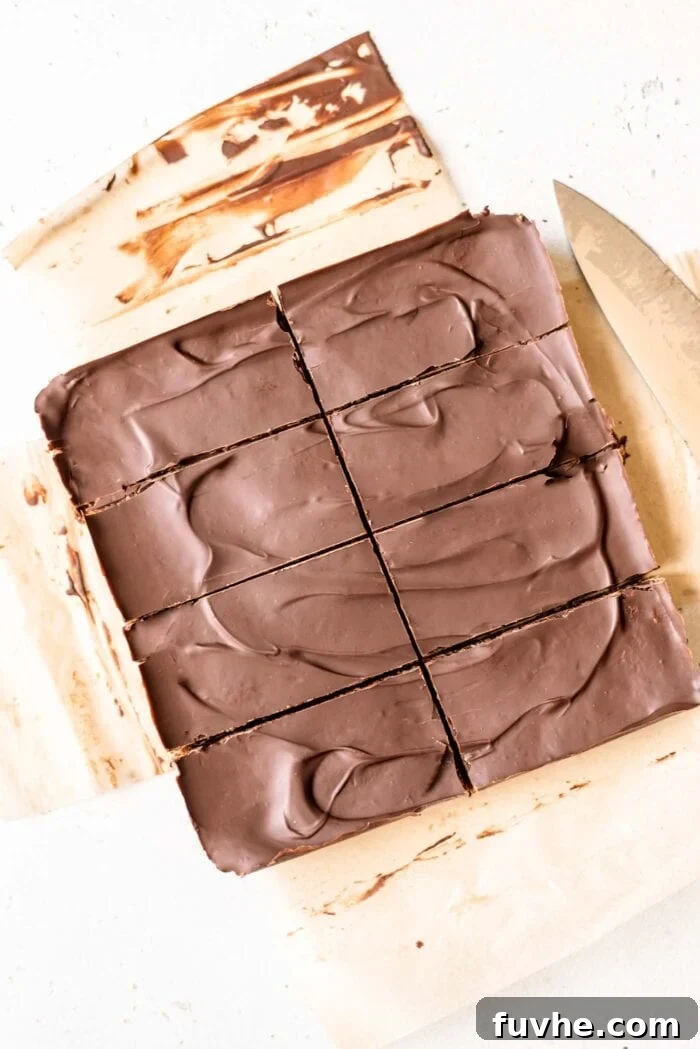
Customization and Storage Tips for Your No-Bake Energy Bars
The beauty of homemade energy bars lies in their adaptability. Don’t hesitate to experiment with different additions to tailor these no-bake chocolate energy bars to your taste and dietary needs. Consider adding a tablespoon of your favorite protein powder for an extra boost, or a pinch of cayenne pepper for a subtle spicy kick that complements the chocolate beautifully. A teaspoon of vanilla extract can also enhance the overall flavor. For added texture and flavor, try mixing in finely chopped dried fruits like cranberries or apricots, or a handful of mini chocolate chips directly into the dough.
Proper storage is key to maintaining the freshness and texture of your energy bars. Always keep them in a sealed, airtight container. In the refrigerator, they will stay fresh and firm for up to two weeks, making them perfect for weekly meal prep. For longer storage, freeze the bars for up to three months. When ready to enjoy a frozen bar, simply let it thaw at room temperature for a few minutes, or enjoy it chilled directly from the freezer for a different textural experience.
These bars are incredibly versatile in how they can be enjoyed. They make an ideal pre-workout snack, providing sustained energy without feeling heavy. Pack them in lunchboxes for a healthy school or office treat. They are also fantastic as an afternoon pick-me-up to stave off cravings, or even as a guilt-free dessert after dinner. Their rich flavor and satisfying texture make them a delightful choice for any time of day.
Why Choose Homemade No-Bake Energy Bars?
In a world flooded with processed snacks, choosing to make your own no-bake chocolate energy bars offers a multitude of benefits. Firstly, homemade means complete control over every ingredient. You can select organic nuts and seeds, ensure your dates are fresh, and avoid artificial sweeteners, preservatives, or unhealthy oils often found in commercial bars. This transparency is invaluable for maintaining a clean diet.
Secondly, the “no-bake” aspect is a game-changer for convenience. It saves time, reduces energy consumption, and eliminates the need for an oven, making this recipe accessible even in small kitchens or during hot summer months. It’s a quick fix for healthy snacking without the hassle.
Finally, these bars are packed with genuine superfoods. Almonds provide healthy fats and protein, various seeds offer fiber and omega-3s, and cacao powder delivers antioxidants. This combination supports sustained energy, digestive health, and overall well-being, far surpassing the empty calories often found in sugary alternatives. Making your own empowers you to fuel your body with real, wholesome goodness.
More Wholesome Energy Bar Recipes
- Hearty No-Bake Oatmeal Bars
- Homemade Sesame Energy Bars with a Twist
- Delectable Apricot Dark Chocolate Granola Bars
- Nutrient-Rich No-Bake Hemp Chia Energy Bars
No-Bake Chocolate Energy Bars Recipe
By: Deryn Macey
These no-bake chocolate energy bars are a delightful and nutritious treat, packed with superfoods like hemp, chia, flax, and pumpkin seeds. Finished with an irresistible melted chocolate topping, they’re perfect for a healthy snack or guilt-free dessert!
Prep Time: 30 mins | Total Time: 30 mins | Servings: 16 squares
Ingredients
- 1 cup raw almonds (150 g)
- 2 tbsp chia seeds (20 g)
- 3 tbsp hemp seeds (26 g)
- 2 tbsp ground flax seeds (14 g)
- 3 tbsp raw pumpkin seeds (30 g)
- 1 tbsp raw cacao powder or cocoa powder (6 g)
- 2 tsp cinnamon
- 1/4 tsp sea salt
- 1.5 cups tightly packed, soft, moist pitted dates (330 g)
- 1/2 cup dairy-free chocolate chips or chopped dark chocolate (90 g) (for topping, optional)
Instructions
- Place the raw almonds in a food processor and blend until they form a coarse, grainy flour. Leaving a few larger chunks is fine for added crunch.
- Add all the seeds (chia, hemp, flax, pumpkin), cacao powder, cinnamon, and sea salt to the food processor. Blend until thoroughly combined and the mixture has a grainy consistency.
- Add the pitted dates to the food processor. Process on high until a thick, sticky dough forms. If the mixture is not sticking together after 30-40 seconds, add 1 tablespoon of warm water and continue blending until it binds.
- Line an approximately 7 x 7 inch square baking pan with two strips of parchment paper, ensuring they extend over the sides to create “handles.” Tightly press the prepared dough evenly into the pan. For a smooth surface, wet your fingers and gently smooth out the top.
- (Optional) Melt the dairy-free chocolate chips or chopped dark chocolate. Use a double boiler on the stovetop or microwave in 15-second intervals, stirring frequently until smooth. Spread the melted chocolate evenly over the pressed bars using a spatula or the back of a spoon.
- Place the pan in the refrigerator (or freezer) for 20-30 minutes, or until the chocolate topping has completely hardened.
- Carefully lift the bars out of the pan using the parchment paper handles. Allow the bars to sit at room temperature for 5-10 minutes to allow the chocolate to soften slightly before slicing. For clean cuts, heat a sharp, thin knife under hot water for 10-seconds, dry it, and then score the bars before slicing. Cut into 8 large bars, or slice each bar in half to yield 16 smaller squares.
Notes
- Nut Substitutions: Almonds can be substituted with an equal amount (1 cup total) of cashews, pecans, walnuts, or any combination of these nuts.
- Seed Flexibility: The four types of seeds (chia, hemp, flax, pumpkin) are interchangeable. You can use any combination to reach a total of 10 tablespoons.
- Dates are Key: Always use soft, moist pitted dates as they are crucial for binding the bars. If your dates are dry, soak them in hot water for 15 minutes and drain well before using. Medjool, Sayer, and Deglet Noor dates are all suitable.
- Storage: Store the energy bars in an airtight container in the refrigerator for up to 2 weeks, or in the freezer for up to 3 months.
Nutrition
Serving: 1 bar | Calories: 173 kcal | Carbohydrates: 23g | Protein: 4g | Fat: 9g | Sodium: 39mg | Fiber: 4g | Calcium: 56mg | Iron: 1mg
Like this recipe? Rate and comment below!
Originally published on March 19, 2014.