
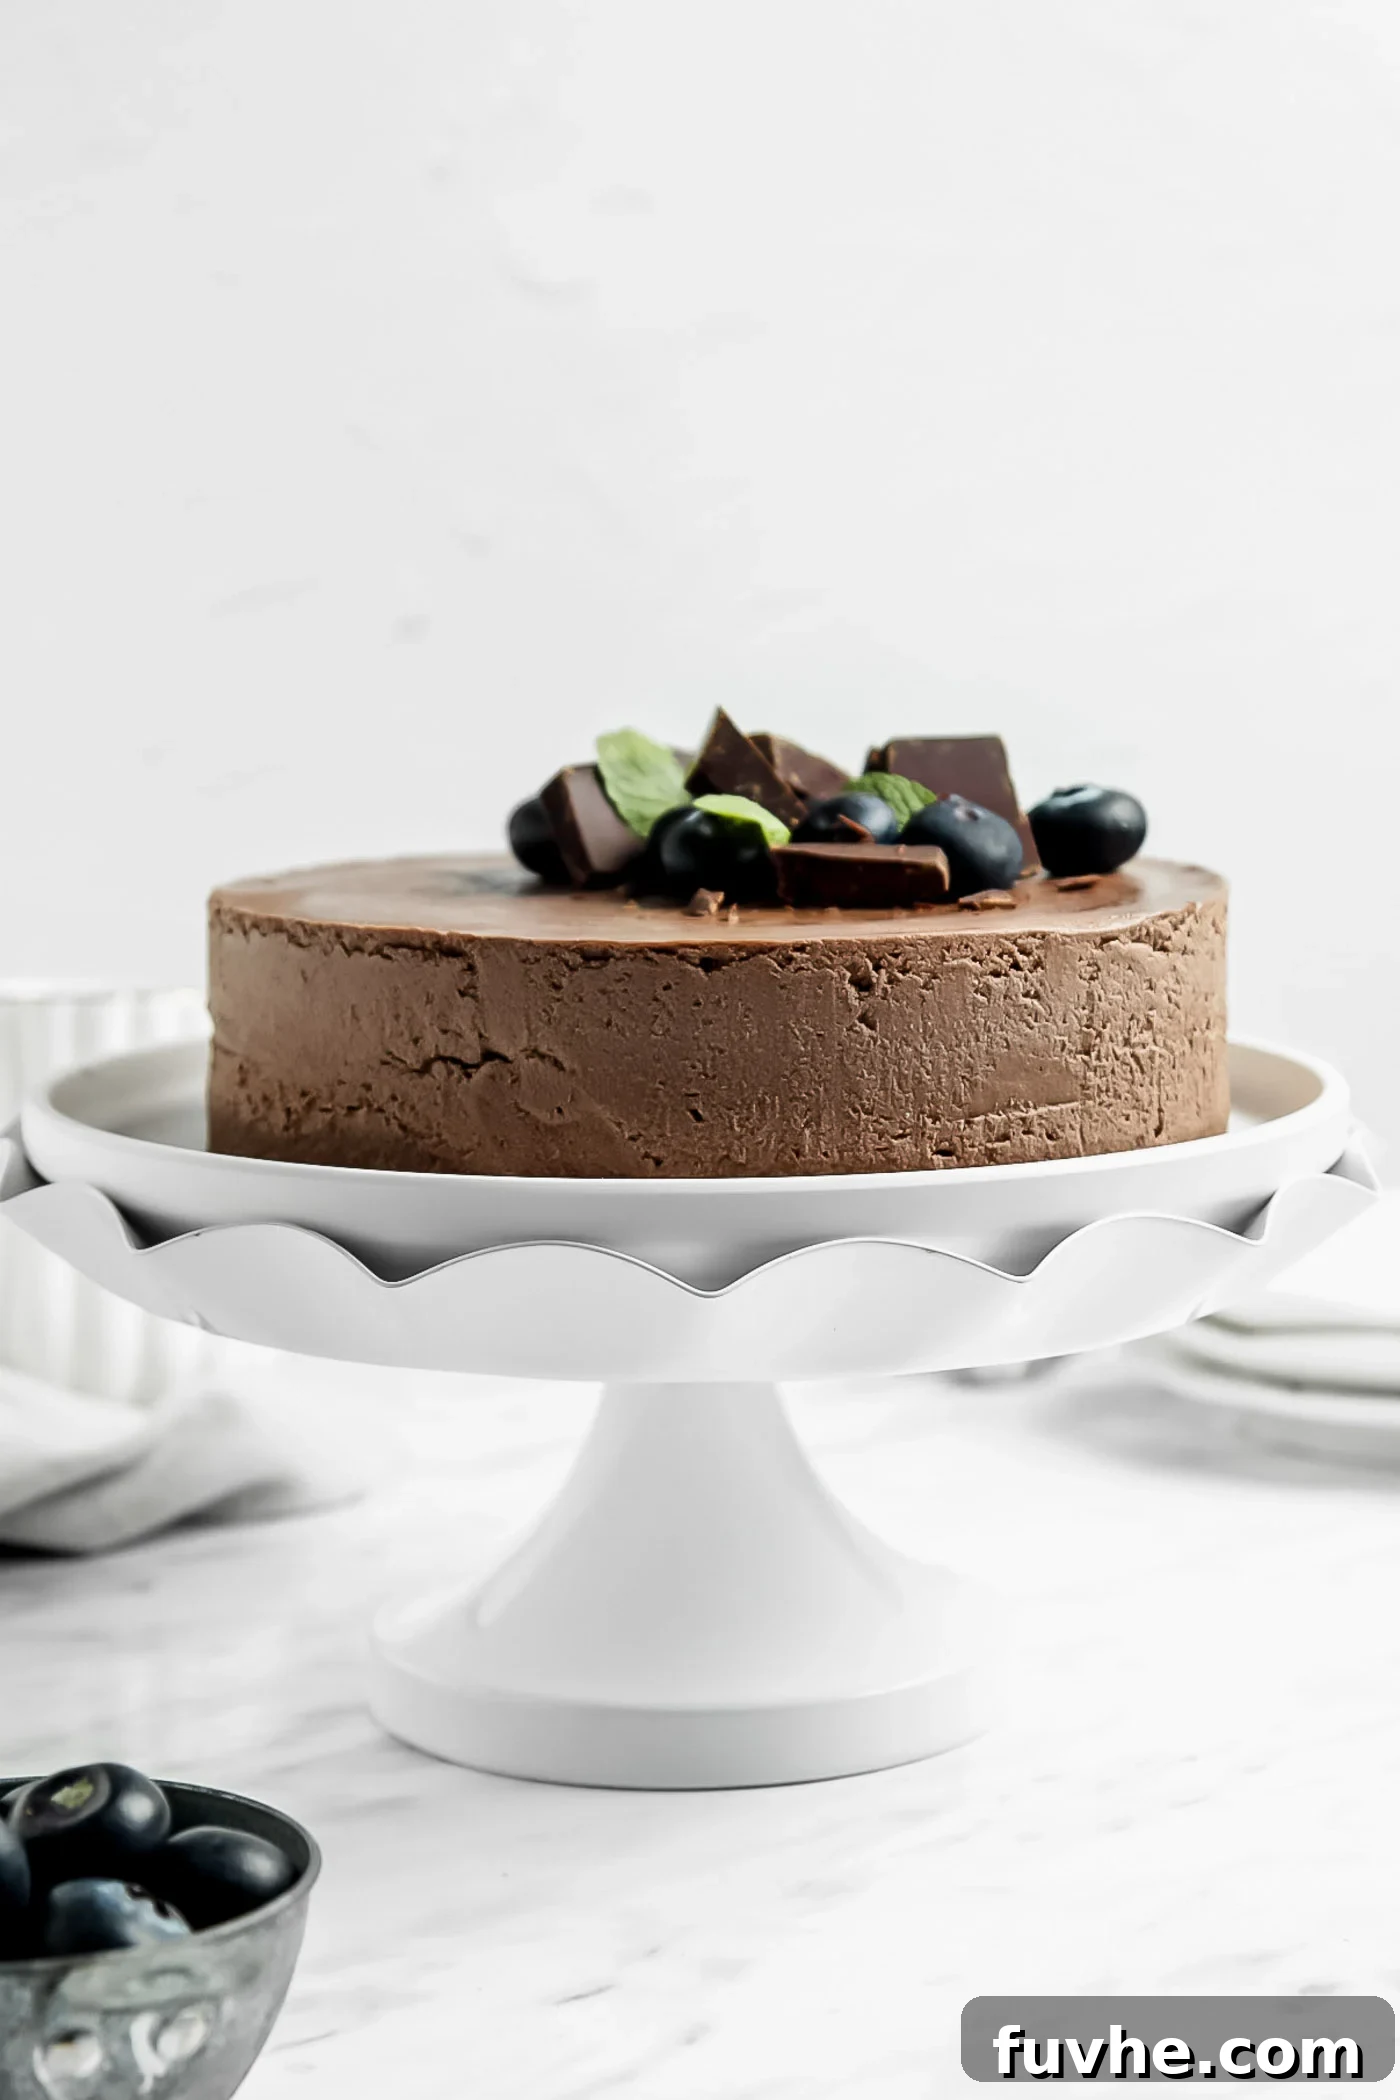
Unlock the secret to a truly spectacular dessert that’s effortlessly elegant and incredibly delicious: this **vegan no-bake chocolate cheesecake**. Crafted with simple, wholesome ingredients, it delivers a rich, creamy indulgence without ever needing an oven. Perfect for impressing guests, celebrating a special occasion, or simply treating yourself to a decadent, guilt-free pleasure, this recipe promises ease and an unforgettable taste experience. Get ready to create a show-stopping dessert that’s not only vegan but also dairy-free and gluten-free, catering to a wide array of dietary preferences without compromising on flavor or texture.
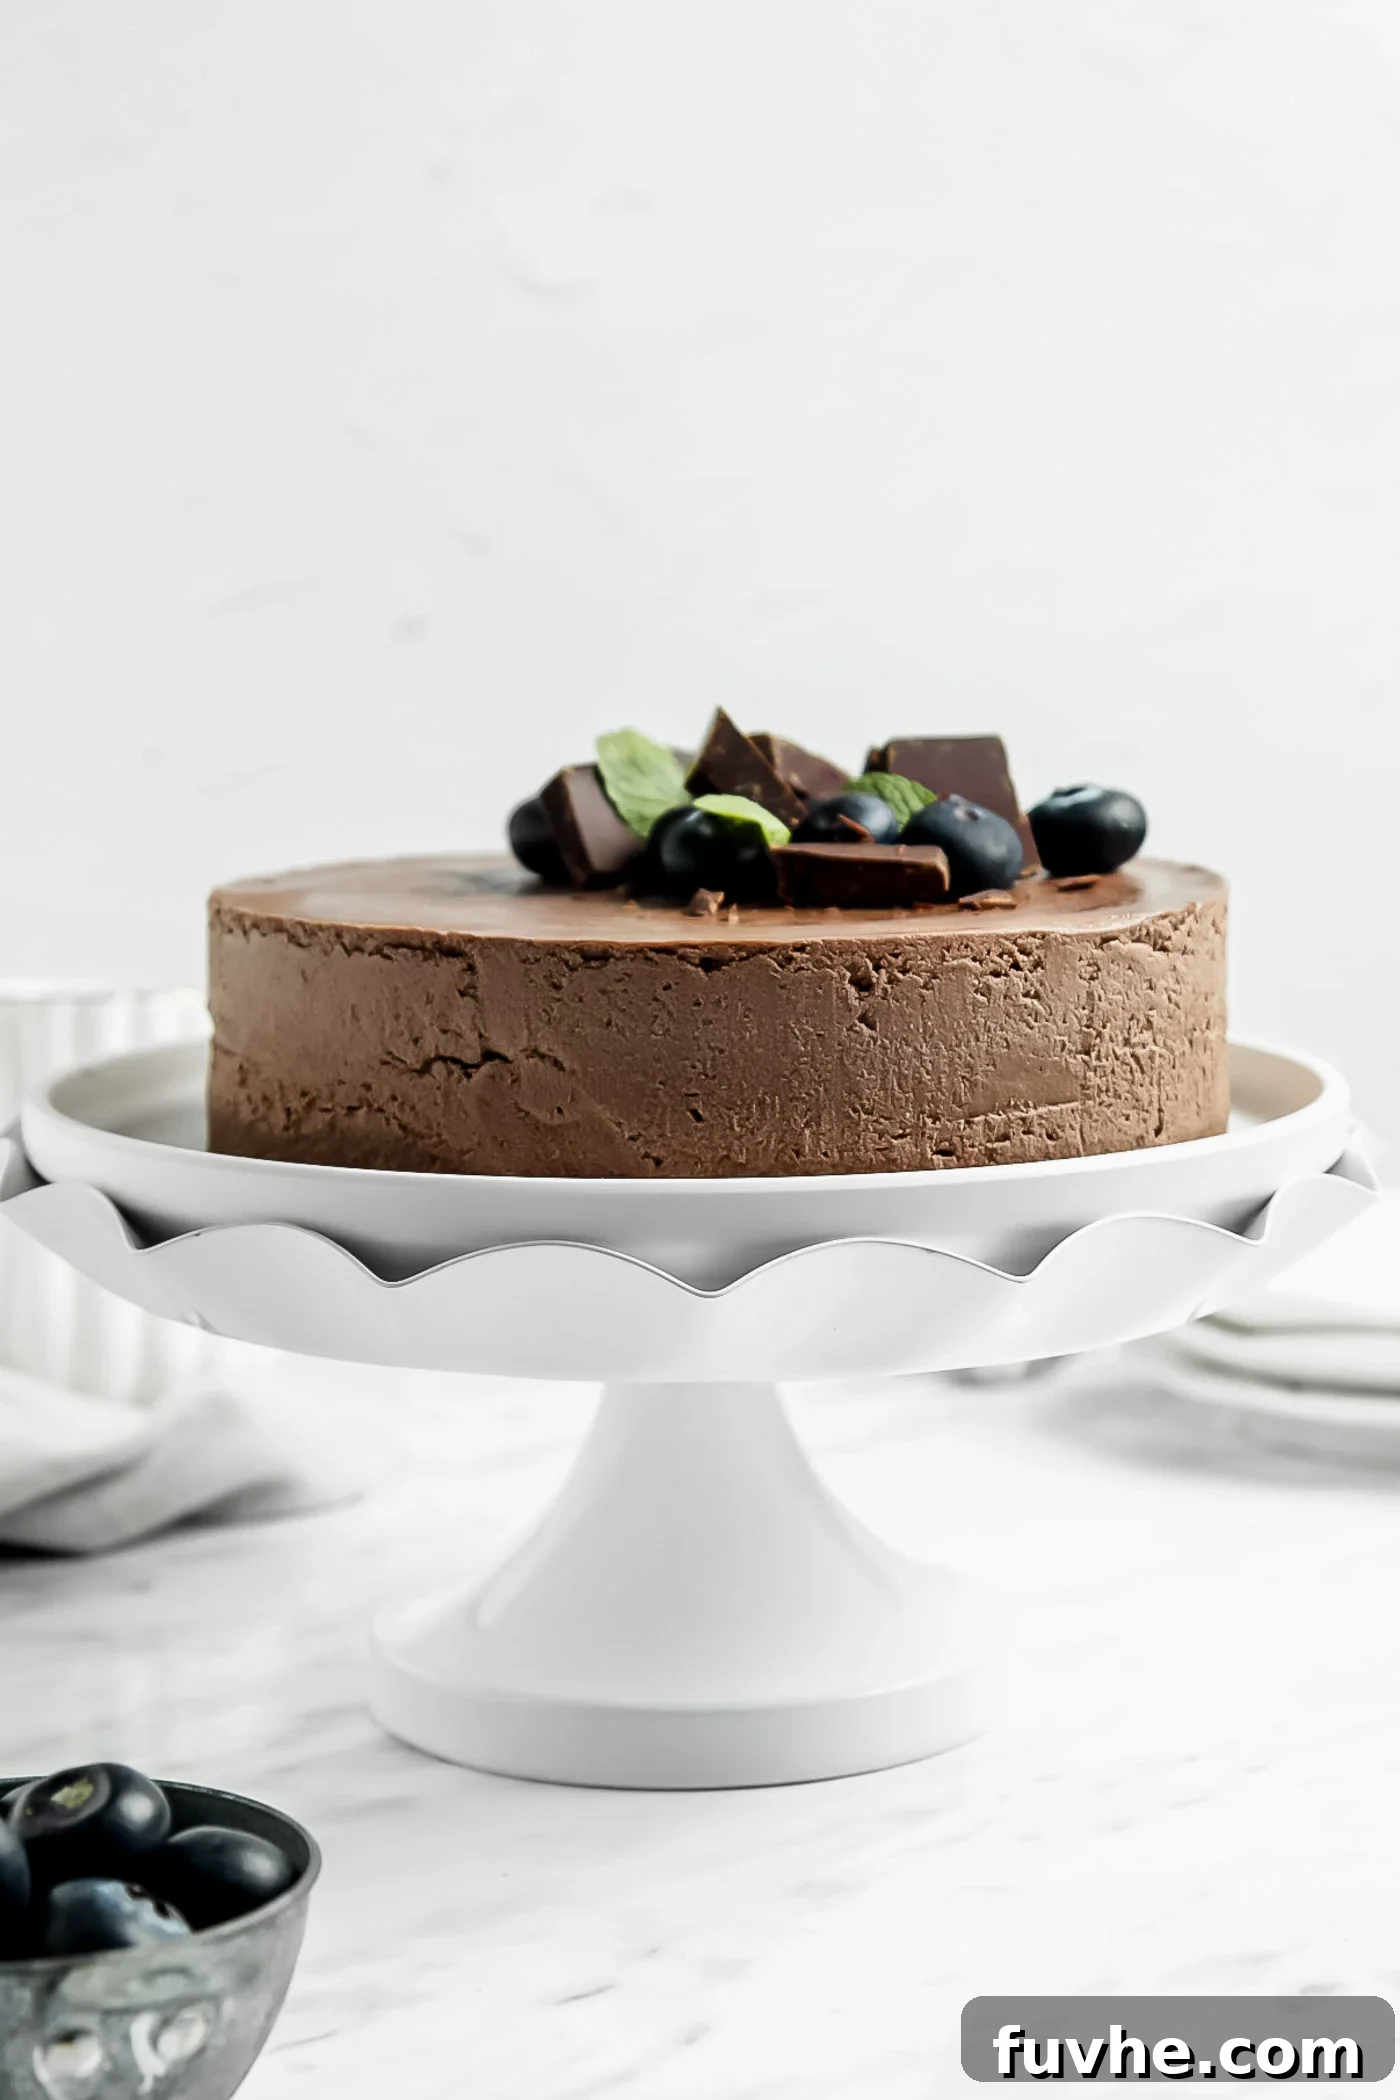
Indulge in the Magic of No-Bake: Your Ultimate Vegan Chocolate Cheesecake
No-bake desserts are a culinary marvel, offering an exquisite blend of simplicity and sophistication. When time is precious, but the desire to create something truly impressive remains, these chilled delights are your go-to. Vegan no-bake cheesecakes, in particular, stand out for their luxurious texture and versatility, allowing for an endless array of flavor combinations. From the vibrant hues of a No-Bake Matcha Cheesecake and the fruity burst of a Vegan No-Bake Blueberry Cheesecake, to the comforting spice of a No-Bake Pumpkin Cheesecake, the possibilities are only limited by your imagination.
This chocolate masterpiece holds a special place, distinguished by its rapid setting time and exquisitely smooth, deeply chocolatey consistency. It’s a dessert that not only looks incredible but also delivers on every promise of rich, creamy flavor, making it an impeccable choice for any festive gathering or celebratory moment. The secret to its remarkable creaminess lies in the carefully selected ingredients, each playing a crucial role in achieving dairy-free decadence.
At its heart, the luscious filling is crafted from perfectly soaked cashews, which, when blended, transform into a velvety smooth base that mimics the richness of traditional dairy. This creates a remarkably indulgent texture that is a hallmark of the finest dairy-free desserts. Complementing this creamy core is a delightfully simple no-bake crust. This foundation combines the nutty notes of almond flour and pecans with the natural sweetness of maple syrup, resulting in a firm yet tender base that beautifully supports the rich filling, reminiscent of a classic baked cheesecake crust.
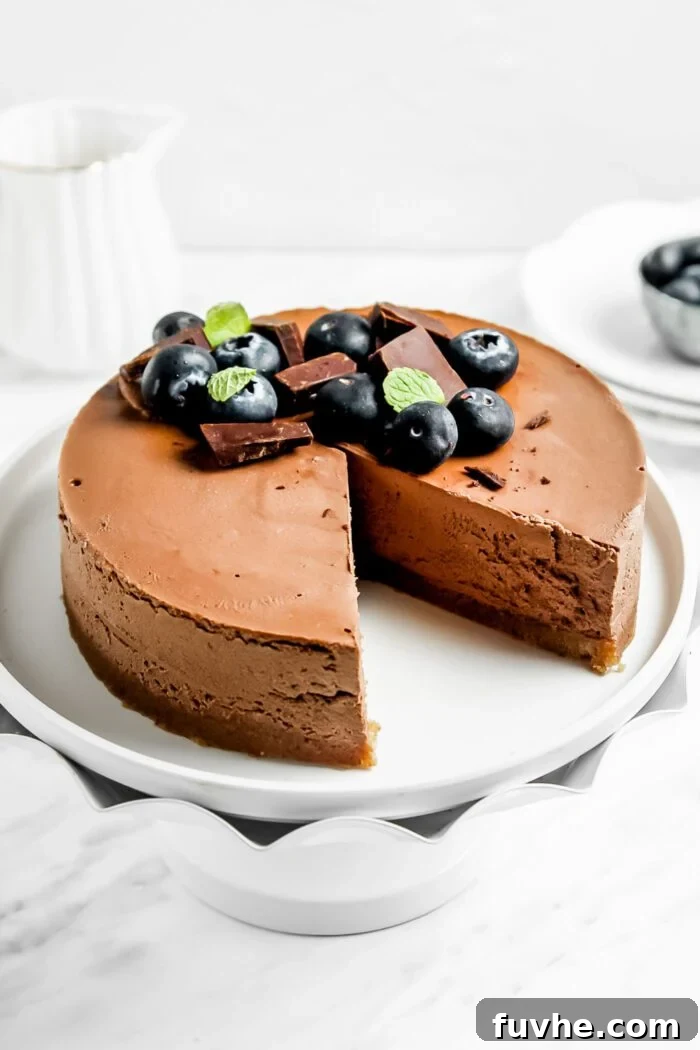
The assembly is as straightforward as it is satisfying: layer the exquisite crust and the opulent chocolate filling into a springform pan, then simply chill. What emerges is a truly stunning dessert that is not only completely vegan, dairy-free, and gluten-free but also a testament to how simple ingredients can yield extraordinary results. Prepare to amaze your senses and those of your loved ones with every blissful slice of this chocolate cheesecake.
Why You’ll Adore This Vegan No-Bake Chocolate Cheesecake
- Effortlessly Elegant: Achieve a gourmet dessert look with minimal effort and no baking required.
- Rich Chocolate Indulgence: Experience deep, satisfying chocolate flavor in every creamy bite.
- Dietary-Friendly: Perfectly suitable for vegan, dairy-free, and gluten-free diets, making it a crowd-pleaser.
- Simple Ingredients: Made with easily accessible, wholesome components that come together beautifully.
- Velvety Smooth Texture: Thanks to soaked cashews and coconut cream, the filling is incredibly smooth and decadent.
- Perfect for Any Occasion: From casual gatherings to formal celebrations, this cheesecake always fits the bill.
- Make-Ahead Convenience: Prepare it in advance and simply chill, freeing up your time on the day of serving.
Ingredients Spotlight: Crafting Decadent Perfection
The magic of this no-bake chocolate cheesecake begins with a selection of wholesome ingredients, each contributing to its incredible flavor and texture. While we’ll highlight the essential components here, remember to refer to the comprehensive recipe card at the end of this post for precise measurements and detailed preparation instructions. This full list ensures you have everything you need to create your perfect cheesecake.
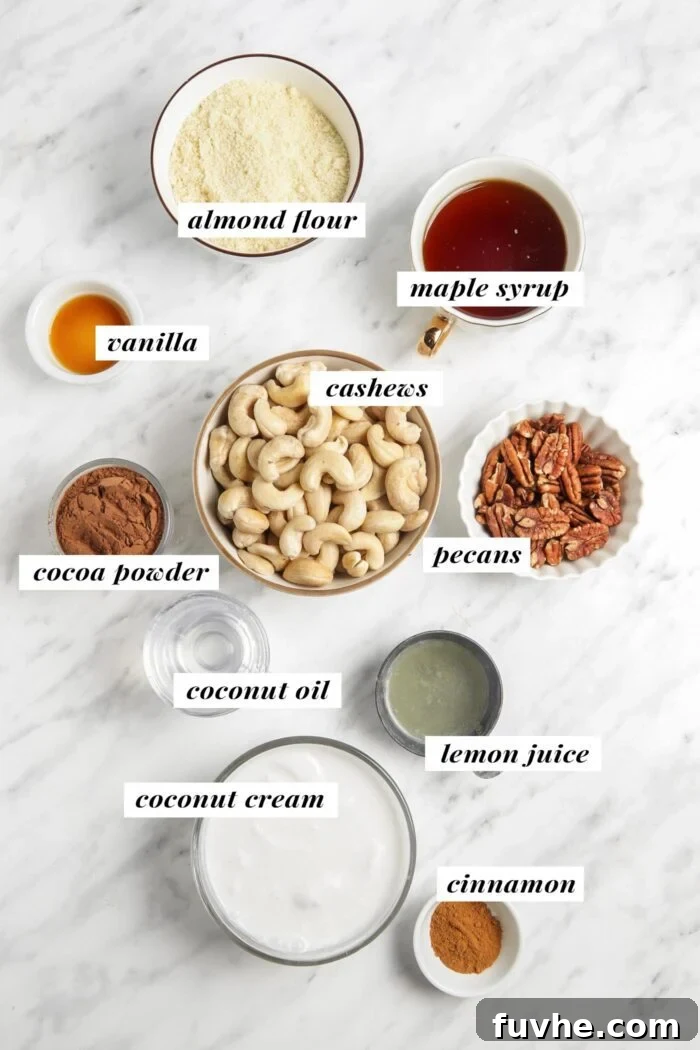
Key Ingredients & Smart Substitutions
- Almond Flour: This forms the tender, crumbly base of our crust. It offers a subtle nutty flavor and a gluten-free alternative. If almond flour isn’t available, you can easily create your own by finely grinding blanched almonds in a food processor until they reach a powdery consistency. Be careful not to over-process, or you’ll end up with almond butter!
- Pecans: Adding a rich, buttery depth to the crust, pecans complement the chocolate beautifully. Should you need a substitute, walnuts are an excellent alternative, offering a similar texture and earthy flavor profile.
- Soaked Cashews: These are the true stars of the creamy filling, providing the essential richness and smooth texture reminiscent of dairy cream cheese. Always opt for plain, raw cashews (unroasted, unsalted) for the best results. Soaking them is crucial for achieving that silky-smooth consistency when blended.
- Cocoa Powder: The heart of our chocolate flavor! You can use regular unsweetened cocoa powder for a classic taste, dark cocoa powder for a deeper, more intense chocolate experience, or raw cacao powder for added nutritional benefits and a slightly richer, more complex flavor.
- Coconut Oil: This ingredient is non-negotiable for the structure of your no-bake cheesecake. When chilled, coconut oil helps the filling set beautifully, ensuring a firm slice every time. There is no direct substitute for its unique setting properties in this recipe.
- Coconut Cream: For ultimate richness and a luxurious mouthfeel, canned full-fat coconut cream is essential. If you can’t find standalone coconut cream, a smart trick is to refrigerate several cans of full-fat coconut milk overnight. The thick cream will separate and rise to the top, allowing you to easily scoop it out, leaving the watery liquid behind.
- Maple Syrup: Our natural sweetener, maple syrup provides a warm, caramel-like sweetness that pairs perfectly with chocolate. It also helps bind the crust and adds a lovely depth to the filling. Agave syrup can be used as a direct substitute if preferred.
- Soy Lecithin (Optional): While optional, a touch of soy lecithin can significantly enhance the cheesecake’s texture. It acts as an emulsifier, helping the filling ingredients blend more smoothly and preventing separation, resulting in an even creamier, more stable dessert, akin to traditional baked cheesecakes. If you wish to keep the dessert soy-free or simply don’t have it, feel free to omit it; the cheesecake will still be delicious.
Effortless Creation: Step-by-Step Guide to Your Cheesecake Masterpiece
Preparation is Key: To ensure the silkiest filling, begin by soaking your cashews. Place them in a bowl and cover with water for at least 6 hours, or ideally, overnight. Before using, drain and rinse them thoroughly. This step is crucial for achieving the perfect creamy texture.
Step 1: The Flavorful Foundation – Crafting the Perfect Crust
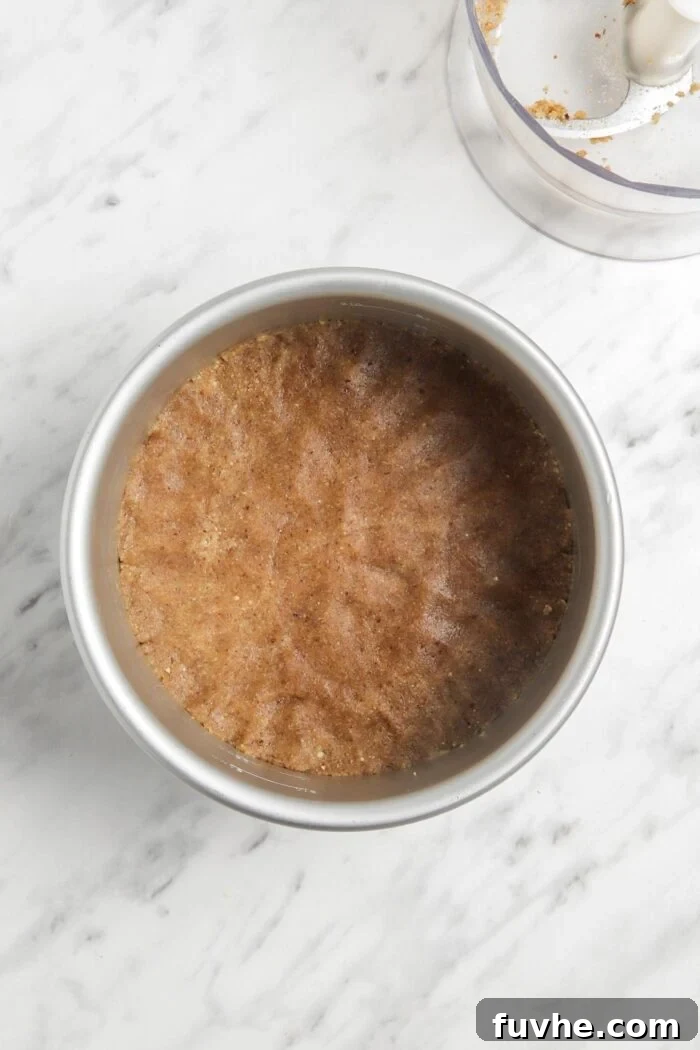
Start by creating the delightful base for your cheesecake. Combine the almond flour, pecans, maple syrup, and cinnamon in a food processor. Process these ingredients until they transform into a crumbly yet cohesive mixture. You’re looking for a texture that, when pinched between your fingers, easily holds together to form a soft, sticky dough. This indicates it’s ready to be pressed into your pan. Adjust maple syrup quantity as needed, adding a little extra if the mixture feels too dry.
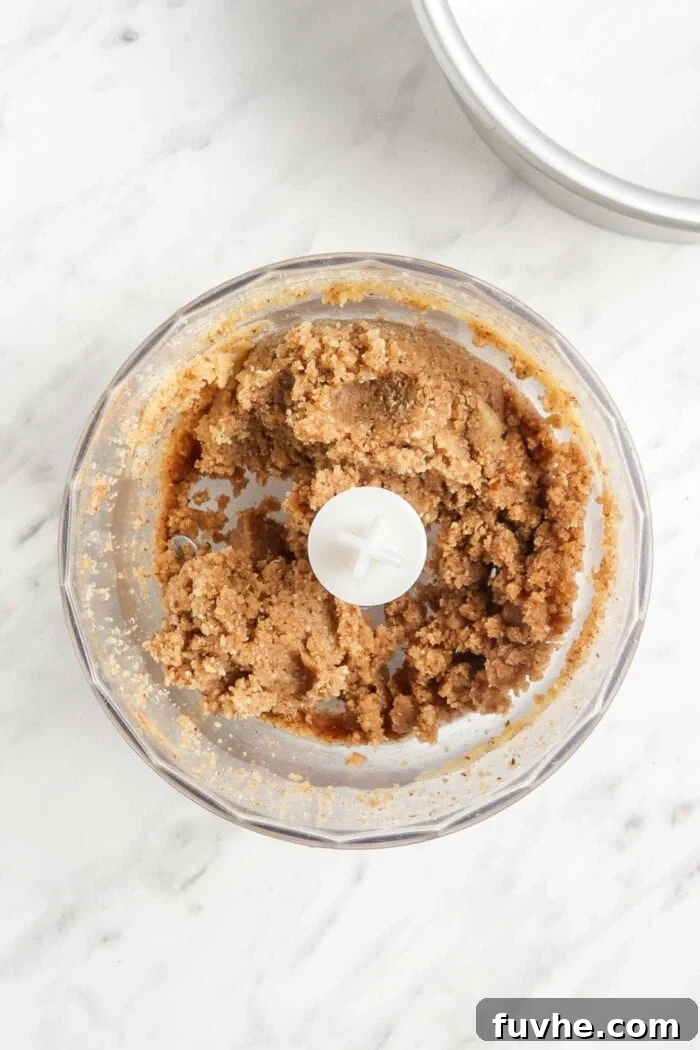
Step 2: Pressing the Crust to Perfection
Carefully transfer the prepared dough into an 8-9 inch springform pan. Using the pads of your fingers or the back of a spoon, firmly and evenly press the mixture across the bottom of the pan. Ensure it forms a compact, flat layer. A well-pressed crust is key to a stable and beautiful cheesecake.
Step 3: The Silky-Smooth Chocolate Filling
Now for the star of the show! Add your drained and rinsed cashews, cocoa powder, melted coconut oil, coconut cream, maple syrup, vanilla extract, lemon juice, and optional soy lecithin to a high-speed blender. Blend the ingredients on high speed until the mixture is incredibly smooth and creamy, resembling a rich chocolate mousse. It’s essential to achieve a completely lump-free consistency. You may need to pause and scrape down the sides of the blender a few times to ensure all ingredients are incorporated evenly and blended to perfection.
Step 4: Assembling Your Decadent Dessert
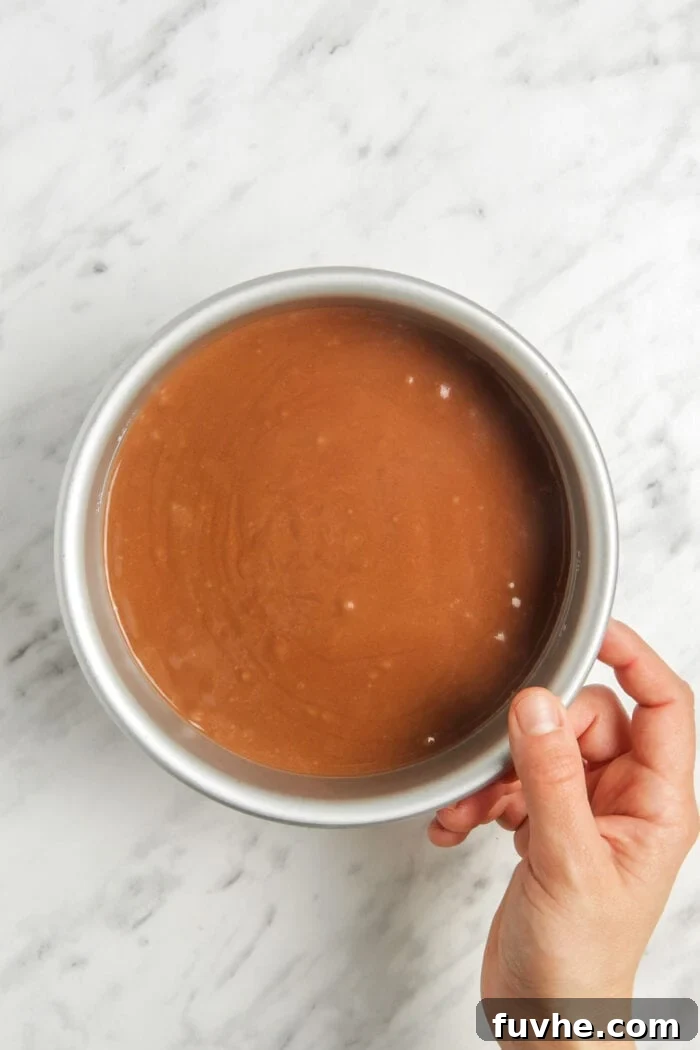
Once your filling is perfectly smooth, pour it gently over the prepared crust in the springform pan. Use a spatula or the back of a spoon to spread the filling evenly across the crust, creating a smooth and appealing top layer. Take your time to achieve a polished finish.
Step 5: The Grand Chill – Setting for Success
This is where the magic happens! Carefully transfer the assembled cheesecake to the freezer. Allow it to chill for at least 2 hours, or ideally, overnight. This chilling period is crucial for the coconut oil to firm up, setting the cheesecake to its perfect sliceable consistency.
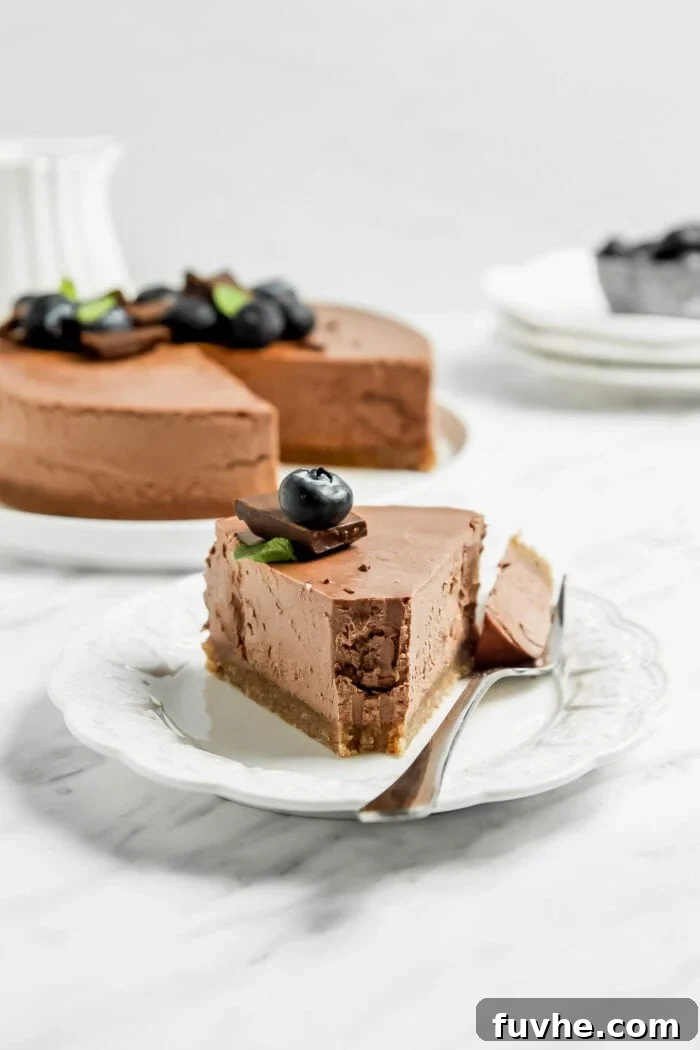
Before serving, remove the cheesecake from the freezer and let it thaw slightly. A brief thaw at room temperature for 15-20 minutes, or in the refrigerator for 30-60 minutes, will soften it to an ideal texture for slicing. While you can slice it directly from the freezer, it will be quite firm; a little thawing enhances the creamy mouthfeel, making each bite even more enjoyable.
Frequently Asked Questions for Your No-Bake Journey
If canned coconut cream is elusive in your local store, fear not! You can easily make your own. Purchase two cans of good quality full-fat coconut milk (you’ll need approximately two cans to yield 1 cup of cream). Place them in the fridge overnight without shaking them. The next morning, the thick, solid cream will have risen to the top. Carefully open the cans and scoop out this rich cream, leaving the watery liquid behind. This leftover coconut water is excellent for smoothies, oatmeal, soups, or curries, so don’t discard it!
While raw cheesecakes truly shine when prepared in a high-speed blender like a Vitamix or Blendtec, it’s still possible to make this recipe with a standard blender. The key is to ensure your cashews are thoroughly soaked (preferably overnight) to soften them as much as possible. Keep in mind that the power of your blender will directly influence how incredibly smooth and creamy your filling becomes. You may need to blend in smaller batches and scrape down the sides more frequently to achieve the desired consistency.
Absolutely! A springform pan makes removal easiest, but it’s not strictly necessary. You can use an 8-9 inch pie tin for a round cheesecake, or a square baking pan if you prefer to make delicious chocolate cheesecake bars. If you’re not using a springform pan, I highly recommend lining your chosen pan with parchment paper, making sure the paper extends over the edges. This creates “handles” that will allow you to easily lift the entire cheesecake out once it’s set, making slicing and serving much simpler. If you’re inspired to purchase one, you can find a suitable springform pan here.
For the absolute best and creamiest results, an overnight soak for your cashews is highly recommended. However, if you’re short on time, a quick soak is an option. If you have a couple of hours, place the cashews in a bowl and pour boiling water over them, allowing them to soak for 2 hours. For an even quicker method, you can boil the cashews in a small pot of water for 10 minutes, then drain and rinse before proceeding with the recipe. Be aware that quick-soaked cashews might result in a slightly less smooth filling than those soaked overnight.
No almond flour? No problem! You have a couple of excellent options to proceed with this recipe:
- Make your own: Simply blend 1 cup of blanched almonds in your food processor until they reach a very fine, powdery consistency. It usually takes about 10-15 seconds. Be careful not to over-blend, or you’ll end up with almond butter! Stop and scrape down the sides a few times between blends to ensure even processing.
- Try an alternative crust: You can use a different no-bake crust. Consider the date and walnut crust from my No-Bake Pumpkin Cheesecake or the date and coconut crust from the No-Bake Mango Cheesecake. For an extra chocolatey experience, you could even adapt the base of these No-Bake Chocolate Fudge Bars (made from almonds, cashews, dates, and cocoa powder) or a chocolate graham cracker style crust from this No-Bake Vegan Chocolate Pie.
Soy lecithin is a natural food additive renowned for its emulsifying properties. In simple terms, it helps ingredients that typically separate (like oil and water) to combine smoothly and remain stable as a single, consistent mixture. In our cheesecake, it aids in creating a perfectly uniform, velvety texture and can help to thicken and stabilize the filling. While I’ve successfully made many no-bake cheesecakes without it, incorporating soy lecithin often yields a noticeably smoother, creamier result that more closely resembles the luxurious texture of a traditional baked cheesecake. If you’re curious to try it, you can purchase a small bag of soy lecithin here or opt for liquid lecithin here.
This chocolate cheesecake is a fantastic canvas for creativity! You can easily customize it to your liking. Consider adding a swirl of peanut butter or almond butter to the filling for a nutty twist. A layer of fresh raspberries or sliced strawberries on top before chilling adds a delightful fruity contrast. You could also sprinkle a pinch of sea salt over the top before serving to enhance the chocolate flavor. For an extra touch of indulgence, drizzle with melted vegan chocolate, a spoonful of caramel sauce, or a dusting of extra cocoa powder. The possibilities are endless!
Storing and Freezing: Enjoying Your Cheesecake Longer
Proper storage is essential to maintain the perfect texture and flavor of your vegan no-bake chocolate cheesecake. Here are some tips to ensure you can enjoy this delightful dessert for as long as possible:
- Keeping Cool: This cheesecake is best served chilled. Remember that because it relies on coconut oil to set, it will soften and eventually melt if left at room temperature for an extended period. Always keep it cool until just before you plan to serve.
- Refrigerator Storage: Leftover cheesecake can be stored in an airtight container in your refrigerator for up to 1 week. Ensure it’s well-sealed to prevent it from absorbing any other odors from your fridge.
- Freezer Storage: For longer enjoyment, this cheesecake freezes beautifully! You can freeze it whole or in individual slices. Wrap the whole cake tightly in plastic wrap, then aluminum foil, or place individual slices in an airtight freezer-safe container. It will keep well for up to 3 months. When you’re ready to enjoy a frozen slice, simply transfer it to the refrigerator to thaw overnight, or for 30-60 minutes at room temperature for a quick thaw.
Explore More No-Bake Vegan Delights
If you’ve fallen in love with the ease and deliciousness of this no-bake chocolate cheesecake, you’ll be thrilled to discover a world of other effortless vegan desserts. Expand your repertoire with these equally tempting no-bake recipes:
- Raw Vegan Carrot Cake
- No-Bake Blueberry Cheesecake
- Vegan Key Lime Pie
- No-Bake Vegan Peanut Butter Pie
- Vegan Chocolate Ganache Tart
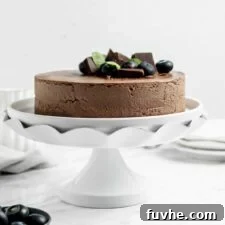
Vegan No-Bake Chocolate Cheesecake
Ingredients
For the Crust
- 1 cup almond flour, 120 g
- 1/2 cup pecans, 65 g
- 3-4 tablespoons maple syrup, 45-60 mL
- 1 teaspoon cinnamon
For the Chocolate Cheesecake
- 1 1/2 cups cashews, 225 g, soaked in water overnight
- ½ cup cocoa powder, 50 g
- 1/3 cup melted coconut oil, 80 mL
- 1 cup of coconut cream, 240 mL
- 1/2 cup maple syrup, 170 g
- 2 teaspoons vanilla extract, 10 mL
- 2 tablespoons lemon juice, 30 mL
- 1 teaspoon soy lecithin, optional, improves emulsion
Instructions
- Soak the cashews for at least 6 hours up to overnight in a bowl of water. When you’re ready to make the cheesecake, drain and rinse.
- Add the ingredients for the crust to a food processor and blend into a moldable dough, starting with 3 tbsp maple syrup and adding an additional 1 tbsp if needed to reach a sticky consistency.
- Prepare a 8-9 inch springform pan and press the dough into the pan using your hands until flat and even across the bottom of the pan.
- Add the drained cashews to a high-speed blender with the rest of the cream ingredients and blend into a very smooth consistency, stopping to scrape down the sides of the blender as needed.
- Pour the cream over the crust in the pan and use a spatula or spoon if needed to smooth.
- Place the cake in the freezer for 2 hours up to overnight. Let thaw briefly at room temperature or in the fridge for 30-60 minutes before slicing.
Notes
If you don’t have almond flour, blend 1 cup of blanched almonds for 10-15 seconds, scraping down the sides a few times between blends to make your own. Alternatively, use the date and walnut crust from this no-bake cheesecake recipe instead.
If you can’t find canned coconut cream, place 2 cans of good quality full-fat coconut milk in the fridge overnight. In the morning, carefully open and scoop the thick coconut cream off the top of each, leaving the remaining watery portion behind.
If you don’t have a springform pan, line the bottom of a pie dish with parchment paper or use a square baking pan to make cheesecake bars. Line it with parchment paper so it sticks out over the edges so you can lift the bars out of the pan once they’re ready.
If you’re short on time, cashews can be quick boiled by boiling in a small pot for 10 minutes or quick soaked by pouring boiling water over them in a bowl and soaking for 2 hours. I would recommend soaking overnight for the best result though.
Nutrition
Serving: 1 slice, Calories: 507kcal, Carbohydrates: 33g, Protein: 9g, Fat: 30g, Fiber: 4g, Sugar: 19g
Like this recipe? Rate and comment below!