
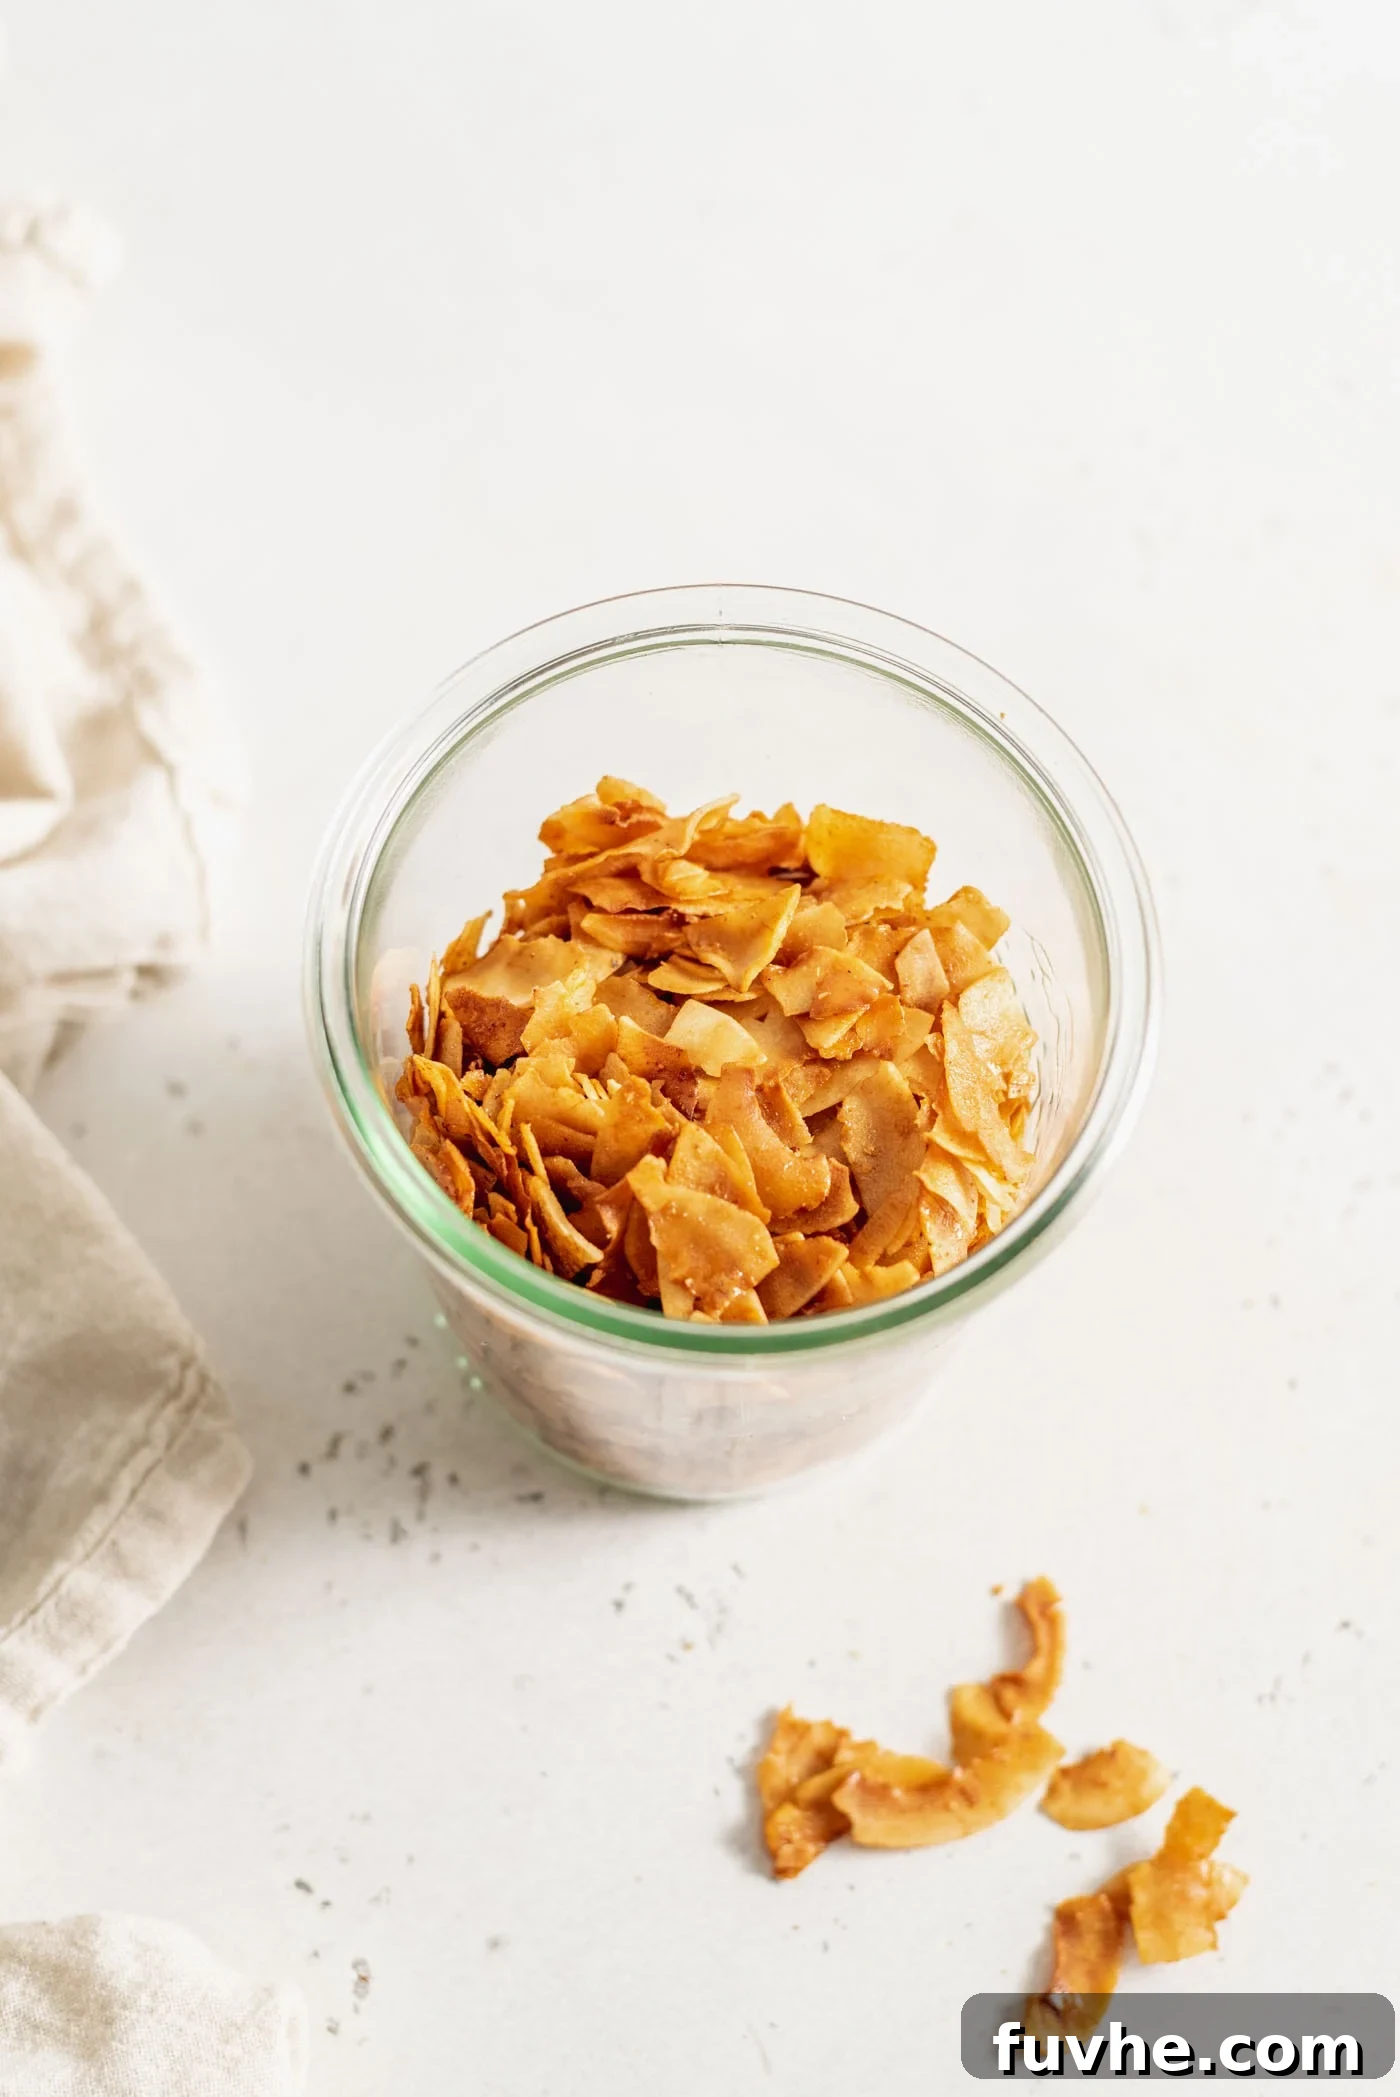
Transform your culinary experience with this incredibly versatile and utterly delicious coconut bacon recipe. Whether you’re a seasoned vegan or simply exploring plant-based alternatives, this sweet, salty, and wonderfully crunchy creation is guaranteed to impress. It’s the perfect addition to everything from crisp salads and hearty sandwiches to creamy avocado toast and comforting oatmeal. Best of all, this recipe is naturally vegan, gluten-free (with a simple swap), oil-free, and refined sugar-free, making it a guilt-free pleasure for any meal of the day. Prepare to discover your new favorite crispy topping!
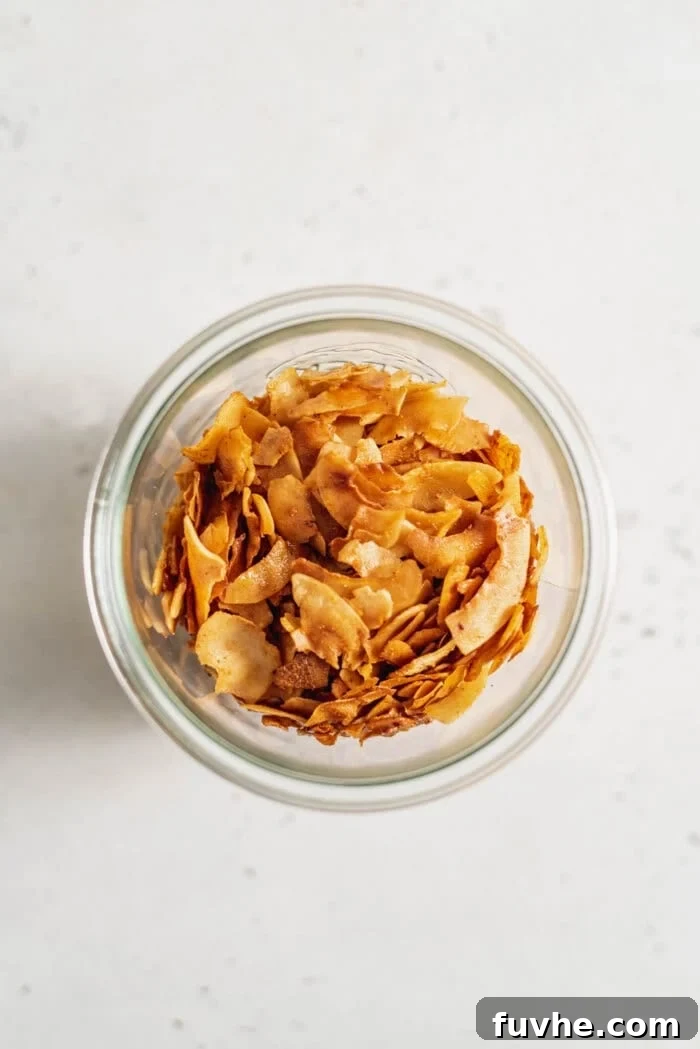
Why You’ll Love This Vegan Coconut Bacon
There are countless reasons to fall in love with homemade coconut bacon. Beyond its undeniable deliciousness, it offers a healthier, plant-based alternative to traditional bacon, without compromising on flavor or texture. Its unique profile of sweet, salty, and smoky notes, combined with an irresistible crunch, makes it a standout ingredient. It’s remarkably easy and quick to prepare, requiring just a handful of simple ingredients and less than 20 minutes of your time. This makes it an ideal choice for busy weeknights or when you need a speedy, flavorful addition to your meals. Plus, its inherent dietary benefits—being vegan, gluten-free, oil-free, and free from refined sugars—ensure it caters to a wide range of dietary needs and preferences, allowing everyone to enjoy this crispy delight.
Essential Coconut Bacon Ingredients
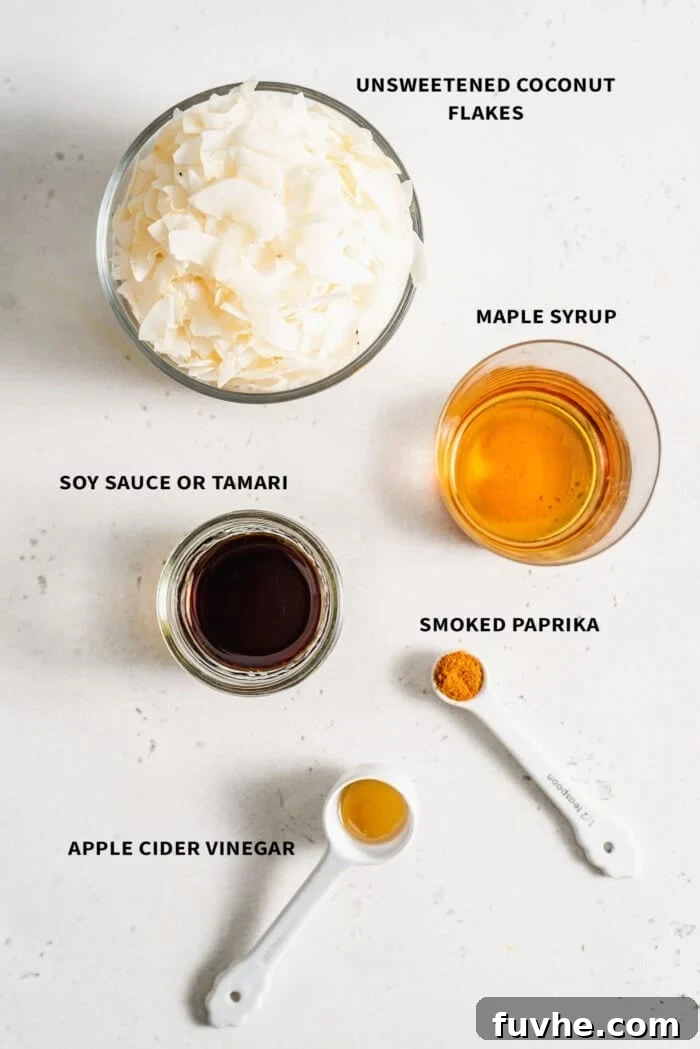
Crafting the perfect batch of coconut bacon starts with a few key ingredients. Each component plays a crucial role in developing that signature sweet, smoky, and savory flavor profile that makes this vegan alternative so addictive. The beauty of this recipe lies in its simplicity and the accessibility of its ingredients. Here’s a closer look at what you’ll need and why each element is important:
- Coconut Flakes: You’ll need 2 cups of plain, unsweetened large coconut flakes, often referred to as coconut chips. It’s important to use large flakes rather than shredded coconut, as they provide a more substantial, bacon-like texture and crisp up beautifully without burning too quickly. Ensure they are unsweetened to control the sugar content and allow the savory flavors to shine. You can find these at most health food stores or in the baking aisle of larger supermarkets.
- Soy Sauce: This ingredient is essential for imparting a deep, salty, and umami flavor that mimics the savory notes of traditional bacon. Soy sauce adds a richness that truly elevates the overall taste. For those following a gluten-free diet, tamari is an excellent 1:1 substitute that offers the same depth of flavor without the gluten. Alternatively, coconut aminos can be used for a soy-free and gluten-free option, though it is slightly milder and less salty, so you might need to adjust the quantity to taste.
- Maple Syrup: A touch of maple syrup adds a hint of natural sweetness that perfectly balances the saltiness of the soy sauce and aids in the caramelization process during baking. This sweetness is crucial for creating that complex, satisfying flavor. Pure maple syrup is preferred for its natural flavor and lack of refined sugars. Agave nectar or a small amount of date syrup could also be used as alternatives.
- Apple Cider Vinegar: This seemingly small addition provides a subtle tanginess that brightens the overall flavor profile and cuts through the richness, preventing the bacon from tasting one-dimensional. The acidity helps to enhance the other flavors and adds a slight complexity. If apple cider vinegar isn’t available, regular white vinegar or even rice vinegar can be used as a substitute, though the flavor may vary slightly.
- Smoked Paprika: While optional, smoked paprika is highly recommended for achieving that quintessential smoky flavor often associated with bacon. It delivers a rich, earthy, and distinctly smoky aroma that significantly enhances the “bacon” experience. If you enjoy a robust smoky taste, feel free to be generous with it. For an extra layer of flavor, consider adding a pinch of garlic powder or onion powder to the marinade.
- A Pinch of Pepper: A dash of freshly ground black pepper can add a subtle kick and further enhance the savory notes of your coconut bacon, contributing to a more rounded flavor.
Considerations for Liquid Smoke
Many coconut bacon recipes incorporate liquid smoke to achieve a more intense, authentic smoky flavor. While liquid smoke is effective, it’s not an ingredient everyone keeps on hand or has easy access to. In this particular recipe, we’ve opted to rely on smoked paprika for its natural smoky notes, and we believe the result is absolutely delicious without the need for liquid smoke. The smoked paprika provides a wonderful depth that satisfies most palates.
However, if you do have liquid smoke readily available and prefer a more pronounced smoky essence, feel free to experiment. Adding 1-2 teaspoons to the marinade can significantly amplify the smoky profile. Just be mindful that a little goes a long way with liquid smoke, so start with a smaller amount and adjust to your preference.
Mastering Homemade Coconut Bacon: A Step-by-Step Guide
Making your own crispy, flavorful coconut bacon is surprisingly simple and incredibly rewarding. With just a few straightforward steps, you can whip up a batch in less than 20 minutes, making it a perfect last-minute addition to any meal. Follow these steps for perfect results every time:
Important First Step: Preheat Your Oven! Before you begin mixing, preheat your oven to 325 degrees F (160 degrees C). The exact temperature is crucial; you want a moderately hot oven, as coconut flakes can go from perfectly golden to burnt very quickly. A lower temperature allows for more even crisping without scorching. While the oven preheats, you can prepare your baking sheet. Lining it with parchment paper is highly recommended for easy cleanup and to prevent sticking.
Step 1: Prepare and Marinate the Coconut Flakes
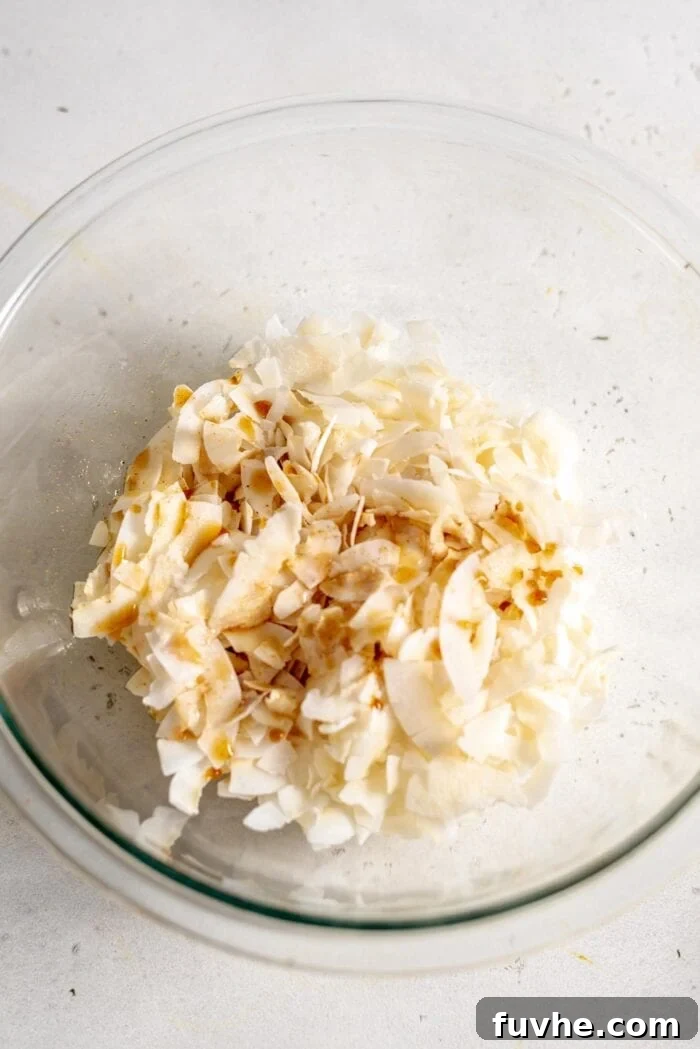
Begin by adding your 2 cups of plain, unsweetened large coconut flakes to a medium or large mixing bowl. In a separate small dish, whisk together the soy sauce (or tamari/coconut aminos), maple syrup, apple cider vinegar, smoked paprika, and a pinch of pepper until well combined. This ensures all the flavors are evenly distributed before coating the coconut.
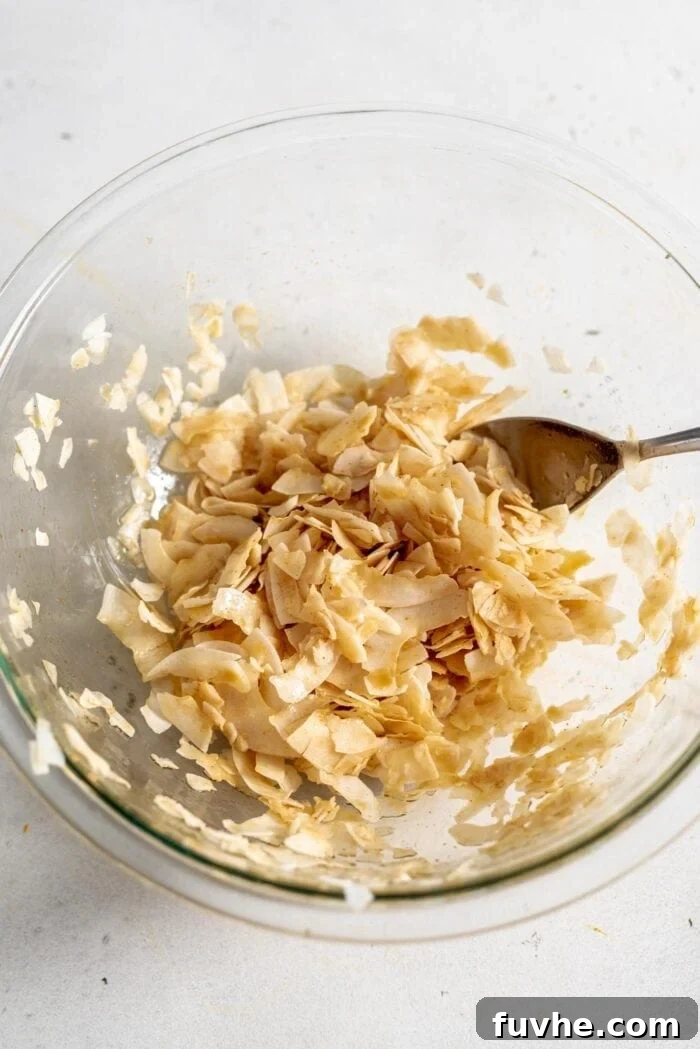
Pour the marinade mixture over the coconut flakes in the bowl. Using a spatula or your hands, gently mix everything until all the coconut flakes are thoroughly and evenly coated with the marinade. It’s important to ensure every flake gets some of that delicious liquid for maximum flavor penetration.
Quick Tip for Enhanced Flavor: For an even deeper and more robust flavor, allow the coated coconut flakes to marinate in the sauce for an additional 5 to 10 minutes before baking. This extra time allows the coconut to absorb more of the savory, sweet, and smoky notes, resulting in a more intense and satisfying final product.
Step 2: Bake to Crispy Perfection
Once the coconut flakes are well-coated, it’s time to bake them. Achieving the perfect crispiness requires careful attention during this stage. Here are a few essential tips for success:
- Even Layer is Key: Spread the marinated coconut flakes onto your prepared baking sheet (lined with parchment paper) in a single, even layer. Minimize overlapping as much as possible. An even layer ensures that all flakes get consistent heat exposure, leading to uniform crisping. If the flakes are piled up, they will steam instead of crisp.
- Initial Bake and Stir: Place the baking sheet in your preheated oven and set a timer for 10 minutes. After 10 minutes, carefully remove the tray from the oven. Using a spatula, gently stir and flip the coconut bacon, spreading it back into a single, even layer. This helps promote even browning and prevents sticking to the pan.
- Vigilant Monitoring: This is the most critical part. Coconut bacon can quickly turn from golden brown to burnt. After the initial 10 minutes, return the tray to the oven and start watching it very carefully. Check it every 2-3 minutes, stirring and re-spreading as needed. As it begins to turn golden brown, reduce your check-ins to every minute or so.
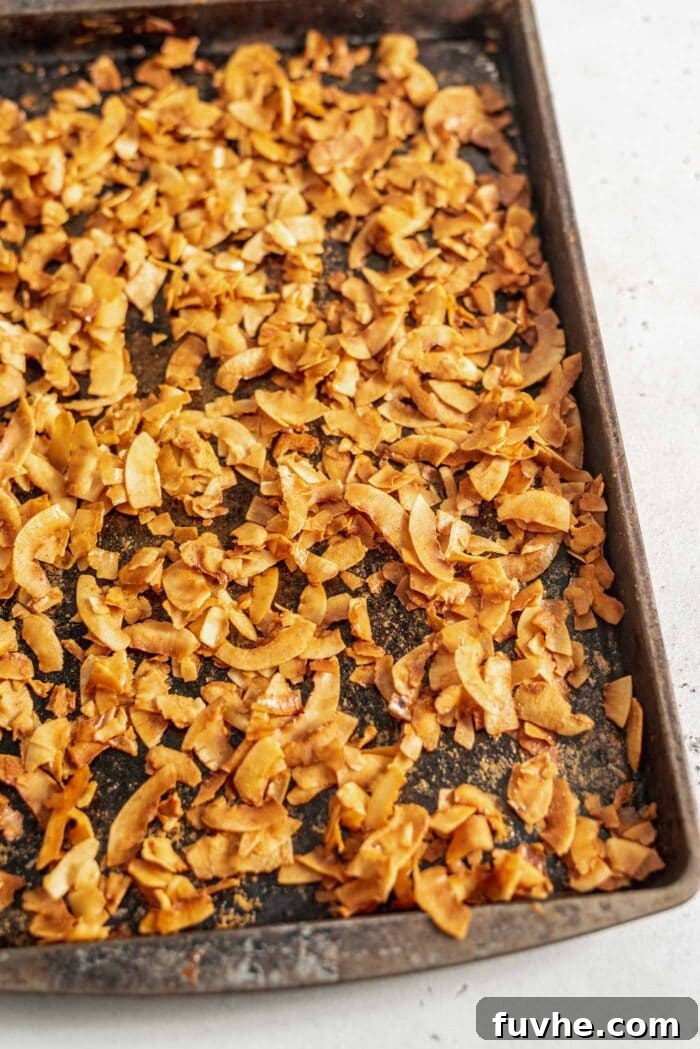
- Perfect Golden Brown: You are looking for a beautiful dark golden brown color. The flakes should look toasted and feel crisp. Remember, they will crisp up even further as they cool. Once they reach this desired shade, immediately remove the baking sheet from the oven.
- Cool Completely on the Pan: Allow the coconut bacon to cool completely on the baking sheet. As it cools, it will harden and develop its irresistible crisp texture. Resist the urge to move it too soon, as this cooling process is essential for achieving optimal crunch.

How Long Should I Cook Coconut Bacon?
The cooking time for coconut bacon can vary significantly depending on your oven’s calibration and the thickness of your coconut flakes. While a good starting point is often around 10 minutes before the first stir, the total baking time can range anywhere from 10 to 20 minutes. For example, my current oven takes a full 20 minutes to achieve the desired crispness, whereas my previous oven only needed 10 minutes.
The key is not to rely solely on the timer but rather on visual cues. Once the coconut flakes begin to turn golden brown after the initial 10-minute bake, they can transition to burnt very rapidly – sometimes in as little as 30 seconds to a minute. It is crucial to keep a very close eye on them during this phase, stirring frequently, until they reach that perfect dark golden brown hue. Trust your eyes and nose more than the clock to ensure perfectly crispy, not burnt, coconut bacon.
How to Store Coconut Bacon for Maximum Crispness
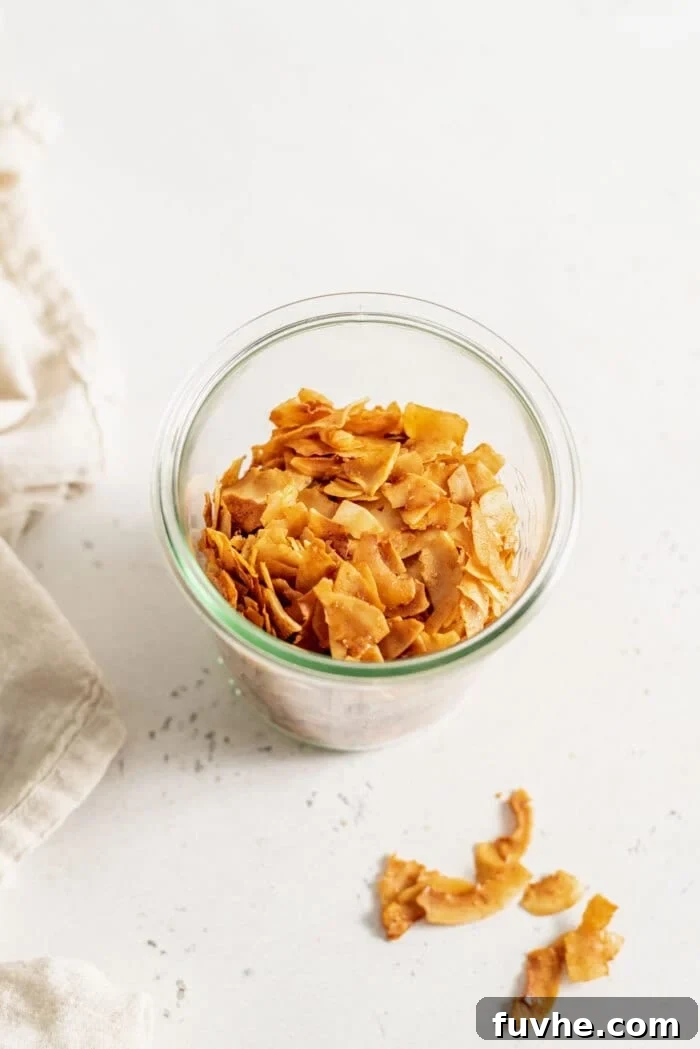
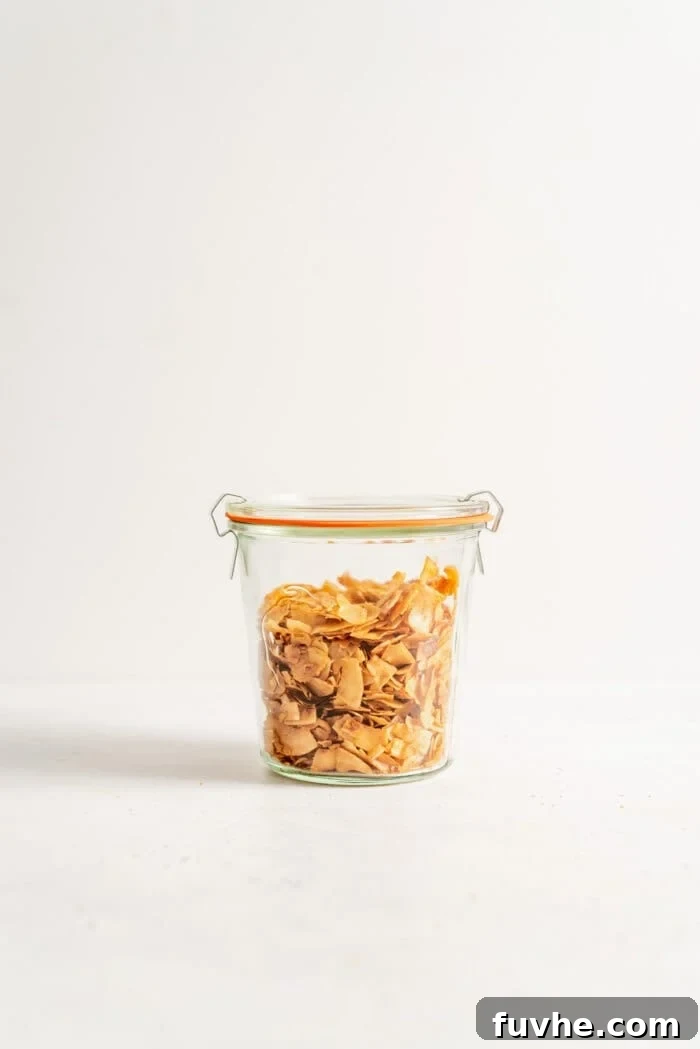
Once cooled, homemade coconut bacon can be stored in an airtight container at room temperature for up to a week, or in the refrigerator for up to two to three weeks. While it can technically last longer, it may start to lose its delightful crispiness over time. For optimal crunch and extended freshness, consider storing it in the freezer. Simply place the cooled coconut bacon in a freezer-safe airtight container or bag, and it will remain wonderfully crispy for up to three months.
If your coconut bacon loses some of its crispiness, you can easily revive it by spreading it back on a baking sheet and toasting it in a preheated oven at 300°F (150°C) for a few minutes until it regains its crunch. This is a great trick for refreshing older batches!
Crucial Storage Tip: Always ensure the coconut bacon is completely cool before transferring it to any storage container. Storing warm or even slightly warm coconut bacon will trap moisture, leading to condensation inside the container, which can make it soft and soggy. Letting it cool thoroughly on the pan allows it to fully harden and crisp up, preserving its texture for longer.
Creative Ways to Enjoy Your Coconut Bacon
The versatility of coconut bacon is truly impressive. Its sweet, salty, and smoky crunch makes it a fantastic substitute for traditional bacon bits or a unique topping that elevates a wide array of dishes. Don’t limit yourself to just a few uses – once you try it, you’ll find yourself sprinkling this irresistible treat on almost everything! Here are some popular and creative ways to incorporate coconut bacon into your meals:
- Salads: Sprinkle a generous handful over fresh green salads, Caesar salads, or even heartier grain salads for an unexpected burst of flavor and texture. It pairs wonderfully with creamy dressings and vibrant vegetables. Try it in a Vegan Kale Caesar Salad for an elevated twist.
- Sandwiches & Wraps: Add a layer of crispy coconut bacon to your favorite plant-based sandwiches or wraps. It provides a delightful crunch and a savory depth that transforms ordinary fillings into something extraordinary.
- Avocado Toast: Elevate your classic avocado toast with a sprinkle of coconut bacon. The combination of creamy avocado, crunchy toast, and savory-sweet bacon bits is simply divine and makes for a more satisfying breakfast or snack.
- Breakfast Bowls & Oatmeal: Don’t shy away from adding coconut bacon to your breakfast bowls or even sweet oatmeal. The unexpected salty-sweet contrast adds an exciting dimension that will keep your taste buds intrigued. It’s especially good in Sweet Potato Breakfast Bowls.
- Soups & Stews: Use it as a crunchy garnish for creamy soups or hearty stews. A sprinkle just before serving adds a textural contrast and a pop of smoky flavor.
- Roasted Vegetables: Take your roasted broccoli, Brussels sprouts, or asparagus to the next level by tossing them with coconut bacon halfway through cooking or sprinkling it on top before serving. The flavors meld beautifully. It’s a fantastic addition to a Broccoli Brown Rice Bowl.
- Mashed Potatoes: Just like traditional bacon bits, coconut bacon makes an excellent topping for Mashed Potatoes, adding a savory crunch and an extra layer of flavor.
- Pasta Dishes: Stir it into pasta dishes or sprinkle it over creamy vegan mac and cheese for added texture and a burst of savory goodness.
- Baked Potatoes & Sweet Potatoes: Top baked potatoes or sweet potatoes with coconut bacon, along with your other favorite toppings, for a satisfying and flavorful meal.

Coconut Bacon
Deryn Macey
5
20
25
2
cups
Rate Recipe
Print Recipe
Ingredients
-
2
cups
plain unsweetened coconut flakes -
2
tbsp
soy sauce or gluten-free tamari -
2
tbsp
maple syrup -
1
tsp
apple cider vinegar -
1/2
tsp
smoked paprika,
optional -
pinch
of pepper
Instructions
-
Pre-heat the oven to 325 degrees F (160 degrees C).
-
Add the coconut flakes to a medium or large mixing bowl.
-
Mix the rest of the ingredients (soy sauce, maple syrup, apple cider vinegar, smoked paprika, and pepper) together in a small dish, then pour over the coconut flakes.
-
Fold together gently until all the coconut flakes are completely and evenly coated with the marinade.
-
Spread the marinated coconut flakes onto a baking sheet in a single, even layer, minimizing any overlapping. Use parchment paper for easy cleanup.
-
Bake for 10 minutes. Then, remove from the oven, stir and flip the flakes, spreading them back into an even layer. Continue baking in 3-5 minute increments, stirring after each increment, until the coconut bacon turns a dark golden brown. Watch very carefully during the final minutes, as it will burn quickly once it starts browning.
-
Remove from the oven immediately once golden brown and let it cool completely on the pan. The coconut bacon will crisp up further as it cools.
-
Store in an airtight container at room temperature for up to 3 weeks, or freeze for up to 3 months to maintain crispness.
Nutrition
Serving:
3
tbsp
,
Calories:
94
kcal
,
Carbohydrates:
6
g
,
Protein:
1
g
,
Fat:
8
g
,
Sodium:
5
mg
,
Potassium:
17
mg
,
Fiber:
2
g
,
Sugar:
4
g
,
Calcium:
5
mg
Like this recipe? Rate and comment below!