
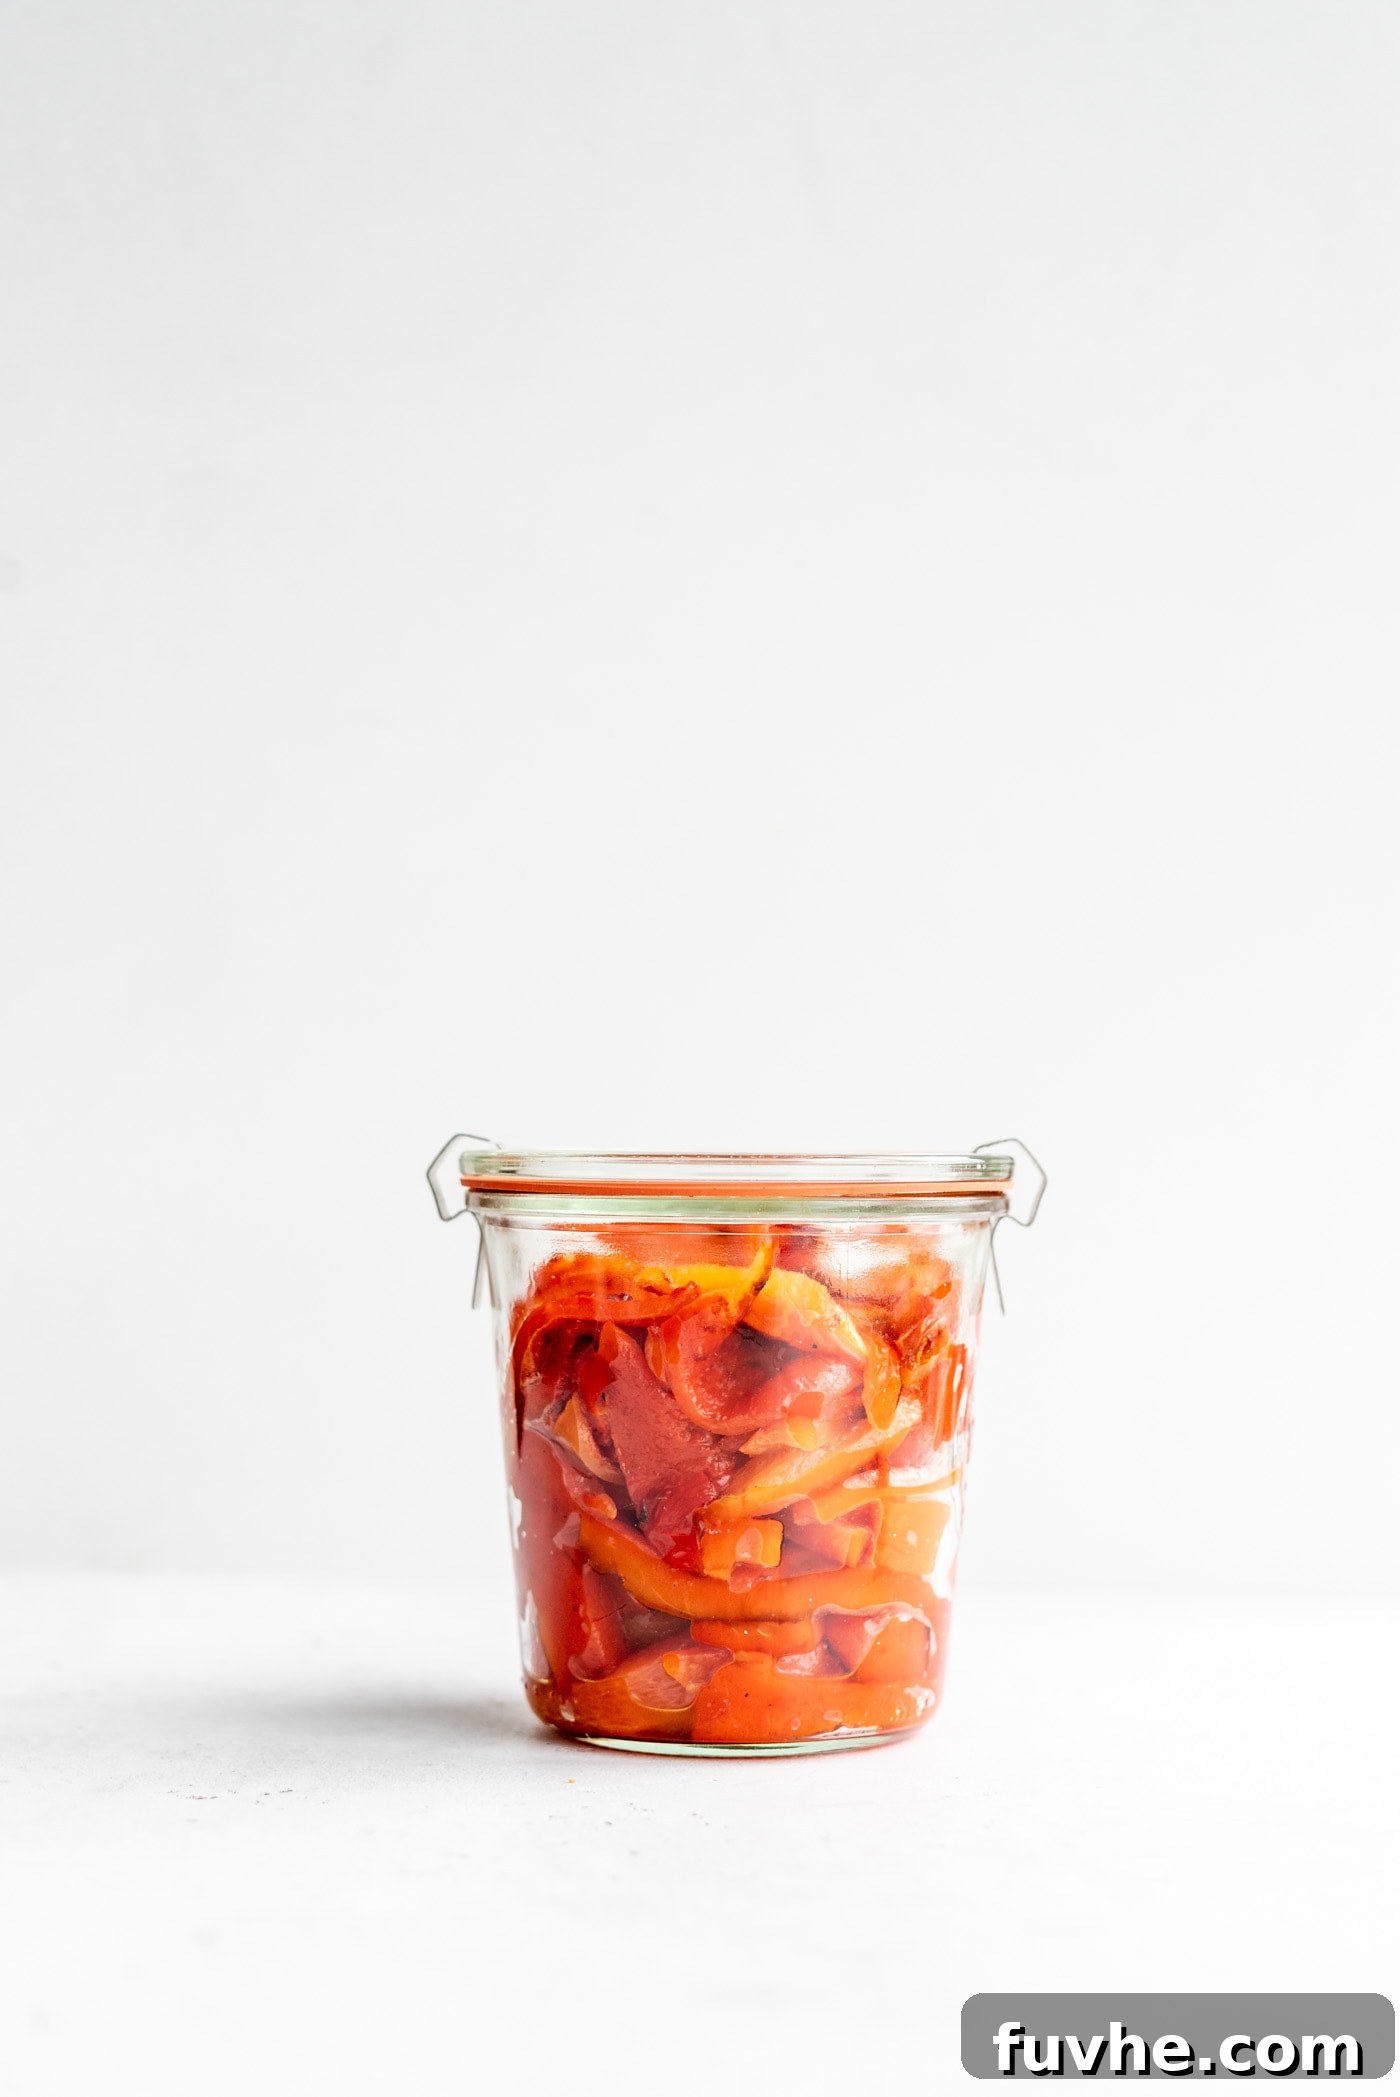
Unlock the secret to incredibly flavorful and versatile homemade roasted red peppers! This comprehensive guide reveals how to effortlessly prepare these culinary gems in your oven, transforming simple bell peppers into a sweet, smoky ingredient that elevates countless dishes. Forget expensive store-bought versions; creating your own roasted red peppers is surprisingly easy, healthy, and offers unmatched fresh taste.
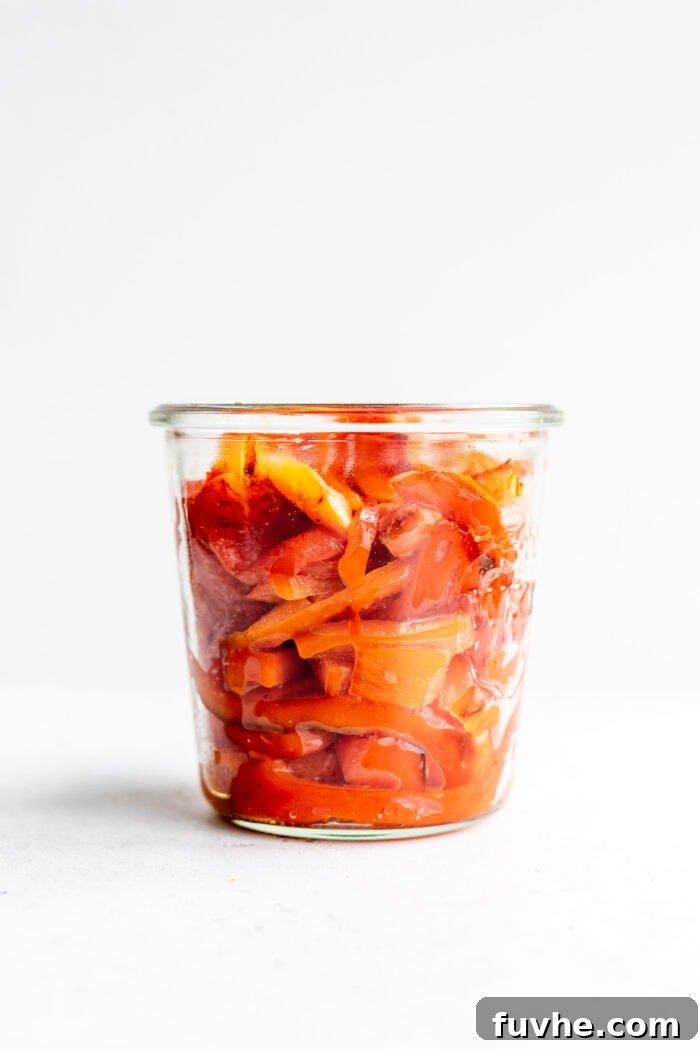
Homemade roasted red peppers are a delicious and healthy addition to a vast array of recipes. Their natural sweetness, intensified through the roasting process, coupled with a hint of smoky char, makes them a standout ingredient. They are wonderful added to hearty soups, vibrant salads, creamy hummus, gourmet sandwiches, savory pizzas, trendy avocado toast, fluffy scrambles, and so much more. This simple recipe is not only entirely vegan but also completely oil-free, making it a perfect choice for healthy eating.
The magic of roasting bell peppers lies in its ability to caramelize their natural sugars and soften their texture, resulting in a depth of flavor that raw peppers simply cannot achieve. Whether you’re a seasoned chef or a kitchen novice, learning how to roast red peppers is a valuable skill that opens up a world of culinary possibilities. Let’s dive into the step-by-step process for creating these delightful peppers right in your own kitchen.
How to Make Oven Roasted Red Peppers: A Step-by-Step Guide
Mastering the art of making oven roasted red peppers is simpler than you might imagine, requiring just about 30 minutes from start to finish. This guide focuses on the most common and accessible method: oven broiling, which yields beautifully charred and tender peppers with minimal effort. While other methods like stovetop or grilling exist, the oven offers consistent results and ease.
Essential Tools and Ingredients You’ll Need
Gathering your supplies beforehand ensures a smooth and efficient roasting process. Here’s a quick checklist:
- Bell Peppers: While red bell peppers are most commonly used for their vibrant color and intense sweetness, feel free to experiment with yellow, orange, or even green peppers. Each color offers a slightly different flavor profile – yellow and orange are also sweet, while green provides a tangier, slightly bitter note. Choose firm, blemish-free peppers for the best results.
- A Sturdy Baking Tray: A standard metal baking sheet is ideal for roasting. Opt for one with a rim to prevent any juices from spilling into your oven. No need for parchment paper or foil with this method, which we’ll discuss further below.
- An Airtight Storage Container: Glass jars, such as Weck jars or classic mason jars, are excellent choices for storing your finished roasted peppers. Any good quality airtight container will work to keep them fresh.
While some culinary enthusiasts enjoy roasting peppers stovetop on a gas burner or on a charcoal grill for an extra smoky flavor, today we’ll focus exclusively on the oven method. It’s universally accessible and delivers fantastic results every time.
Preparing Your Bell Peppers for Roasting
The initial preparation of your red peppers is crucial for even roasting and easy peeling. Follow these simple steps to get them ready:
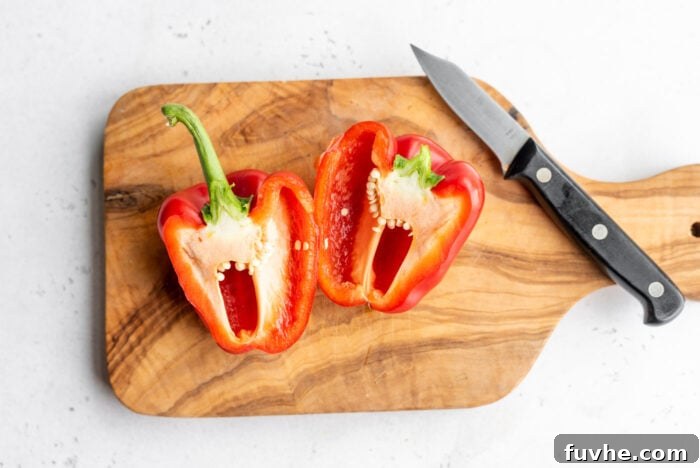
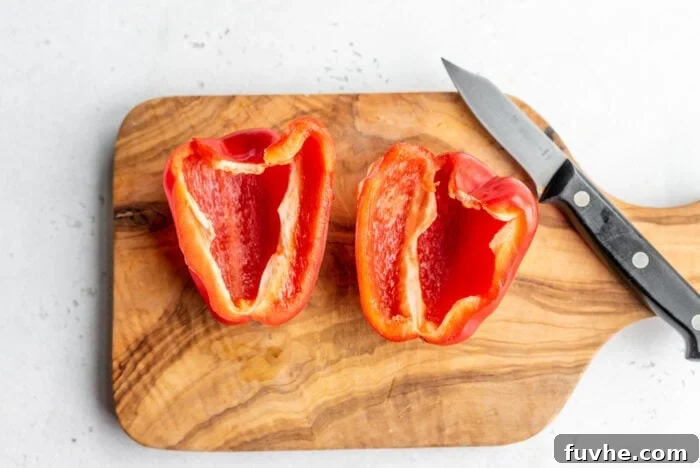
- Wash and Halve: Begin by thoroughly washing your bell peppers under cold running water. Then, carefully cut each pepper in half lengthwise, starting from the stem down to the bottom.
- Remove Seeds and Stems: Scoop out all the seeds and white membranes from the inside of each pepper half. You can use a spoon or your fingers for this. Discard these parts, as they are not needed for roasting.
- Flatten on the Tray: Place the cleaned pepper halves onto your baking tray with the cut side down and the skin facing up. Gently press down on each pepper half to flatten it as much as possible. This ensures maximum contact with the heat and promotes even charring across the skin.
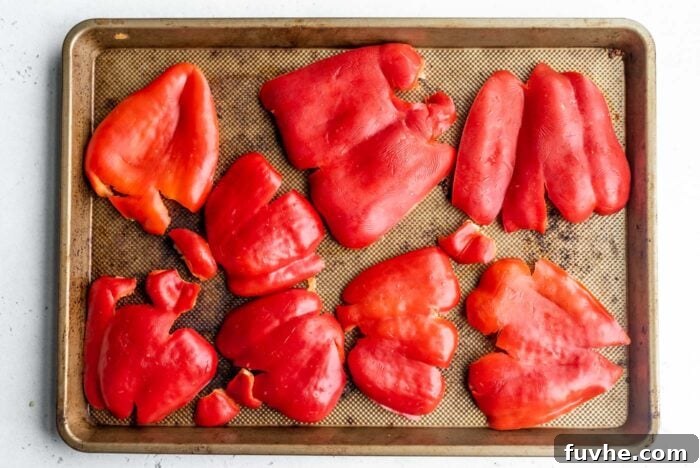
Do I Need to Line the Baking Pan with Foil or Parchment?
For this specific broiling method, using aluminum foil or any other liner on the pan is generally not recommended. The intense, direct heat from the broiler is designed to char the pepper skins directly, and a liner can interfere with this process, potentially trapping moisture or even posing a safety risk at very high temperatures, especially with parchment paper. The goal is direct heat on the skin for quick charring and easy peeling.
Important Note: If you prefer to line your pan for easier cleanup, using a silicone baking mat or parchment paper is an option. However, in this case, I would strongly advise against using the “Broil” setting. Instead, roast the peppers at a high conventional oven temperature, such as 450 degrees F (230 degrees C), to safely achieve a similar result without risking burns to your liner.
The Roasting Process: Broiling for Perfection
Now that your peppers are prepped, it’s time to bring on the heat! The broiler setting in your oven is your best friend for achieving that desired blackened skin and tender interior. Here’s how to roast red peppers to perfection:
- Position the Oven Rack: Adjust one of your oven racks so it’s positioned slightly higher than the middle of the oven, but not too close to the top heating element. If the peppers are too close, they might burn rapidly on the outside before the flesh has a chance to soften. A good rule of thumb is about 6-8 inches from the broiler element.
- Engage the Broiler: Turn your oven to the “Broil” setting. This utilizes intense direct heat from the top element, mimicking the effect of grilling. Allow your oven to preheat for a few minutes with the door slightly ajar (as often recommended for broiling) to ensure the element is glowing red hot.
- Broil and Monitor: Carefully place the baking tray with the peppers into the oven on the prepared rack. Broil for approximately 12-16 minutes, but it’s crucial to check on them every 4-5 minutes. Oven broilers vary significantly in intensity, and peppers can go from perfectly charred to completely burnt very quickly. Watch for the skins to bubble, blister, and turn dark black.
Your peppers are done when their skins are almost entirely blackened and blistered, and the flesh appears wonderfully soft and cooked through. Once they reach this stage, carefully remove them from the oven. They will be incredibly hot, so handle with care and allow them to cool down slightly before proceeding to the next step.
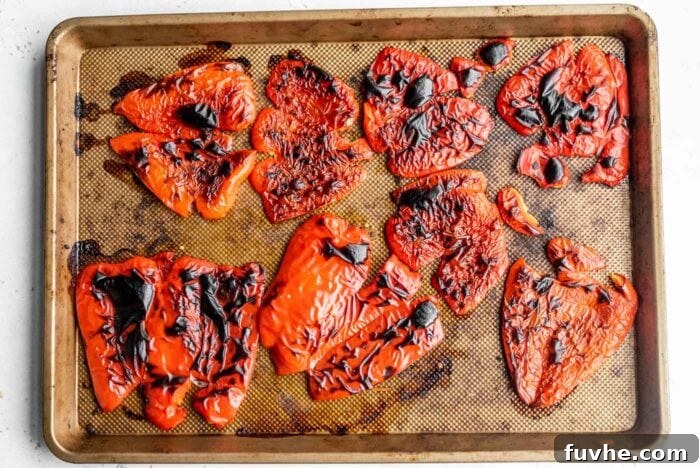
The Steaming Debate: To Steam or Not to Steam?
Many recipes for roasted red peppers suggest an additional step of steaming the peppers after roasting. The theory behind this is that placing the hot, charred peppers in an enclosed space helps to trap steam, which in turn loosens the skins, making them easier to peel. While this method is widely recommended, my personal experience has shown that it often makes little difference. I find that simply allowing the peppers to cool sufficiently makes the skins peel away quite readily without the extra step.
However, if you ever find yourself struggling to peel your roasted peppers, attempting a quick steam can be a helpful trick. To do this, simply gather all the hot, roasted pepper halves together on the baking pan and immediately cover them with an inverted mixing bowl or a tight-fitting lid for about 15-20 minutes. This creates a steamy environment that can aid in loosening stubborn skins. Alternatively, you can transfer the hot peppers to a paper bag, a pot with its lid on, or a bowl covered with a plate. All these methods achieve the same goal of trapping steam. Ultimately, whether you choose to steam or not, the most important factor is letting them cool down enough to handle comfortably before attempting to peel.
Peeling the Charred Skins from Roasted Peppers
Once your roasted peppers have cooled to a comfortable temperature, it’s time for the slightly messy but satisfying task of peeling off their charred skins. This step is essential for achieving the smooth, silky texture that roasted red peppers are famous for. Begin by gently grasping an edge of the blackened skin and slowly pulling it away from the flesh. You’ll find that most of the skin should peel off quite easily, especially if the peppers were thoroughly charred.
Don’t fret if some tiny bits of skin remain stubbornly attached, or if the process gets a little messy – that’s perfectly normal! There’s no need to strive for absolute perfection by removing every single speck of skin. A few small charred flecks can even add a desirable rustic aesthetic and a deeper smoky flavor. In my experience, the more intensely charred and blackened the pepper skins are, the easier they tend to peel. So, next time you’re roasting, don’t be shy about letting those skins get good and dark in the oven; it’s a key to effortless peeling!
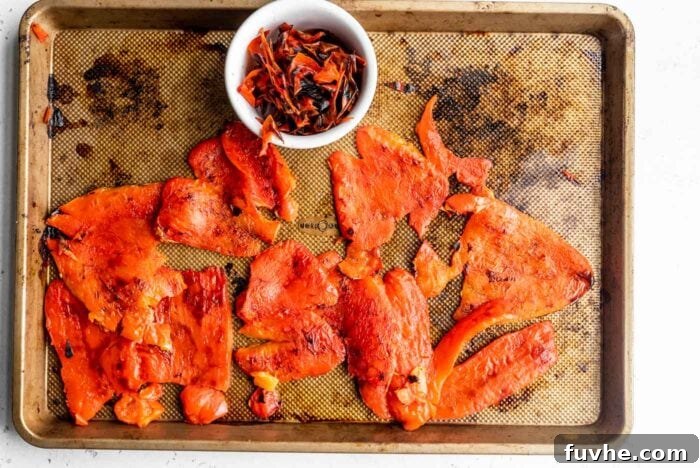
Slicing and Storing Your Homemade Roasted Peppers
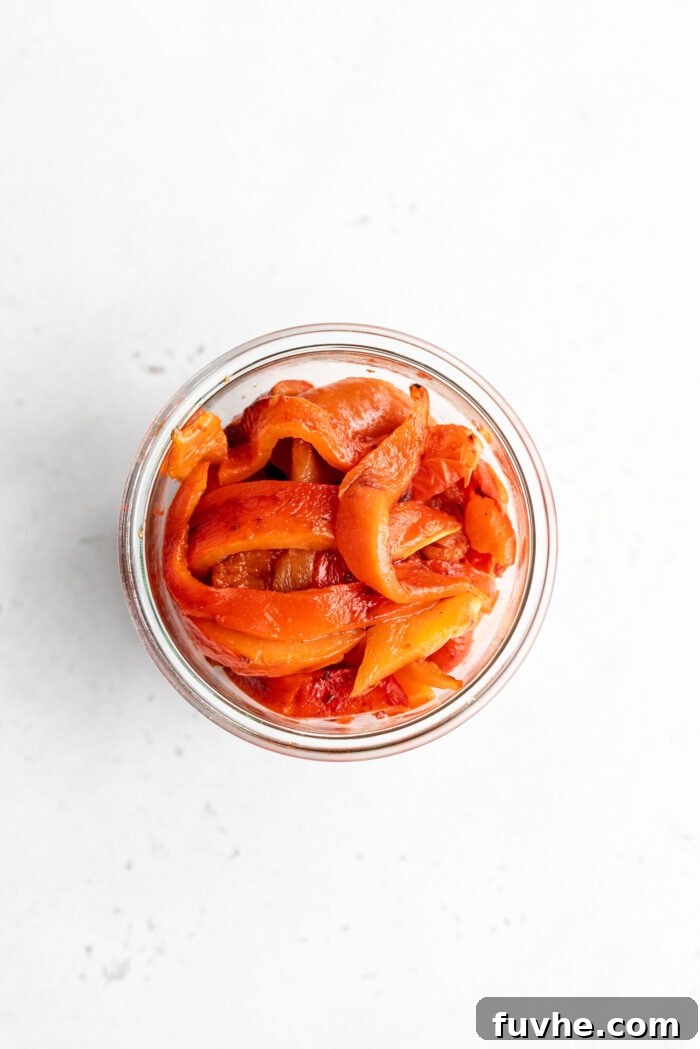
Congratulations, you’ve successfully made homemade roasted red peppers! The final step is to prepare them for immediate use or long-term storage. You can choose to slice them into strips, dice them into smaller pieces, or even leave them whole, depending on your intended culinary application. Once sliced or diced, your delicious peppers are ready to be incorporated into your favorite recipes or stored for later enjoyment.
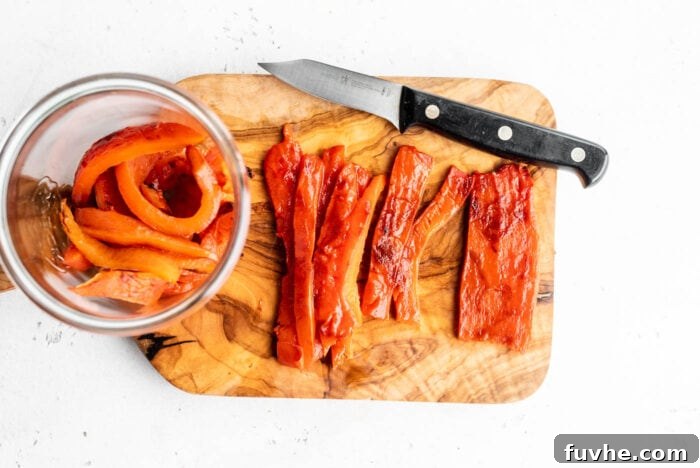
How Long Do Homemade Roasted Red Peppers Last?
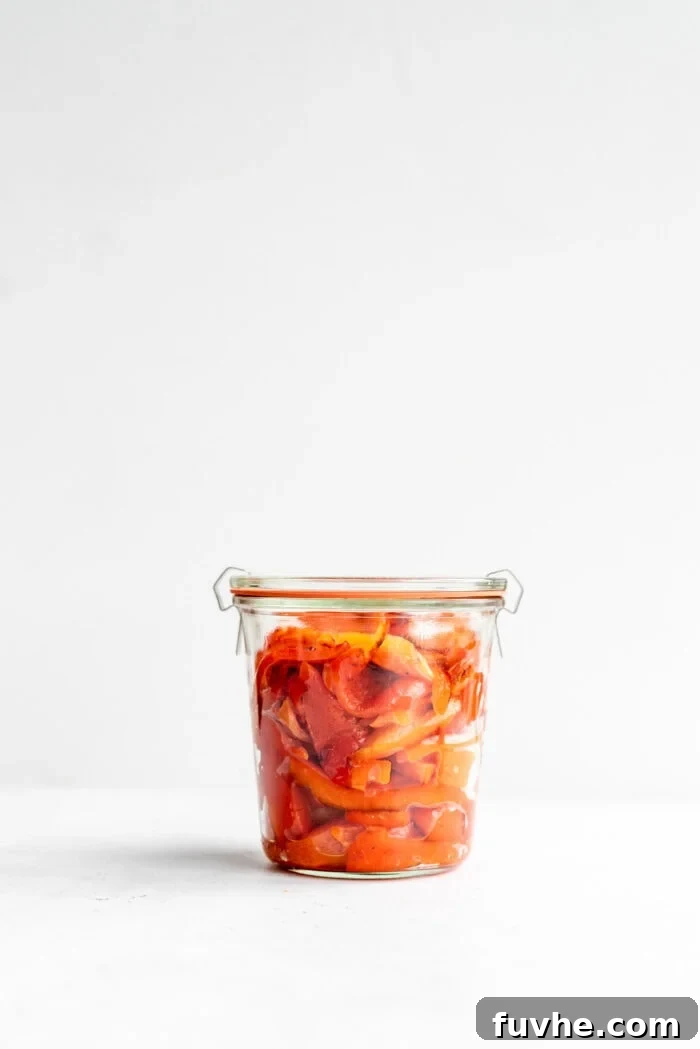
Proper storage is key to enjoying your roasted red peppers for an extended period. When stored in an airtight container in the refrigerator, homemade roasted red peppers without any added oil will remain fresh and delicious for up to 5 days. For a significantly longer shelf life and enhanced flavor, you can cover them completely in a good quality olive oil. Submerging them in oil can extend their refrigeration time to up to 2 weeks, provided they are kept fully covered and sealed. This oil also becomes infused with the pepper’s smoky sweetness, making it a flavorful ingredient in itself!
Can You Freeze Roasted Red Peppers?
Absolutely! Freezing is an excellent way to preserve roasted red peppers for future use, allowing you to enjoy their wonderful flavor long after they’ve been prepared. Once cooled, place them in an airtight, freezer-safe container or freezer bags. They will maintain their quality in the freezer for up to 2 months. For added convenience and to prevent sticking, you can lay them flat in a single layer with a piece of wax paper or parchment paper between each layer before freezing. This makes it easy to grab just the amount you need without having to thaw the entire batch. When you’re ready to use them, simply thaw the frozen peppers at room temperature for a few hours or overnight in the refrigerator.
Creative Ways to Use Roasted Red Peppers
The beauty of homemade roasted red peppers lies in their incredible versatility. Their sweet and smoky flavor profile enhances a wide variety of dishes, adding depth, color, and a gourmet touch. Here are some delicious and creative ways to incorporate these culinary delights into your meals:
- In Wraps and Sandwiches: Layer sliced roasted red peppers into your favorite wraps, pitas, or sandwiches for an instant flavor upgrade. They pair wonderfully with hummus, cheese, avocado, and grilled vegetables.
- Blended into Soups and Sauces: Purée roasted red peppers into creamy tomato soups for a richer, sweeter flavor, or blend them into pasta sauces, dips, and salad dressings for a vibrant color and smoky kick. They make an excellent base for a robust Romesco sauce or a simple roasted red pepper pesto.
- Added to Salads and Buddha Bowls: Chop and toss roasted red peppers into green salads, grain bowls, or Buddha bowls. Their soft texture and sweet taste complement crisp greens, hearty grains, and various proteins beautifully.
- Flavorful Dips and Spreads: The classic roasted red pepper hummus is just the beginning! Blend them into creamy spreads for crostini, mix them into cream cheese for a savory bagel topping, or create a smoky aioli.
- Enhancing Breakfast Scrambles: Dice roasted red peppers and fold them into tofu scrambles, omelets, or frittatas. Their sweetness adds a lovely contrast to savory breakfast dishes.
- On Pizza and Flatbreads: Use sliced roasted red peppers as a topping for homemade pizzas or flatbreads. They add a sophisticated flavor dimension that pairs well with various cheeses and other vegetables.
- As a Side Dish: Simply serve whole or sliced roasted red peppers as a flavorful side dish, perhaps drizzled with a balsamic glaze or a sprinkle of fresh herbs.
To get you started, here are a few specific recipes where these versatile peppers truly shine:
- Roasted Red Pepper Hummus: A vibrant, flavorful dip perfect for entertaining or healthy snacking.
- Roasted Red Pepper Tomato Soup: A comforting and rich soup with a delightful smoky sweetness.
- Mediterranean Farro Salad Bowls: Add a burst of Mediterranean flavor and color to these wholesome bowls.
- Roasted Red Pepper Pasta: Elevate your pasta dishes with a rich, savory roasted red pepper sauce.
Beyond these, roasted red peppers would also be a particularly yummy addition to this Mediterranean quinoa bowl, a hearty savory vegan breakfast bowl, or a satisfying avocado breakfast bowl, bringing a touch of gourmet flavor to any meal.
Roasted Red Peppers
Ingredients
- 1-4 red peppers
Instructions
-
Wash the peppers and cut in half from the stem down. Remove the seeds and discard.
-
Smash the peppers so they lay flat and place on a roasting pan in a single layer, skin side up.
-
Arrange an oven rack in the top third of the oven (not too close to the top broiler element). Turn the oven on to “Broil”.
-
Place the peppers in the oven and broil for 12-16 minutes until the skins are almost completely blackened and blistered, checking every 4-5 minutes.
-
Remove from the oven and let cool enough to handle.
-
Peel the blackened skins off and discard.
-
Enjoy the peppers right away, use in a recipe, or store in the fridge in an airtight container for up to 5 days.
Notes
Nutrition
Enjoy this recipe? Share your thoughts and rate it below!