
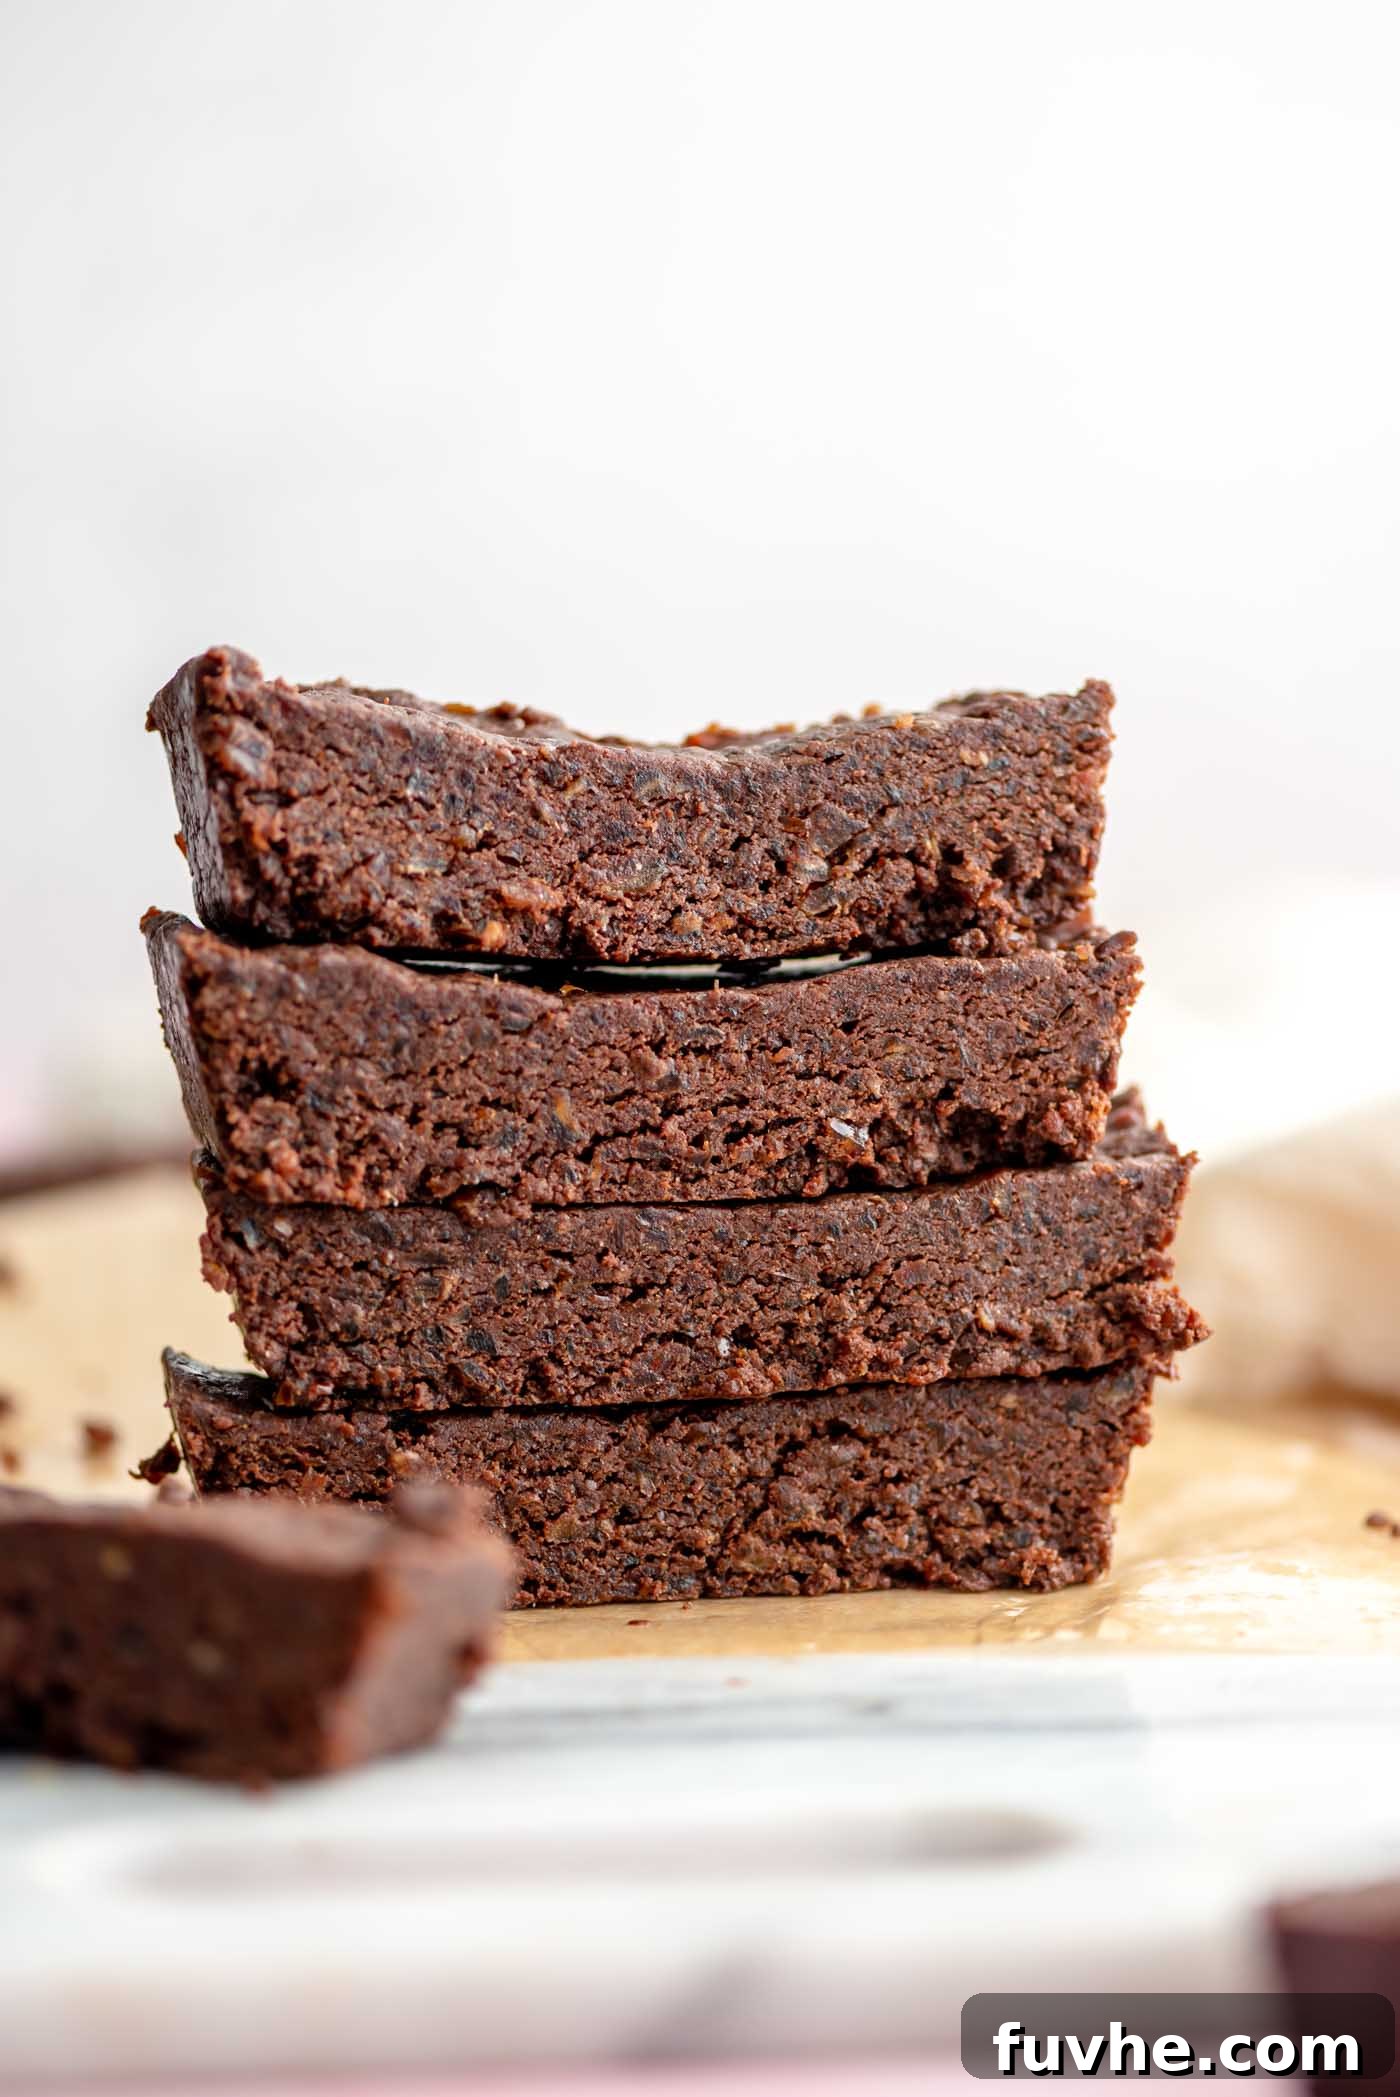
Transform your snacking habits with these incredibly easy-to-make no-bake chocolate protein bars. Crafted with just 5 wholesome ingredients, this recipe offers a delicious and nutritious alternative to store-bought options, packed with rich flavor and a satisfying texture. Whether you’re fueling a workout, grabbing a quick snack, or satisfying a sweet craving, these homemade bars are a perfect choice.
The core of these delightful bars relies on a simple blend of naturally sweet dates, creamy tahini, high-quality plant-based protein powder, rich cocoa powder, and a splash of plant-based milk. But the beauty doesn’t stop there; these bars are endlessly customizable. Feel free to incorporate your favorite add-ins like crunchy almonds, refreshing mint extract, or decadent chocolate chips to create your signature flavor.
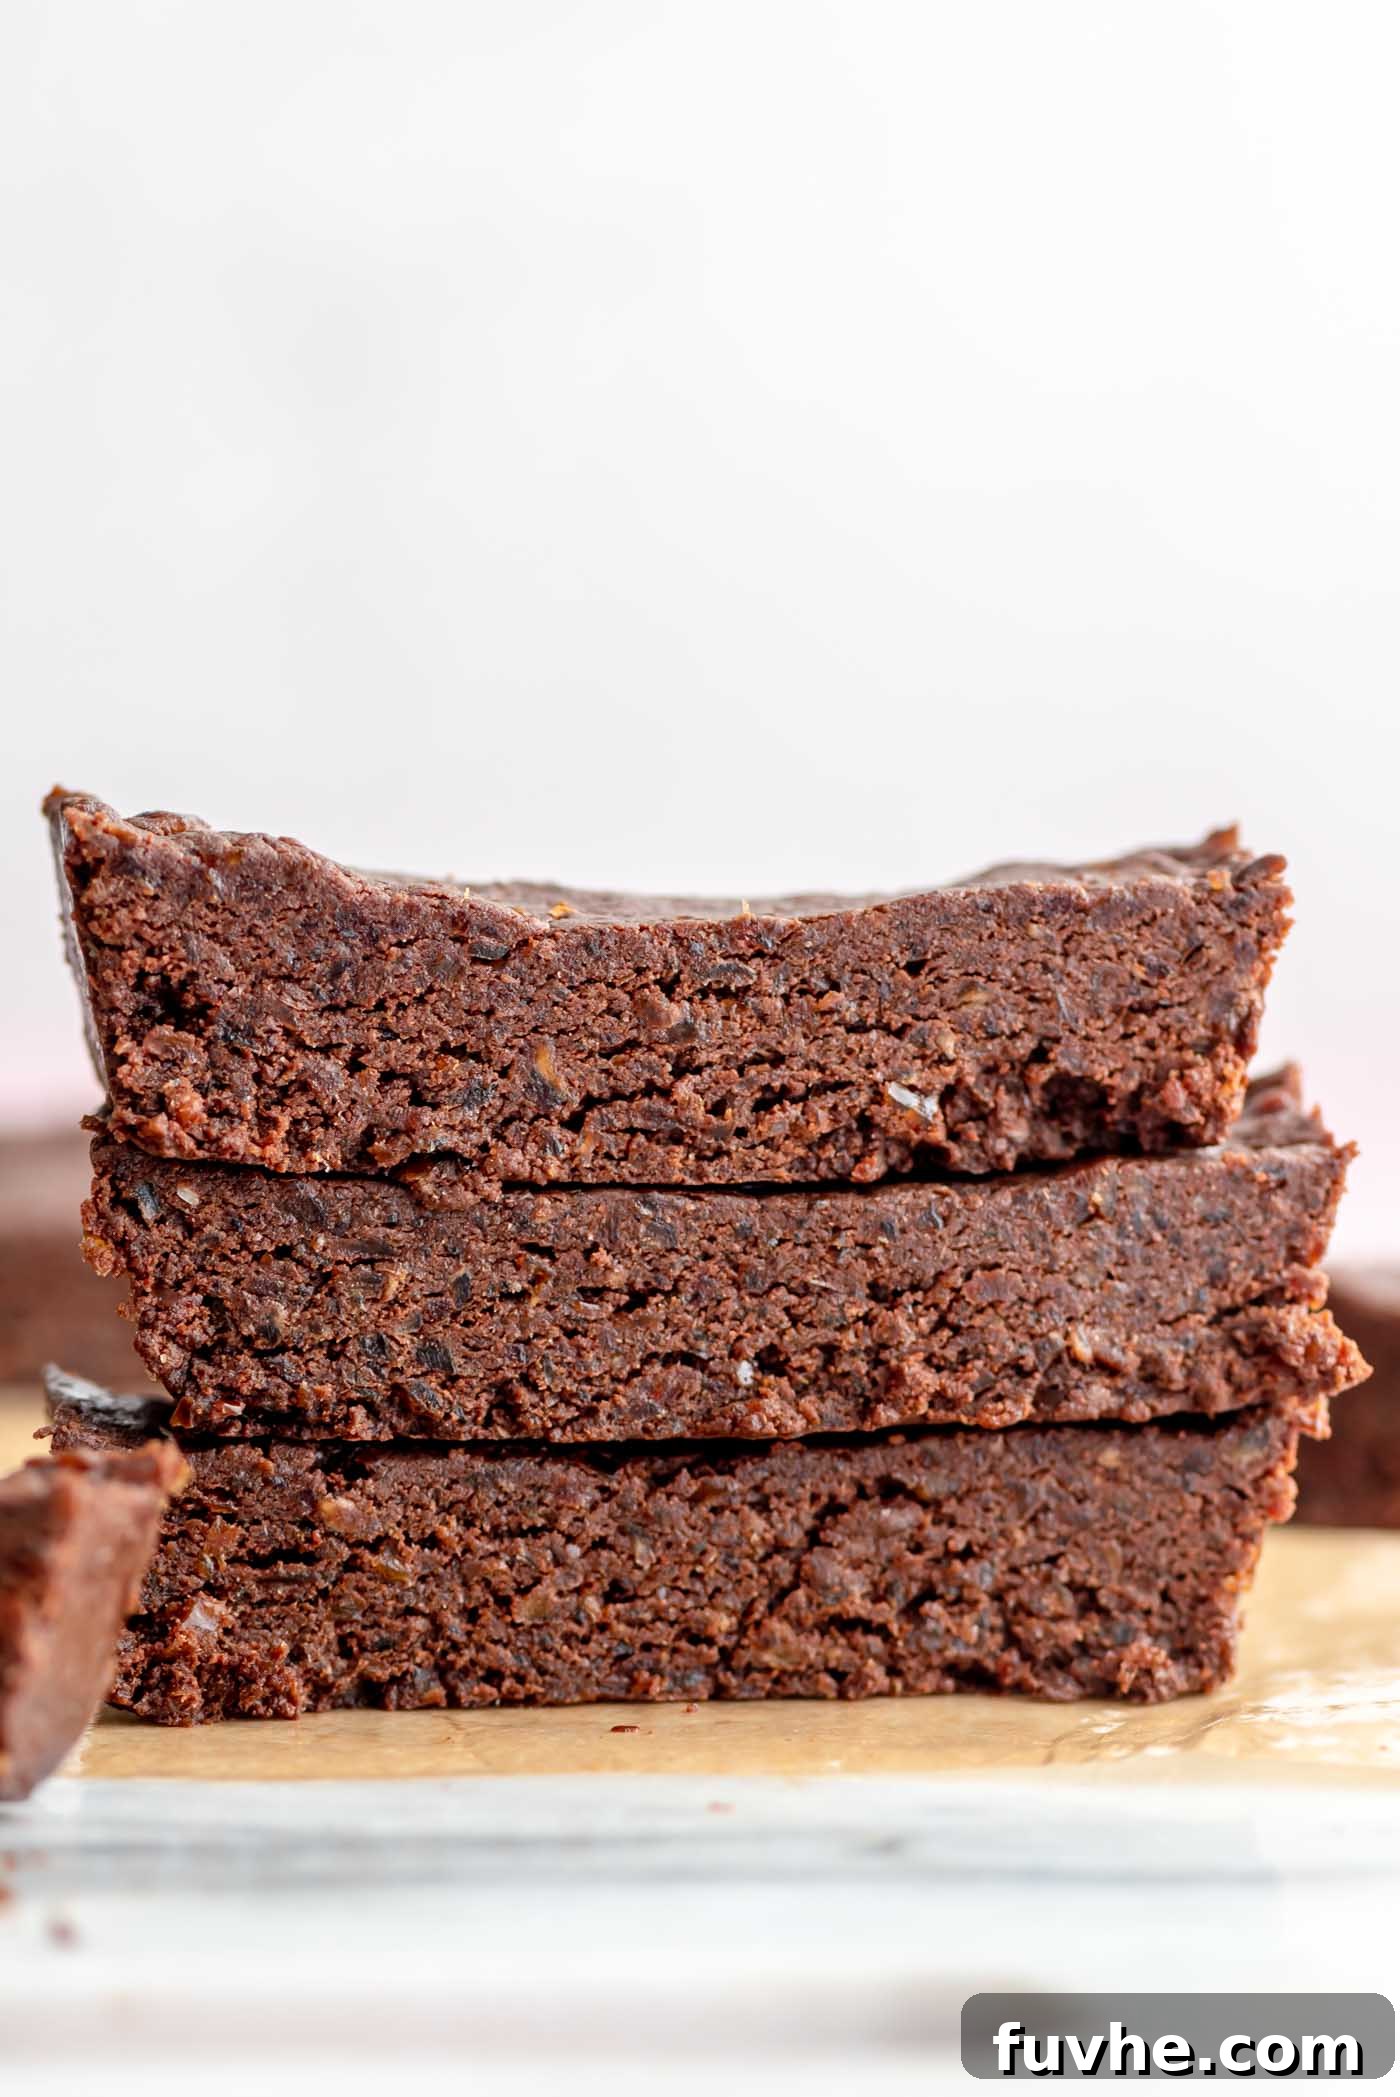
In a world full of highly processed snacks, these homemade protein bars stand out. They offer a simple, wholesome solution, allowing you to control every ingredient for a truly nourishing treat. Say goodbye to artificial flavors, unnecessary sugars, and questionable additives often found in commercial protein bars. With this recipe, you’ll simply combine everything in a food processor, press the mixture into a pan, chill until firm, and then slice into perfectly portioned bars. The result is a delightfully soft and chewy snack, bursting with rich, deep chocolatey flavor that will keep you coming back for more.
Beyond smoothies, protein powder is incredibly versatile. If you’re looking for more creative ways to incorporate plant-based protein into your diet, be sure to explore these other fantastic recipes: our No-Bake Hemp Protein Bars for a nutritious twist, the indulgent Salted Mocha Coconut Protein Bars, and the surprisingly simple 5-Ingredient Vegan Protein Brownies.
Why You’ll Love These Chocolate Protein Bars
These homemade no-bake chocolate protein bars aren’t just easy to make; they’re packed with benefits that make them an ideal addition to any healthy lifestyle:
- Completely Vegan: Made with plant-based ingredients, these bars are perfect for those following a vegan diet or looking to reduce their dairy intake.
- Dietary Friendly: Naturally gluten-free, grain-free, and can be made nut-free (by sticking with tahini or other seed butters), accommodating various dietary needs.
- No-Bake Convenience: Skip the oven! This recipe requires no baking, making it quick, easy, and perfect for warm weather or when you’re short on time.
- Decadent & Delicious: Rich chocolate flavor combined with a soft, chewy texture makes these bars feel like an indulgent treat, yet they’re incredibly good for you.
- Freezer-Friendly: Prepare a batch ahead of time and store them in the freezer for quick and easy access to healthy snacks whenever hunger strikes.
- Minimal Ingredients: With just 5 basic components, you likely already have most of what you need in your pantry.
- Highly Customizable: Easily adapt the recipe with various add-ins and flavor combinations to suit your personal preferences.
- Perfect Texture: Enjoy a soft, wonderfully chewy texture that satisfies your cravings without being overly dense or sticky.
- High Protein Content: Each bar delivers approximately 10 grams of protein, making it an excellent post-workout snack or a satisfying pick-me-up.
Key Ingredients for Your Homemade Protein Bars
Creating these delicious and healthy no-bake protein bars requires only a handful of staple ingredients. Each component plays a crucial role in both flavor and texture:
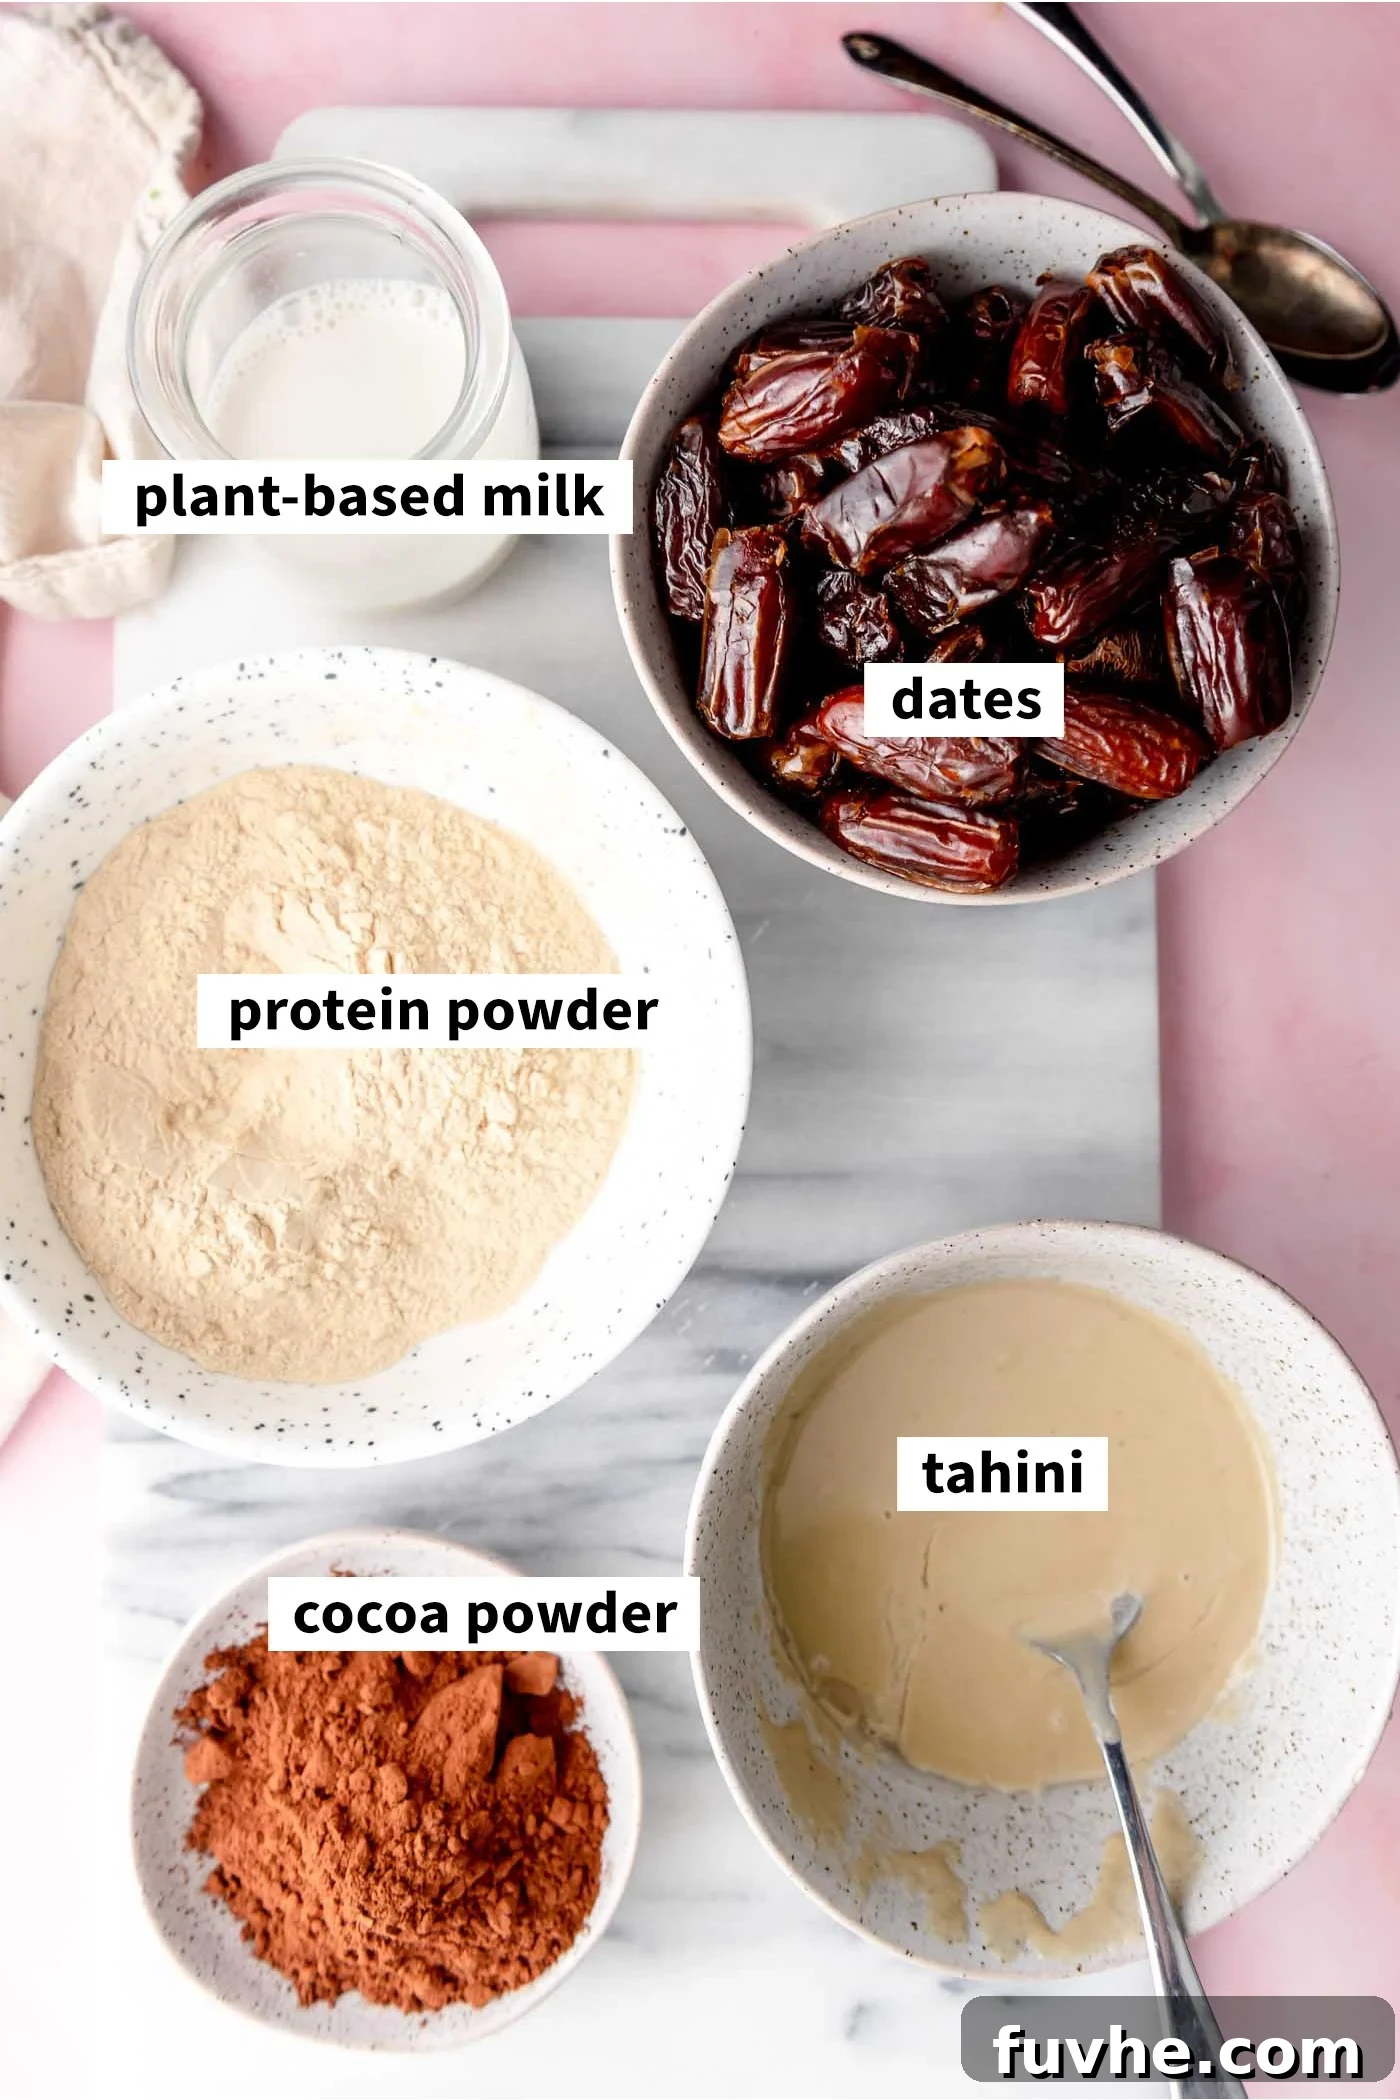
- Tahini: This rich, sesame seed paste acts as a fantastic binder and adds a subtle nutty flavor and healthy fats. For the best consistency, use a smooth, drippy tahini. If you prefer, or if you need a specific allergy-friendly option, you can substitute it with any other smooth nut butter like peanut butter, almond butter, or cashew butter, or a seed butter like sunflower seed butter, ensuring it has a similar drippy consistency.
- Protein Powder: This is where the “protein” in protein bar comes from! We recommend using a high-quality vegan protein powder. Vanilla or chocolate flavors work exceptionally well, complementing the other ingredients perfectly. Pea protein-based powders or blends of various plant proteins (like brown rice, hemp, lentil) are excellent choices for their smooth texture and complete amino acid profile. Look for brands known for good taste and quality like Genuine Health, Naked Protein, Iron Vegan, Vega, or PVL Plant-Based Protein.
- Cocoa Powder: The star of the chocolate flavor! Both unsweetened cocoa powder and raw cacao powder are suitable. Cacao powder tends to have a more intense, slightly bitter chocolate flavor and retains more antioxidants, while cocoa powder is more widely available and offers a classic chocolate taste.
- Dates: Dates are the natural sweetener and provide the essential sticky binding agent for these no-bake bars. It’s crucial to use soft, moist dates for the best results. Medjool dates are often preferred for their caramel-like flavor and soft texture, but sayer dates or deglet noor dates work beautifully too, provided they are fresh and pliable. If your dates feel dry or hard, simply soak them in hot water for about 15 minutes, then drain them thoroughly before adding them to your food processor.
- Plant-Based Milk: A small amount of unsweetened plant-based milk helps achieve the perfect dough consistency. Any variety will do – almond milk, soy milk, oat milk, or cashew milk are all excellent choices. Start with the minimum amount and add more only if the mixture appears too dry.
- Sea Salt (Optional): A pinch of sea salt enhances the chocolate flavor and balances the sweetness of the dates, creating a more complex and appealing taste profile. Highly recommended!
Remember, this is a summary of the main ingredients. For precise measurements and detailed instructions, please refer to the complete recipe card found at the end of this post.
Delicious Variations to Customize Your Protein Bars
One of the best aspects of this no-bake protein bar recipe is how adaptable it is. With a few simple tweaks, you can create a variety of flavors to keep things exciting and cater to different preferences. Get creative and make these bars truly your own!
- Chocolate Mint Protein Bars: For a refreshing twist, add up to 1 teaspoon of peppermint essence or a few drops of mint extract to the food processor along with the other ingredients. This creates a classic and invigorating chocolate mint flavor, perfect for a post-dinner treat.
- Double Chocolate Delight: If you’re a serious chocolate lover, this variation is for you. After blending the main dough, fold in up to 1/2 cup of your favorite chocolate chips (dark, semi-sweet, or even vegan white chocolate chips) and pulse briefly to incorporate them. Alternatively, melt 1/2 cup of chocolate chips with 1 tablespoon of tahini or nut butter to create a glossy chocolate ganache for drizzling or spreading on top of your chilled bars.
- Chocolate Peanut Butter Powerhouse: Swap out the tahini for an equal amount of smooth peanut butter to create the ever-popular chocolate peanut butter combination. The rich, salty notes of peanut butter perfectly complement the sweet chocolate. If you can’t get enough of this combo, also check out these Easy No-Bake Chocolate Peanut Butter Protein Balls.
- Chocolate Almond Indulgence: For added crunch and a boost of healthy fats, pulse up to 1/2 cup of raw or roasted almonds in the food processor first until they reach a coarse meal consistency. Then, proceed with the rest of the recipe. The almonds provide a delightful textural contrast and a rich, nutty depth.
- Chocolate Coconut Dream: Transport yourself to a tropical paradise by adding up to 1/2 cup of unsweetened shredded coconut along with the other ingredients. The coconut adds a lovely chewiness and a subtle, fragrant flavor that pairs wonderfully with chocolate.
- Chocolate Cherry Bliss: Introduce a fruity tartness by substituting half of the dates with dried cherries. The combination of sweet chocolate and tangy cherries is absolutely divine and adds an extra layer of flavor complexity.
- Mocha Wake-Up Call: For coffee enthusiasts, incorporate up to 2 teaspoons of instant espresso powder or finely ground coffee with the dry ingredients. This will infuse your bars with a delightful mocha flavor. If you enjoy coffee-flavored snacks, you might also like these Coffee Energy Bars or No-Bake Chocolate Coffee Energy Bites.
- Boosted Healthy Fats & Fiber: Enhance the nutritional profile of your bars by mixing in up to 1/2 cup of hemp seeds or chia seeds. These superfoods add omega-3 fatty acids, extra fiber, and a subtle nutty flavor without significantly altering the texture.
Simple Step-by-Step Instructions for Perfect Protein Bars
Making these no-bake chocolate protein bars is incredibly straightforward. Follow these easy steps to whip up a batch of delicious and healthy snacks in no time. You’ll be amazed at how quickly they come together!
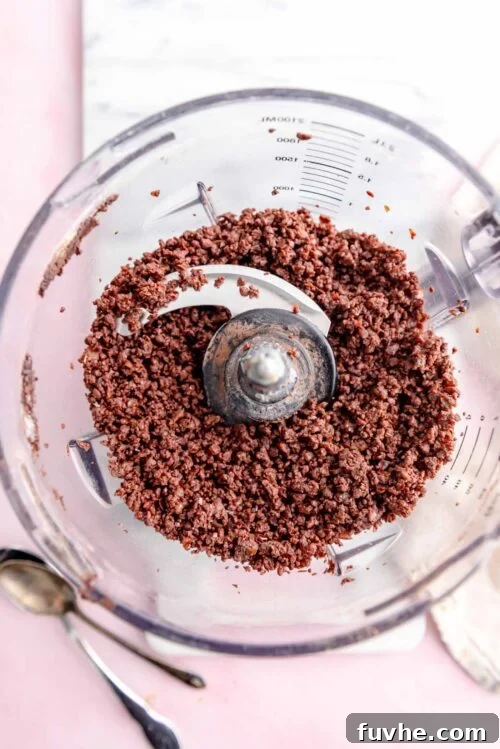
Step 1: Prepare the Mixture. Add all of your measured ingredients, starting with 2 tablespoons of plant-based milk, into a high-powered food processor. Blend thoroughly until the mixture is fully combined and resembles a moist, sticky dough. It should be pliable enough to easily press between your fingers. If the dough appears too dry or crumbly, add 1-2 more tablespoons of milk, one at a time, until the desired consistency is achieved.

Step 2: Press into a Pan. Line a loaf pan (for thicker bars) or a 7 or 8-inch square baking pan (for thinner bars) with parchment paper, ensuring the paper extends over the edges to create “handles.” This will make it much easier to remove the chilled bars. Transfer the entire contents of the food processor into the prepared pan.
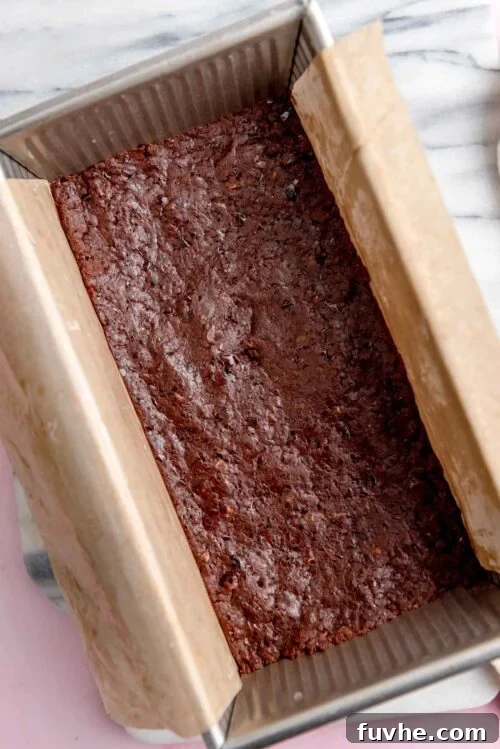
Step 3: Chill Until Firm. Firmly press the dough into an even layer across the entire pan. Use your hands or the back of a spoon to ensure it’s tightly packed, especially into the corners and along the edges. For an extra smooth surface, you can fold the overhanging parchment paper over the dough and press down. Place the pan in the freezer for a minimum of 1 hour to allow the bars to firm up completely.
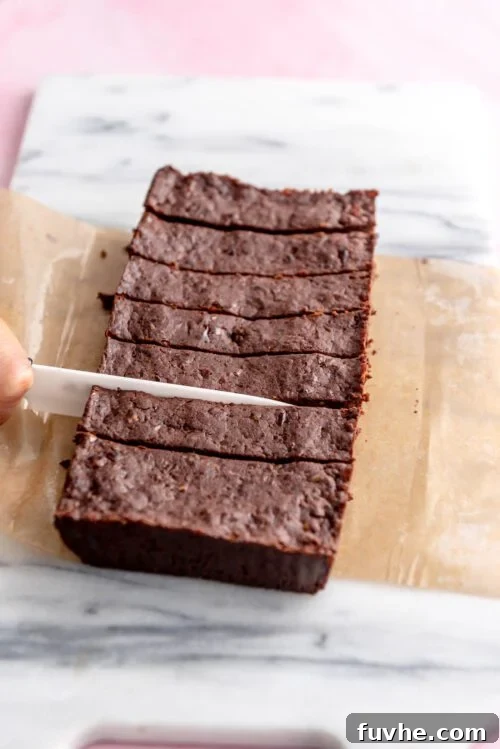
Step 4: Slice and Serve. Once thoroughly chilled and firm, lift the entire block of bars out of the pan using the parchment paper handles. Transfer it to a cutting board. Using a sharp knife, slice the block into portions. If you used a loaf pan, you’ll typically get 8 thick, satisfying bars. A square pan will yield 12 thinner bars or even 16 smaller squares, depending on your preferred serving size.
Recipe FAQs: Your Questions Answered
These protein bars are best stored in the freezer, where they will maintain their freshness and delicious chewy texture for 3-4 months when kept in an airtight container. They won’t freeze solid, making them perfect for enjoying straight from the freezer for a fudgy consistency. While they can be stored at room temperature for 3-4 days, they may become softer, especially in warmer climates. For a firmer bar that’s ready to eat, store them in the refrigerator for up to 1 week.
Yes, these homemade chocolate protein bars can absolutely be a healthy part of a balanced diet! Made with natural sweeteners (dates), healthy fats (tahini), and quality protein powder, they offer a nourishing snack or a healthier dessert option. They are free from refined sugars and artificial ingredients often found in commercial bars, providing sustained energy and satiety.
For the best texture and nutritional profile, a pea protein-based powder is highly recommended. Brands like Genuine Health, Naked Protein, Iron Vegan, Vega, or PVL Plant-Based Protein are excellent choices. You can opt for an all-pea protein powder or a blend that includes other plant proteins such as lentil, brown rice, chia, hemp, or pumpkin. When it comes to flavor, vanilla or chocolate protein powders work perfectly, but you could also experiment with complementary flavors like mocha, peanut butter, or caramel for a unique twist.
No-bake bars offer incredible convenience and efficiency. They save time and energy since there’s no oven preheating or baking time involved. This method also helps to preserve the nutritional integrity of heat-sensitive ingredients like protein powder, ensuring you get the most out of your healthy fats and vitamins. Plus, it keeps your kitchen cool, which is especially great during warmer months!
Absolutely! The recipe as written uses tahini, which is a sesame seed butter, making it naturally nut-free. If you choose to use a nut butter like peanut or almond butter for variations, simply stick to tahini or sunflower seed butter (SunButter) to keep the recipe completely free of nuts.
Soft, moist dates are key for the perfect chewy texture. If your dates are dry or hard, don’t worry! Simply place them in a bowl and cover them with hot water for about 15 minutes. Drain them very well before using them in the recipe to ensure they don’t add excess moisture.
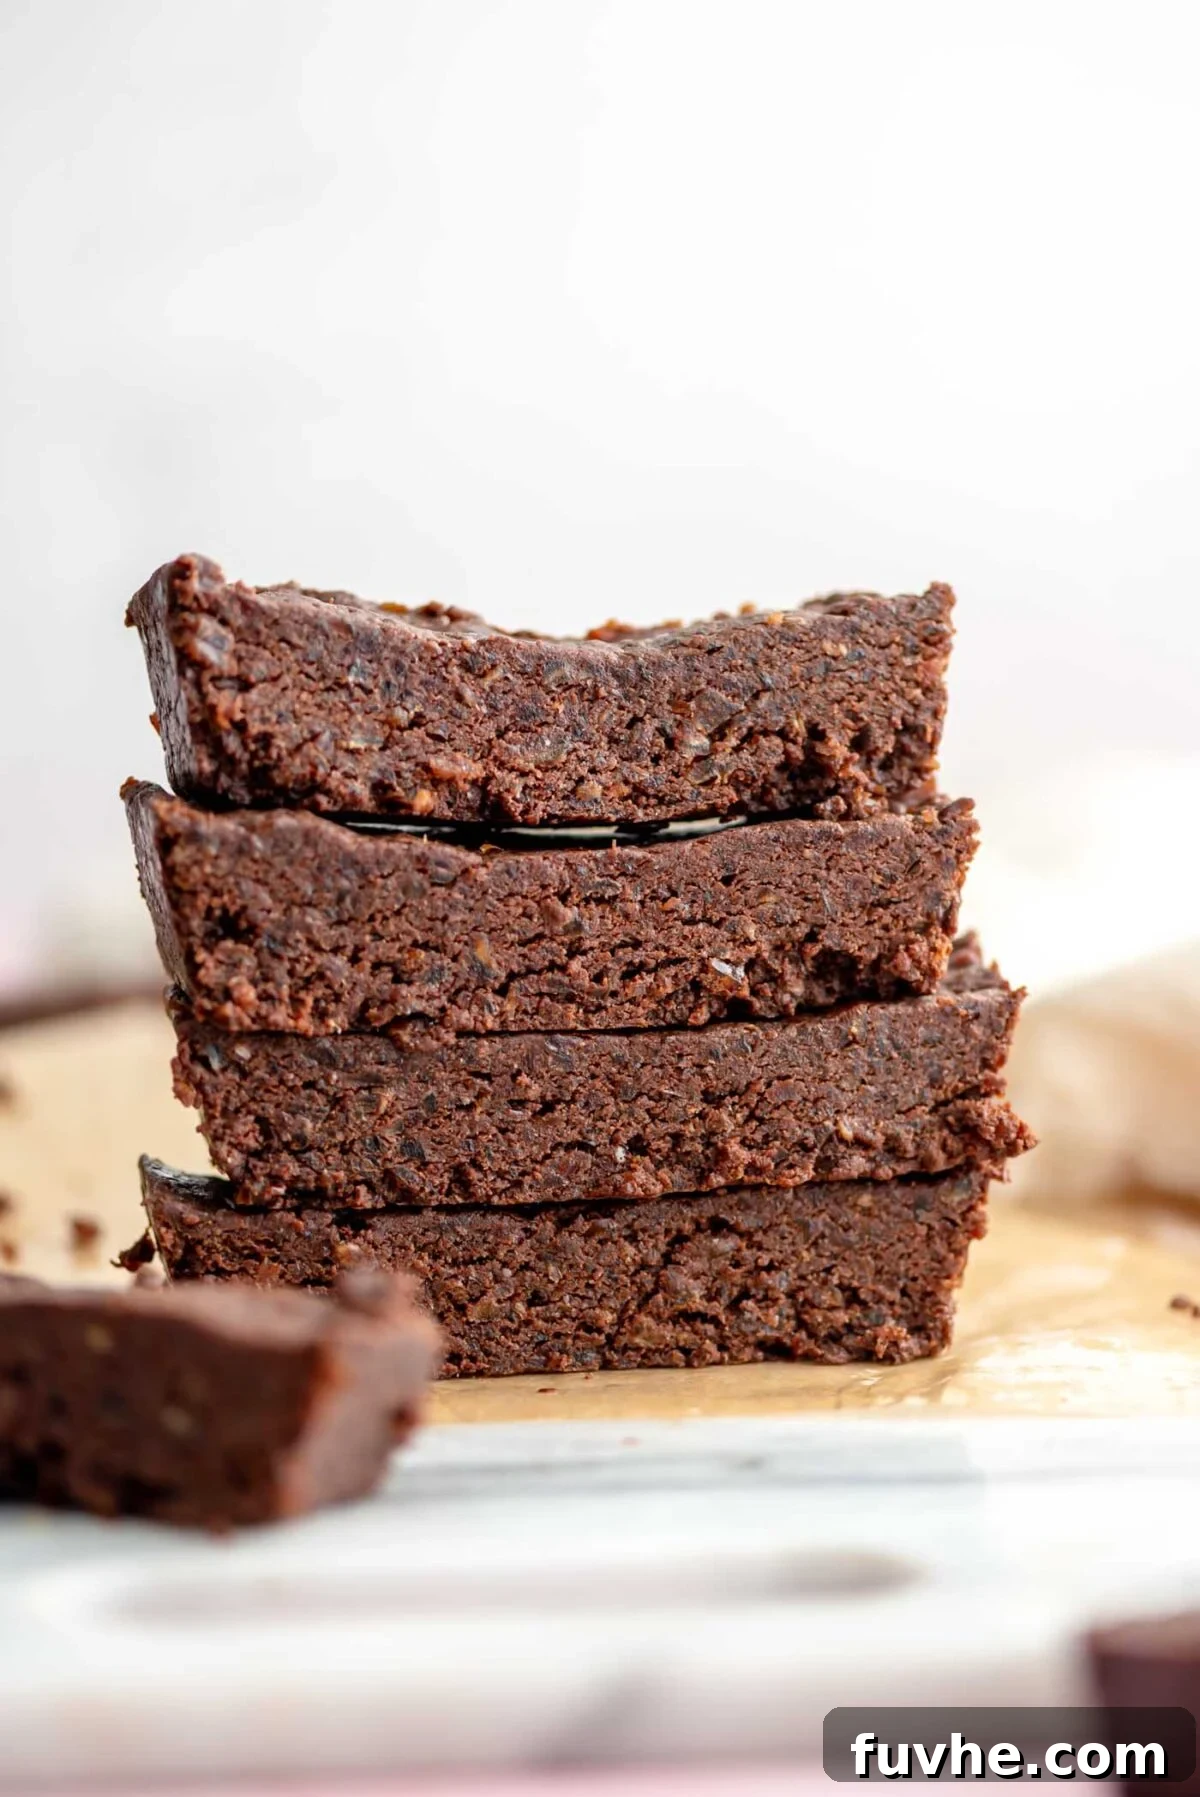
No-Bake Chocolate Protein Bars
Rate Recipe
Print Recipe
Ingredients
- 2 cups lightly packed soft pitted dates, 350 g, see notes
- 1/2 cup tahini, 120 g
- 1/2 cup chocolate or vanilla vegan protein powder, 50 g
- 1/4 cup cacao powder, 24 g
- 2-3 tbsp unsweetened plant-based milk
- 1/4 tsp sea salt, optional
Instructions
-
Line a 7-8-inch square baking pan or a loaf pan with parchment paper so it sticks out over the edges. If you use a square pan, you’ll get 12 thin bars; if you use a loaf pan, you’ll get 8 thick bars.
-
Add all ingredients to a food processor, starting with 2 tbsp of milk. Blend and assess the dough. Depending on the dates used, it may form one large ball of dough or smaller bits. Either way, the dough should be moist enough to press into a little ball between your fingers. If it seems too dry, add another 1 tbsp of milk.
-
Dump the dough into the lined pan and firmly press it into an even layer. Take a few moments to press it down, especially into the corners and along the edges. You can fold the sides of the parchment overtop and help to smooth the top with your hands.
-
Place in the freezer for 1 hour to firm.
-
Lift the bars out of the pan and cut into 8 bars if you used a loaf pan or 12 bars if you used a square baking pan.
Notes
For best results, use a kitchen scale and weigh your ingredients according to my measurements.
Store the bars in the freezer for up to 3 months. I love them straight from the freezer for the best fudgy consistency; they won’t freeze solid!
Nutrition facts are for making 8 bars in a loaf pan. Protein will vary slightly depending on the protein powder used. The protein powder I used added 44 grams of protein to the recipe.
Nutrition
Originally published February 15, 2018.