
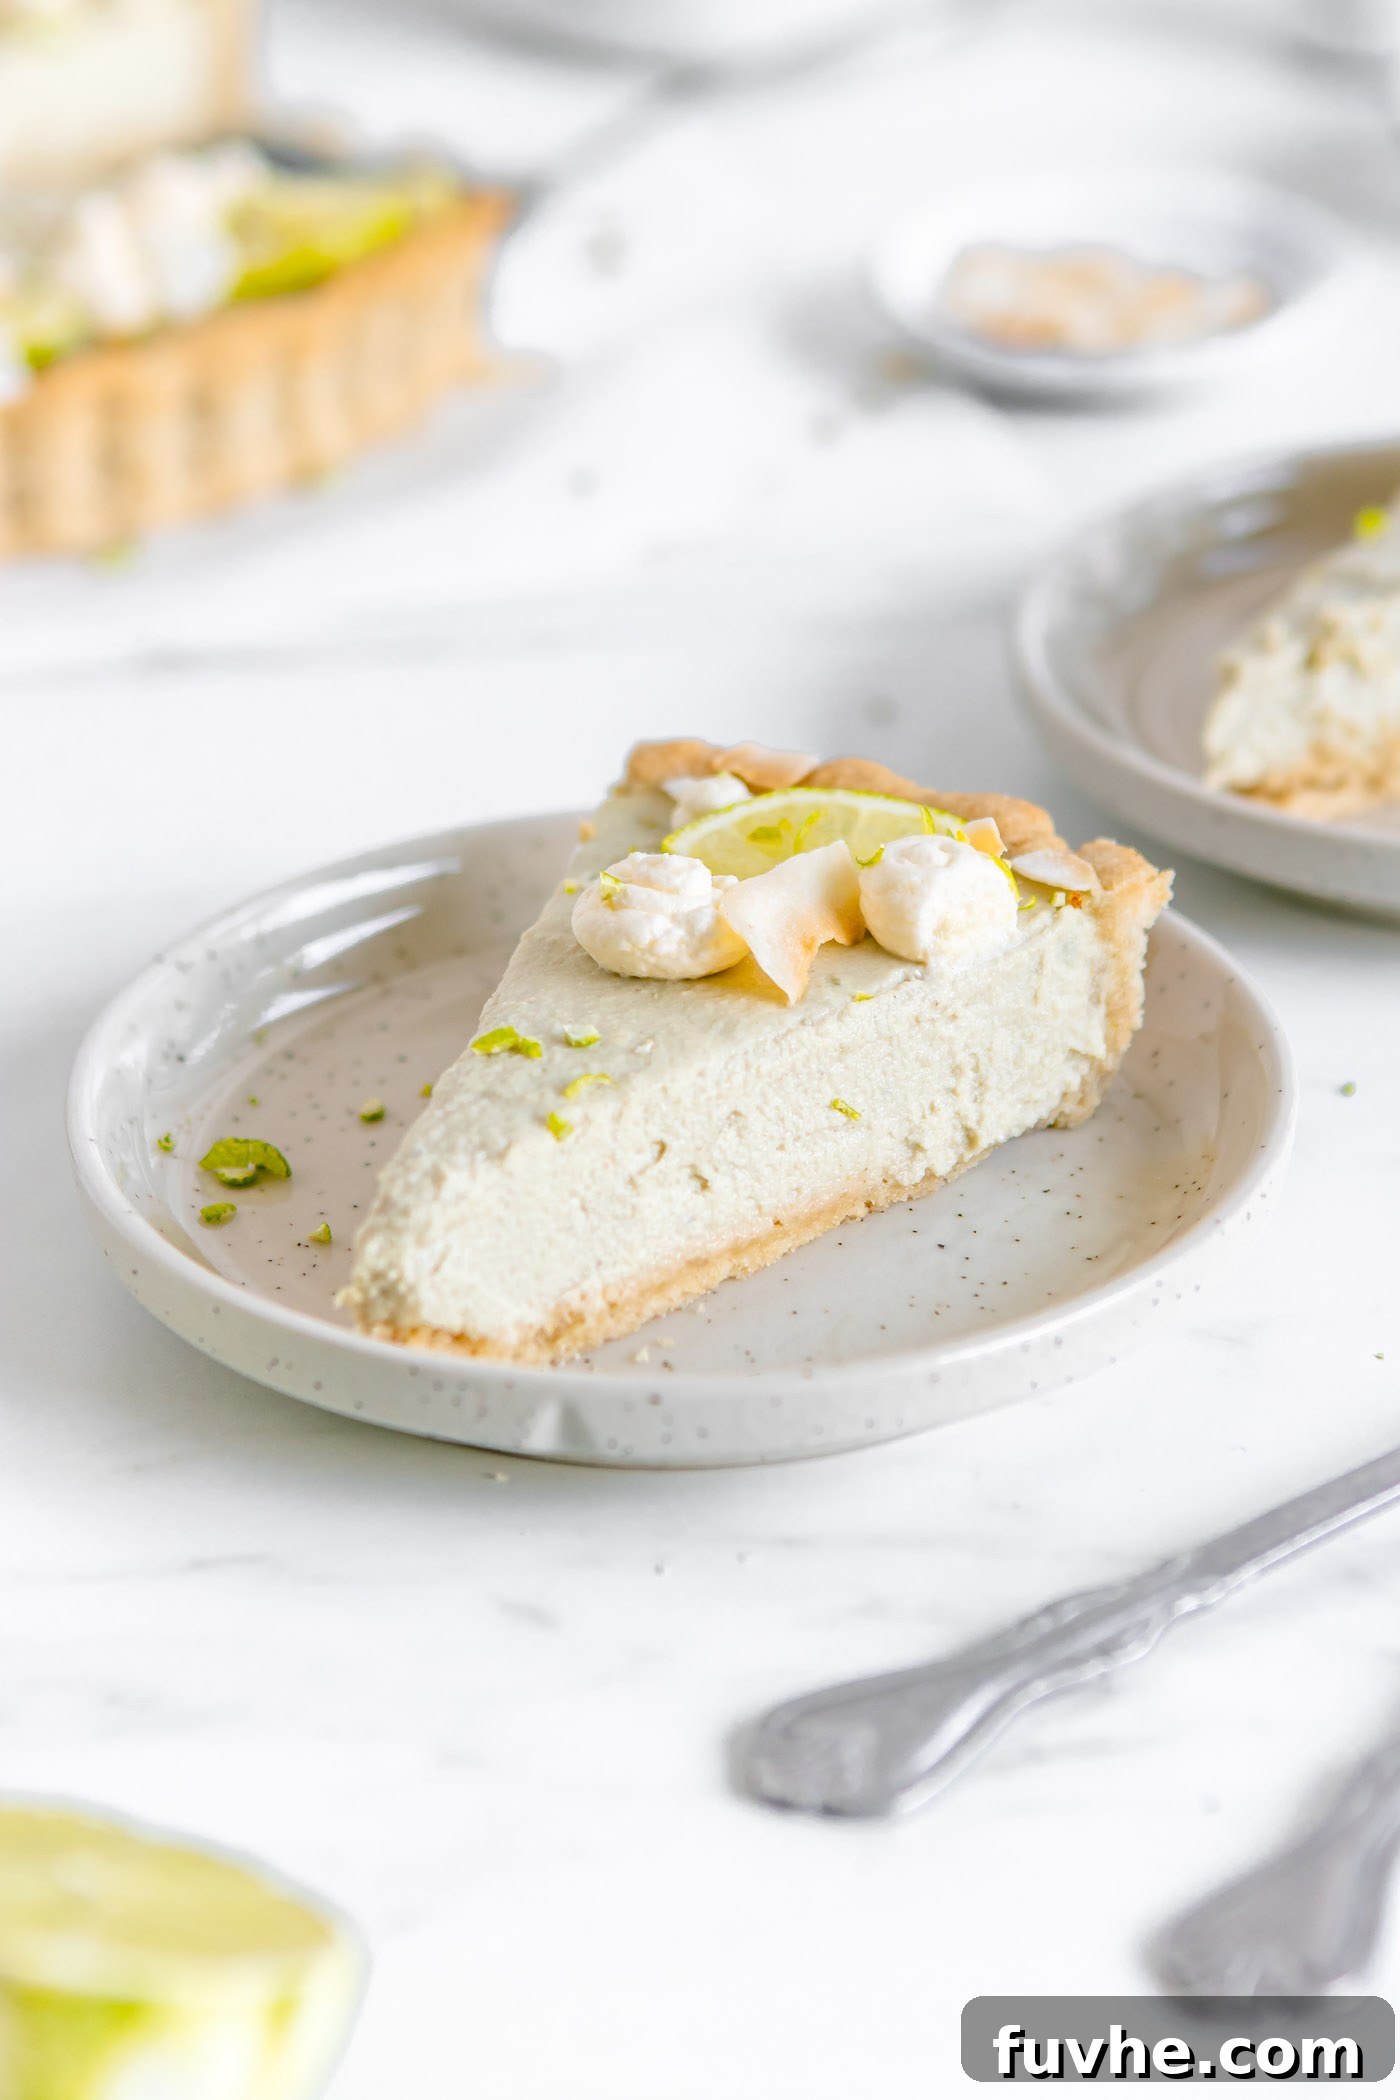
Indulge Guilt-Free: The Ultimate No-Bake Vegan Key Lime Pie Recipe
Prepare to be enchanted by the refreshing taste of this incredible no-bake vegan key lime pie. Crafted with just 7 simple ingredients, this dessert delivers an irresistibly creamy, perfectly zesty, and delightfully sweet experience without ever needing to turn on your oven. It’s the quintessential treat for warm summer days, family gatherings, or whenever you crave a bright, tangy dessert that’s both healthy and utterly delicious. Forget complicated baking; this recipe brings gourmet flavor right to your kitchen with minimal effort, making it a perfect choice for both novice and experienced dessert makers alike.
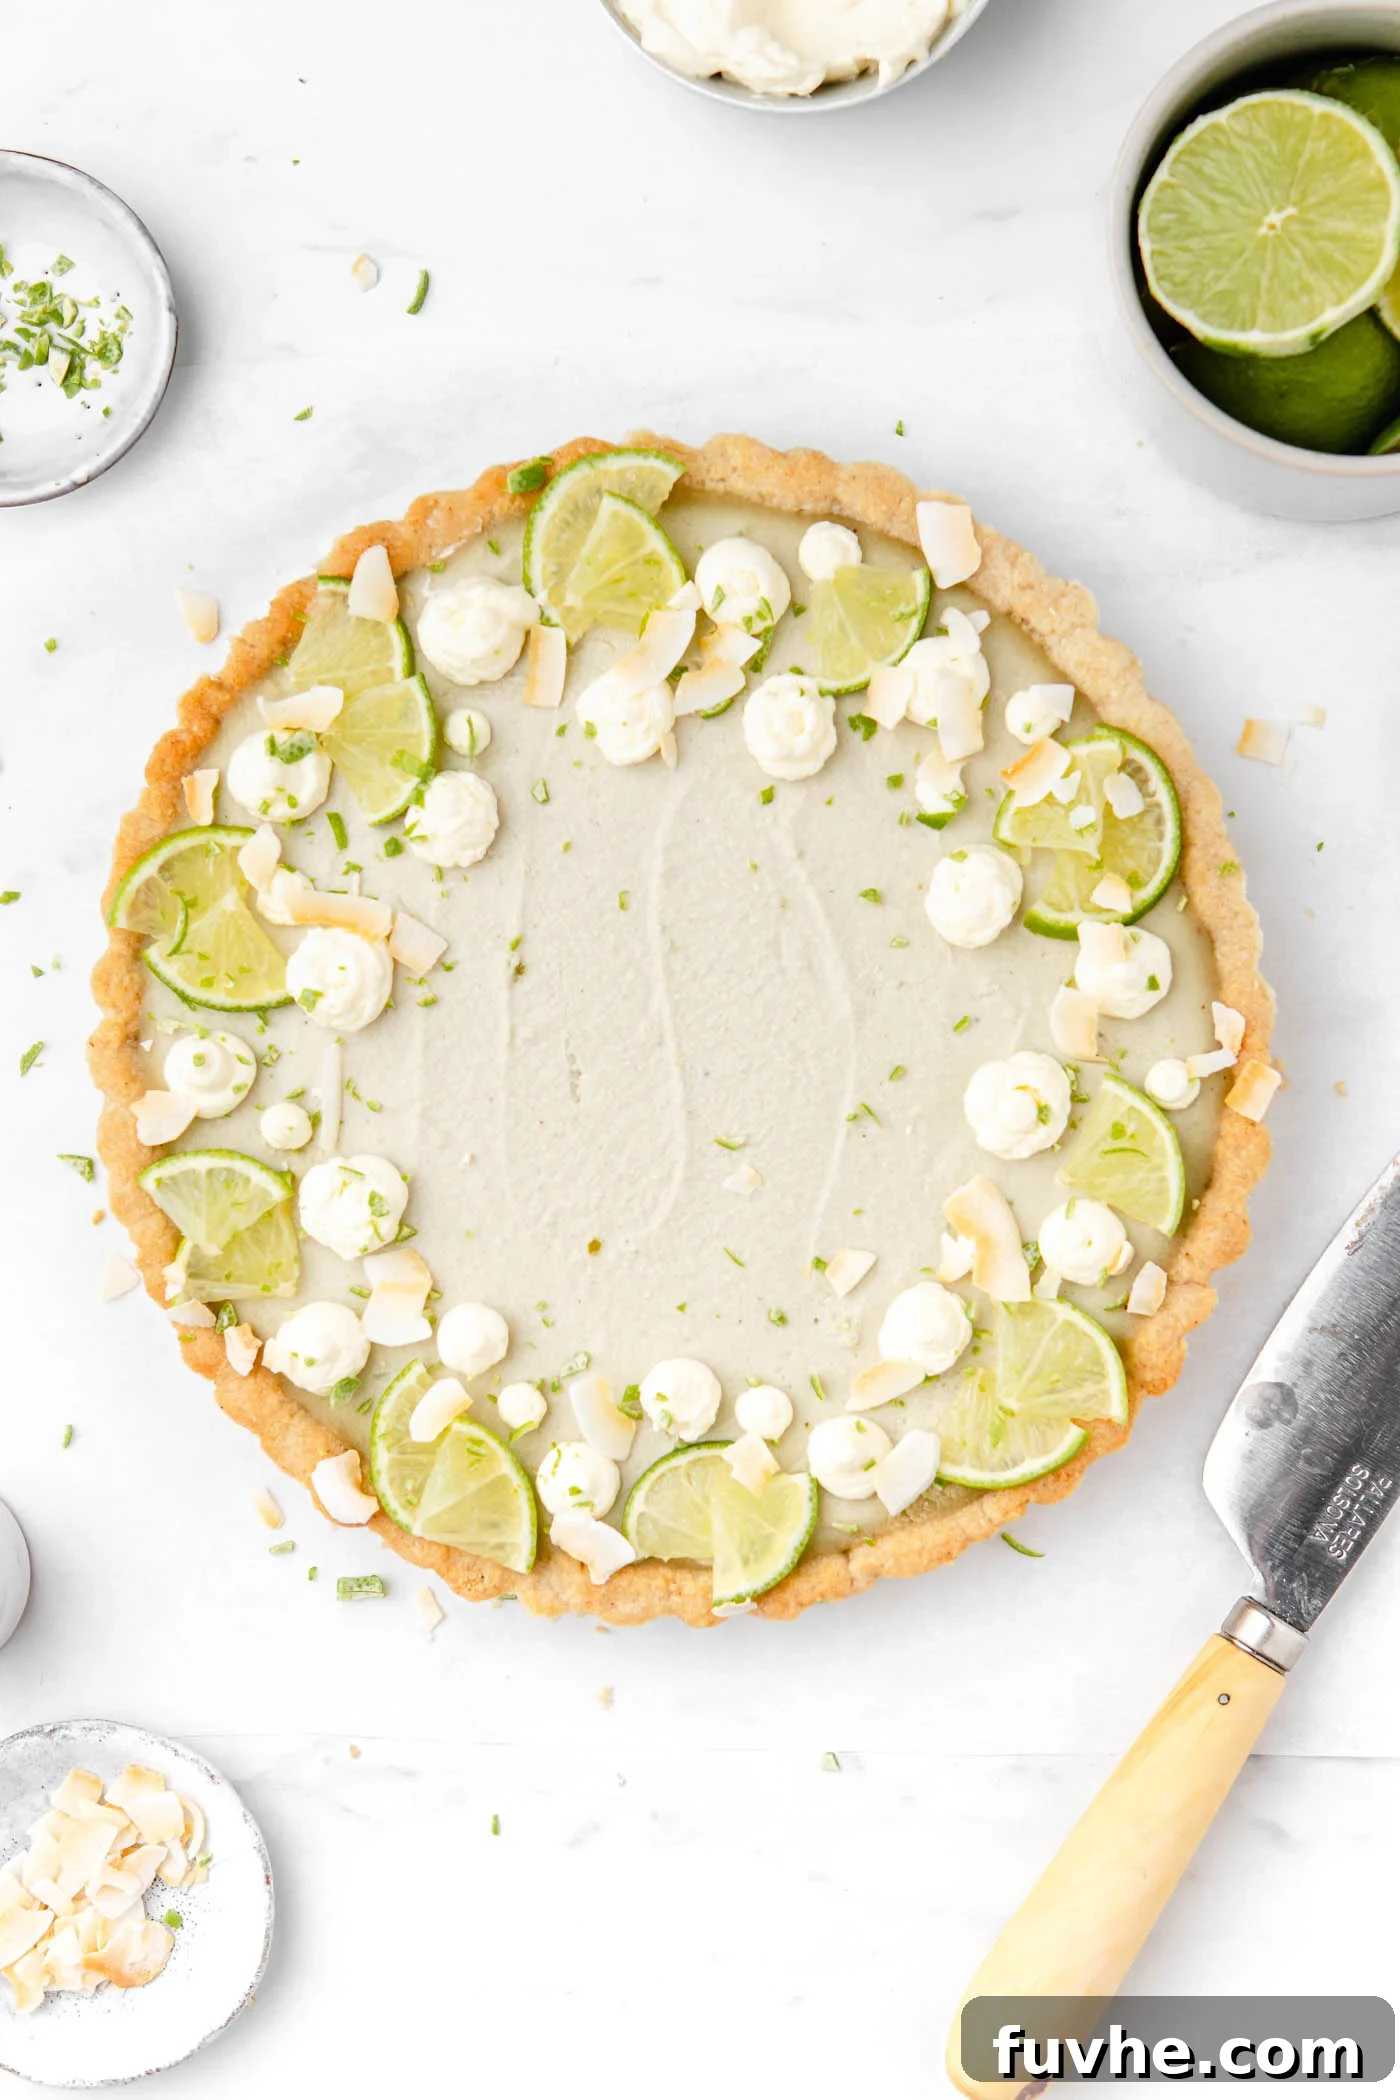
Why You’ll Adore This No-Bake Vegan Key Lime Pie
This isn’t just another dessert; it’s a culinary masterpiece designed for ease, flavor, and health-conscious enjoyment. Here’s why this vegan key lime pie will become your new favorite:
- Dietary Inclusivity: Proudly vegan, gluten-free, and dairy-free, making it accessible for a wide range of dietary needs and preferences. Enjoy a dessert that everyone at the table can savor without compromise.
- Effortless Preparation: Say goodbye to stressful baking! This recipe is no-bake required. Simply blend your ingredients, layer them into a pie crust, and let your freezer do the rest. It’s a foolproof method for a stunning outcome.
- The Quintessential Summer Dessert: Light, fresh, and bursting with citrus flavor, this pie is the perfect light and fresh dessert for summer. Its cool, tangy profile is incredibly refreshing on a warm day.
- Excellent for Meal Prep: Designed for convenience, this pie stores exceptionally well in the freezer for up to 3 months. This means you can prepare it well in advance for parties, holidays, or simply to have a delicious treat on hand whenever a craving strikes.
- Minimal Ingredient List: You only need just 7 simple ingredients to create this gourmet-quality pie. No obscure items, just readily available components for a straightforward and enjoyable cooking experience.
- Irresistible Texture and Flavor: Experience a unique, creamy, mousse-like texture that melts in your mouth, perfectly balanced by a vibrant, tart, and zesty lime flavor. Each bite is a symphony of tangy and sweet notes.
Whether you’re hosting a gathering or simply treating yourself, this no-bake key lime pie promises a delightful experience that’s as easy to make as it is to enjoy.
Craving more easy, no-bake delights? Don’t miss these other sensational recipes: try our No-Bake Vegan Peanut Butter Pie for a rich, nutty treat, the elegant Vegan Chocolate Ganache Tart, or the decadent No-Bake Vegan Chocolate Pie.
Ingredient Spotlight: Understanding Your Key Lime Pie Components
Crafting the perfect vegan key lime pie begins with understanding the role of each ingredient. This section provides detailed insights into the minimal yet powerful components that make this dessert so special. Please note, while this offers an overview, a complete list with precise measurements and instructions is available in the recipe card at the end of this post.
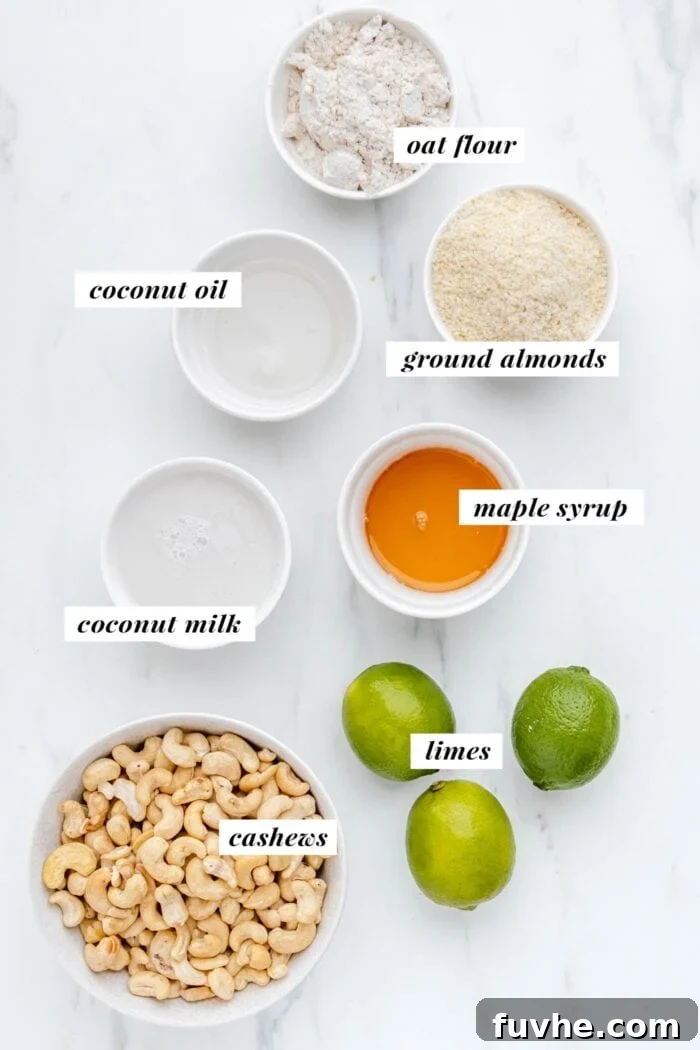
For the Crust:
- Oats or Oat Flour: The foundation of our wholesome crust. You can purchase ready-made oat flour or effortlessly create your own by blending regular rolled oats in a food processor or high-speed blender until a fine, flour-like consistency is achieved. This ensures a smooth and cohesive crust.
- Ground Almonds (Almond Flour): Adding a delicate, nutty flavor and a tender texture, ground almonds are crucial for the crust’s structure. Blend plain, raw almonds (without added oils or sugars) into a fine meal using a food processor or high-speed blender. Alternatively, pre-made almond flour works perfectly and saves a step.
- Coconut Oil: This acts as the binding agent for our no-bake crust, solidifying in the fridge to create a firm, sliceable base. Use melted coconut oil for easy incorporation. If you need a substitute, cacao butter can work, but be aware it has a distinct flavor that might alter the pie’s taste slightly, whereas coconut oil is relatively neutral.
- Maple Syrup: Provides natural sweetness to the crust, complementing the zesty filling. Pure maple syrup is preferred for its rich flavor. Agave syrup is an excellent alternative if maple syrup is not available.
For the Filling:
- Cashews: These are the star ingredient for achieving that signature creamy, rich, and mousse-like texture in the filling. It’s essential to use plain, unsalted, and unroasted cashews. They must be soaked for at least 4 hours, or ideally overnight, to soften them enough for a perfectly smooth blend. Don’t worry if you’re short on time; check our FAQ section for quick-soak methods!
- Full-Fat Coconut Milk: Critical for the filling’s luxurious creaminess and ability to firm up. Always opt for good quality full-fat canned coconut milk (not the beverage kind). The fat content is vital for the pie’s structure. Coconut cream, which is the thick top layer from a can of full-fat coconut milk, can also be used for an even richer consistency. Do not use light coconut milk, as it will prevent the pie from setting properly.
- Fresh Limes or Key Limes: The heart of key lime pie! You’ll need about 1/2 cup of fresh lime juice for the filling, which typically requires 3-4 regular limes or more if using smaller key limes, depending on their juiciness. A citrus squeezer is highly recommended to extract the maximum amount of juice. Don’t forget the zest! About 2 teaspoons of fresh lime zest will elevate the flavor, adding an intense aromatic note. Use a fine grater, citrus zester, or even a sharp knife to carefully remove only the green part of the peel.
- Maple Syrup (for filling): Balances the tartness of the limes, adding a natural sweetness without overwhelming the fresh citrus flavor. As with the crust, agave syrup is a suitable substitute.
- Coconut Oil (for filling): Helps the filling set beautifully, contributing to its smooth and firm texture once chilled. Ensure it’s melted before adding to the blender. Its neutral flavor ensures the lime shines through.
Each ingredient plays a vital role in creating a balanced, delightful, and sturdy vegan key lime pie. Taking a moment to prepare them correctly will ensure the best possible results.
Mastering the No-Bake Vegan Key Lime Pie: Step-by-Step Guide
Creating this irresistible pie is a straightforward process. Follow these detailed steps to achieve a perfectly creamy and zesty dessert. Remember to consult the full recipe card for precise measurements.
Before You Begin: Essential Cashew Soaking
The key to a silky-smooth filling lies in properly soaked cashews. Soak the raw cashews in water for at least 4 hours, or ideally overnight. If you own a high-speed blender, a 4-6 hour soak will likely suffice. For standard blenders, an overnight soak (8-12 hours) is highly recommended to ensure they become soft enough to blend into a perfectly creamy consistency. This step is crucial, so plan accordingly!
Part 1: Crafting the Wholesome Crust
Step 1: Prepare Your Flours. If you’re starting with whole rolled oats, place them into your food processor or high-speed blender. Process until they transform into a fine, consistent oat flour. Next, add the raw almonds to the same processor or blender. Continue processing until the almonds are finely ground, resembling almond flour. The goal is a fine, uniform consistency for both. Transfer this mixture to a medium-sized mixing bowl.
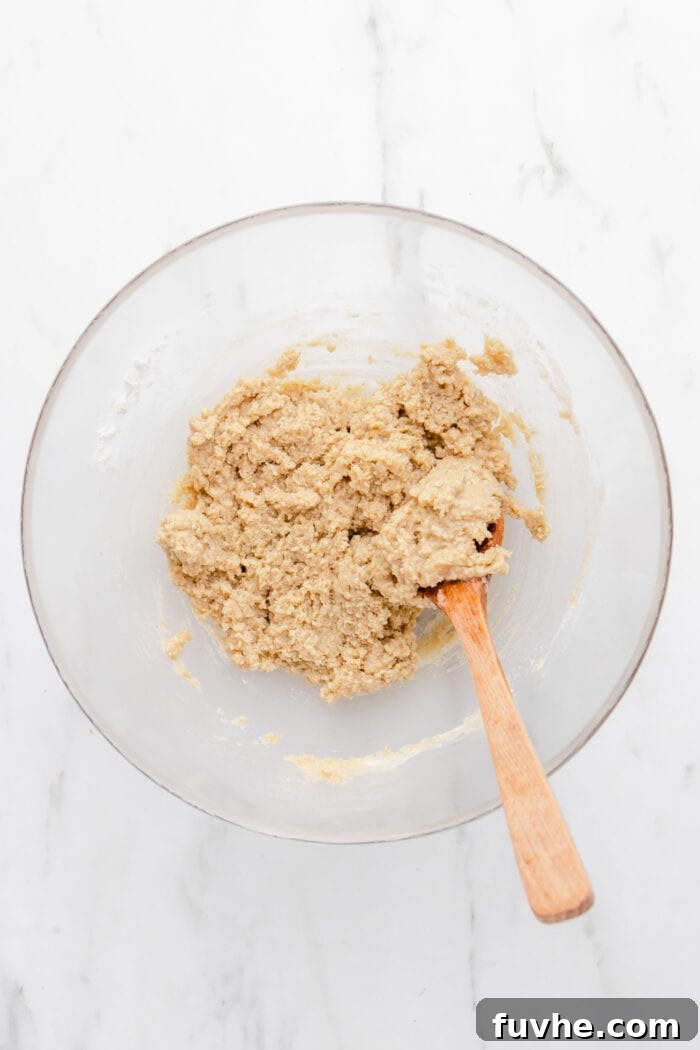
Step 2: Combine Crust Ingredients. To the oat and almond flour mixture in the bowl, add the melted coconut oil and maple syrup. Using your hands or a sturdy spoon, work these ingredients together thoroughly. Continue mixing until a cohesive, uniform dough forms. It should be pliable enough to press into a crust and hold its shape.
Quick Tip: Creative Crust Alternatives! For those who prefer different flavors or textures, consider alternative no-bake crusts that use a combination of nuts and dates instead of oil and maple syrup. You can find excellent inspiration from the crusts in my no-bake vegan mango cheesecake, no-bake vegan pumpkin cheesecake, or the raw vegan carrot cake recipes.
Step 3: Form the Crust. Prepare a 7 or 9-inch tart pan, preferably one with a removable bottom for easy serving. Lightly grease the pan with a non-stick spray or a thin layer of vegan butter, or line it with parchment paper for effortless removal. Transfer the prepared crust dough into the pan. Using the back of a spoon or your fingertips, firmly press the dough evenly into the bottom of the pan and up the sides. Ensure it’s compact and flat for a sturdy base. Once shaped, place the pan in the fridge to chill while you move on to preparing the delectable filling.

Quick Tip: For an Extra Crispy Crust: If you prefer a lightly crisped and golden-brown crust, you can optionally bake it. Place the pressed crust in a preheated oven at 350°F (175°C) for 5-10 minutes. Allow it to cool completely before adding the filling.
Part 2: Creating the Zesty Filling & Assembling the Pie
Step 4: Blend the Filling. Once your cashews are perfectly soft from soaking, drain them thoroughly. Add the drained cashews, fresh lime juice, full-fat coconut milk, maple syrup, melted coconut oil, and lime zest into your high-speed blender. Process on high until the mixture is completely smooth and creamy. Scrape down the sides of the blender as needed to ensure all ingredients are fully incorporated and there are no cashew chunks.
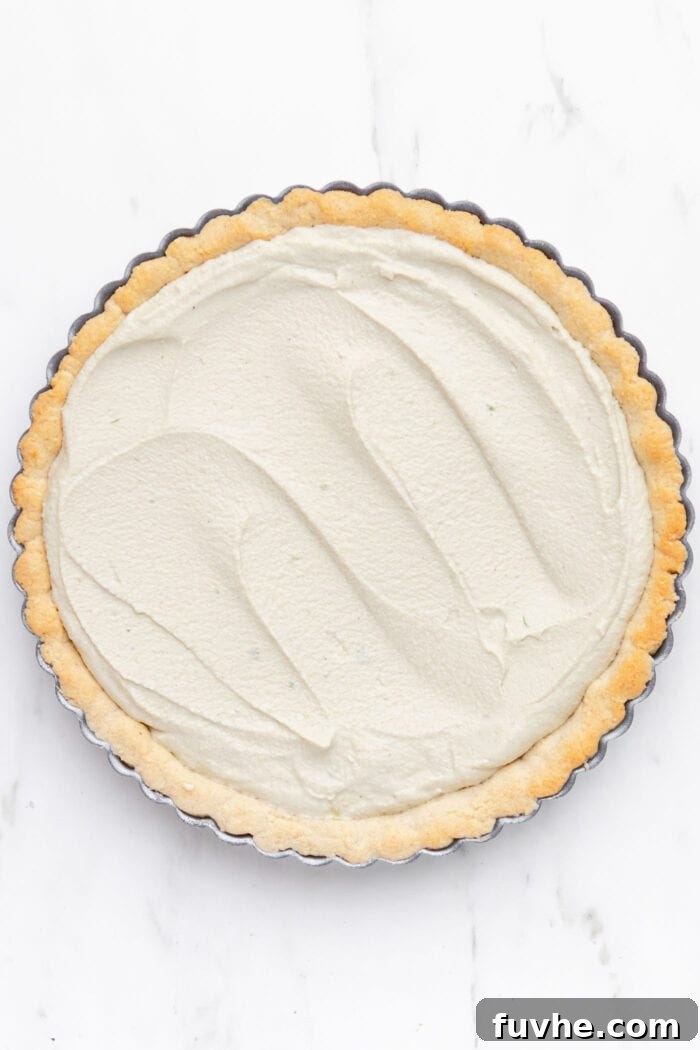
Step 5: Assemble and Chill. Retrieve your chilled pie crust from the fridge. Carefully pour the smooth, creamy lime filling into the crust. Use a spatula to gently spread the filling evenly, creating a flat and attractive surface. Once assembled, return the pie to the fridge to firm up for at least 3 hours. For the best results and a perfectly set pie, chilling it overnight is highly recommended. If you’re preparing this pie in advance, it can also be frozen at this stage for longer storage.
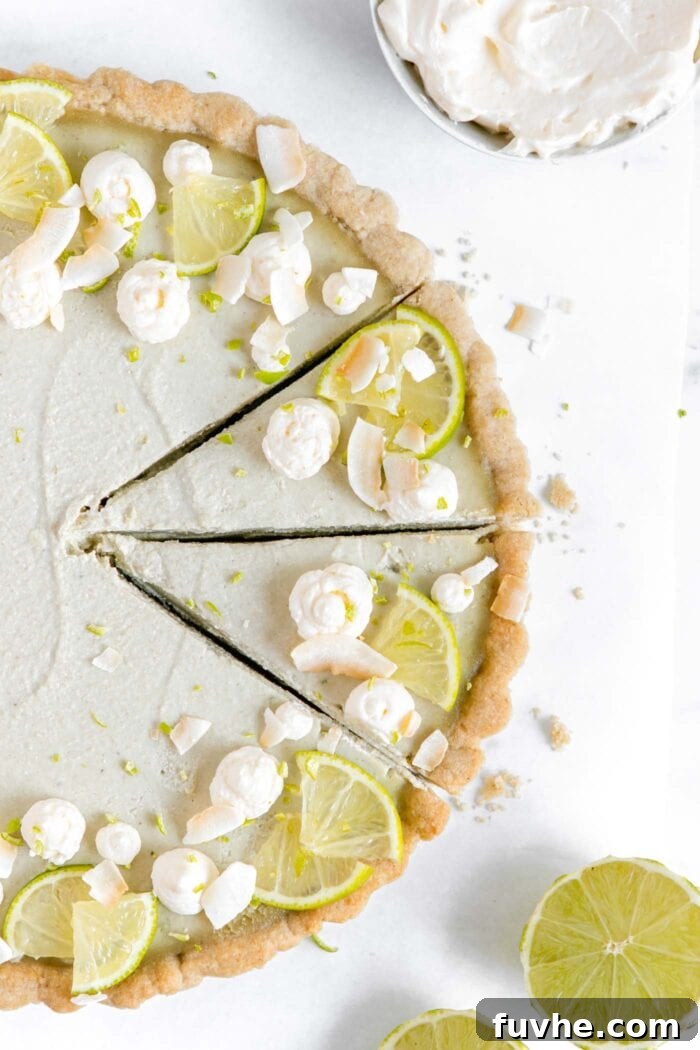
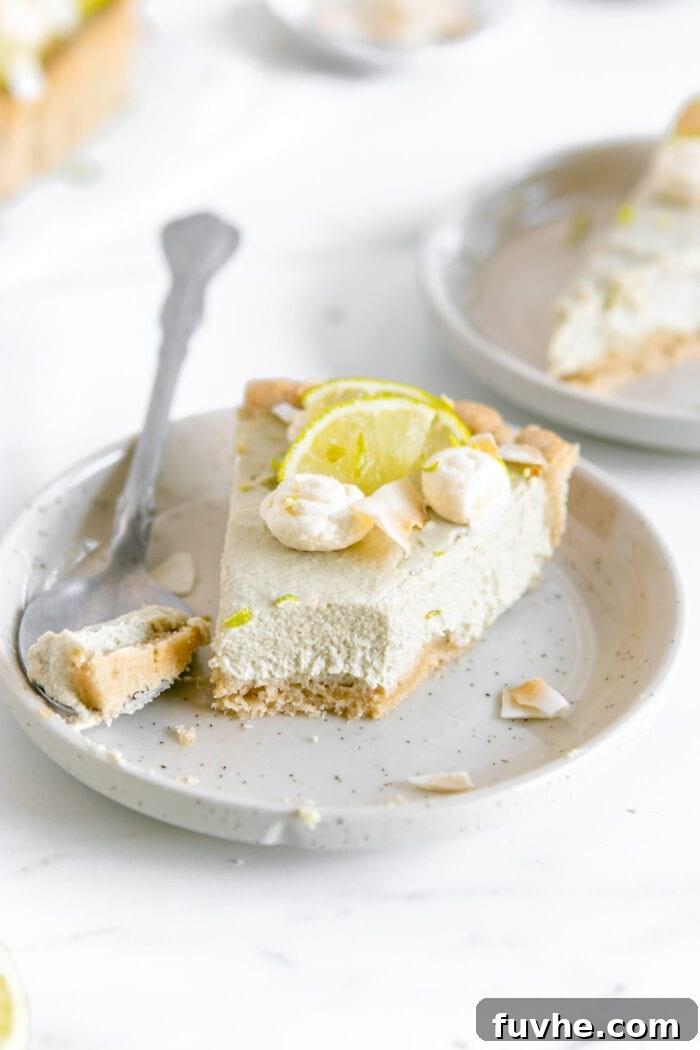
Once thoroughly chilled and firm, your exquisite no-bake vegan key lime pie is ready to be enjoyed! Serve it topped with your favorite dairy-free whipped cream, a generous sprinkle of fresh lime zest, and a scattering of toasted coconut flakes for an added touch of elegance and flavor.
Frequently Asked Questions About Vegan Key Lime Pie
Can I quick soak the cashews if I’m short on time?
While soaking cashews overnight yields the creamiest filling, a “quick soak” is definitely an option in a pinch. If you have a couple of hours, place the cashews in a bowl and pour boiling water over them. Let them soak for about 2 hours, then drain and proceed. For an even quicker method, boil the cashews in a small pot of water for 10-15 minutes, then drain thoroughly. This softens them significantly for blending, though the texture might be slightly less smooth than an overnight soak.
What if I don’t have a specific pie tin or tart pan?
No problem at all! This versatile pie can be made in various dishes. A springform pan is an excellent alternative, offering easy removal once set. You can also use a regular square or rectangular baking pan; just be sure to line it with parchment paper, leaving an overhang, so you can easily lift the entire pie out once it’s firm and cut it into bars. For a fun, individual dessert experience, a muffin tin works wonderfully for making mini key lime pies. Simply press a small amount of crust into the bottom of each muffin cup, then top with the filling. Once set, use a small knife to carefully pop them out. Freezing them for a few hours before removal makes this process even easier.
What if I don’t have a high-speed blender?
Don’t worry if you don’t own a high-speed blender! It’s still possible to achieve a delicious pie. The most crucial step is to ensure your cashews are very soft; therefore, an overnight soak is highly recommended to get the best creamy consistency. A good quality food processor with sharp blades can also be used effectively for both the crust ingredients (oats and almonds) and the filling. Many find it helpful to use a food processor for the dry crust ingredients and then transfer to a regular blender (if available and powerful enough) for the filling, or simply use the food processor for both. Just be patient and scrape down the sides frequently to ensure an even blend.
Storage Tips for Longevity
To keep your no-bake vegan key lime pie fresh and delicious for as long as possible, follow these simple storage guidelines:
- Refrigeration: Store the pie, covered tightly, in the fridge for up to 5 days. Ensure it’s in an airtight container to prevent it from absorbing other odors and drying out.
- Freezing: For longer storage, this pie freezes beautifully. Place it in an airtight, freeze-safe container or wrap individual slices tightly in plastic wrap and then foil. It can be stored in the freezer for up to 3 months. Freezing in single portions is a great way to enjoy a quick dessert whenever you desire.
- Thawing: If frozen, allow the pie or individual slices to thaw briefly at room temperature for about 15-20 minutes, or transfer to the fridge for a few hours before serving. This brings it to the perfect creamy consistency.
Explore More No-Bake Delights
If you’ve fallen in love with the ease and deliciousness of this no-bake pie, you’ll definitely want to explore these other fantastic no-bake cake recipes:
- No-Bake Blueberry Cheesecake: A burst of fruity freshness in a creamy, effortless dessert.
- No-Bake Chocolate Cheesecake: Rich, decadent, and requires no baking!
- No-Bake Mango Cheesecake: Tropical flavors perfectly blended for a refreshing treat.
- No-Bake Matcha Cheesecake: A unique and earthy twist on the classic cheesecake, perfect for tea lovers.
No-Bake Vegan Key Lime Pie
This delicious vegan key lime pie makes the ultimate summer dessert. Light, fresh, tart, and zesty with a creamy mousse texture, everyone will be asking for a second slice! Bonus: no baking required.
Ingredients
For the Crust
- 1 cup oat flour (100 g)
- 1 1/4 cup ground almonds (150 g)
- 1/4 cup melted coconut oil (60 mL)
- 1/4 cup maple syrup (70 mL)
For the Filling
- 2 cups raw cashews, soaked for 4 hours up to overnight (350 g)
- 1/2 cup fresh lime juice (120 mL)
- 2/3 cup full-fat coconut milk (100 mL)
- 1/4 cup maple syrup (70 mL)
- 1/4 cup melted coconut oil (60 mL)
- 2 tsp lime zest
Optional Toppings
- lime zest
- toasted coconut flakes
- coconut whipped cream or other dairy-free whipped cream
Instructions
- If using oats to make oat flour, place into a blender or food processor and blend until you have a flour consistency. Add the almonds and blend again until they’re broken down into a fine consistency. Transfer to a mixing bowl.
- Add the maple syrup and coconut oil to the bowl with the oat and almond flours and mix into a uniform dough.
- Grease an 8-inch fluted tart pan with a loose bottom tin with a light coating of non-stick spray or vegan butter or line with parchment. Transfer the dough to the pan. Press the base ingredients around the sides and then work it through the center to cover the bottom of the tin. Chill the crust in the fridge while you make the filling.
- Drain the soaked cashews and blend together all filling ingredients in a high-speed blender until smooth and creamy. Pour into the tart base. Place into the fridge to firm up for at least 3 hours but overnight is best.
- Once it’s set, serve with coconut whipping cream and garnish with some lime zest and shredded coconut for a pretty effect!
Notes
- Store covered in the fridge for up to 5 days. Freeze in an airtight freeze-safe container for up to 3 months. Thaw briefly at room temperature or in the fridge before serving.
- See post for additional notes and tips such as how to quick soak the cashews in a pinch and alternatives to using a tart pan.
- The pie crust can also be baked for 5-8 minutes at 350°F (175°C) for a lightly crisped crust that’s golden in color.
Nutrition
Calories: 573 kcal,
Carbohydrates: 36 g,
Protein: 12 g,
Fat: 44 g,
Sodium: 10 mg,
Fiber: 5 g,
Sugar: 14 g